If you are new to IdeaStudio then I hope this tutorial will find you 
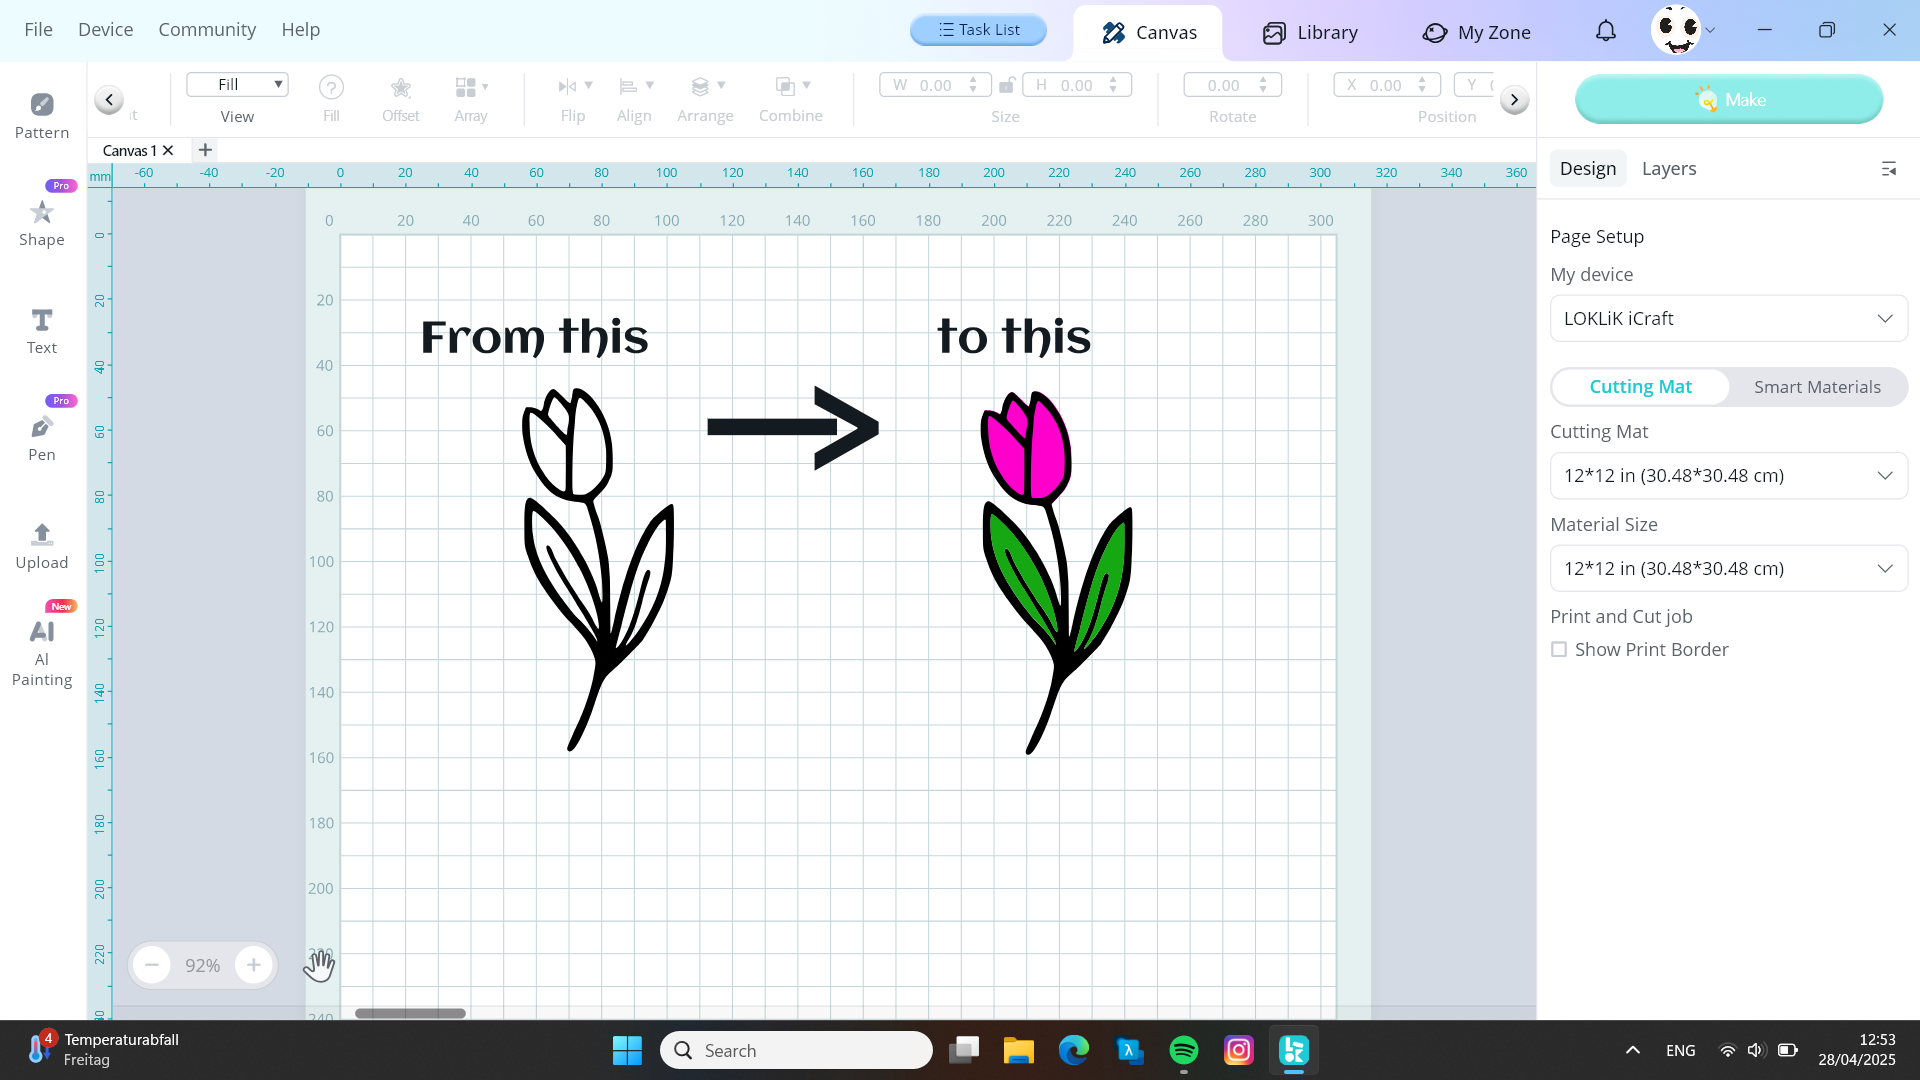
Today I want to teach how to
Turn one layer svg into multi layers

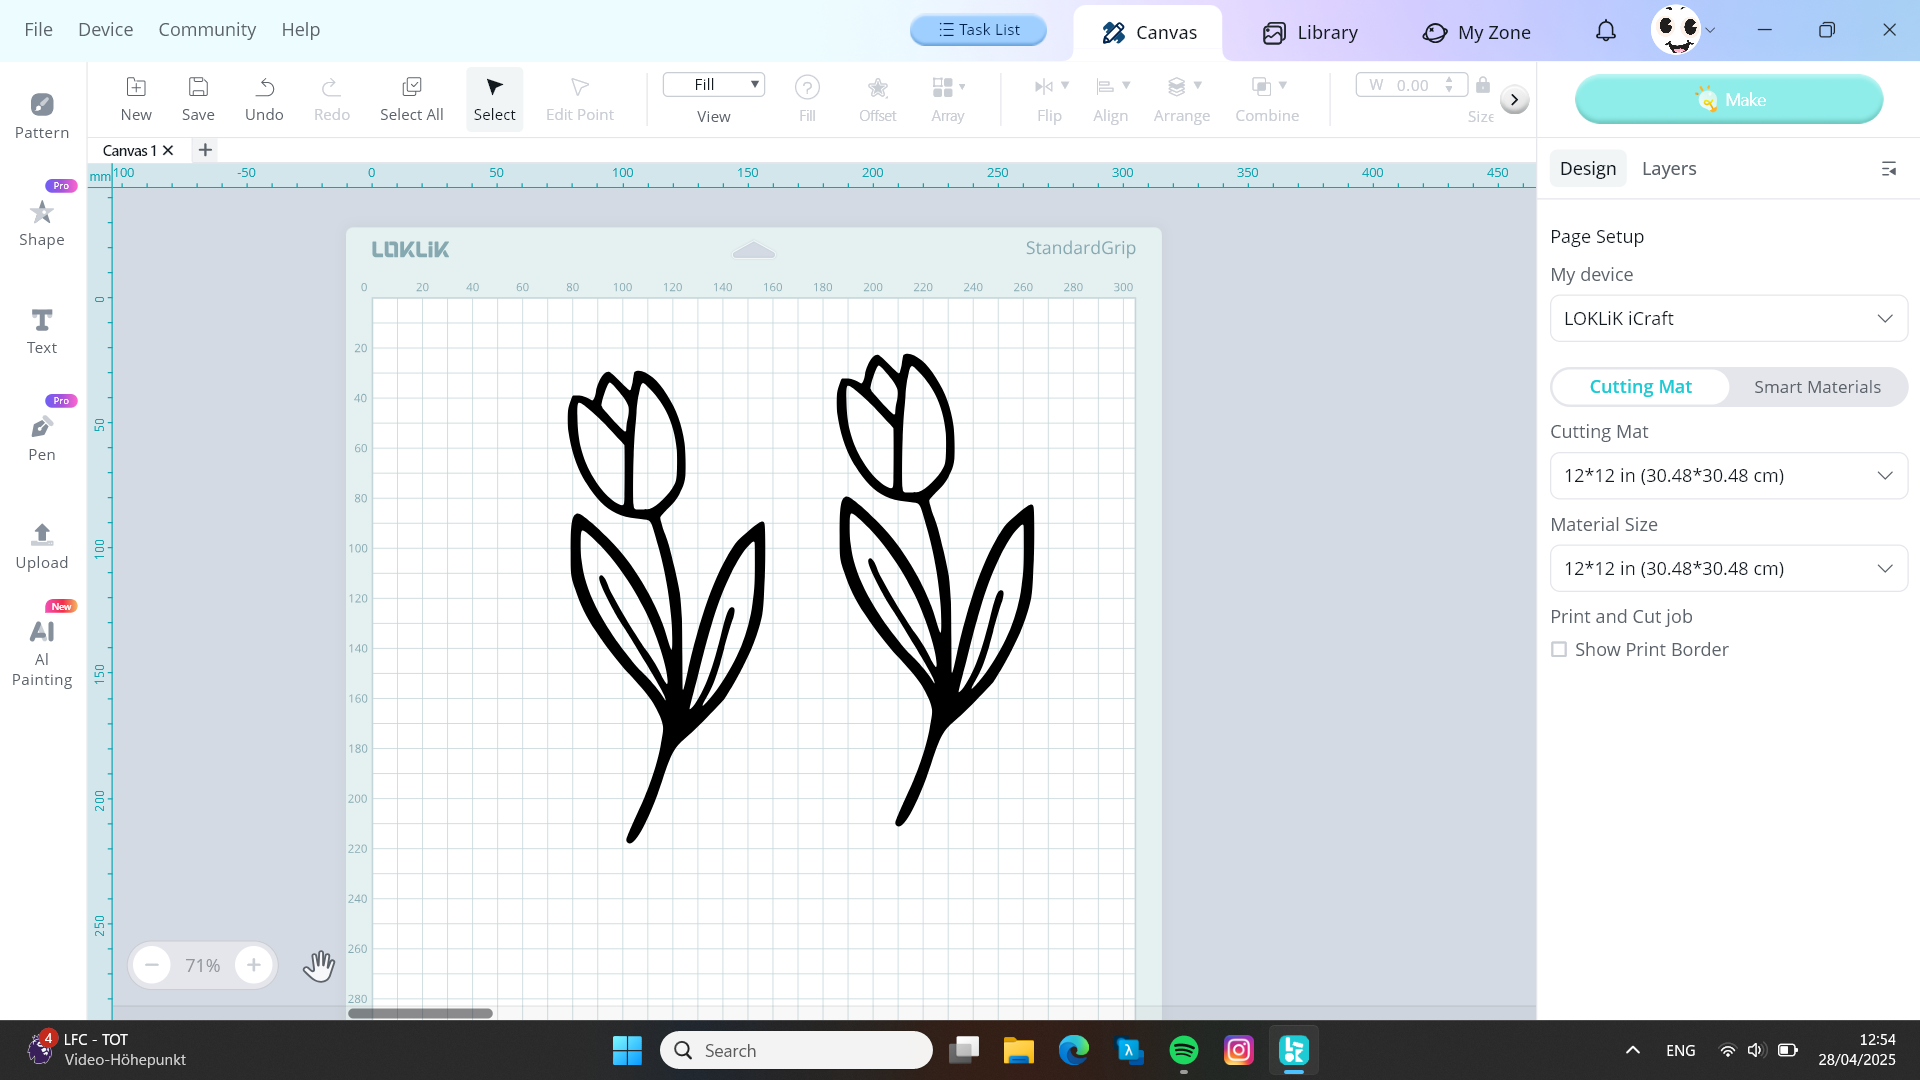
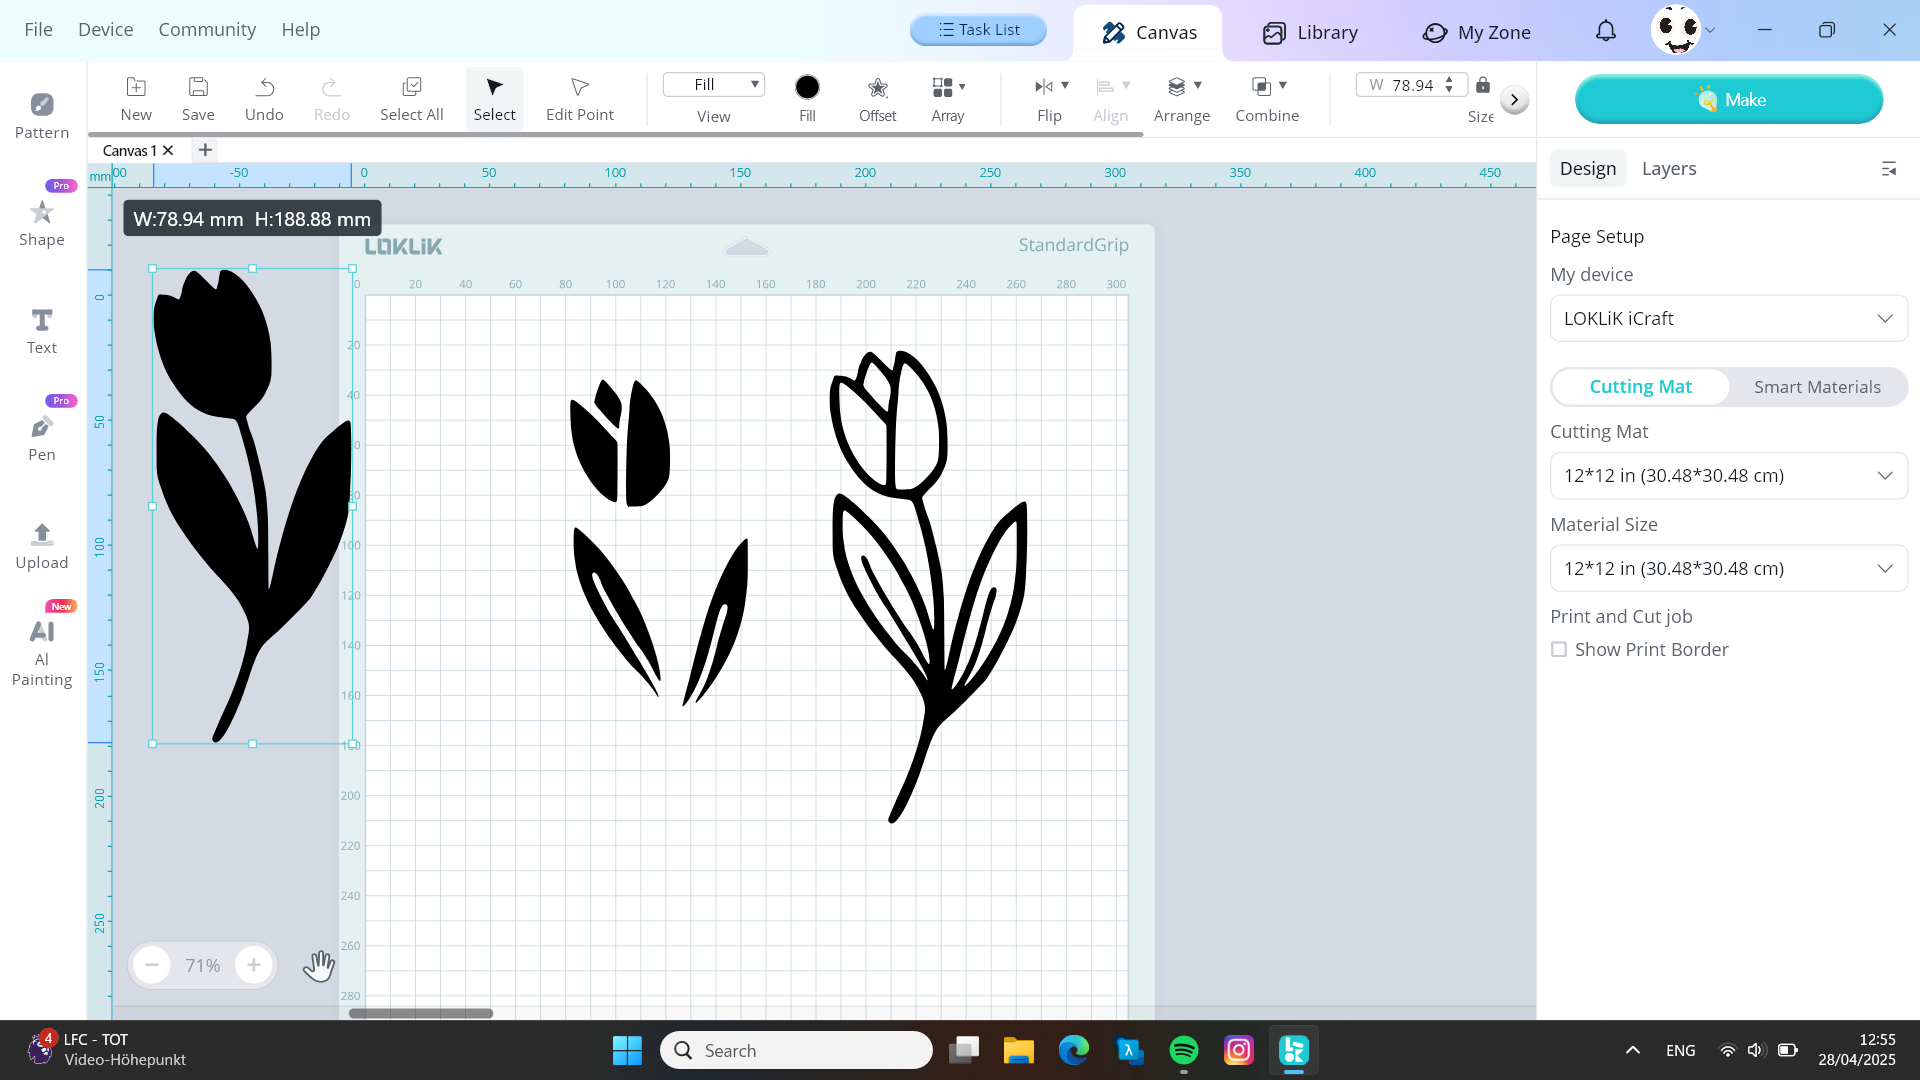
First you need to choose or upload your file and
duplicate it
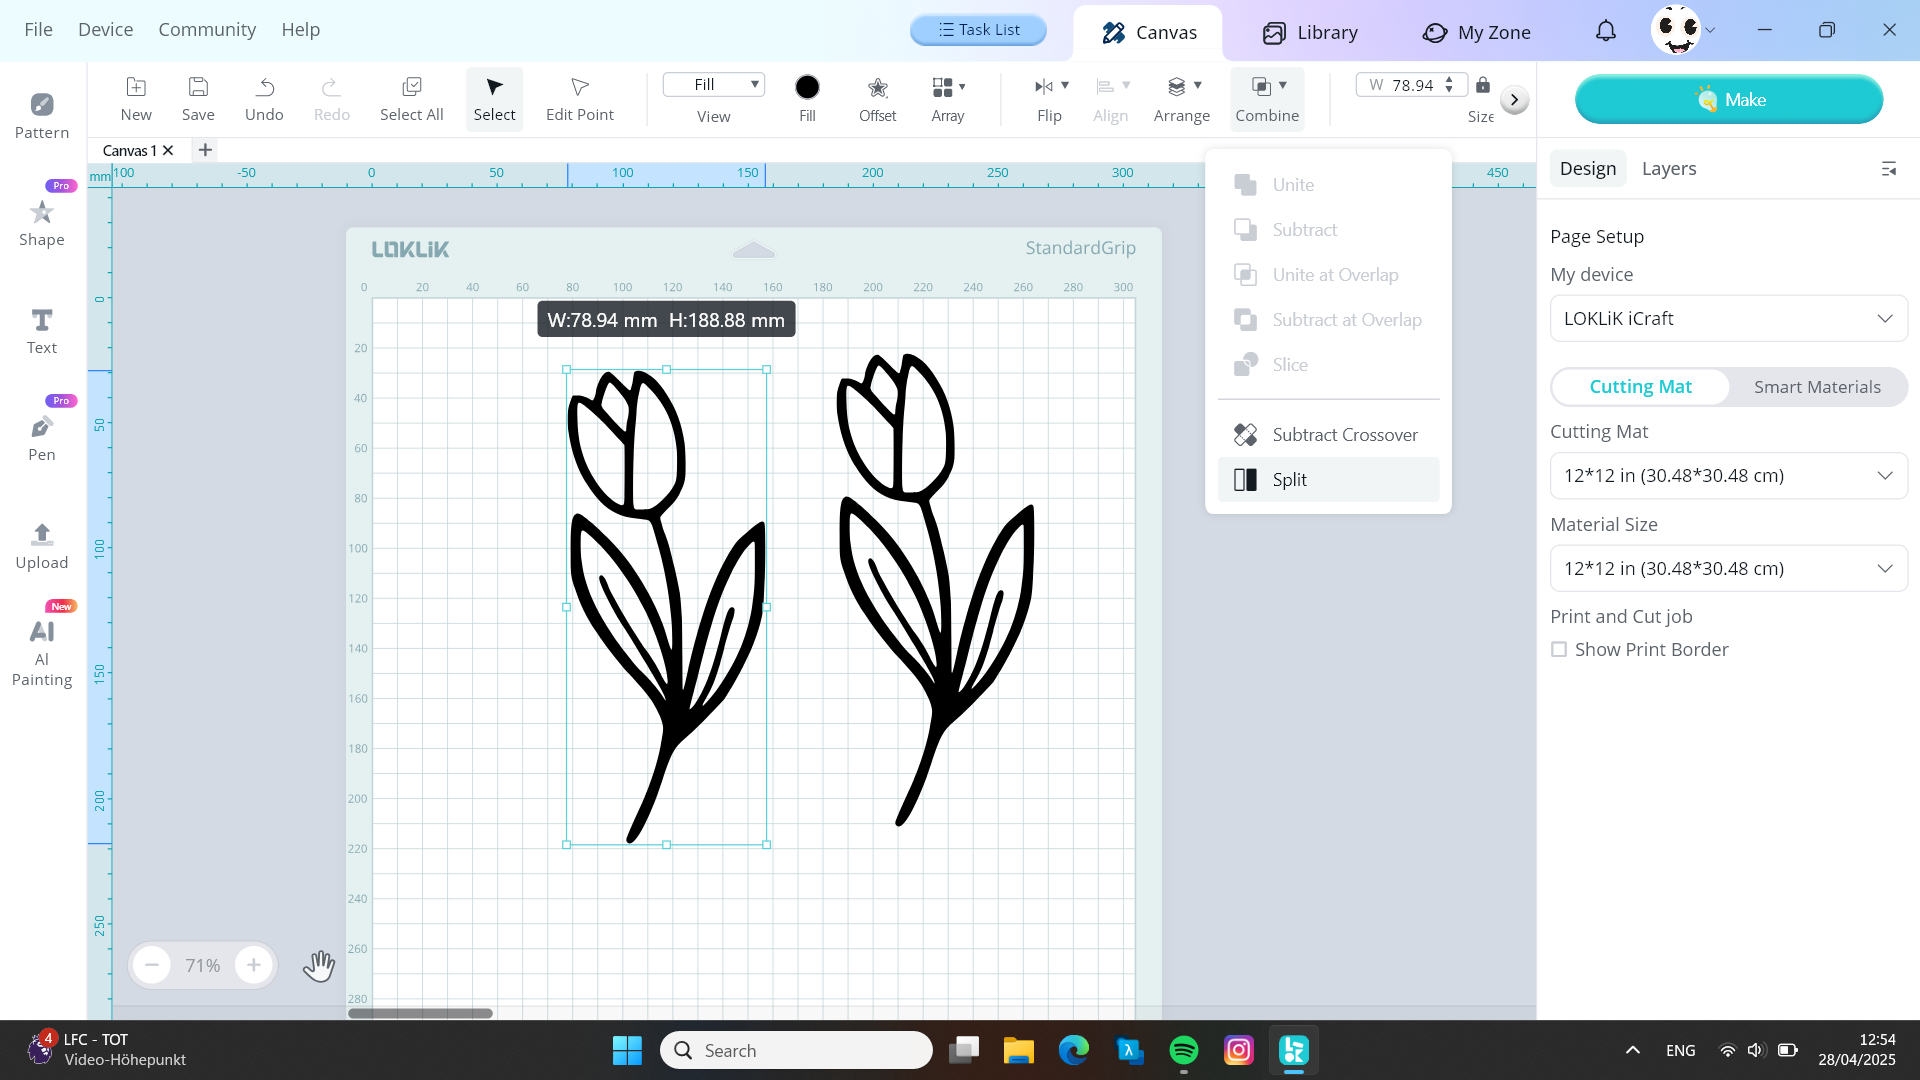
Choose one of the images and from the top bar click on
combine then
split
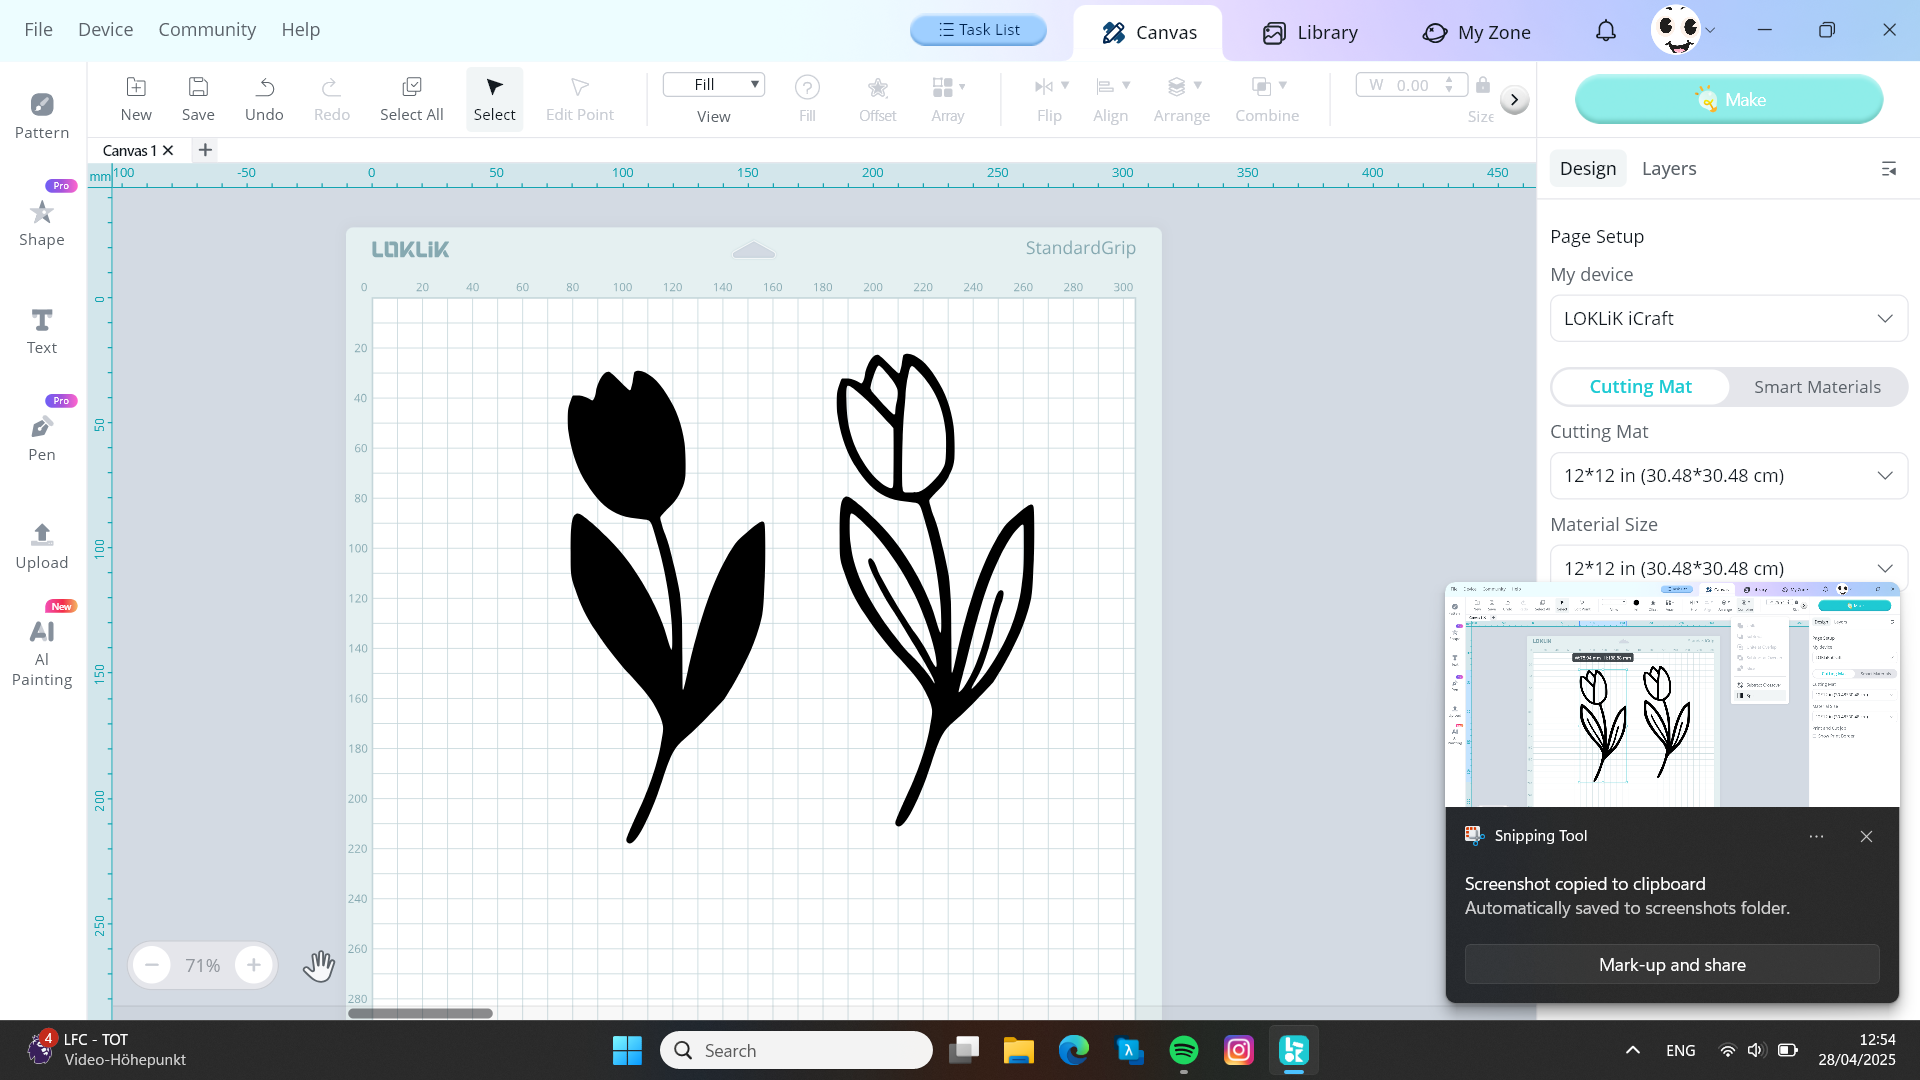
You’ll get a black image as shown on the picture below
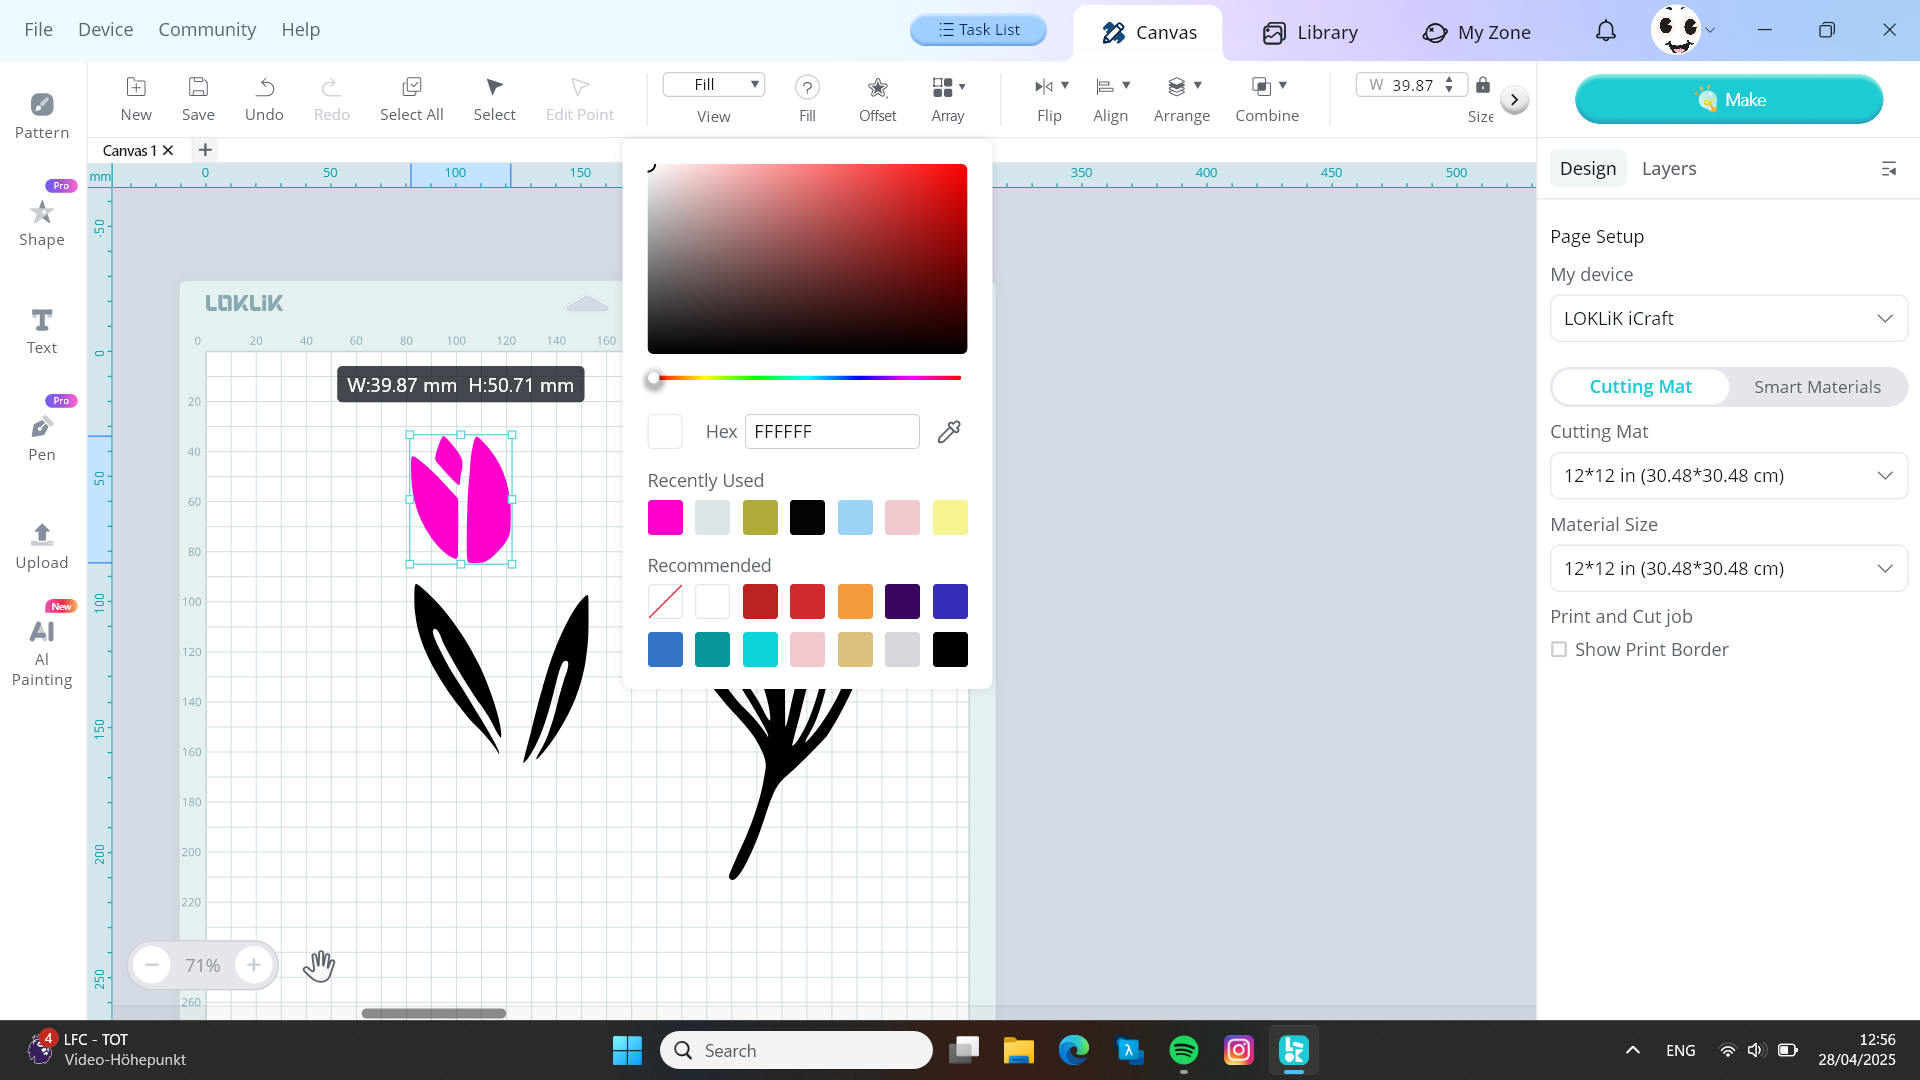
don’t worry just click on it and drag it to the side, yo will drag the upper layer only and be left with the small inside parts
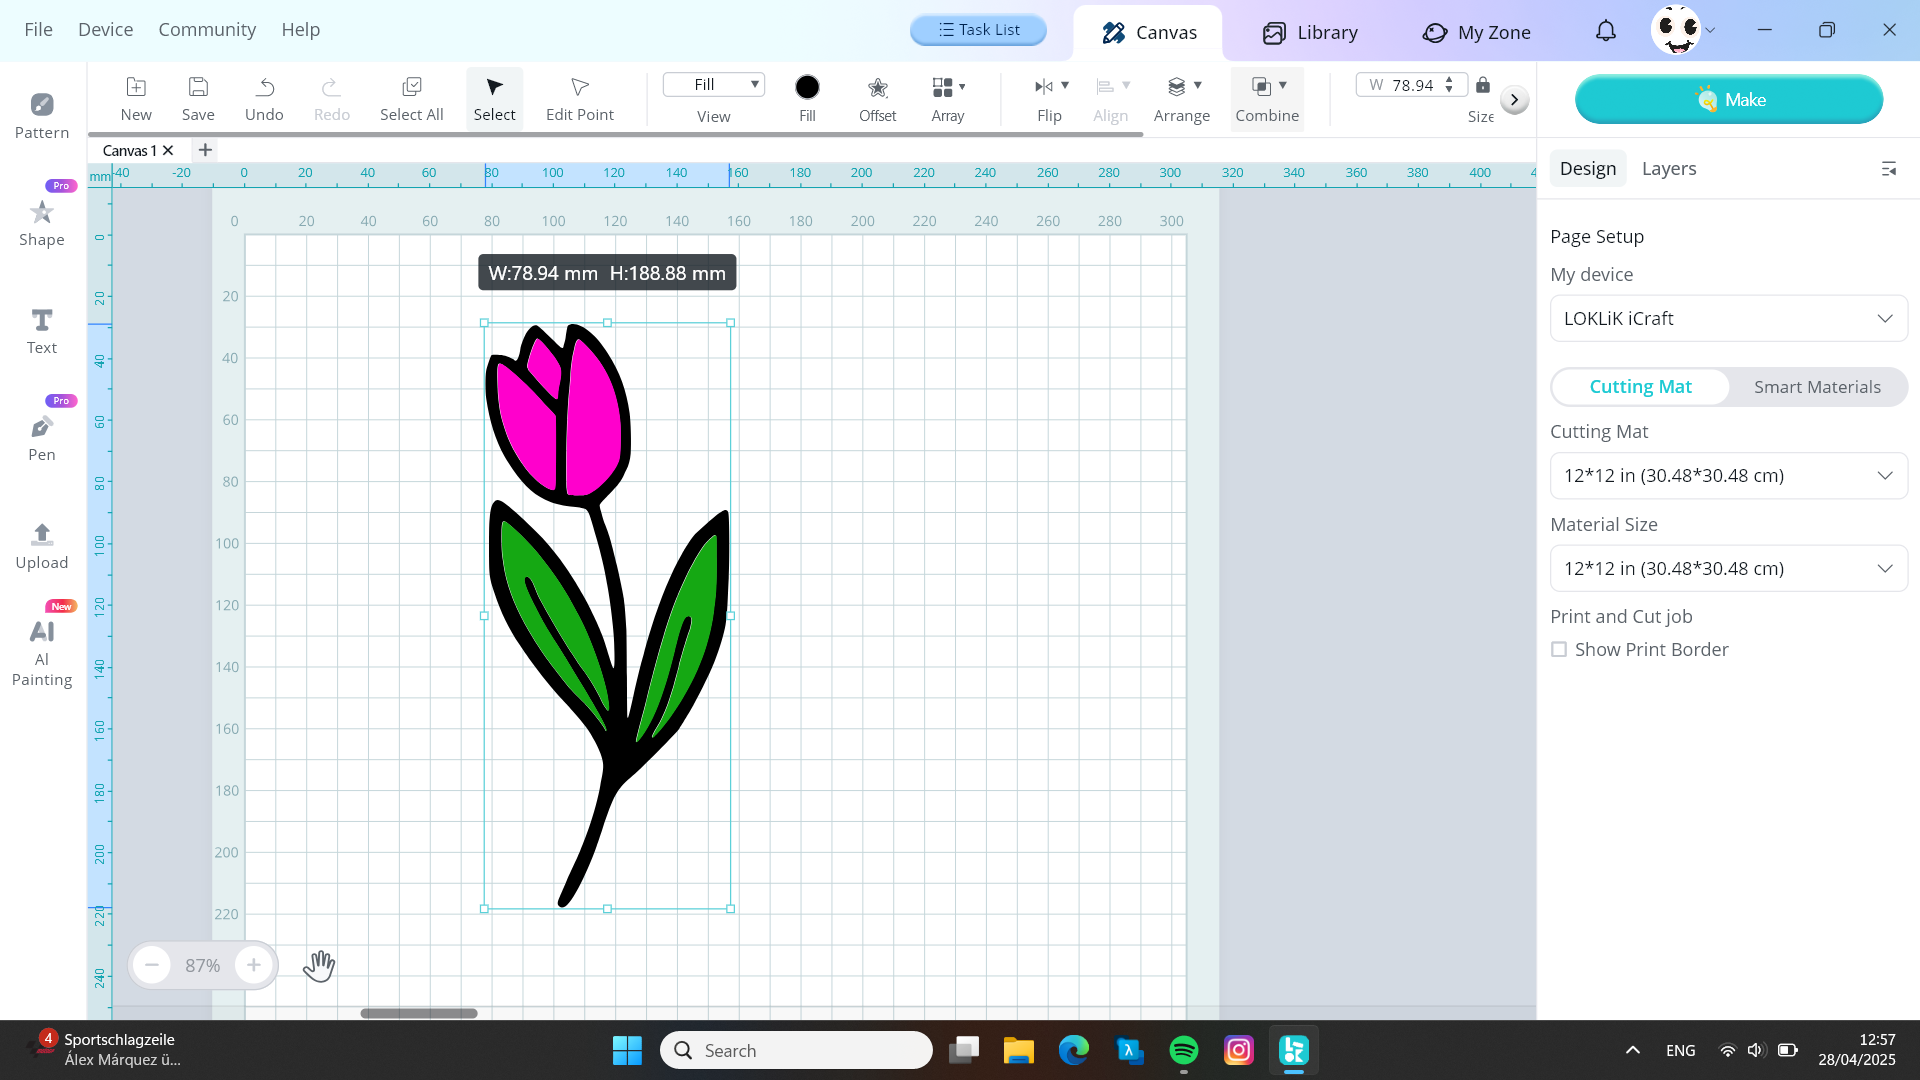
All you have to do now is change the colors as you wish
Apply the outline of the duplicate image to the inside parts and here it is a multi layer image
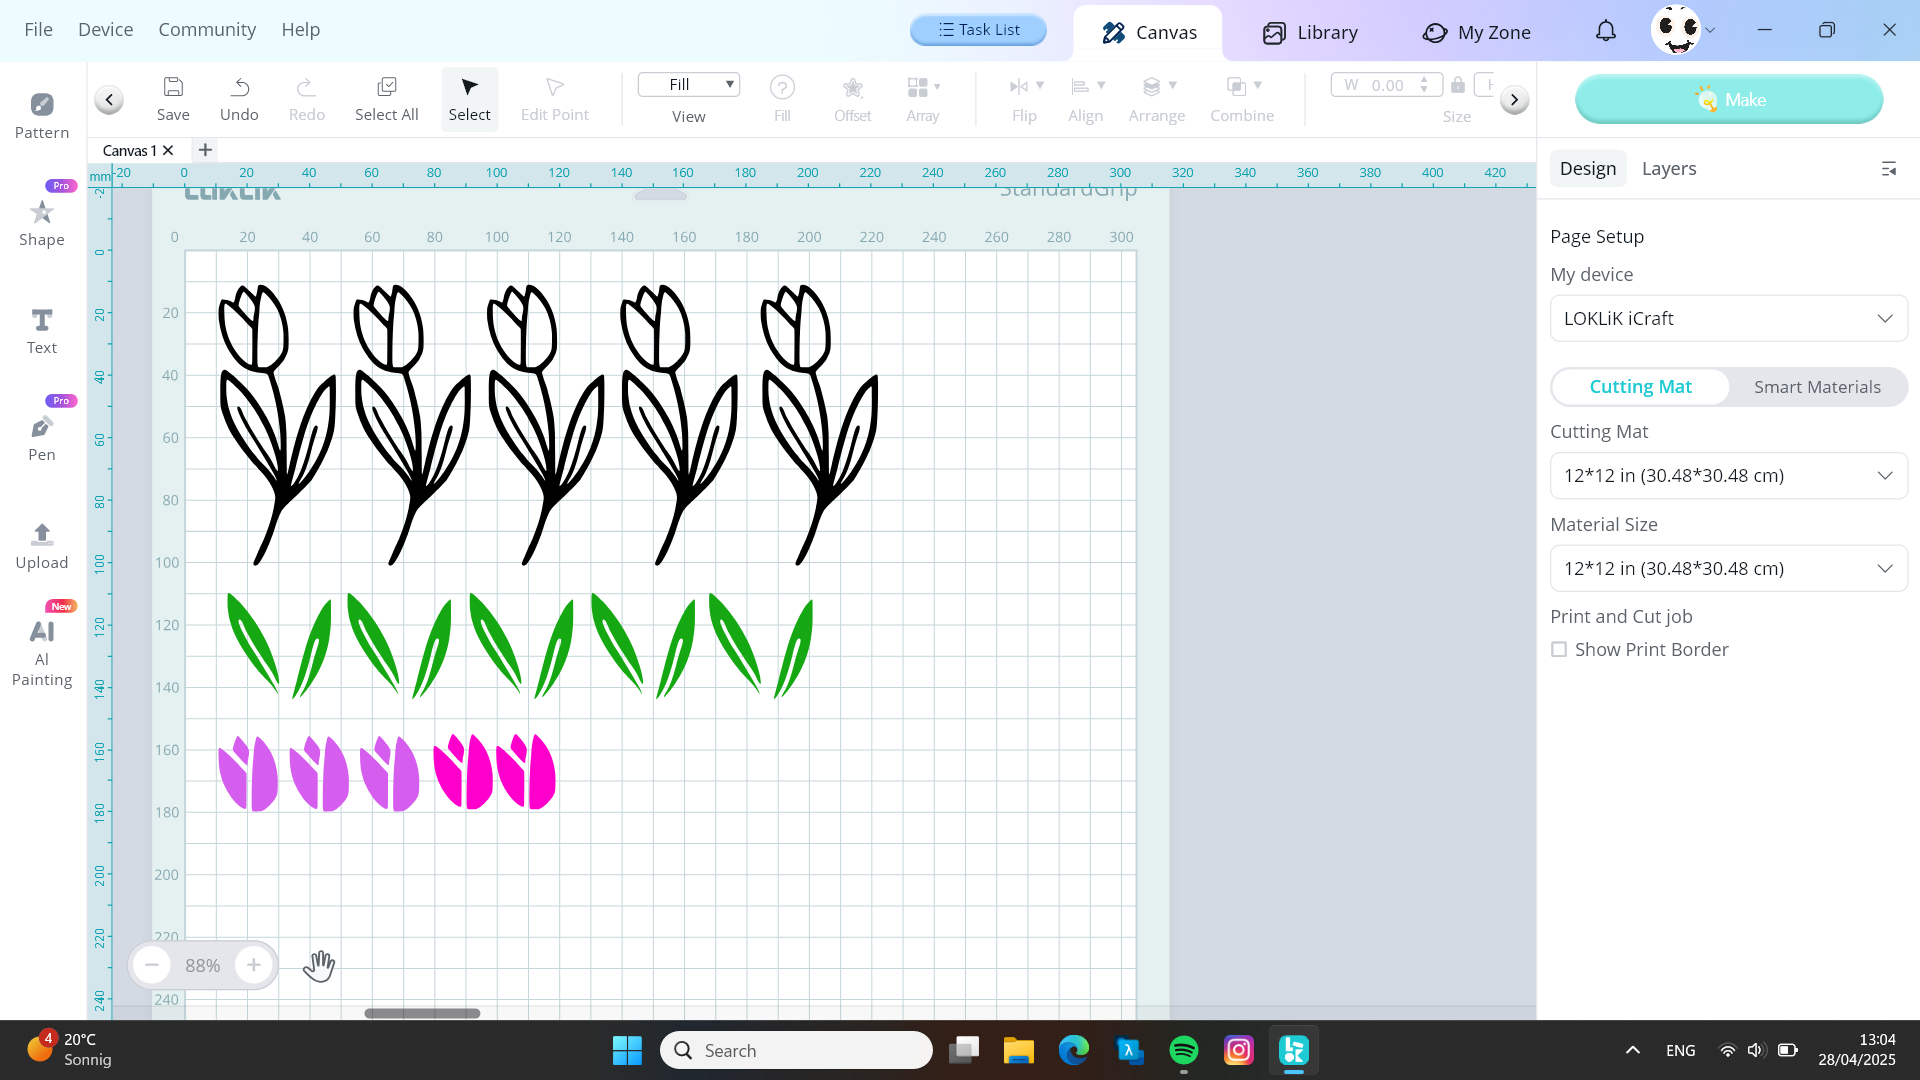
After it’s done we need to apply it to a pretty spring project
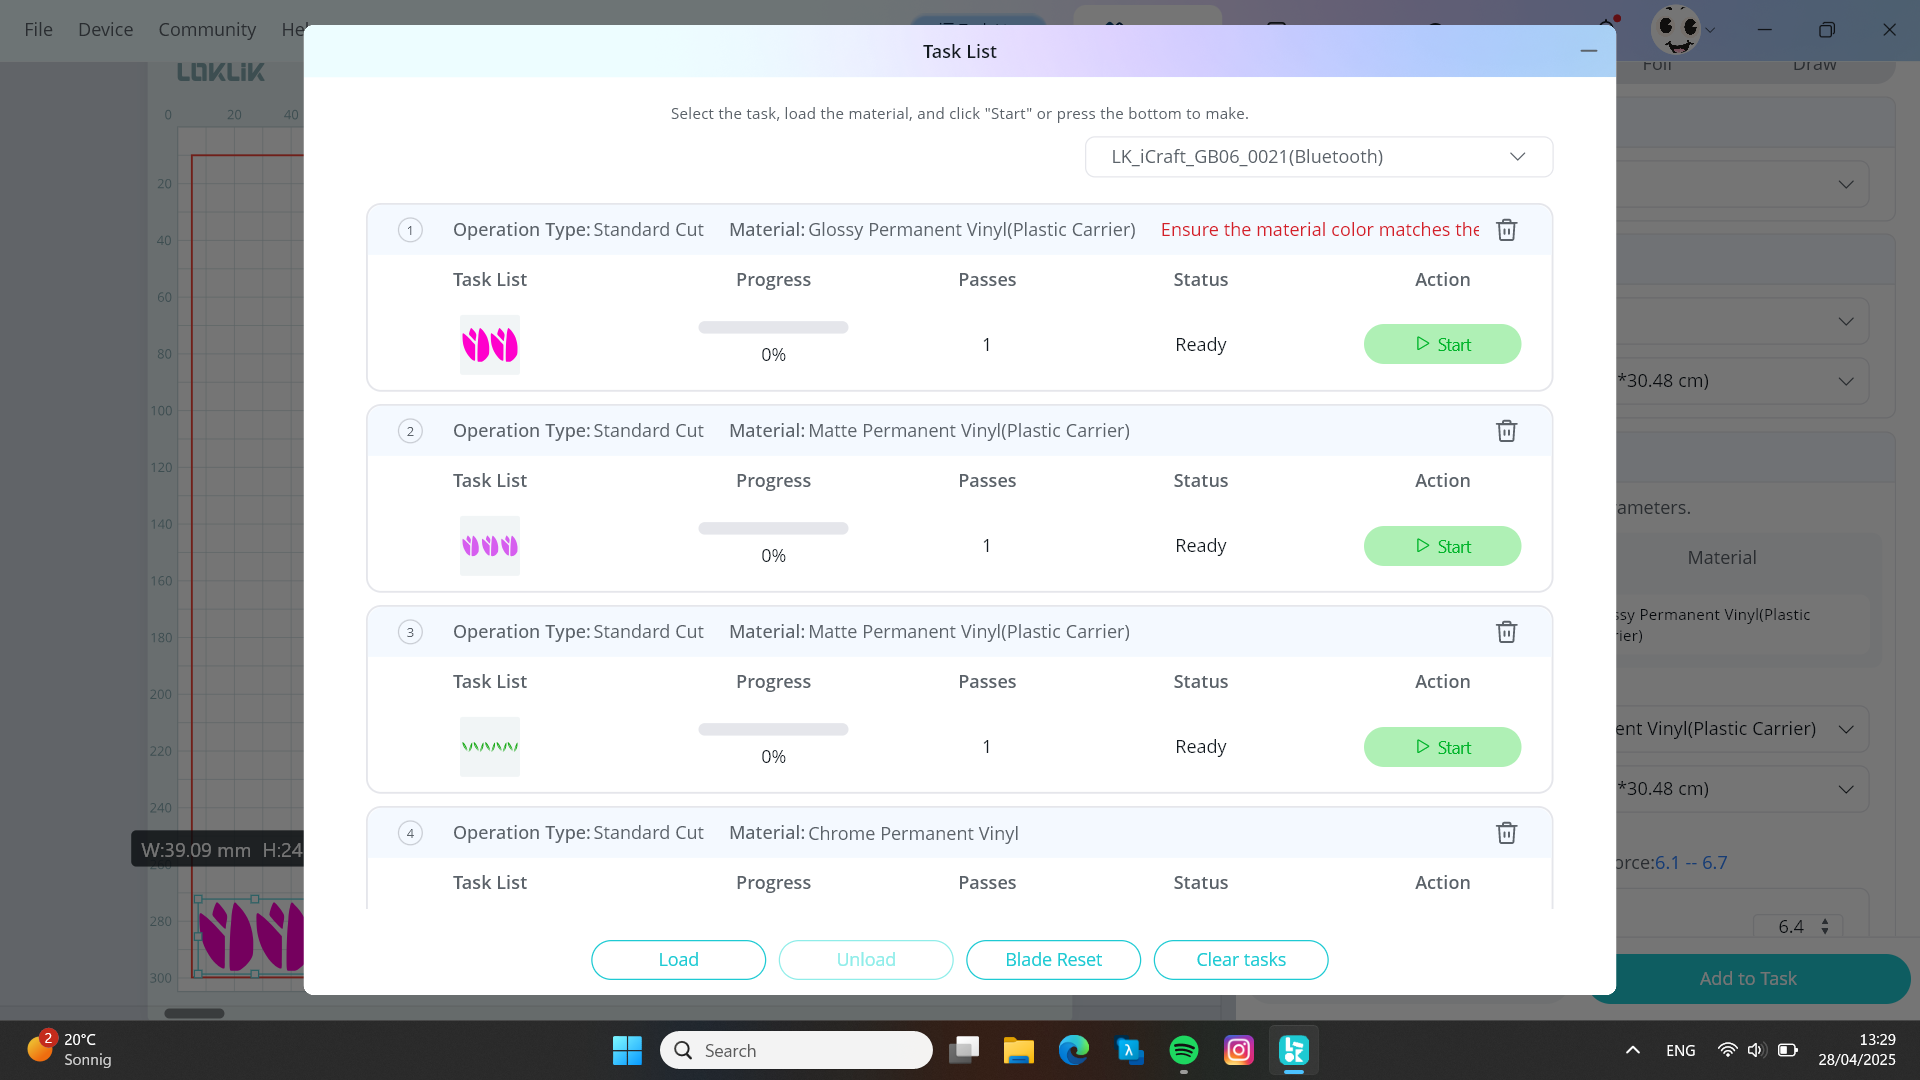
So I duplicated the design changed the colors as I wish and sorted every color to be cut in the
Loklik Icraft
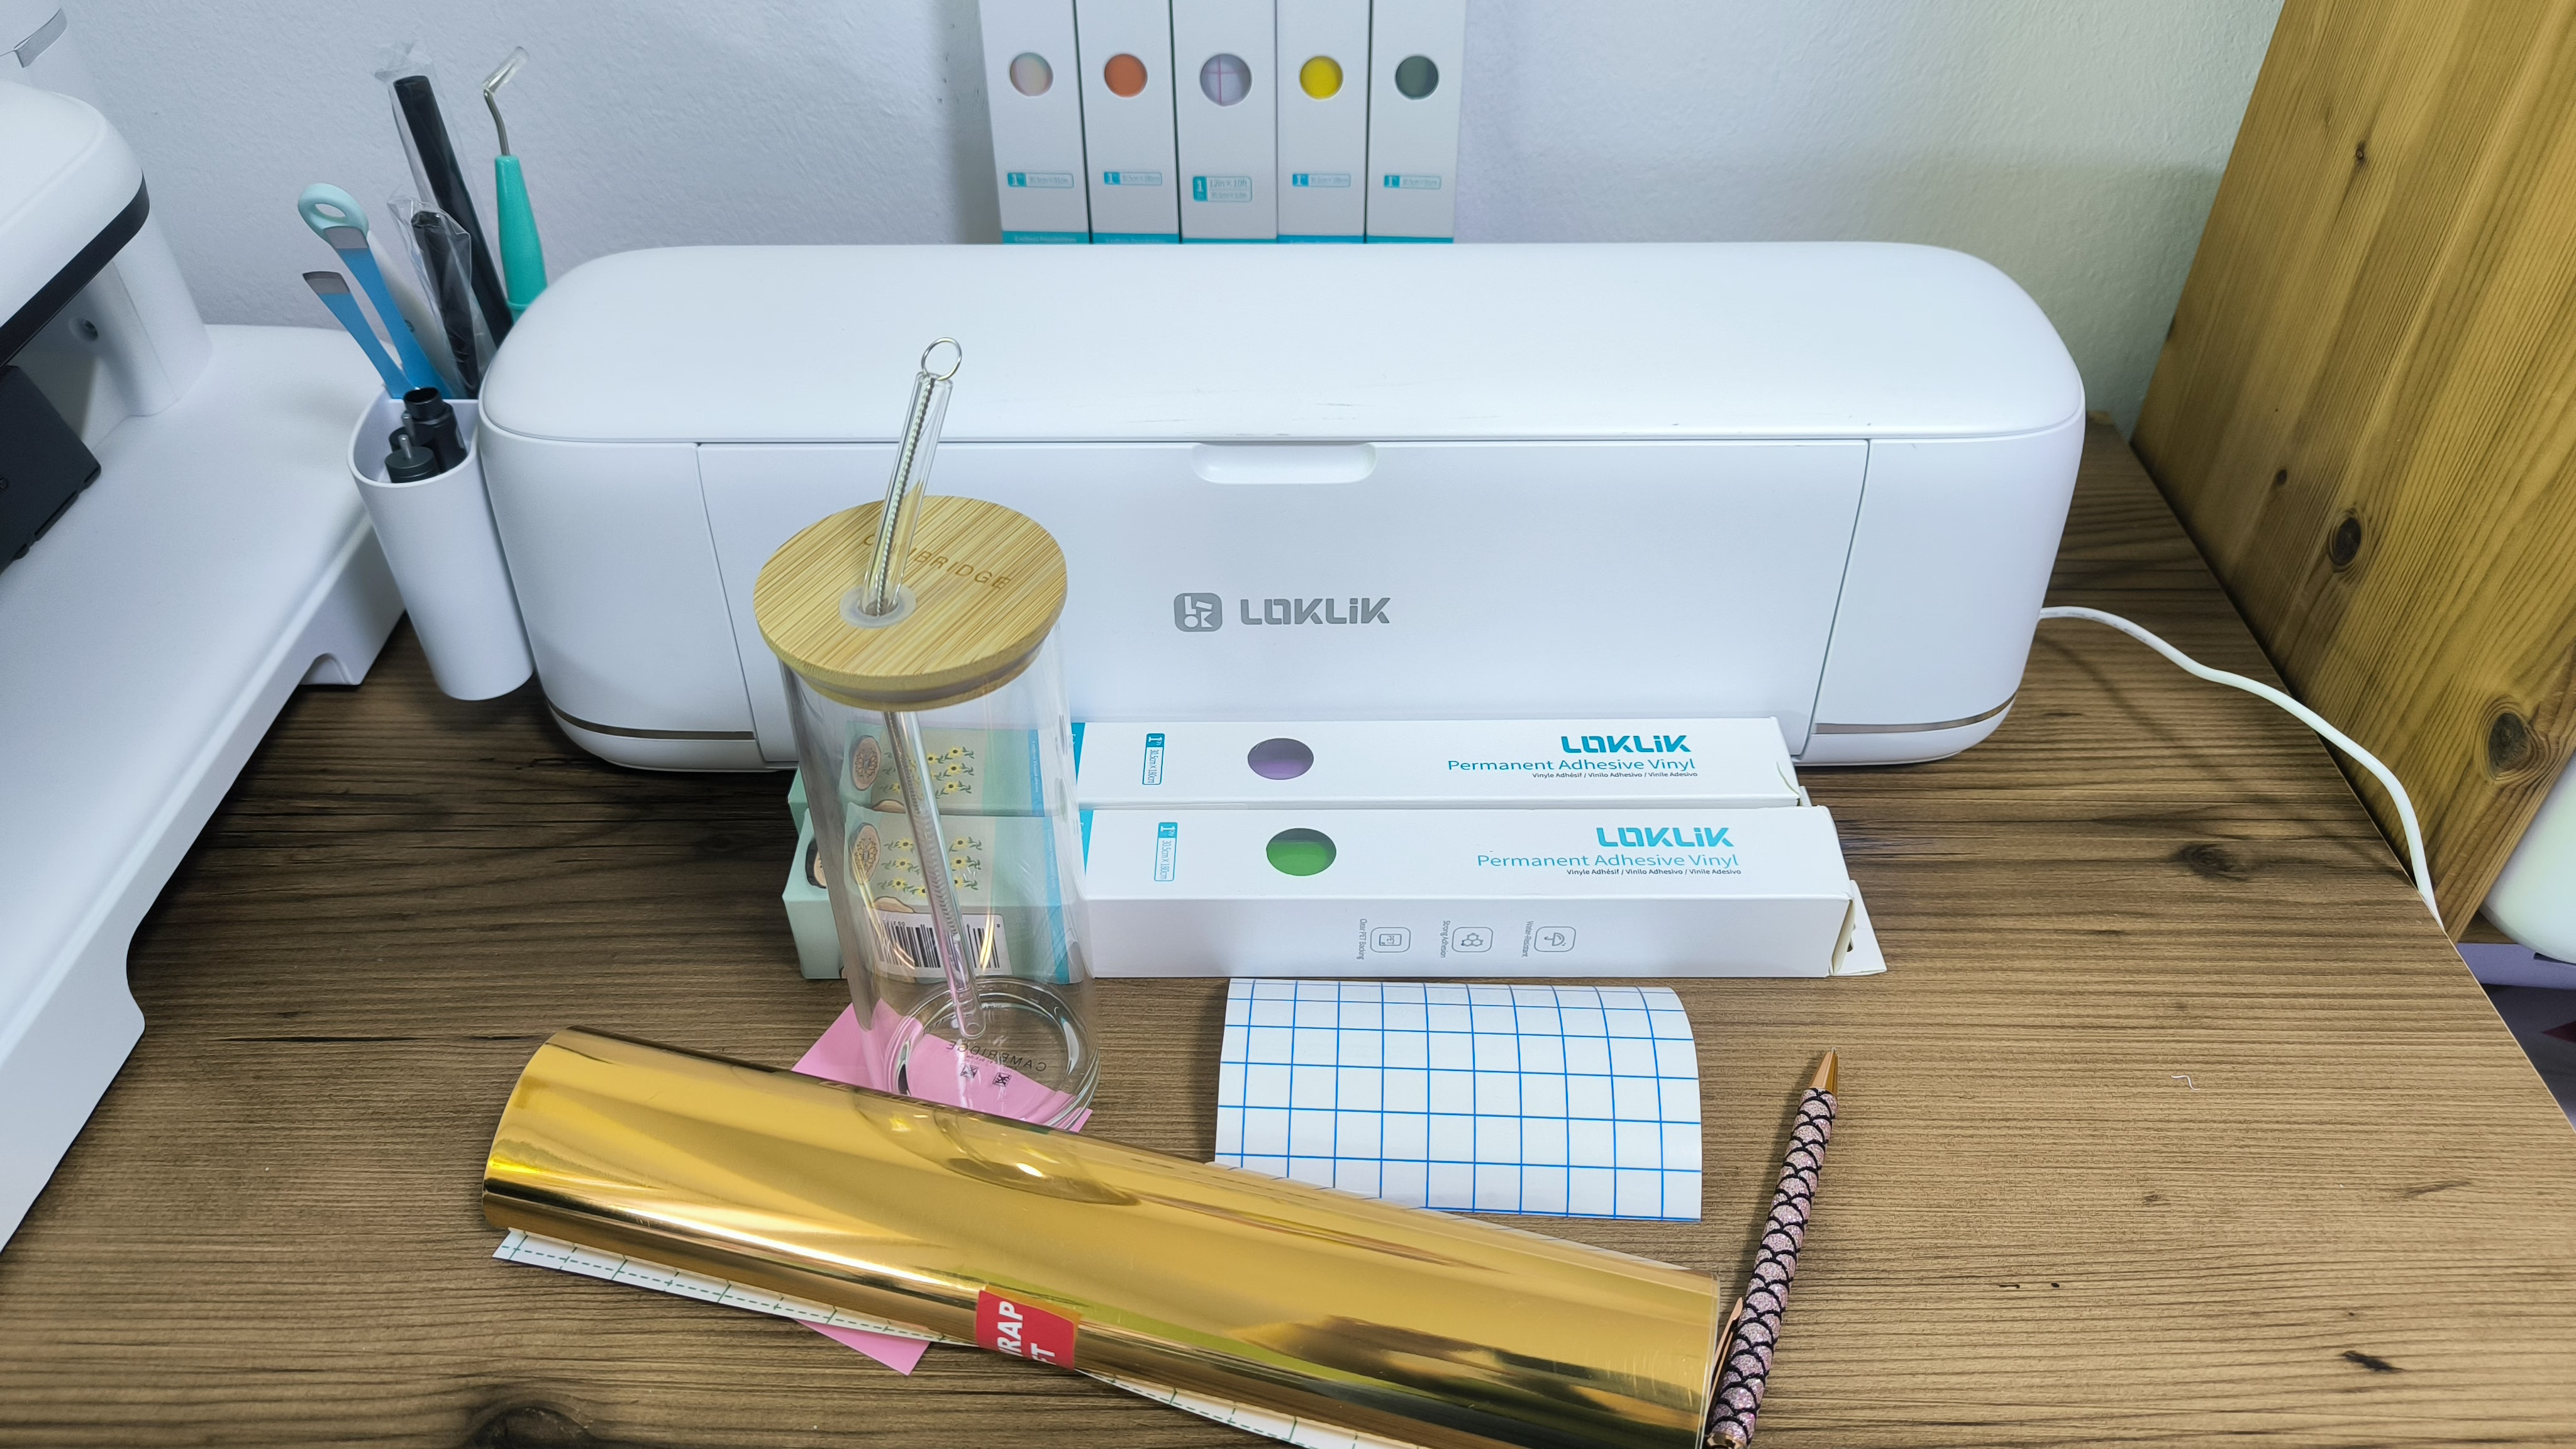
Let’s prepare our
Materials
Icraft colourful adhesive vinyl weeding tools
Transfer tape class can / Mug
I chose different types of permanent adhesive vinyl and of course I chose the right settings for all of them
Chrome permanent vinyl
Matt permanent vinyl
Glossy permanent vinyl
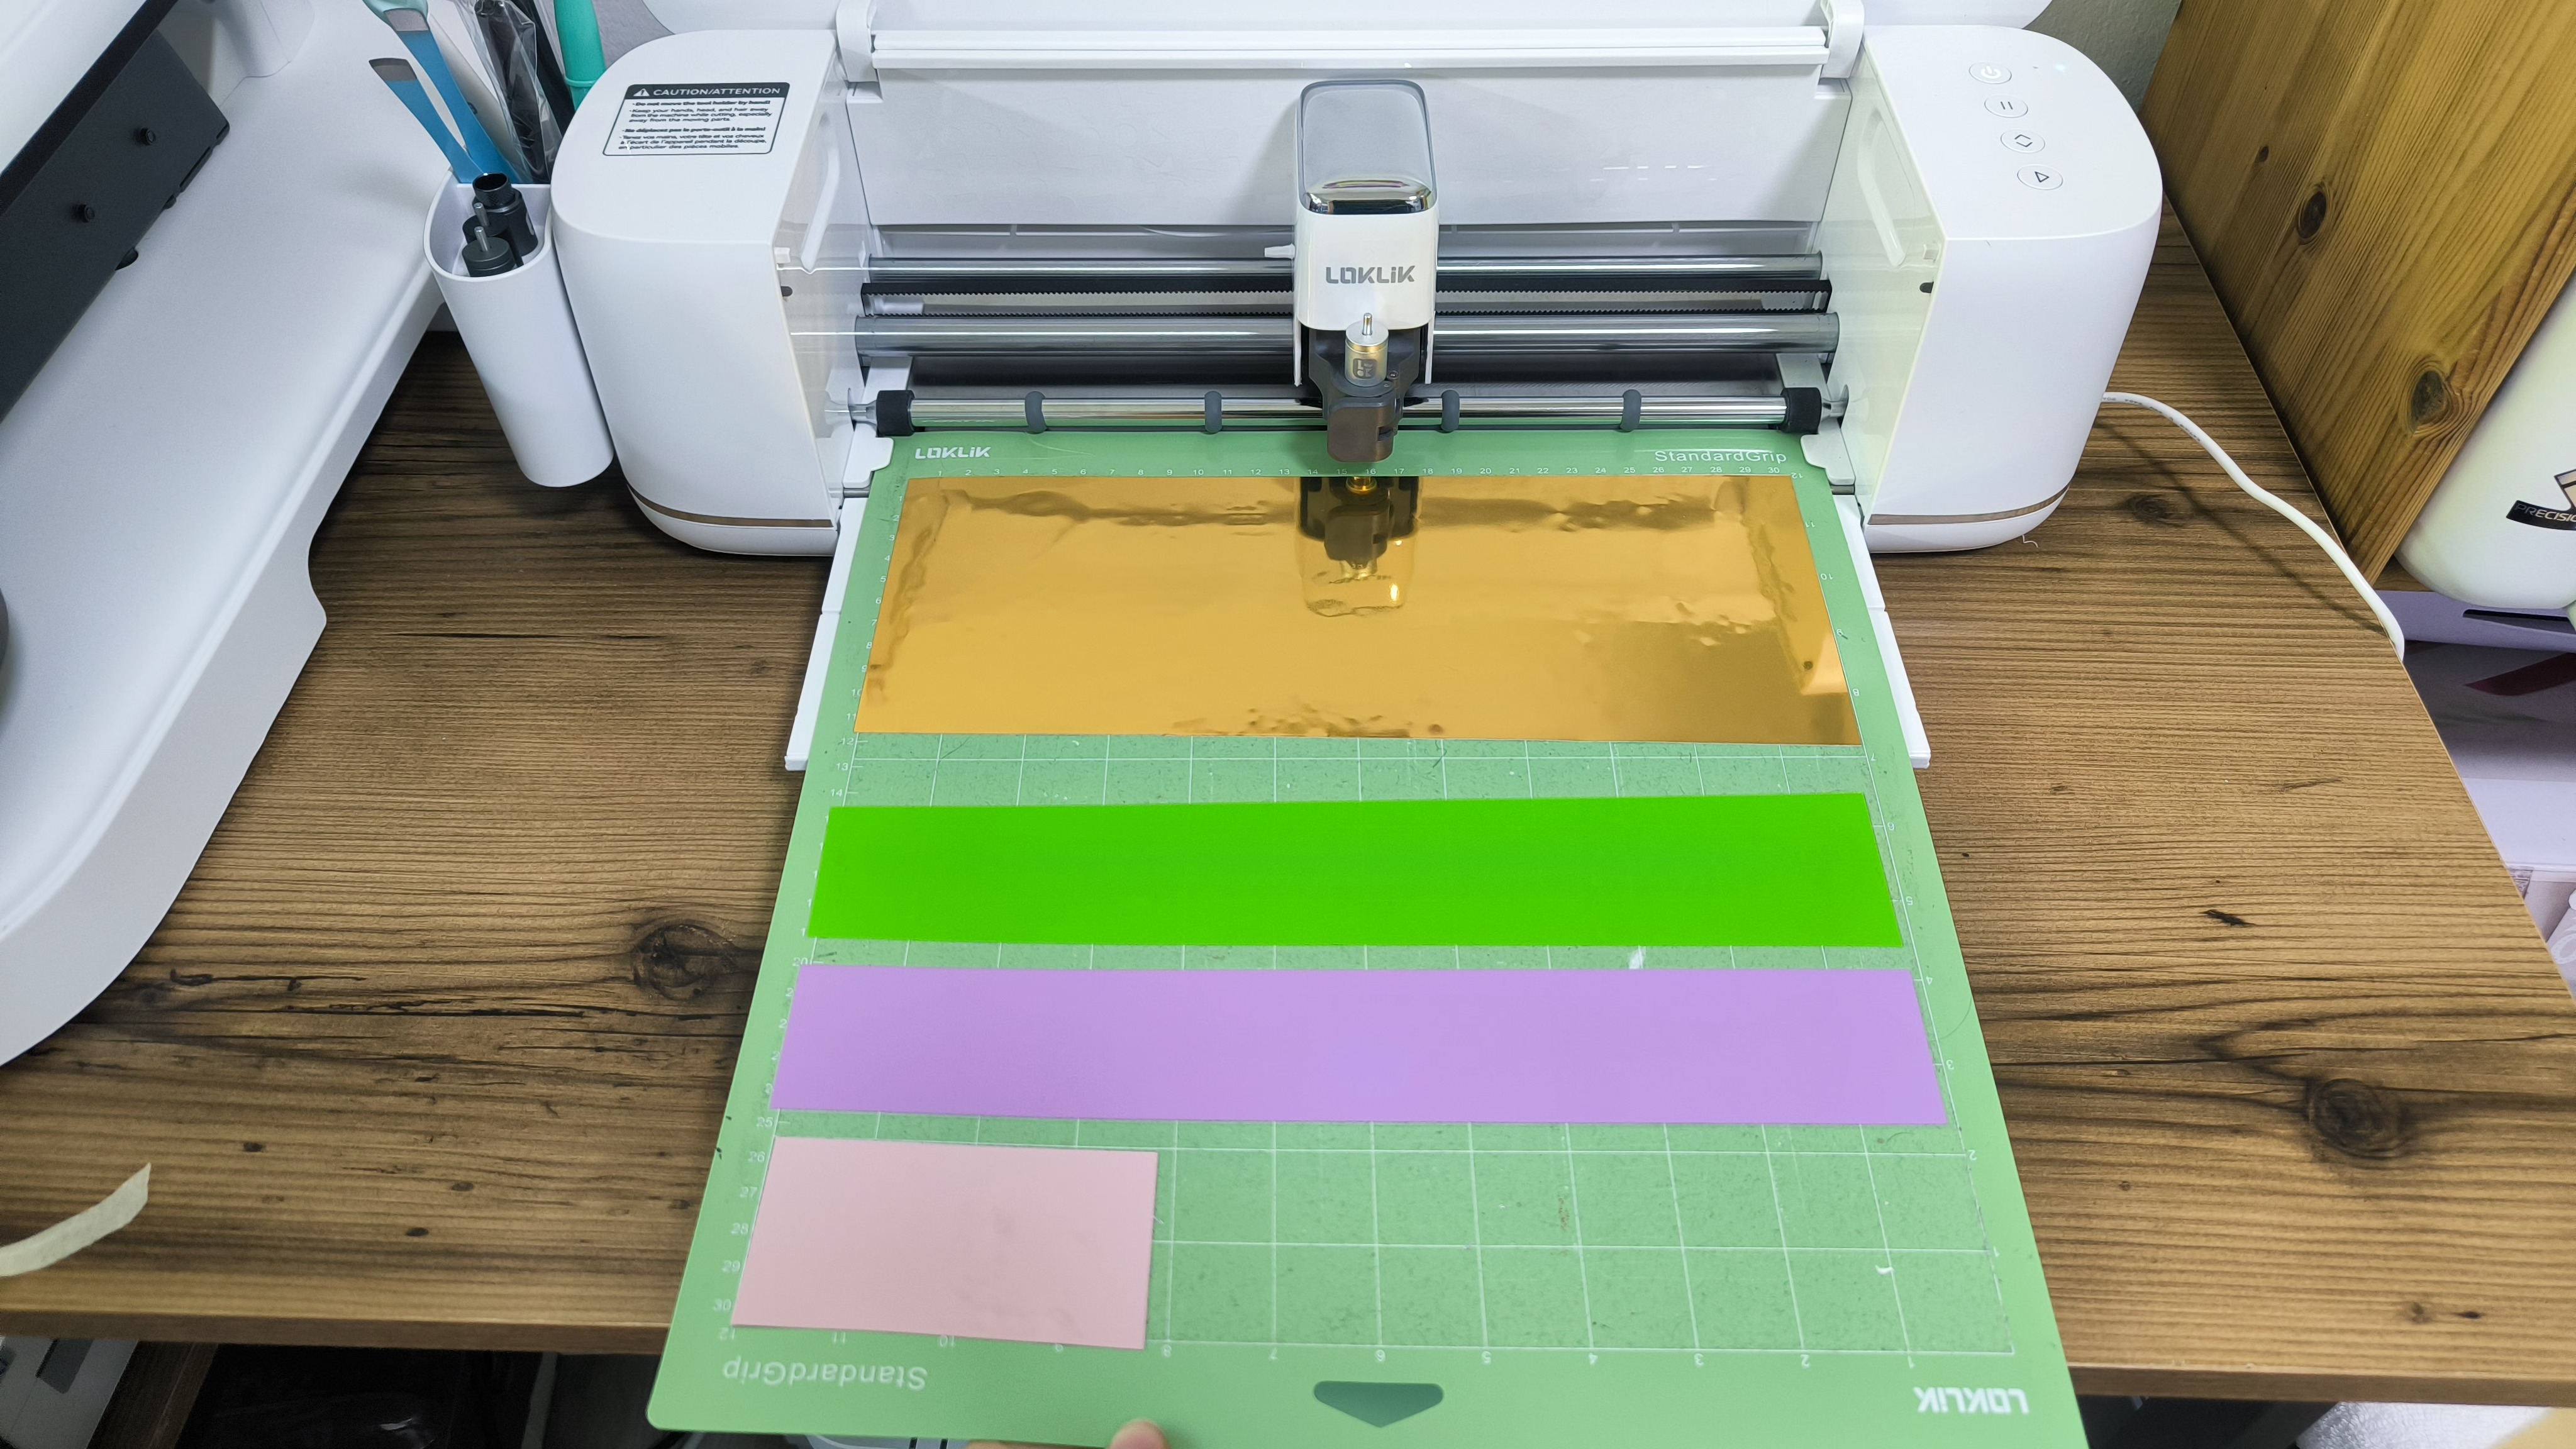
I sorted the vinyl on the mat exactly as they are on the canvas and started the action with my
Icraft
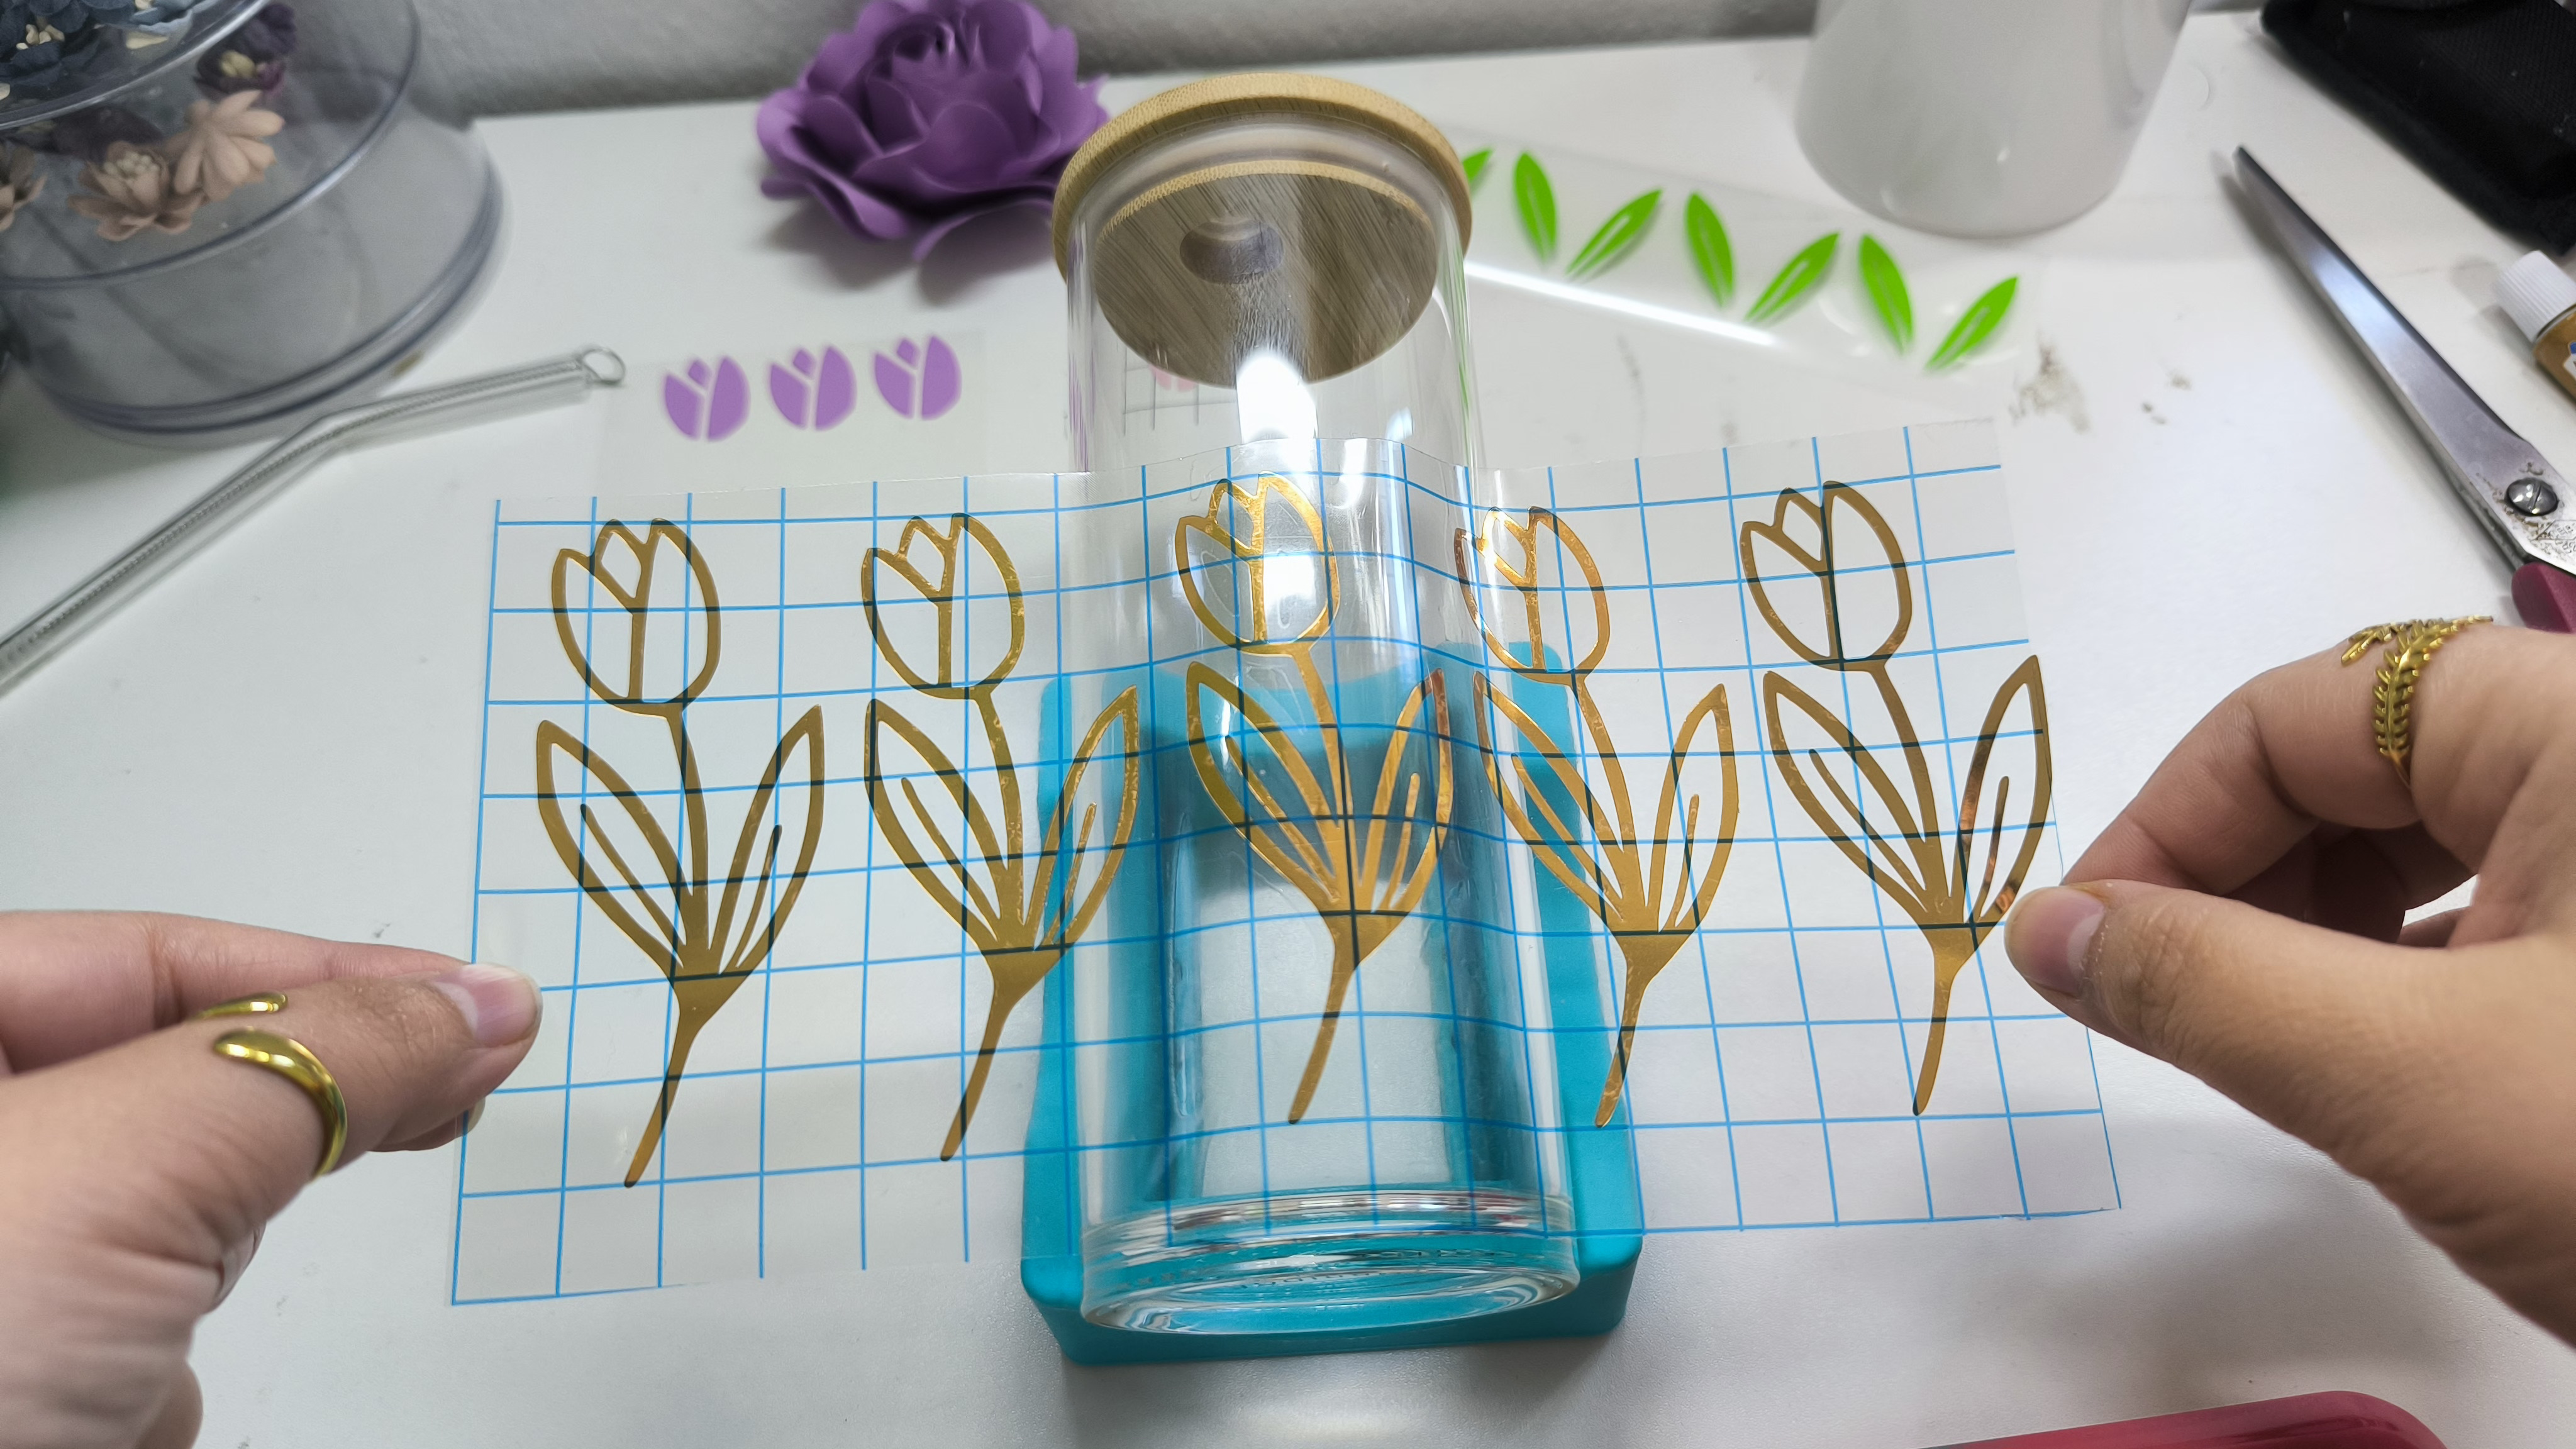
After everything is cut perfectly I started weeding the vinyl.
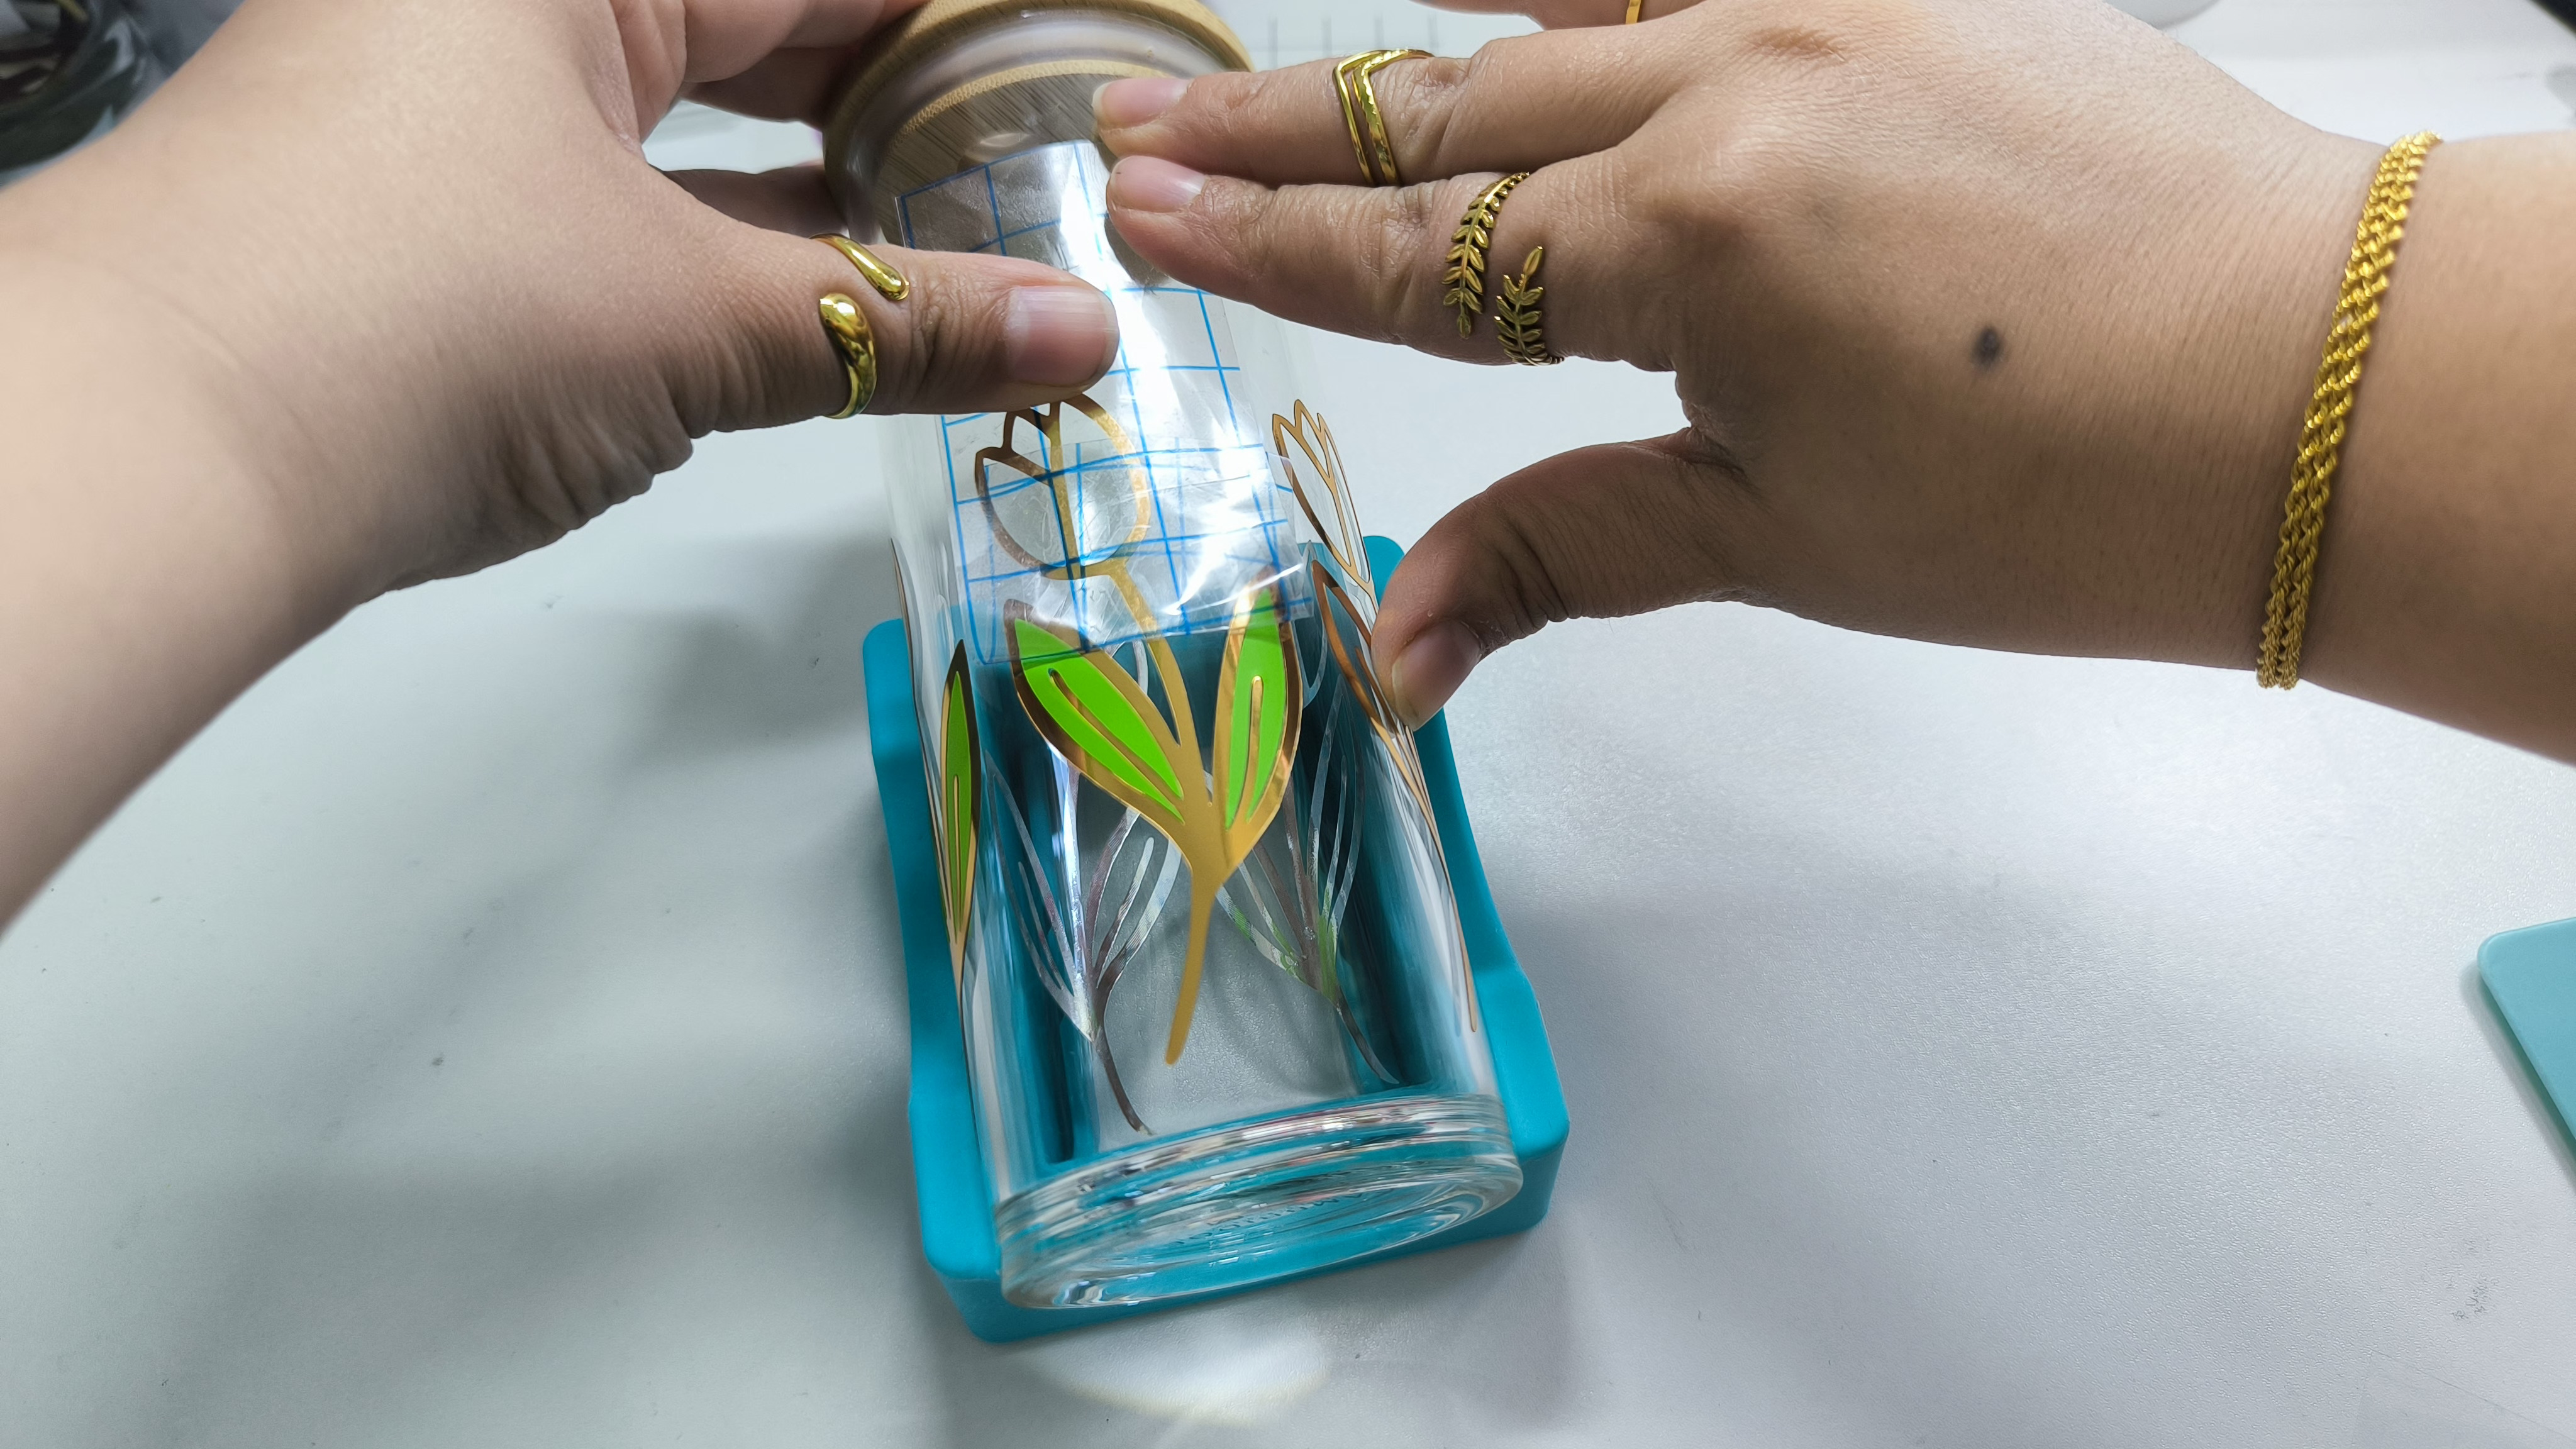
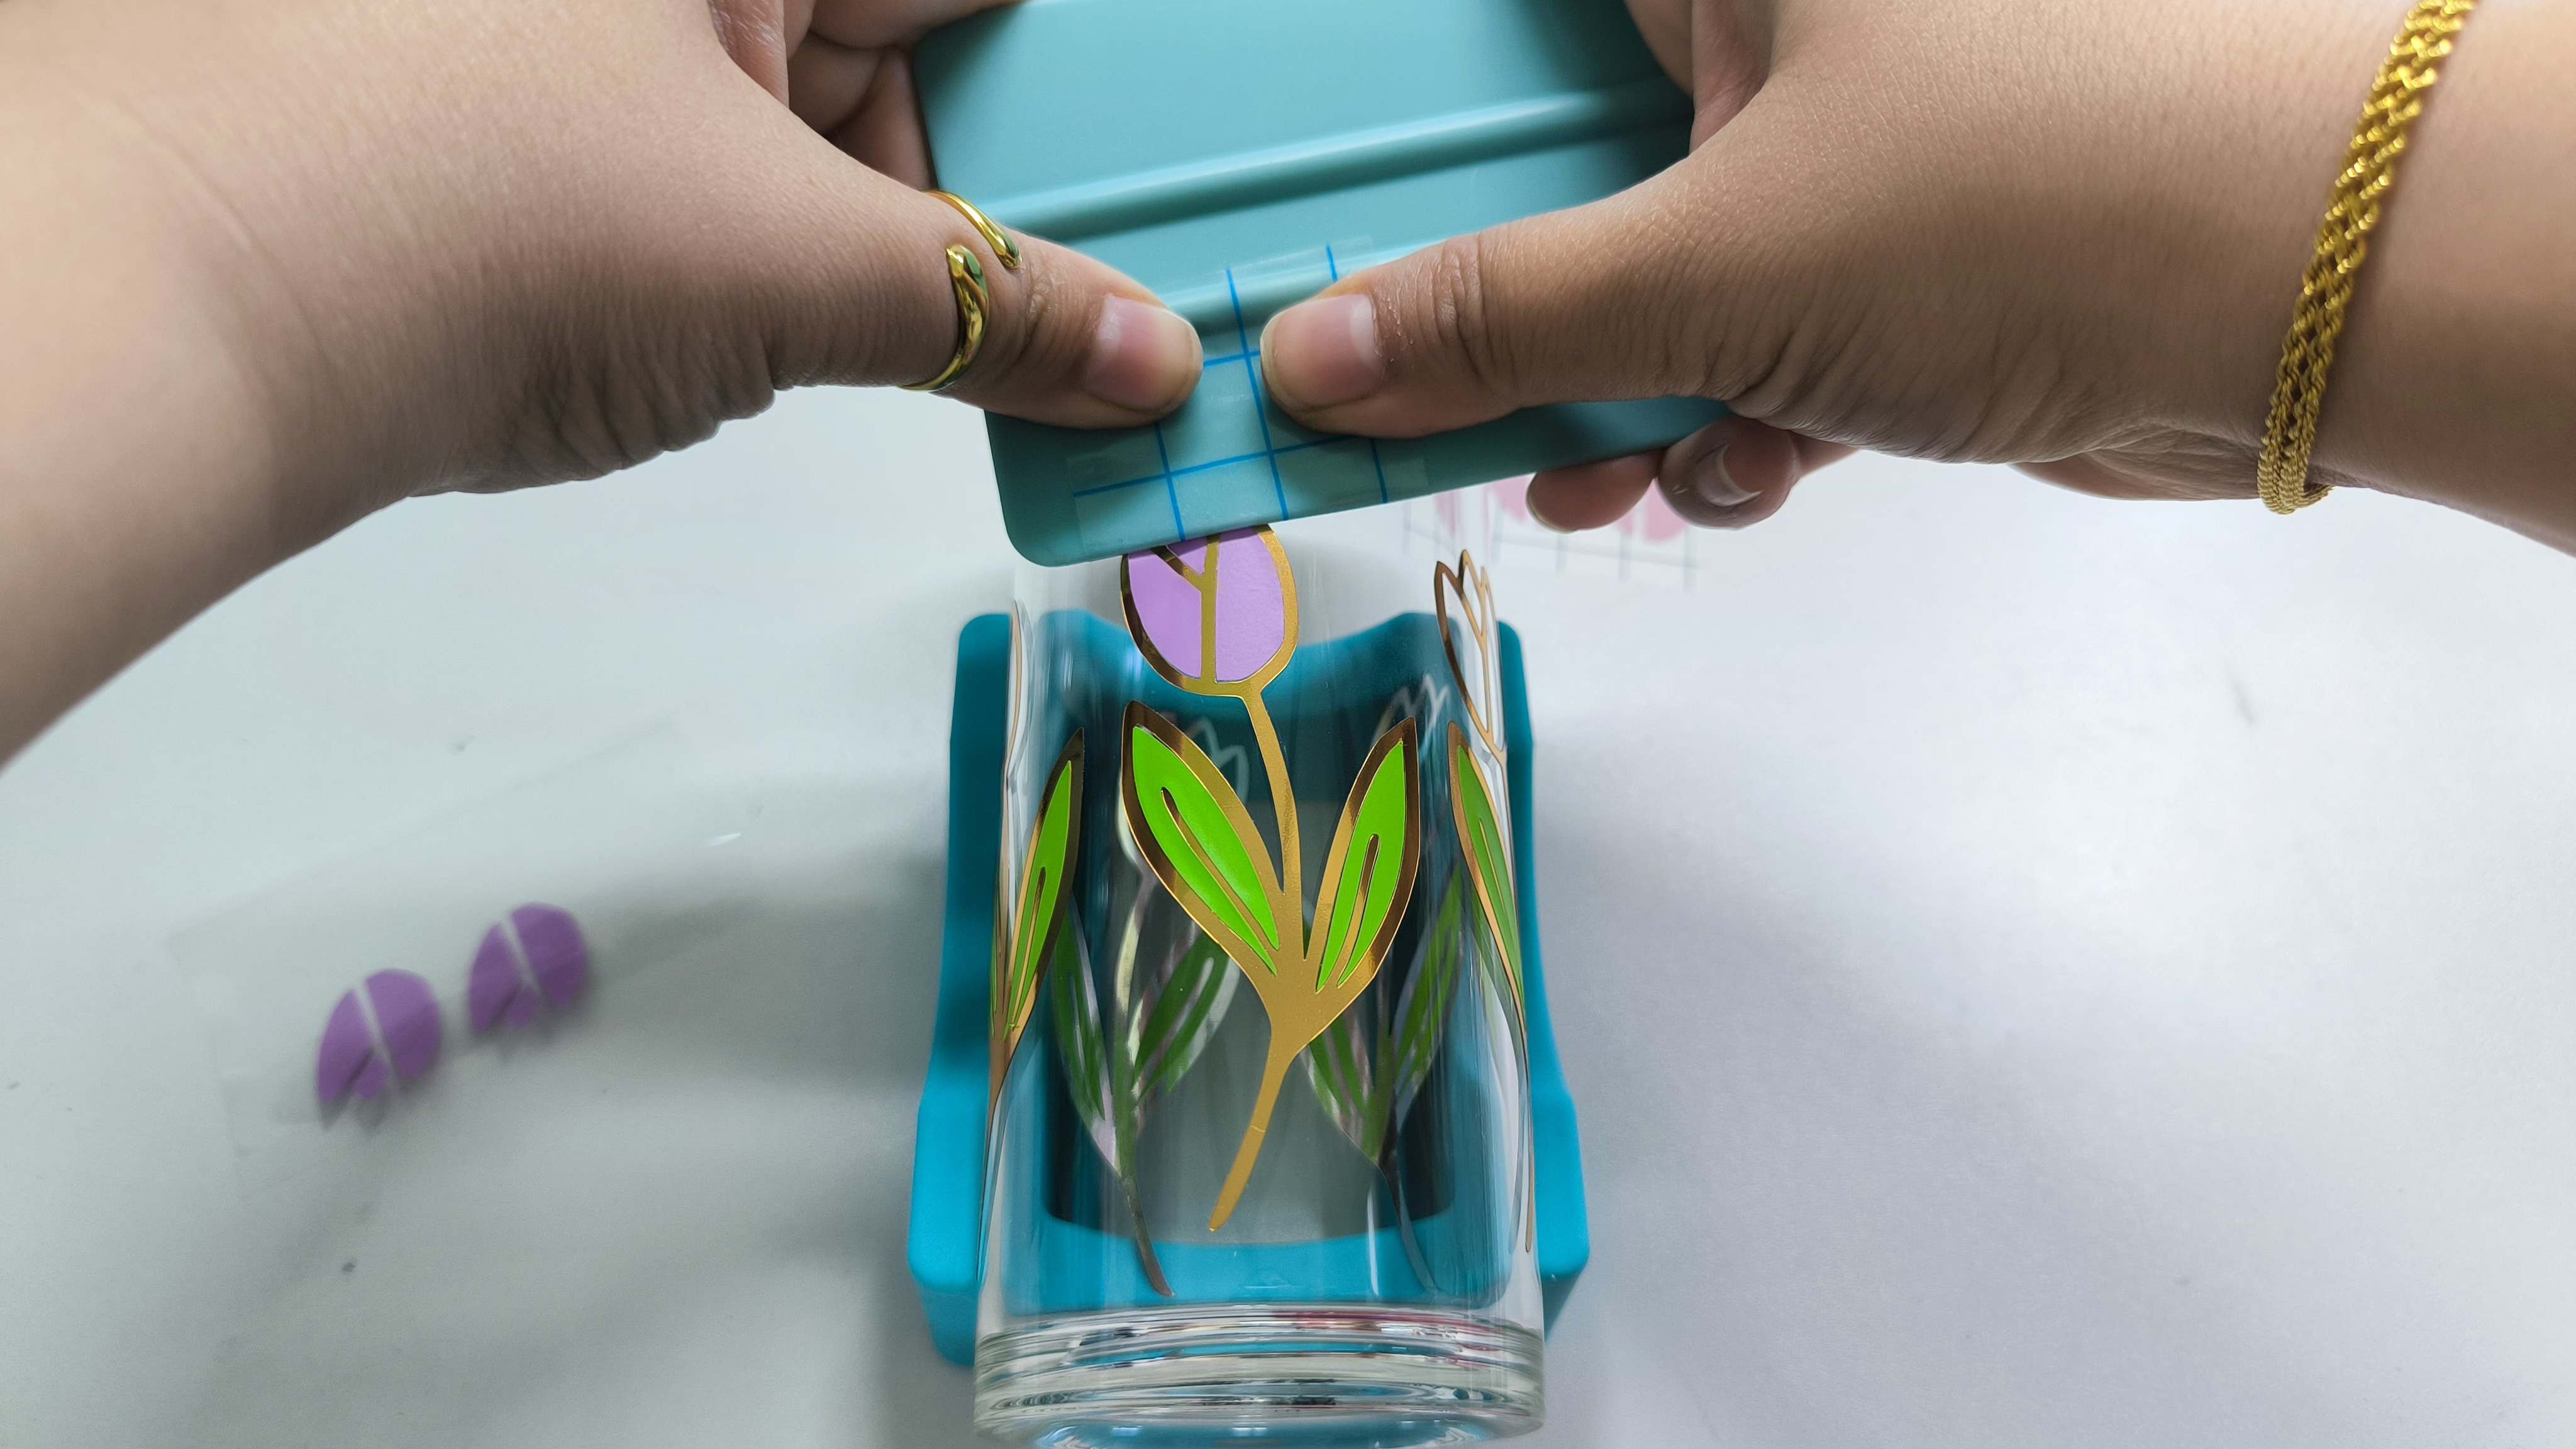
I wiped my glass mug with alcohol and started applying the vinyl carefully.
The outline was the first layer.
Then I applied the rest of the vinyl piece by piece it was easier and it saves so much vinyl.
Of course we may need our squeegee to press the vinyl firmly
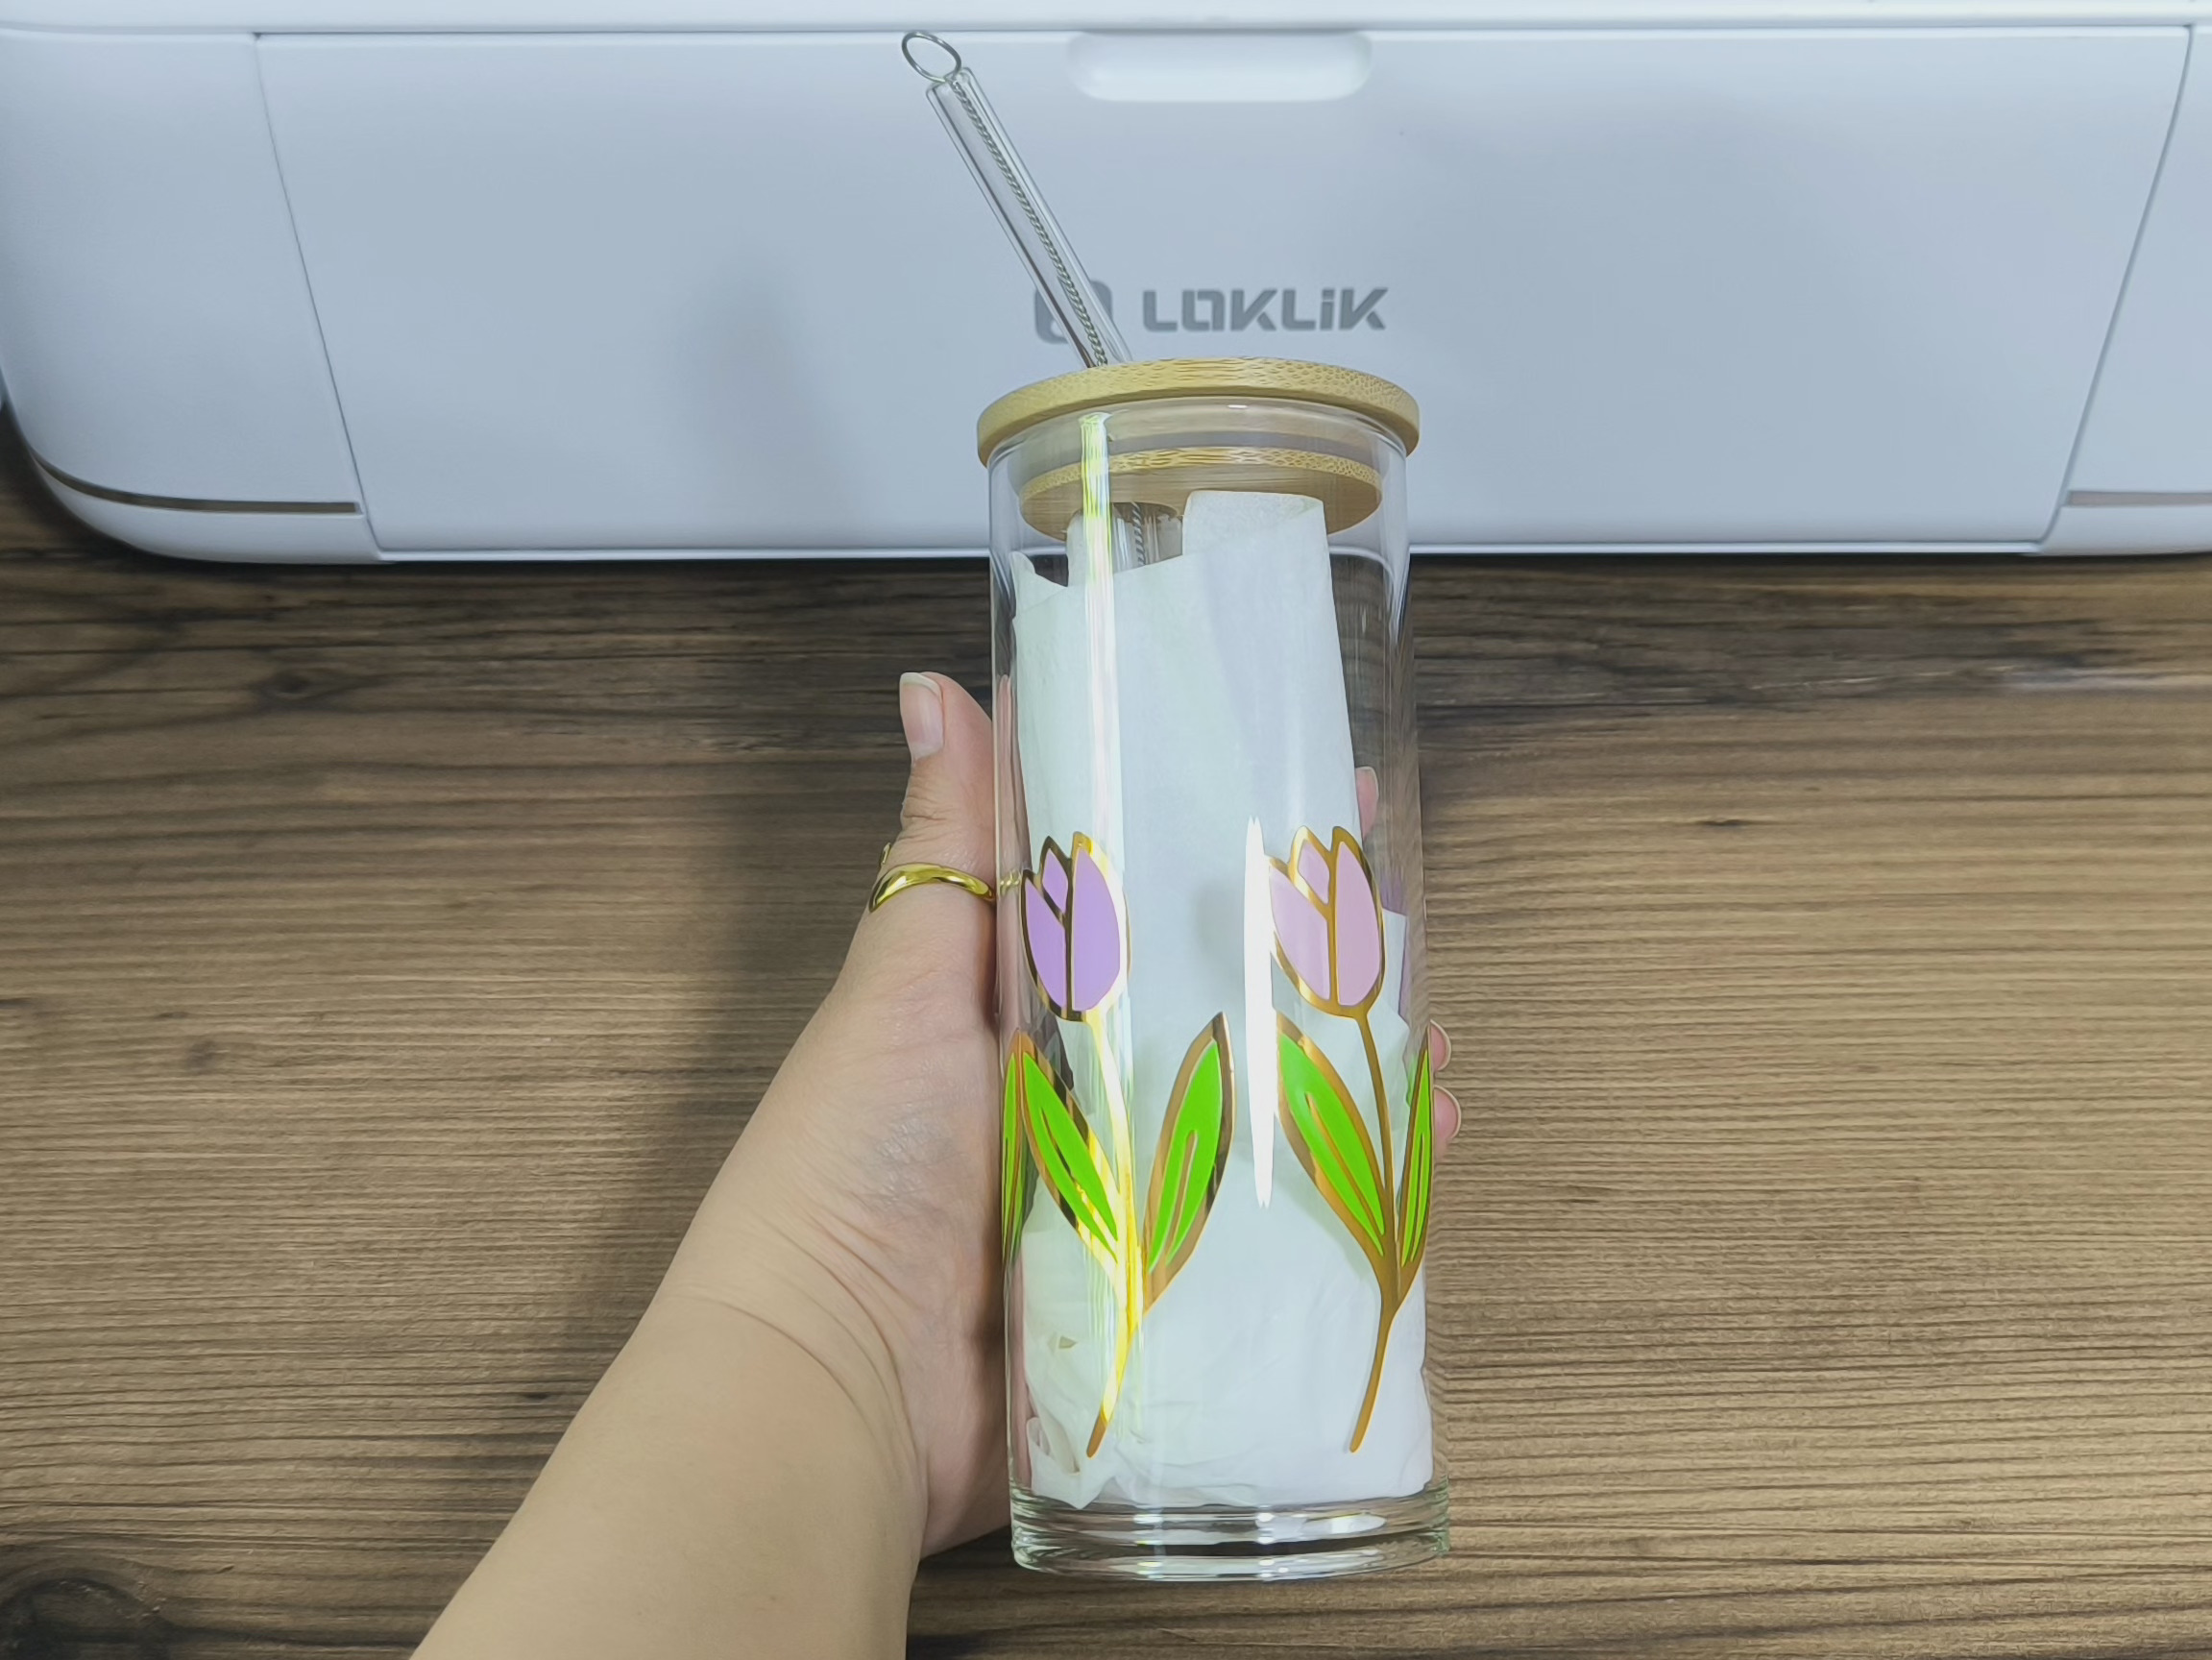
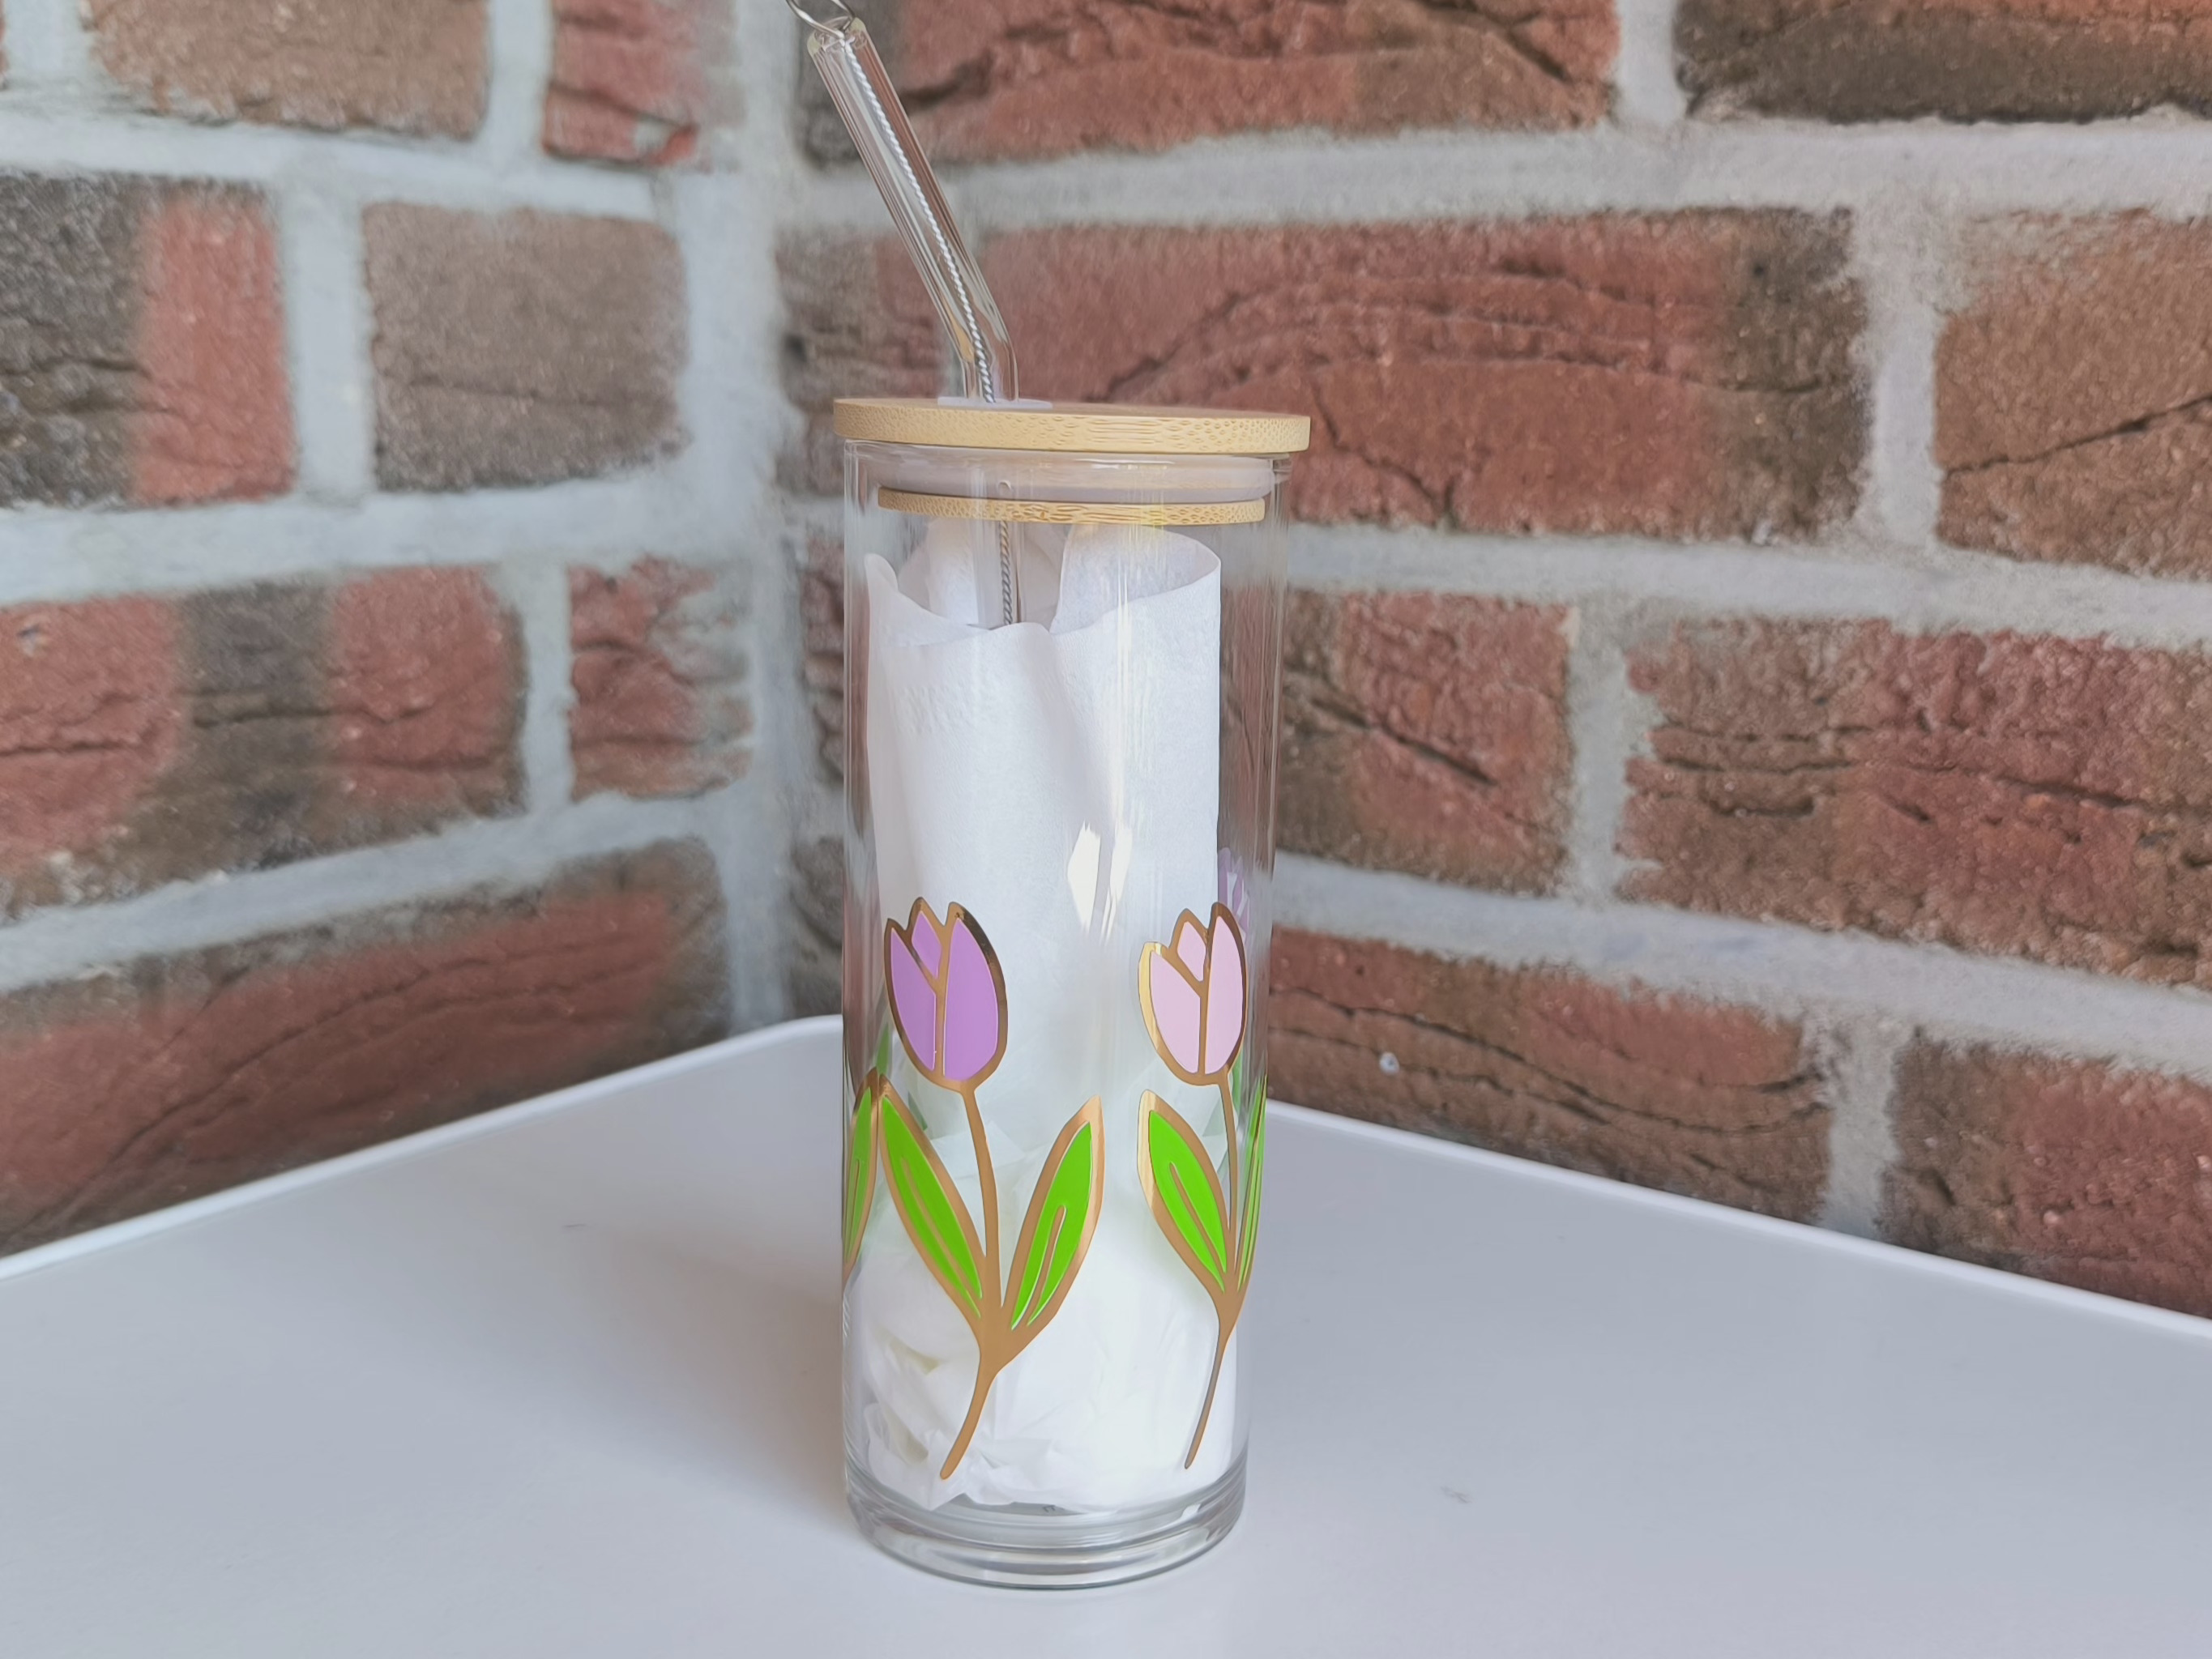
At the end I had a wonderful pretty glass can that I regret I didn’t do a whole dozen of it

I hope you enjoyed the tutorial as I did
If you have any question please write a comment and I’ll happy to answer you
Your Creator Marin from
marinos.creations