Welcome back to the craft room and today’s Sublimating Pens with HTVRont Phone Case Heat Press post. Back in October, while testing the limits of the HTVRont Phone Case Heat Press, I wanted to see if it could sublimate pens. Unfortunately, my first idea didn’t work out as hoped. Today I’m giving it another try using A-Sub sublimation paper instead of the sublimation film. Will the press work without the film? Will the entire pen sublimate evenly? Let’s find out together.
Project Materials & Artwork
For today’s experiment, I’m using the remaining Make Market sublimation pen blanks from Michaels (the same ones used in the first test) along with the included shrink-wrap sleeves. All of the designs shown below were sourced from Creative Fabrica.


When preparing sublimation designs, it’s always important to measure your blank. The Make Market pen blanks measure 1.25″ around and 4.125″ long at the widest point. To build my template, I headed to Canva and created a design space sized at 1.375″ x 4.125″. Because the artwork from Creative Fabrica is much larger than this template, it allowed me to scale and crop each image to the portion I wanted.
After downloading the individual graphics, I moved them into Microsoft Word and printed on A-Sub 125g sublimation paper using the Epson SureColor F170 sublimation printer. Once printed, I trimmed each design as close to the edge as possible and set them aside for assembly.
Preparing the Pen Blanks
To prepare the blanks for sublimation, start by disassembling them. Unscrew the tip and remove the ink cartridge, then pull the pen clip straight out from the opposite end. Set all the hardware aside, then clean the pen barrel thoroughly with isopropyl alcohol and a lint-free cloth. Once the alcohol has evaporated, it’s time to apply the image, making sure the seam ends up on the back of the pen.
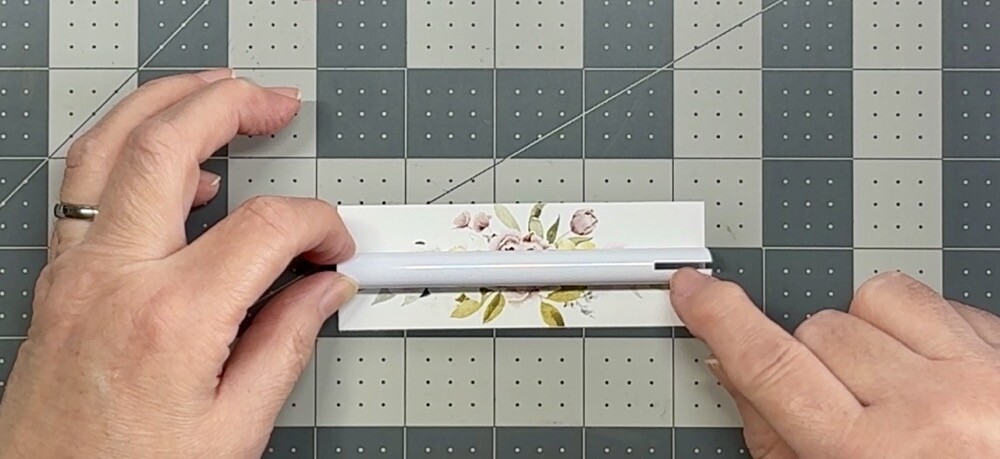
Before taping anything down, I spent a moment bending the printed paper around the barrel to “train” it and loosen the paper fibers. Even with that extra prep, the A-Sub paper was still pretty stiff and not the easiest to work with. Because the design template is slightly larger than the barrel, there’s a tiny overlap, which makes wrapping such a small blank a challenge. Eventually, I did get the image secured with heat-resistant tape—though I’ll be the first to admit the wrap could have been cleaner.
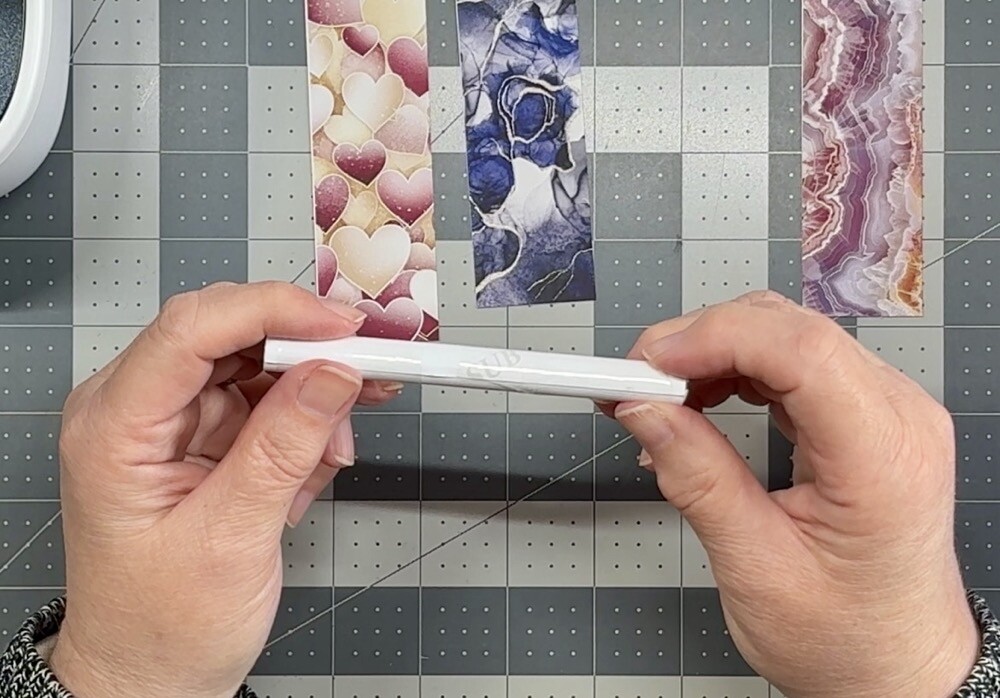
The last step is to slide the wrapped pen into the shrink-wrap sleeve. Surprisingly, this was almost harder than wrapping the image itself. I chose to skip the pre-shrink step because it didn’t seem necessary, though some people do it for a tighter fit.
Heat Press Setup and Settings
Now that the pens are assembled and sleeved, it’s time to look at the HTVRont Phone Case Heat With Press. This press is designed to work with sublimation film and uses a vacuum to pull the film tightly around the top and sides of a 3D item—phone cases being the intended blank. However, as seen in my previous Testing the Limits of the HTVRont Phone Case Heat Press post and video, it can handle other small 3D projects surprisingly well.
For today’s experiment, I’m not using the sublimation film at all and instead treating the machine more like a compact sublimation oven.
Make Market recommends sublimating these pen blanks at 356°F for 150 seconds. As mentioned in my earlier test, the Phone Case Heat Press maxes out at 320°F, so that’s the temperature I used for both the top and base plates. To compensate for the lower heat, I doubled the time to 300 seconds. My settings were:
- Temperature: 320°F (top & base)
- Preheat: 5 seconds
- Press Time: 295 seconds
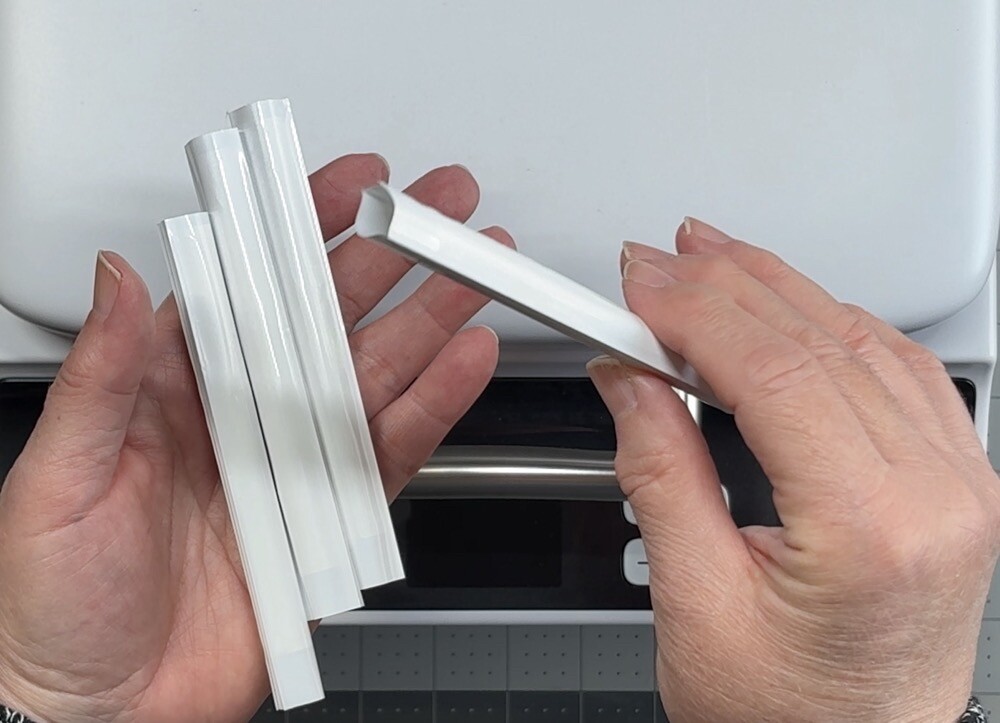
After inserting the accessories plate into the base, I let the machine fully preheat before placing two sleeved pen blanks inside.

Results & Takeaways
Once they were finished, I let them cool before attempting to remove the shrink-wrap sleeve. That step turned out to be more difficult than expected. I ended up stabbing myself in the finger with my scissors. Please be more careful than I was. If you have any suggestions for an easier way to remove the sleeves, please leave them down in the comments and save my fingers!
Once the sublimation paper was removed, I was genuinely happy with how the pens looked.
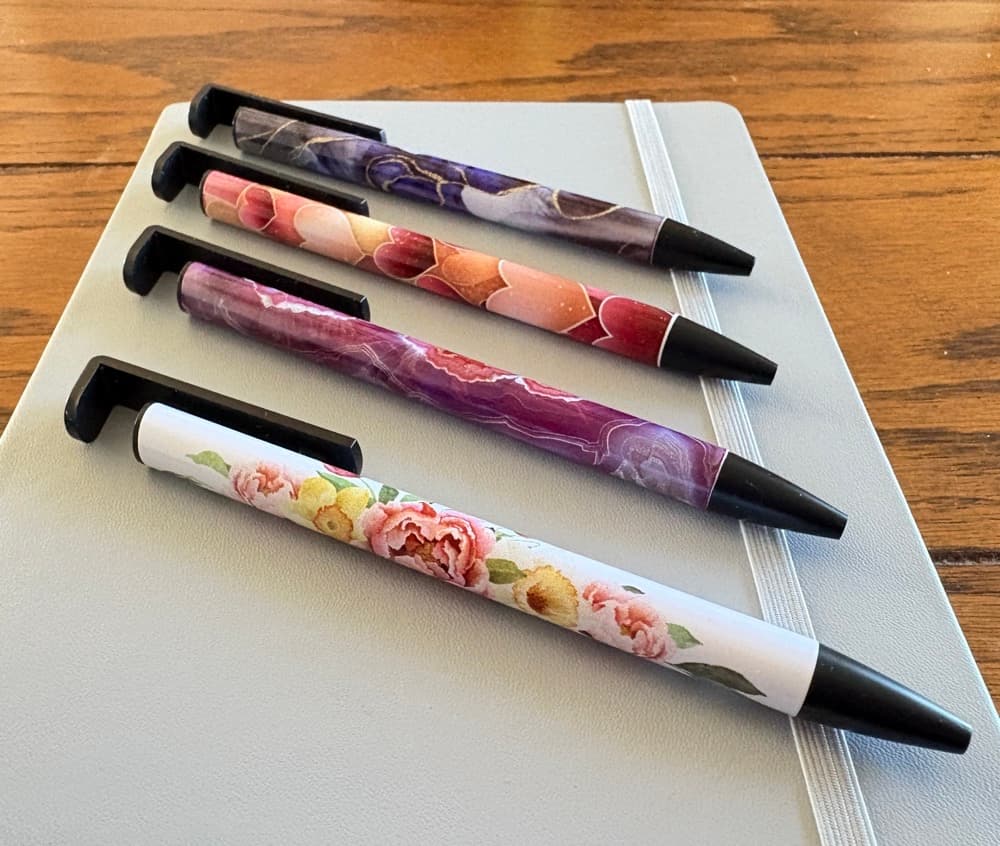
Could I have wrapped them better? Absolutely, and I will next time. Did the seams show and did the color not reach all the way to the ends? Yes to that as well. But I’m completely fine with it because this was a test run. I’m also going to suggest using a lighter-weight sublimation paper when working with pens. While my 125g A-Sub paper produced great color, I suspect a thinner paper would be much easier to manipulate during wrapping.

Overall, I am thrilled with how this experiment turned out, and even happier knowing that I can successfully sublimate pens using equipment I already own. The HTVRont Phone Case Heat Press performed beautifully. I’m looking forward to seeing how the next batch turns out with lighter weight paper and more attention to securing the wrap cleanly.
Thank you so much for joining me for today’s Sublimating Pens with HTVRont Phone Case Heat Press post. Let me know down in the comments if you have ever sublimated pens before and which machine you used. And don’t forget to share your tips for working with shrink-wrap sleeves—my fingers will appreciate it.