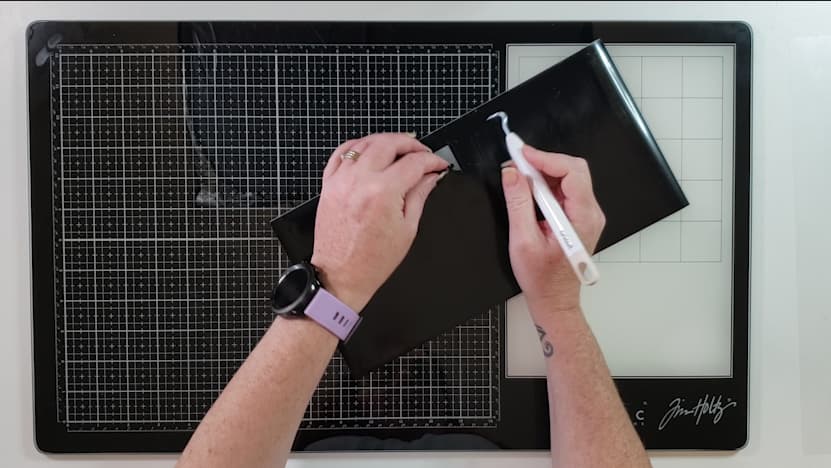
Now I’m not a huge fan of weeding but I don’t hate it. Sometimes I actually find it a bit therapeutic. But I know a lot of people hate it with a passion. So, let’s talk some tips and tricks I’ve found that works really well for me
TIP # 1 - Main tip from me is to go slow and monitor your design.
TIP # 2 - Using a weeding box
-
So instead of having your design cut out on a big piece of vinyl and trying to weed it out. You can create weeding boxes around your designs to make it heaps easier to weed.
-
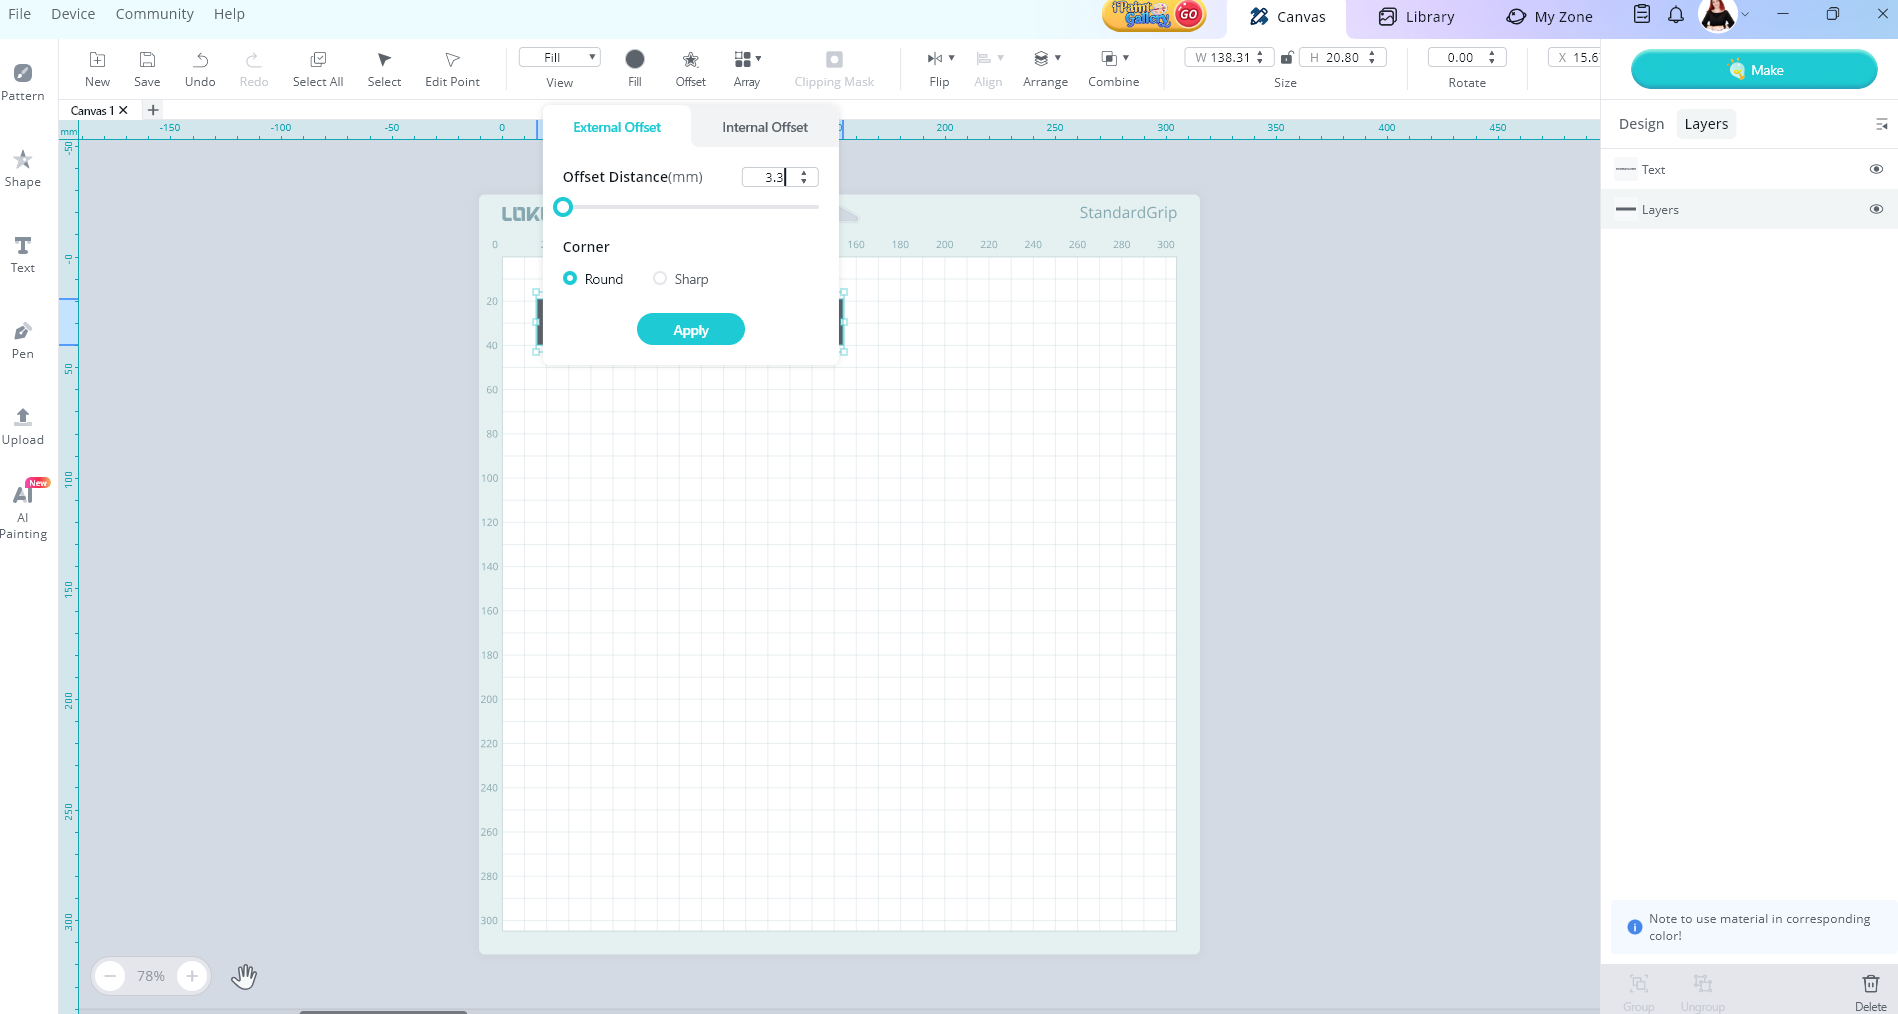
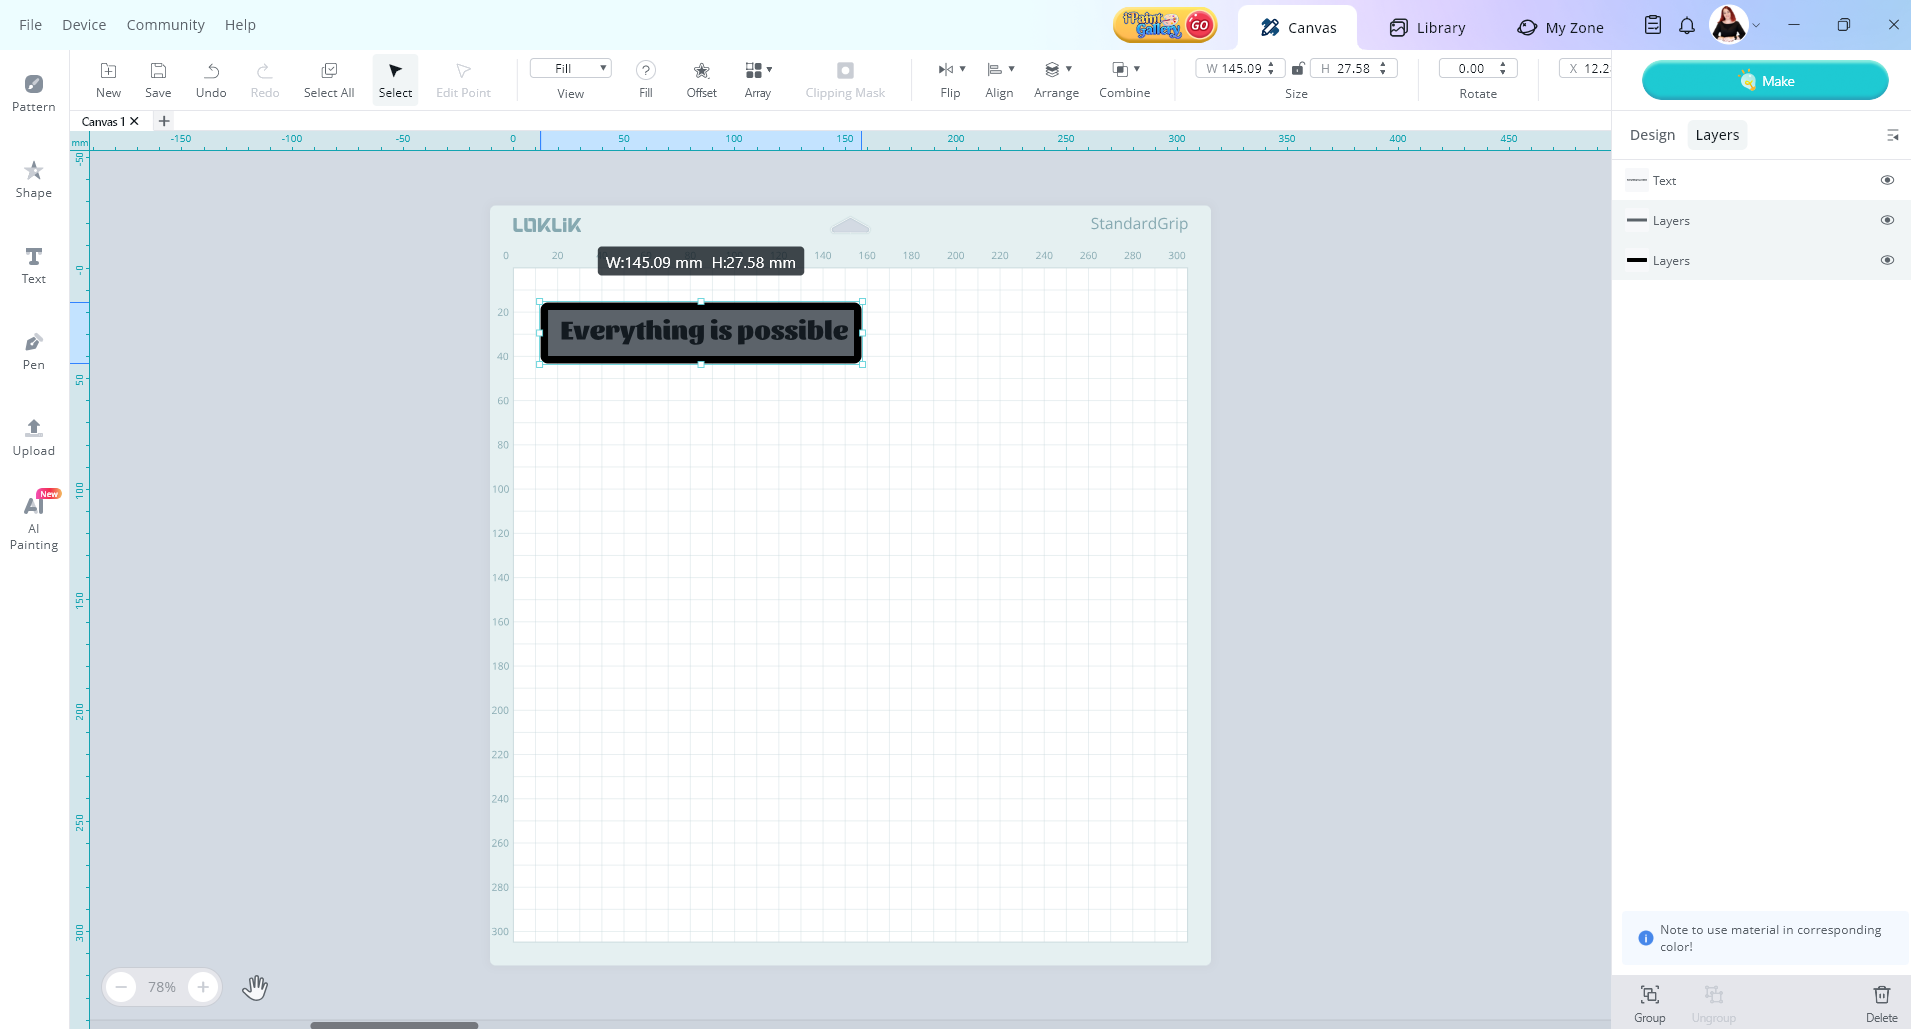
To do this create a square in Idea studio.
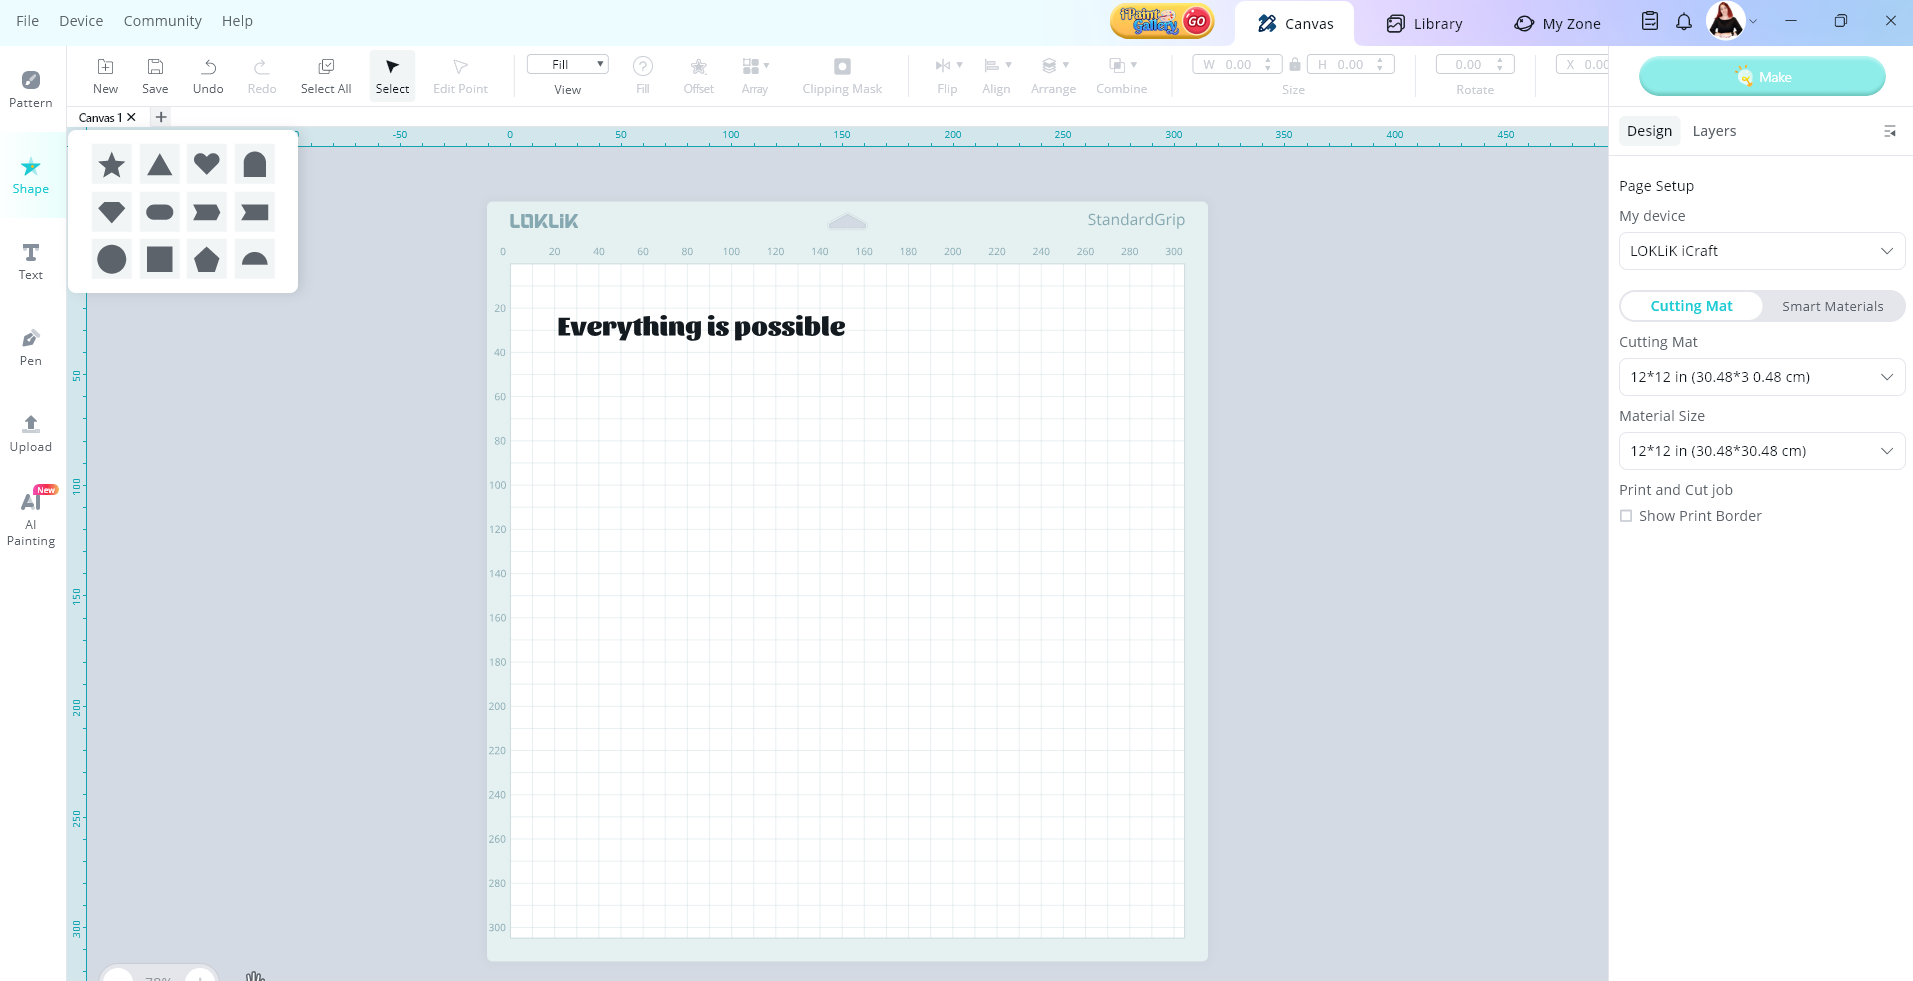
- Size it so it covers your whole design.
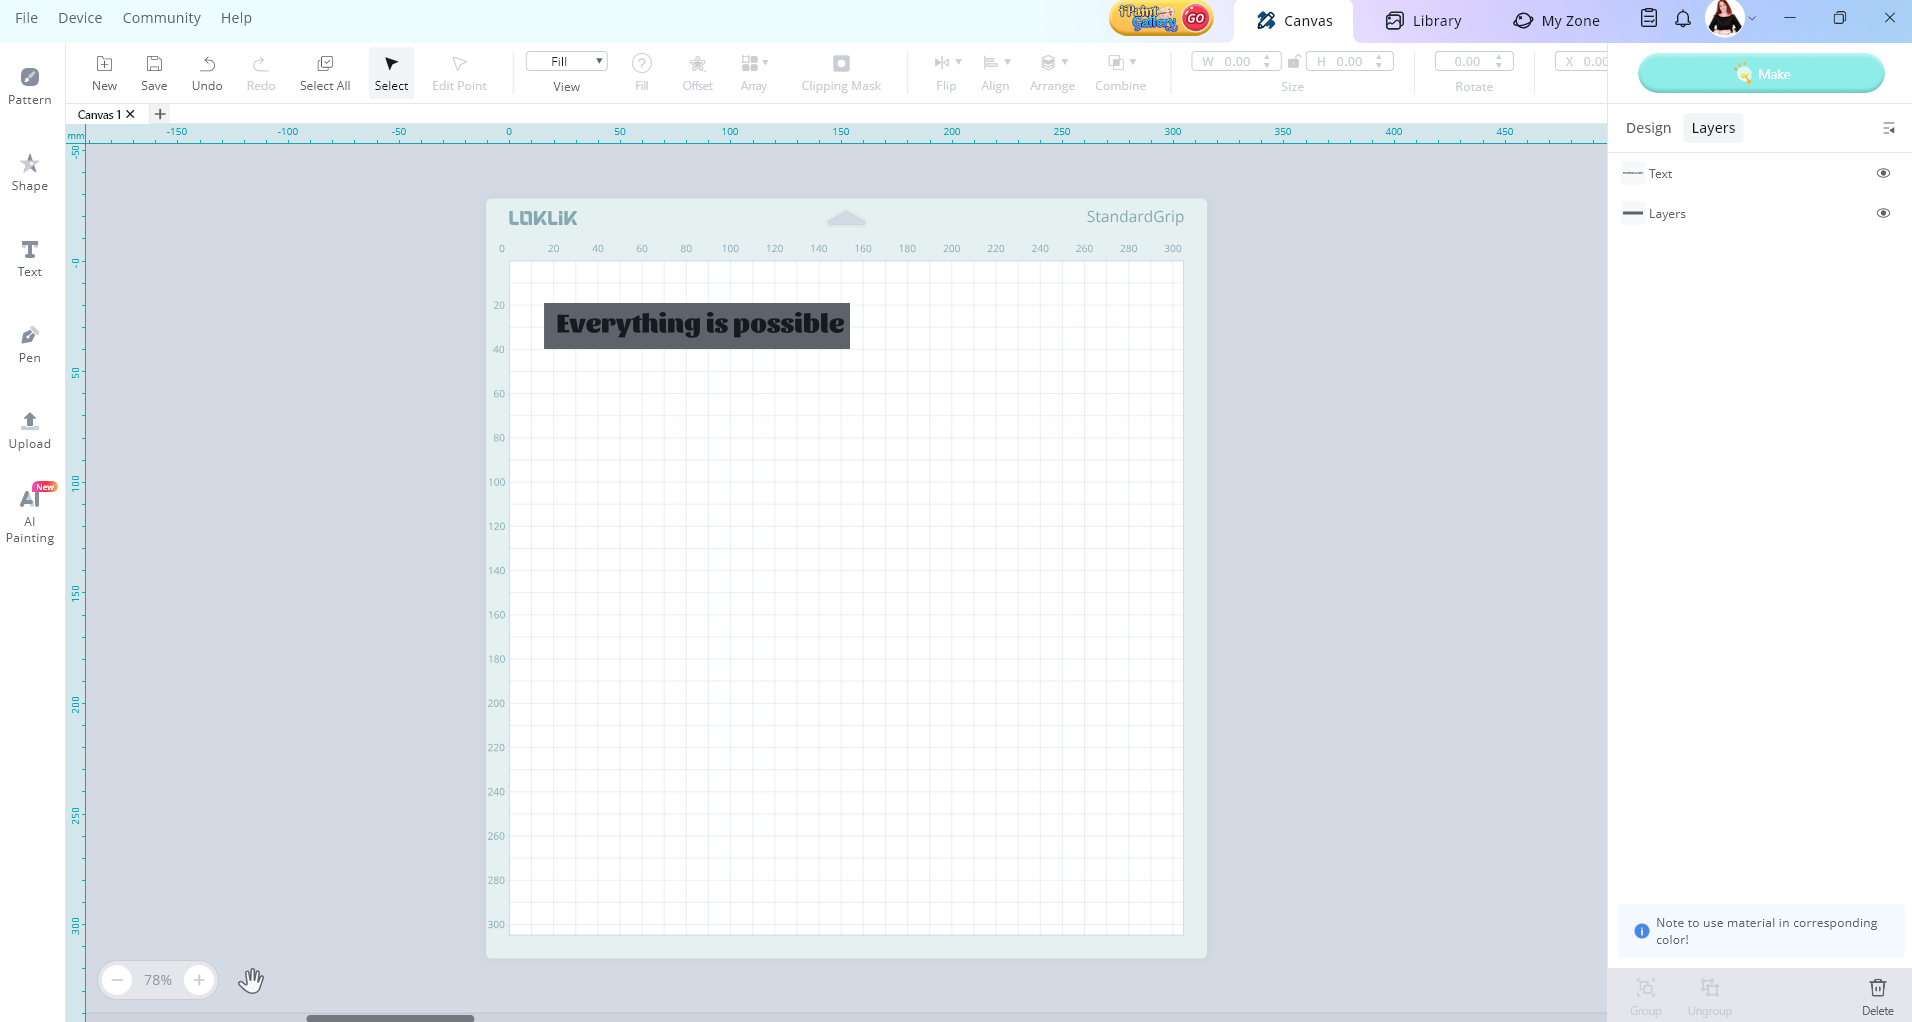
- Now create an offset of that rectangle.
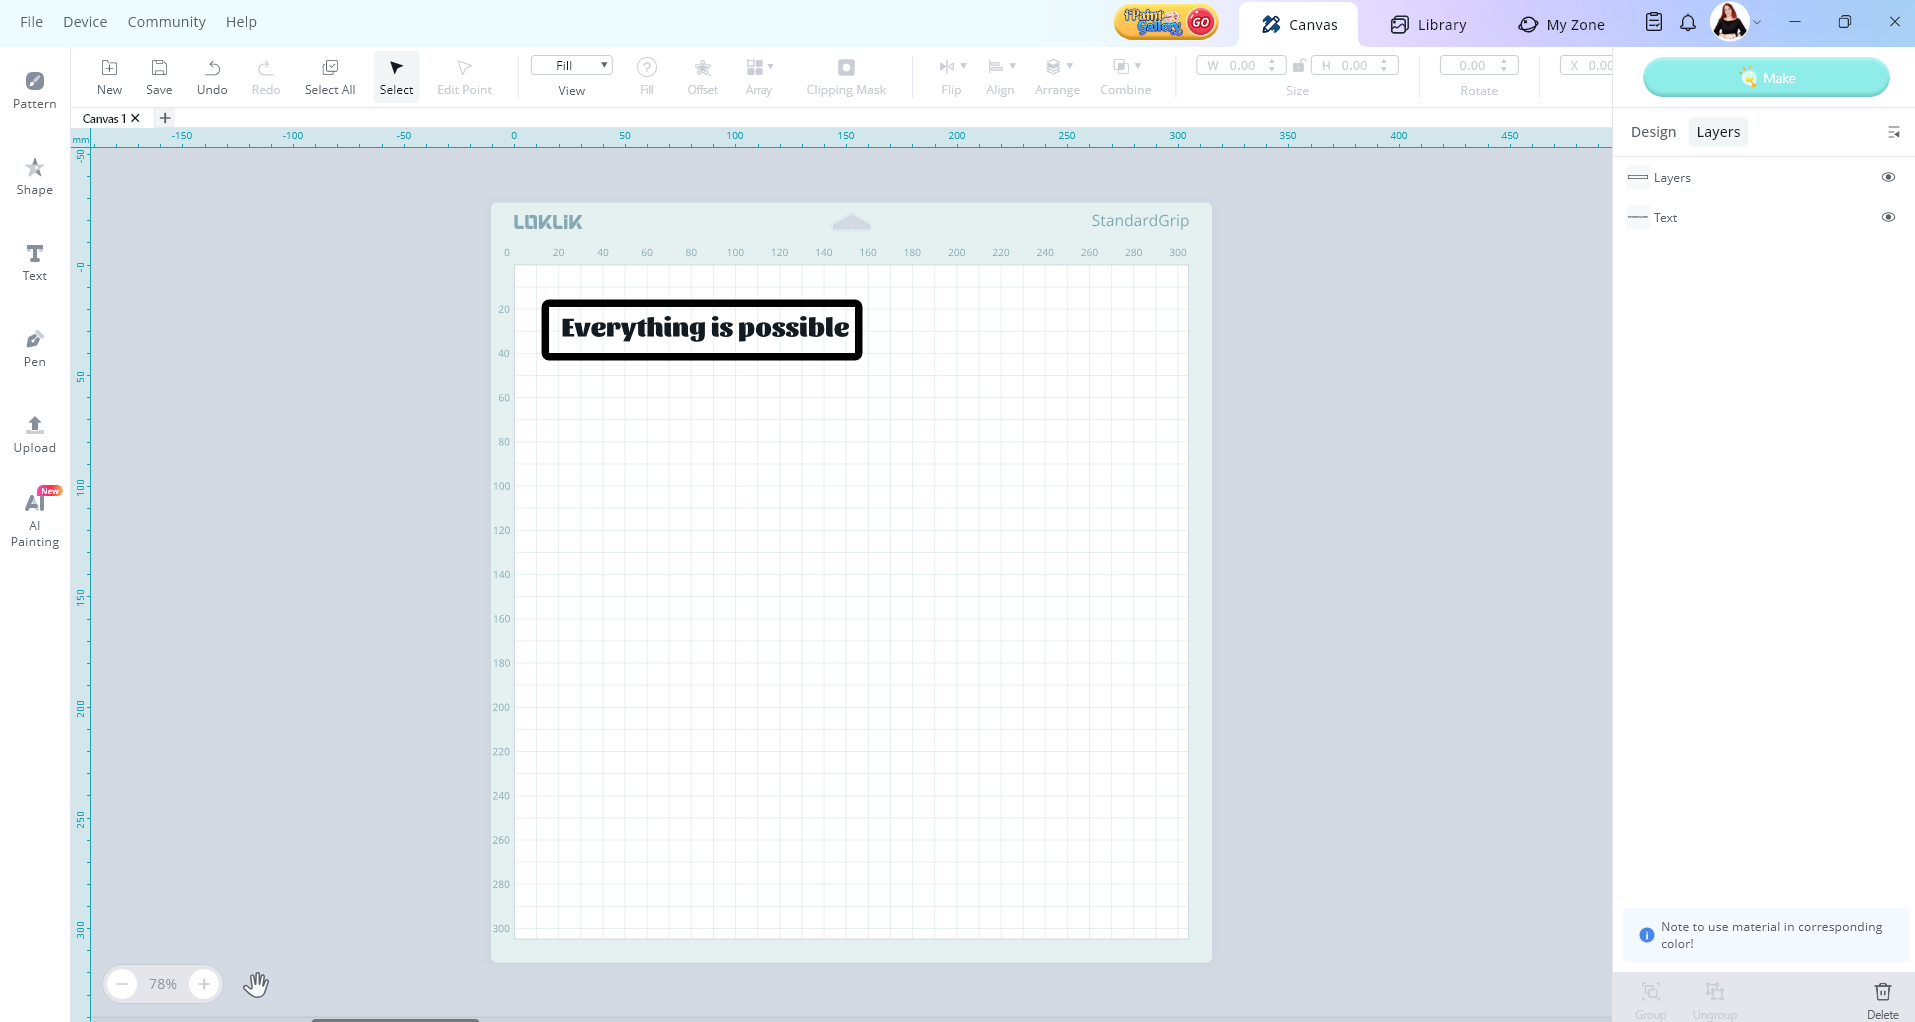
- Select both boxes and use slice.
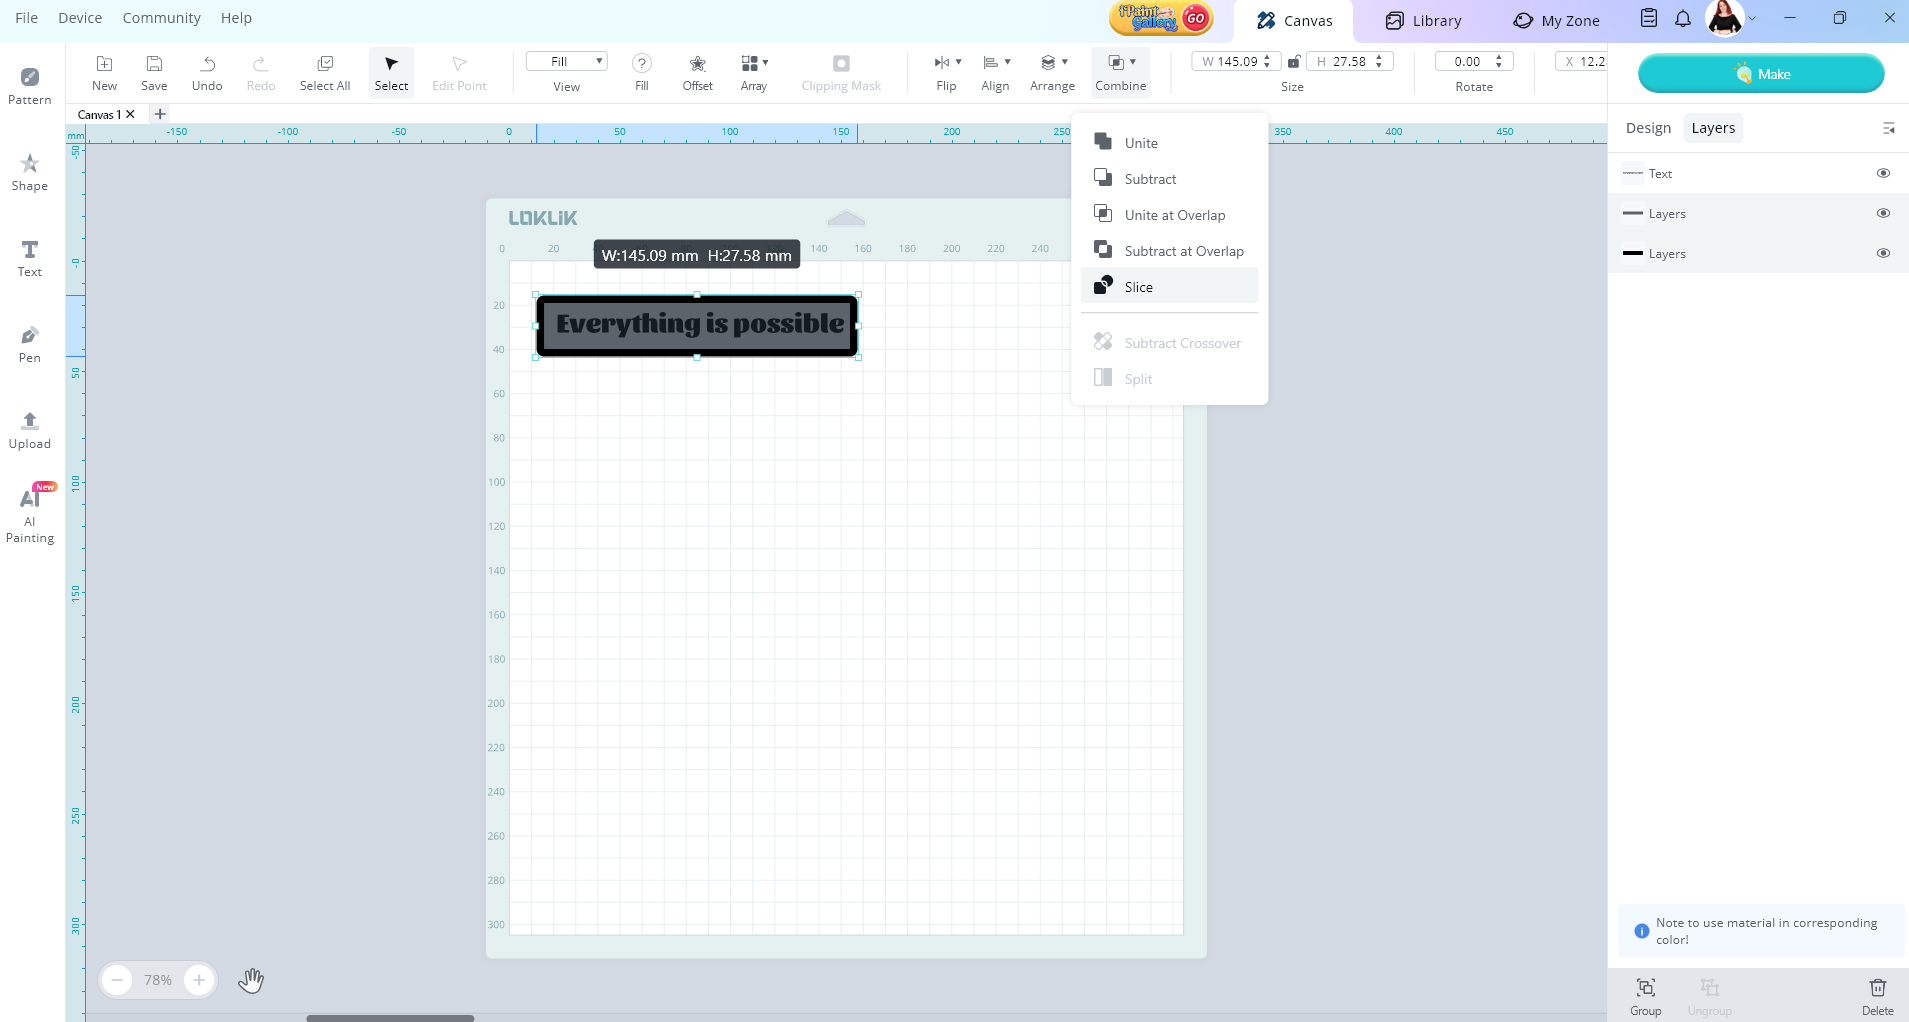
- Now you can place the boarder box around your design making it super easier to weed out those designs.
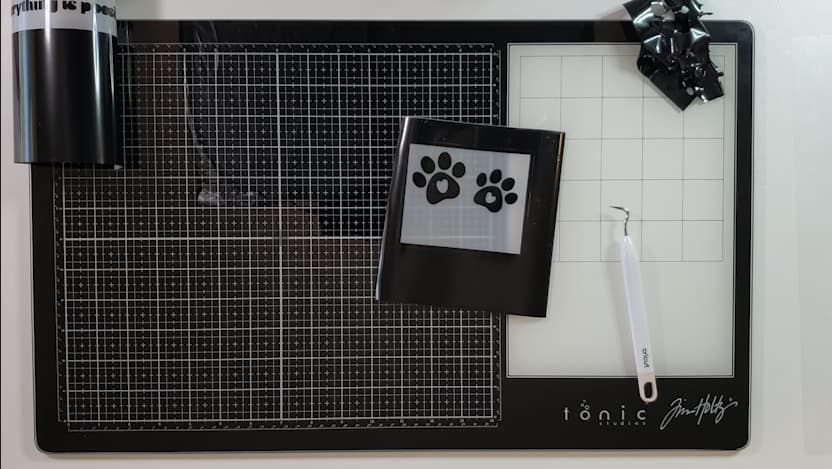
Tip # 3 - Use reverse weeding for intricate designs
- With reverse weeding you apply the transfer tape on the design and then weed out the excess vinyl leaving the design on the transfer tape. It’s really great for projects that have little bits that can get lost.
- More on this topic here
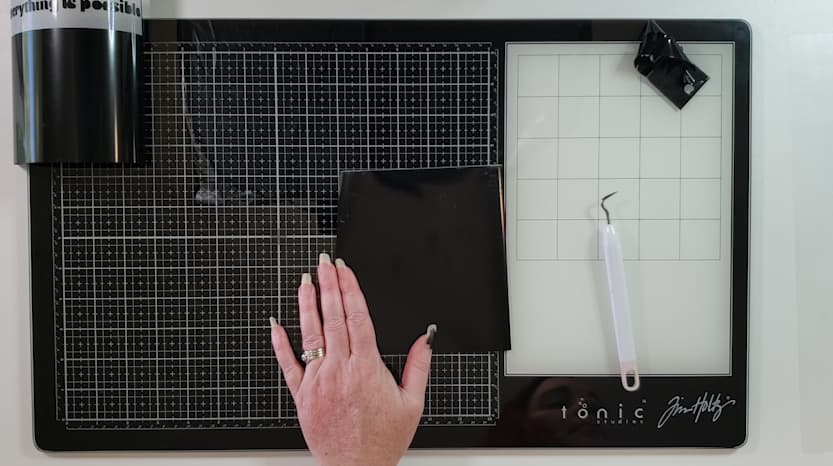
Tip #4 - Can’t see the cut lines
- Sometimes you try and try but those cut lines are invisible. You can use a back light, where you place your design over a mat light and the light shines through the cuts. Sometimes these can be super expensive and I don’t personally like them as I’m quite sensitive to light to begin with.
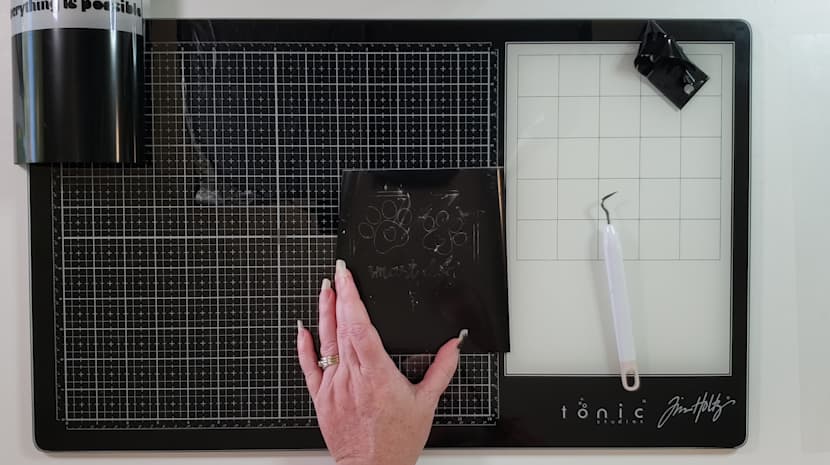
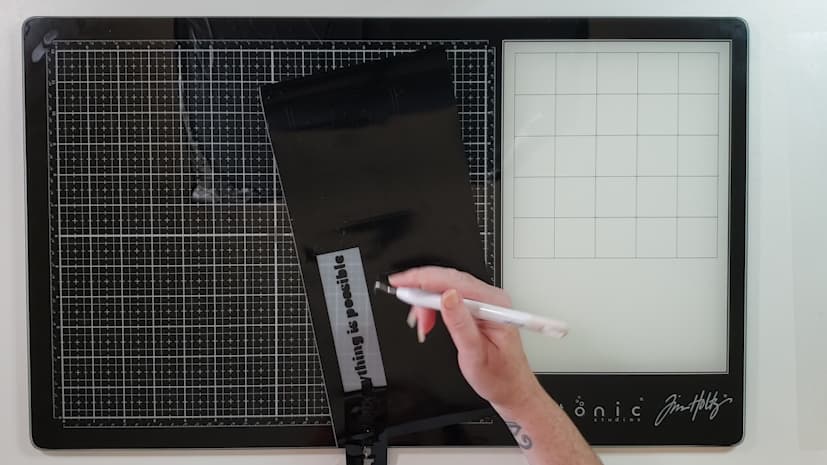
- So, what I do, is to apply the slightest amount of baby powder or corn starch to the top of my vinyl. You rub it over and you will see the powder outlines the lines for you. Now this trick only works with black or colored vinyl and try not to use to much as it can make the vinyl not stick if it gets on the wrong side. I wipe off the excess powder before applying the transfer tape and apply like normal.
Before
After