Hi Community! ![]()
Last time, we shared some go-to tips for pressing regular HTV —
Not Sure How to Press Your HTV? Start Here
That post focused on one of the most common materials crafters use. But if you’ve ever switched things up — maybe tried sublimation HTV, printable films, or transfer paper — you’ll know the same settings don’t always apply.
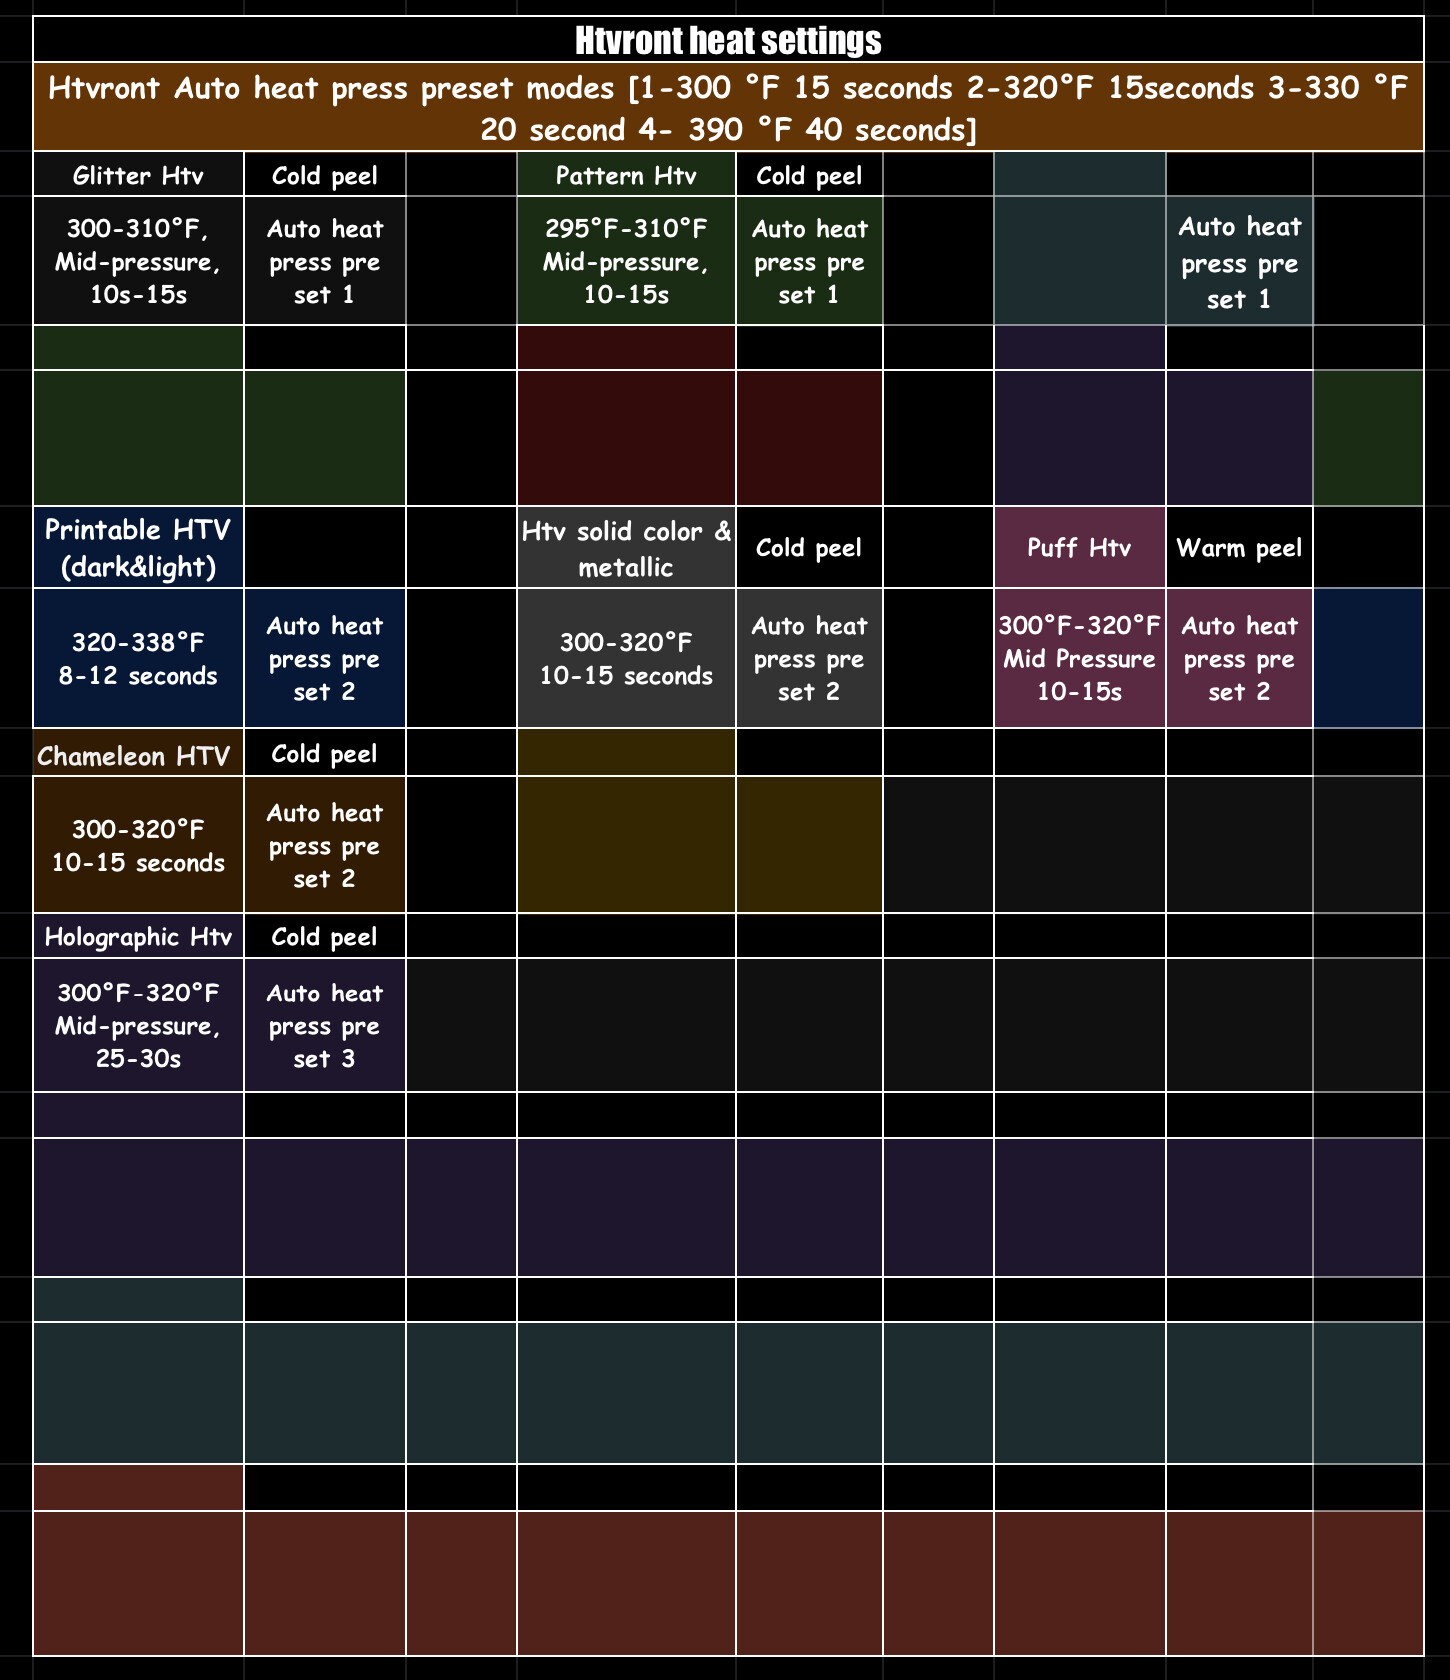
Today’s Crafter Notes is all about those other materials. We’ve pulled together recommended time, temperature, and pressure settings for our products to help you get reliable results across a range of popular options.
![]() Sublimation HTV (Two-Step Process)
Sublimation HTV (Two-Step Process)
Step 1: Press the HTV base
- Temp: 150–160°C (300–320℉)
- Time: 15–20s
- Pressure: 60–80kg (130–170lb)
→ Let it cool before peeling the PET liner (cold peel)
Step 2: Sublimate the design
- Place the printed sublimation paper face-down
- Fix with heat-resistant tape and cover with kraft paper
- Temp: 200°C (390℉)
- Time: 40–50s
- Pressure: 50–80kg (110–170lb)
→ Peel: Hot

![]() Printable Sublimation HTV
Printable Sublimation HTV
- Temp: 200°C (390℉)
- Time: 40–50s
- Pressure: 60–80kg (130–170lb)
- Peel: Cold
![]() Heat Transfer Paper
Heat Transfer Paper
- Temp: 160–165°C (320–330℉)
- Time: 15–20s
- Pressure: 60–80kg (130–170lb)
![]() Sublimation Paper
Sublimation Paper
(for 100% polyester, polycotton, or canvas)
- Temp: 200°C (390℉)
- Time: 40–50s
- Pressure: 50–80kg (110–170lb)
- Peel: Hot or cold
![]() Every material reacts a little differently — always test first when trying a new combo. And if you’ve got a favorite workflow or setting that works well for you, feel free to share it in the Material section. We’d love to hear what’s working for you.
Every material reacts a little differently — always test first when trying a new combo. And if you’ve got a favorite workflow or setting that works well for you, feel free to share it in the Material section. We’d love to hear what’s working for you.
![]() Got any tips of your own when working with these materials? Drop them in the comments — we’d love to hear what you’ve figured out.
Got any tips of your own when working with these materials? Drop them in the comments — we’d love to hear what you’ve figured out.