Heyy LOKLiK Fans! ![]()
New to crafting? The number of materials out there can be overwhelming.
What are they for? How do you use them? And why does vinyl come in so many types?
This beginner-friendly series is here to help.
Each post breaks down a few key materials—what they do, how to use them, and what to watch out for.
First up:
Adhesive Vinyl and Printable Vinyl Sticker Paper.
 Adhesive Vinyl

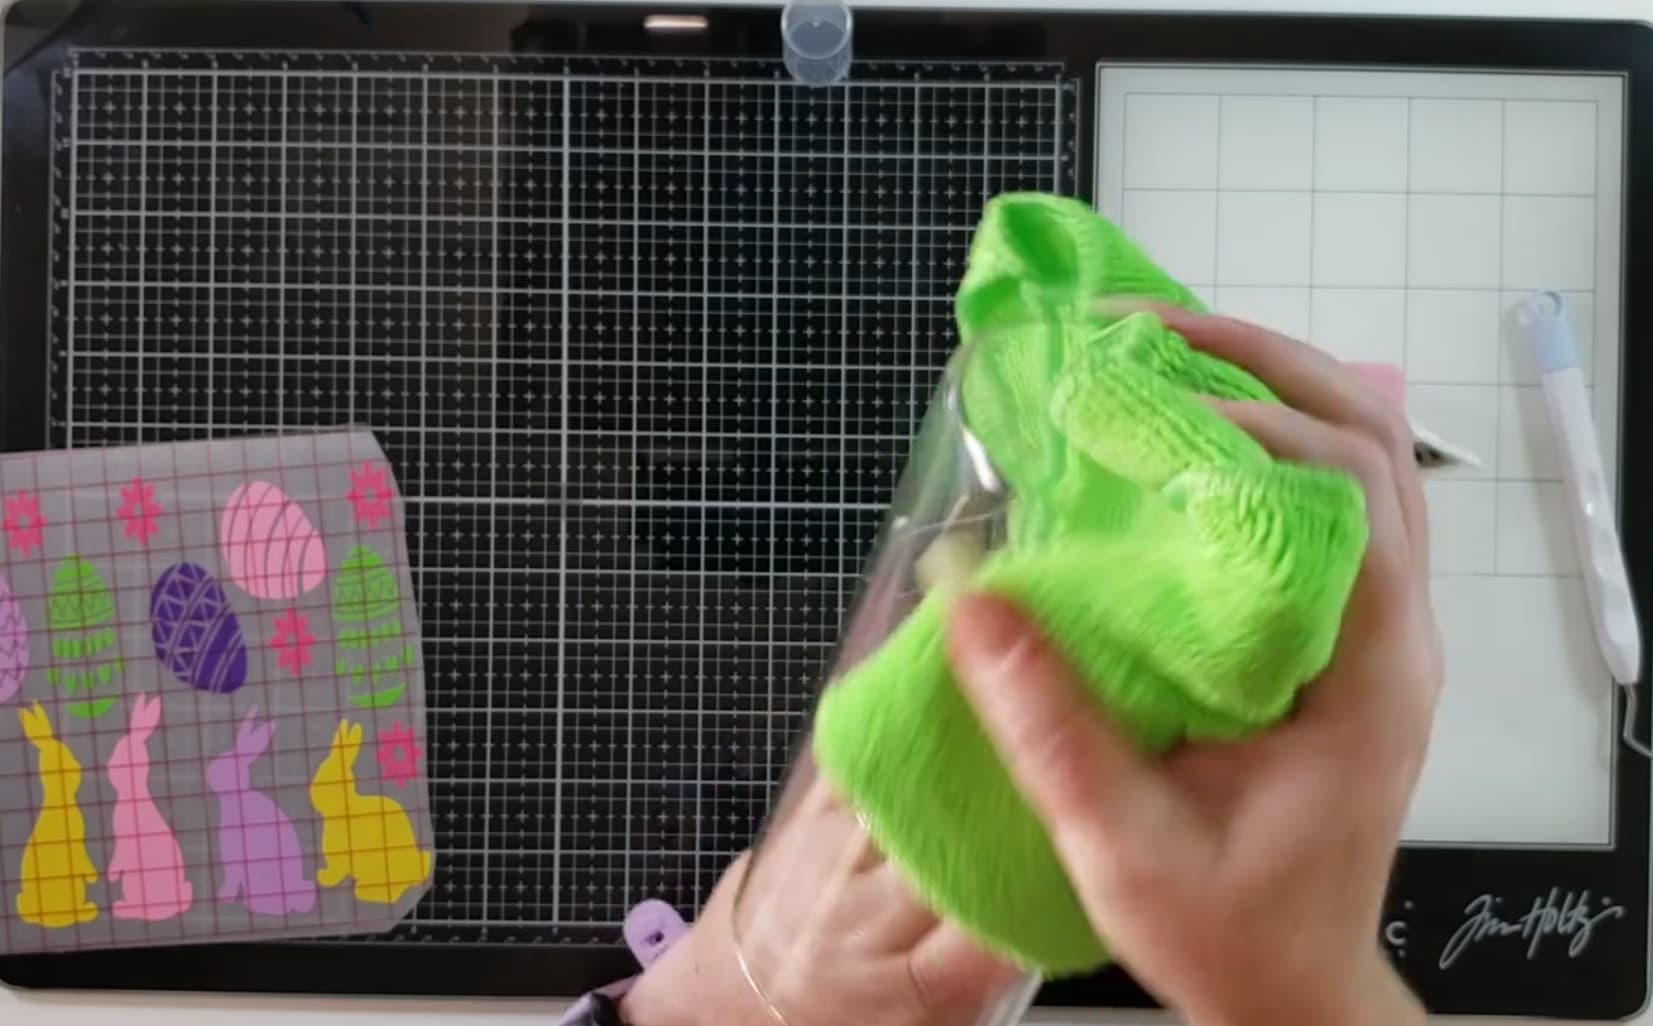
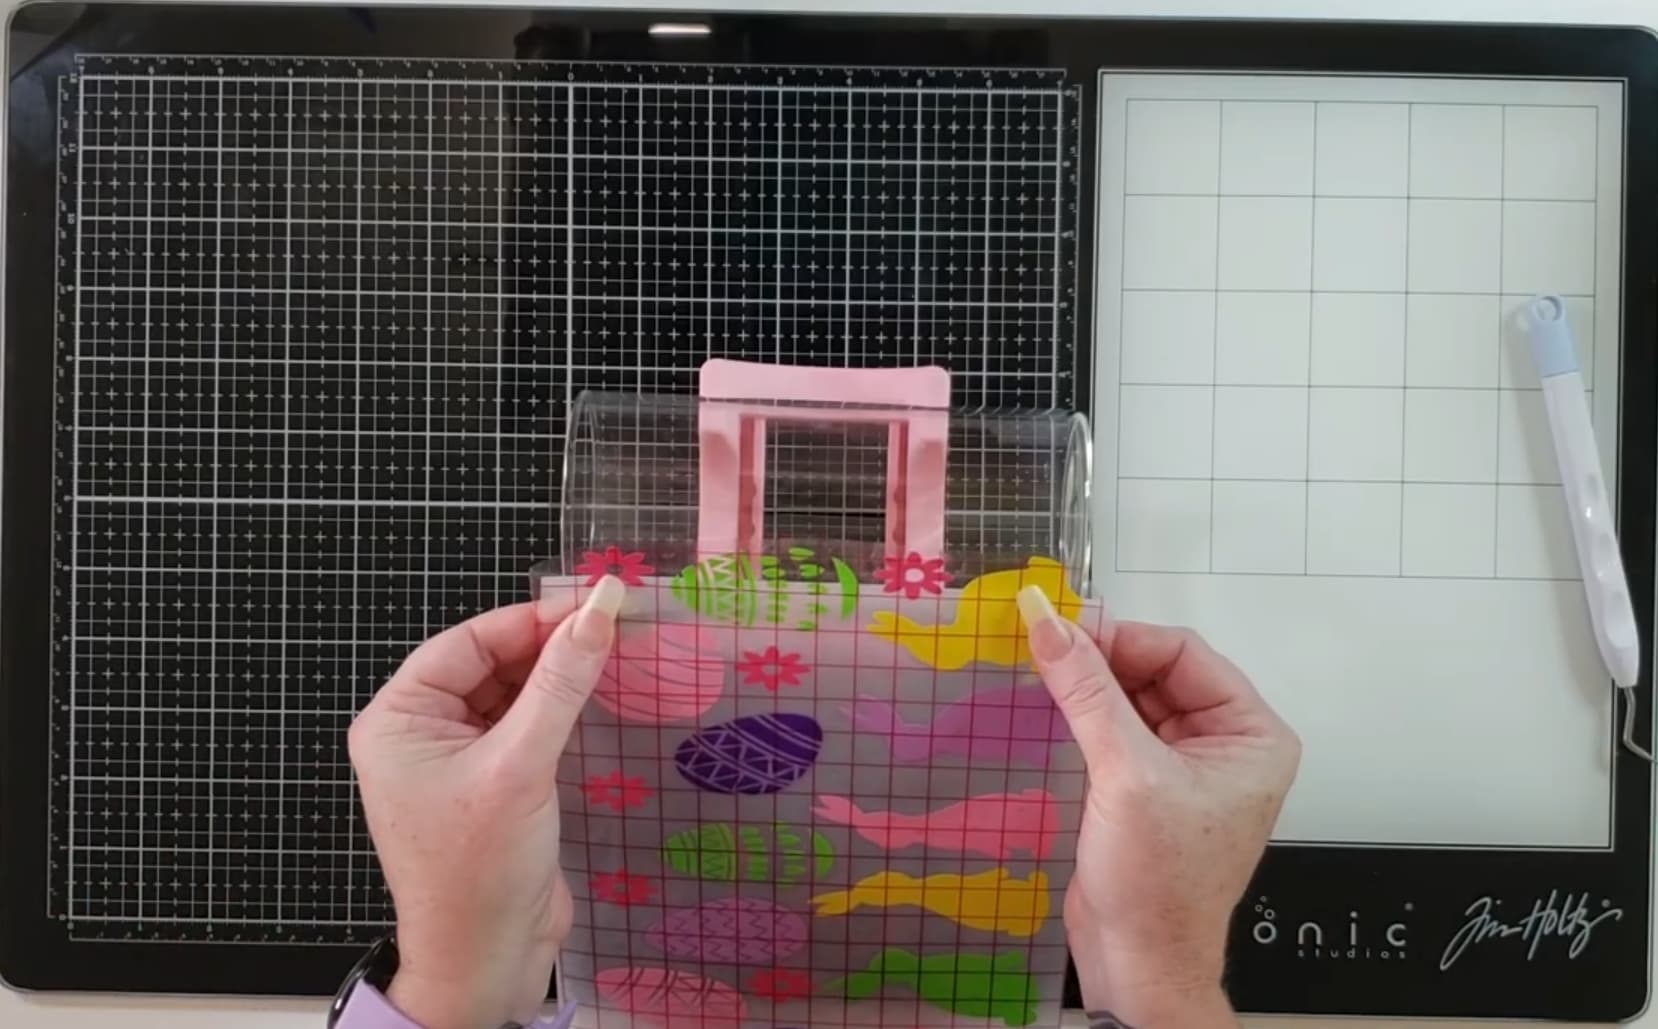
A go-to material for customizing all sorts of surfaces. Use it with a cutting machine to create shapes or lettering—perfect for mugs, mirrors, laptops, jars, and more.
![]() Composition
Composition
Surface film + adhesive layer + backing sheet
![]() Best on
Best on
Smooth surfaces like glass, metal, plastic, mirrors, furniture
![]() Things to keep in mind
Things to keep in mind
- Cut from the vinyl side, not the PET liner
- Not suitable for fabric, walls, or printers
- Use at room temperature—extreme heat or cold can affect adhesion
![]() How to use
How to use
- Design your shape in the software (no mirroring needed) and send it to your cutting machine
- Cut the vinyl with the appropriate settings
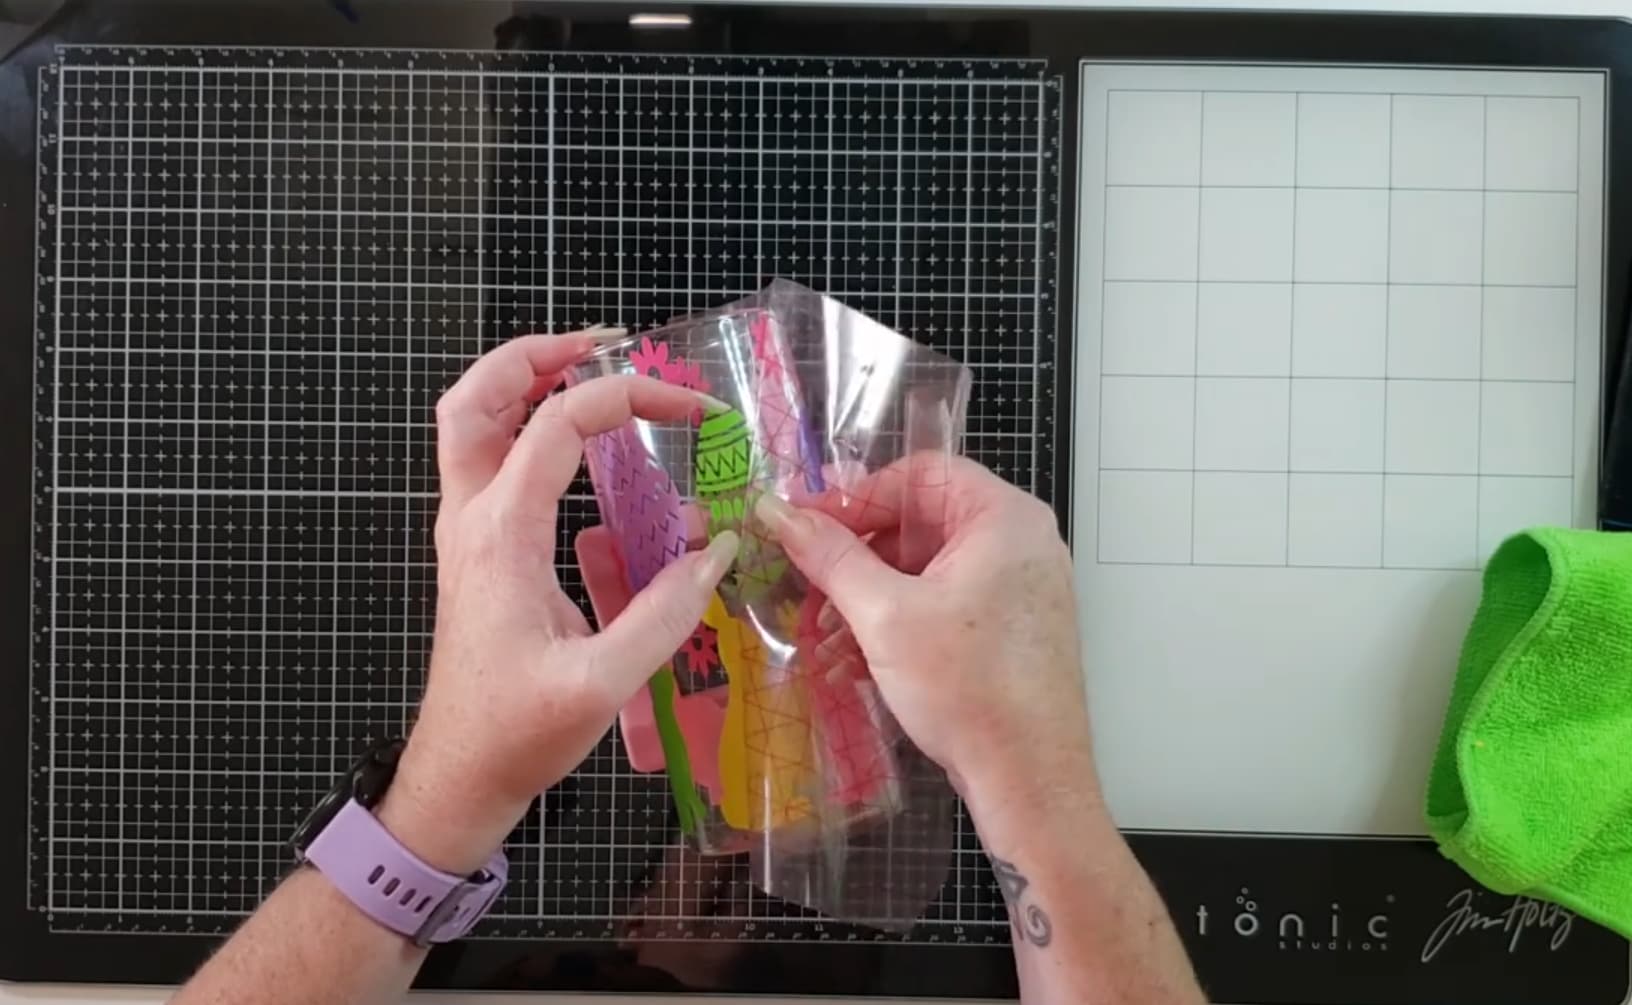
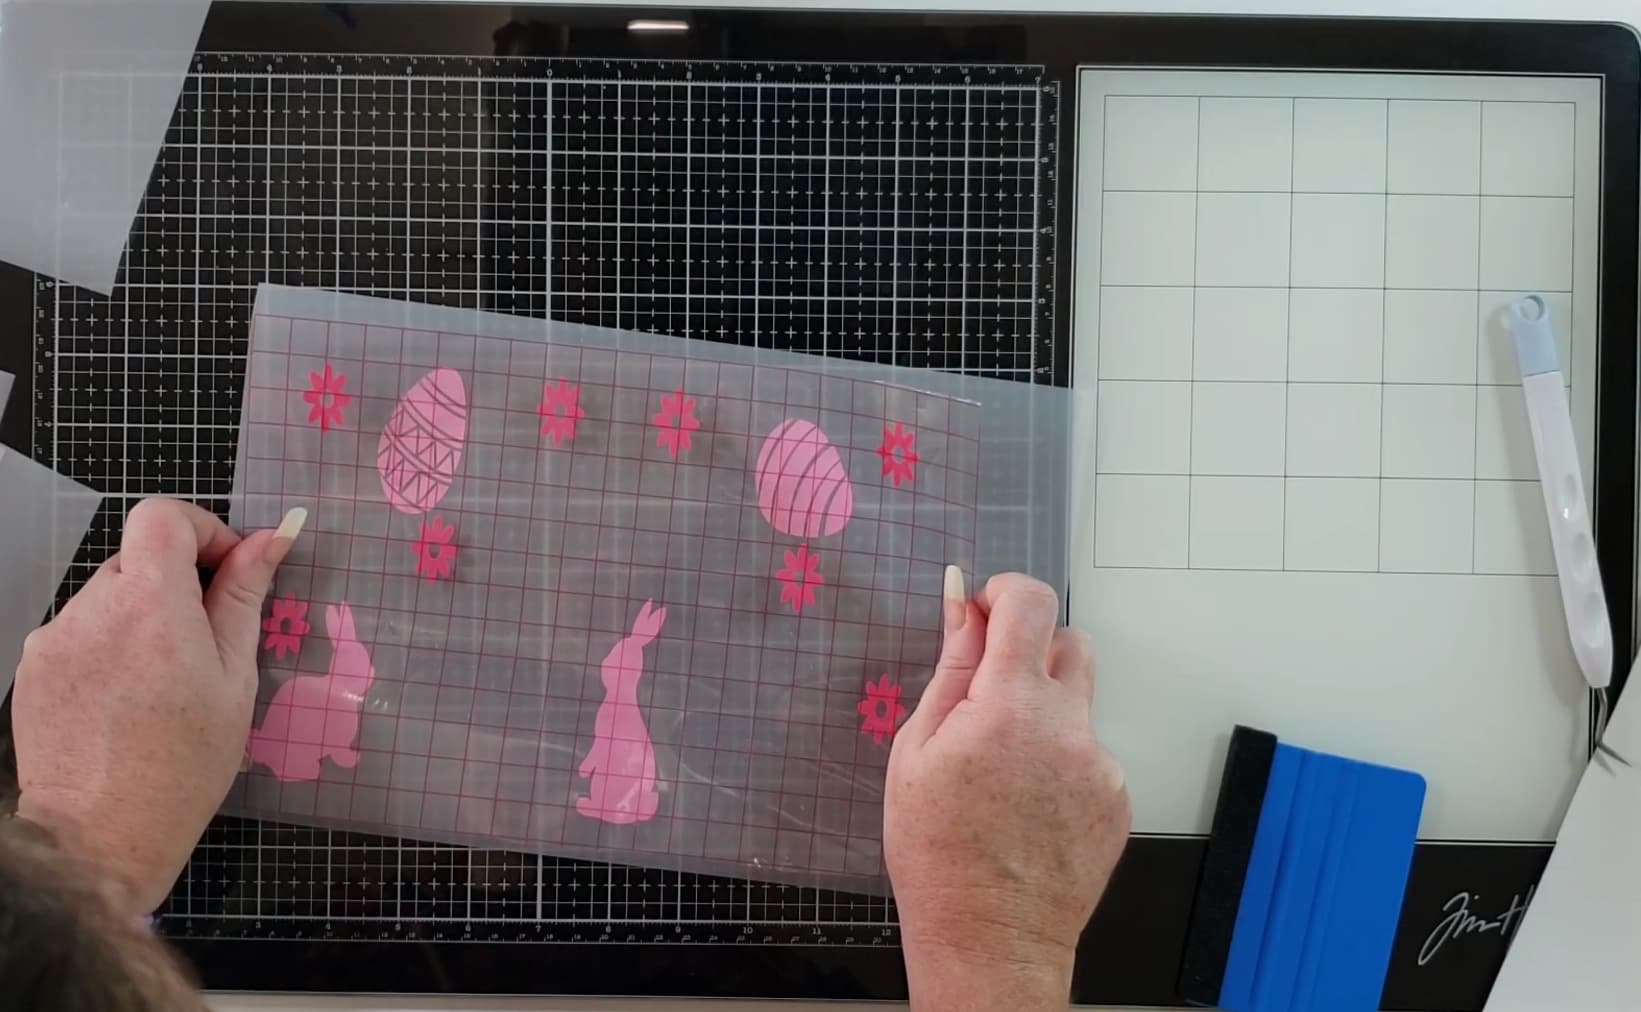
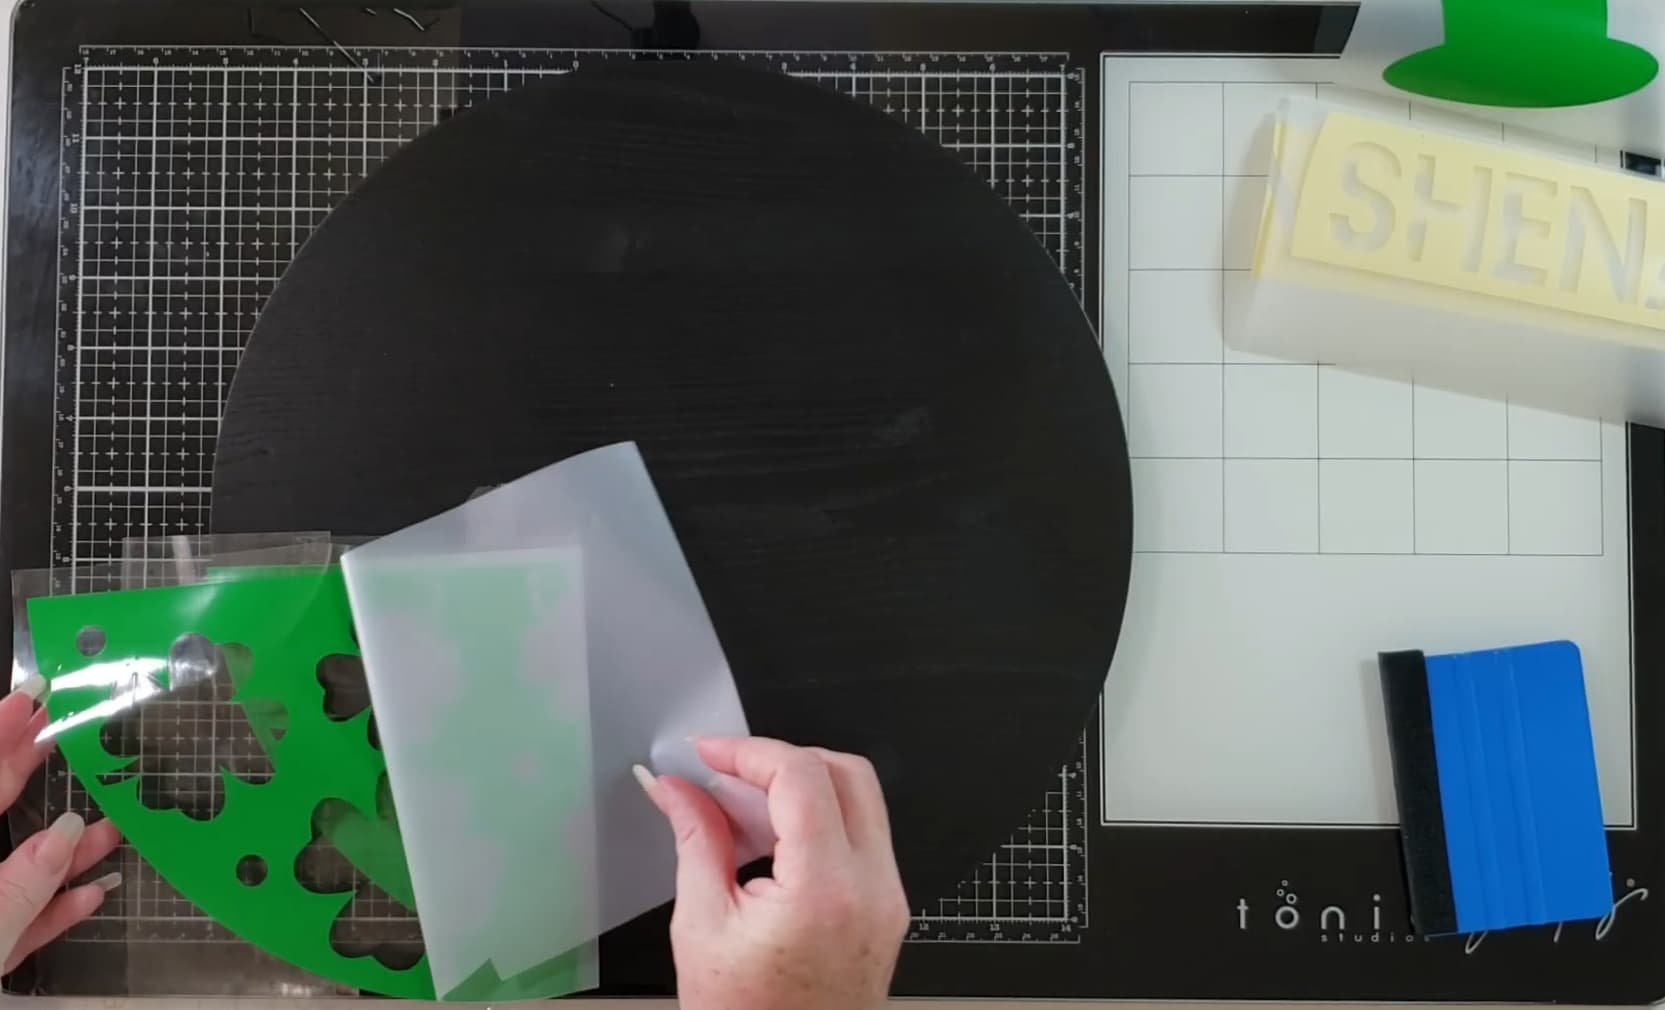
- Weed out the excess vinyl
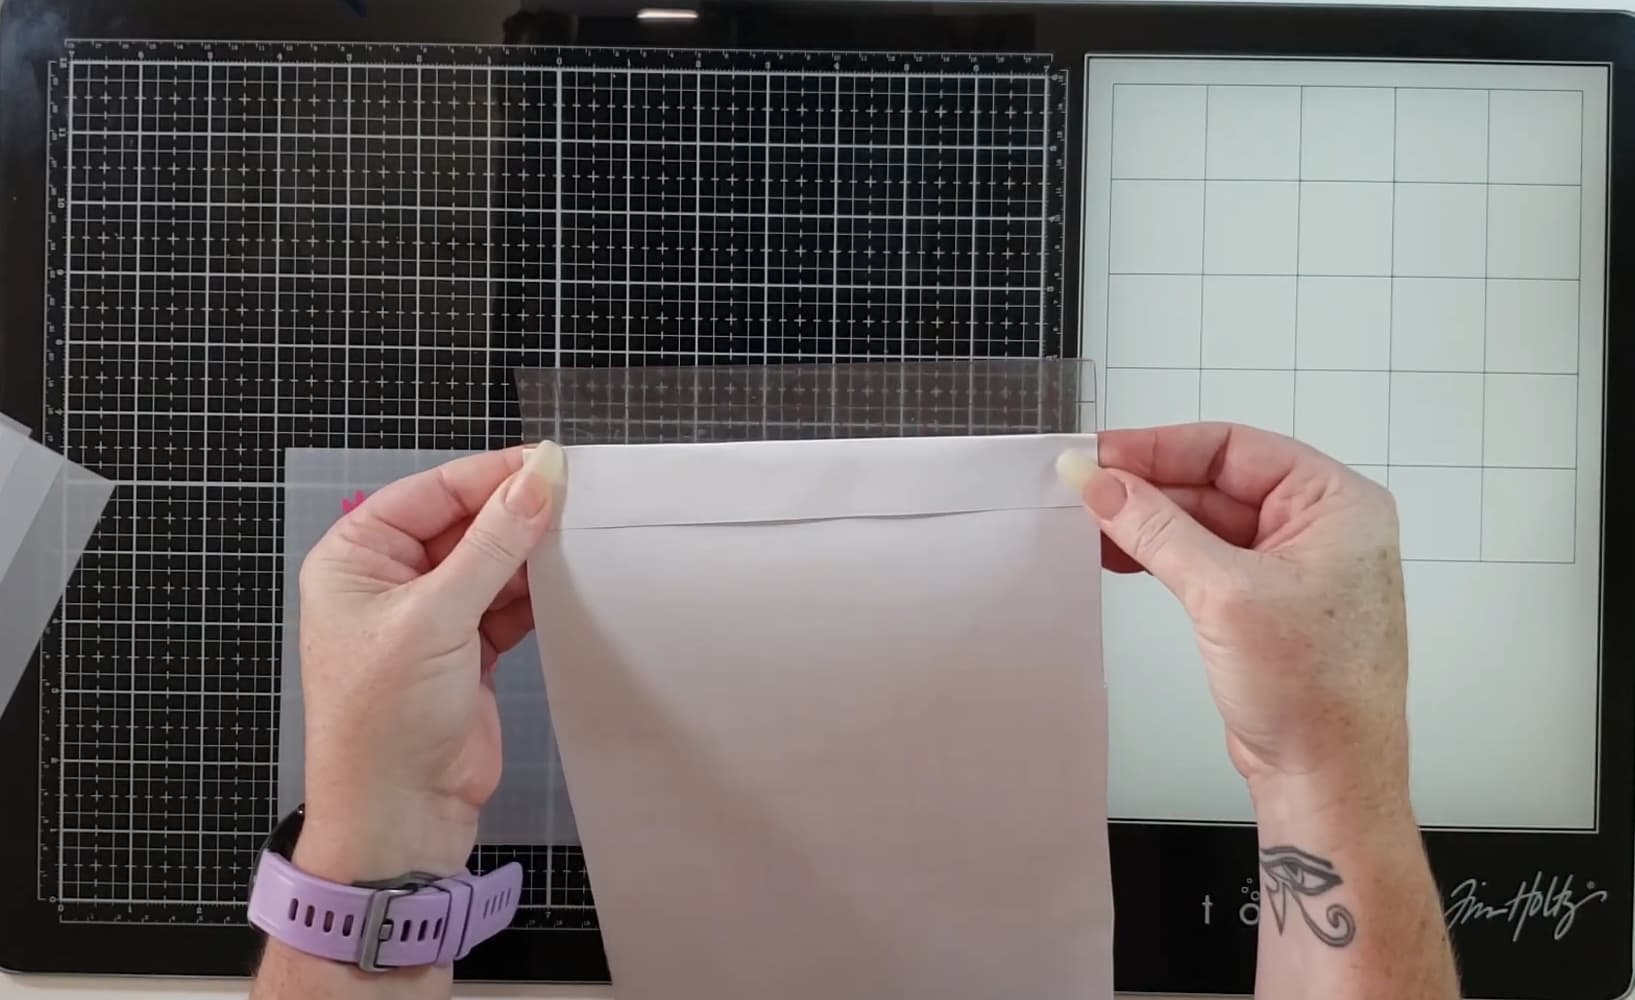
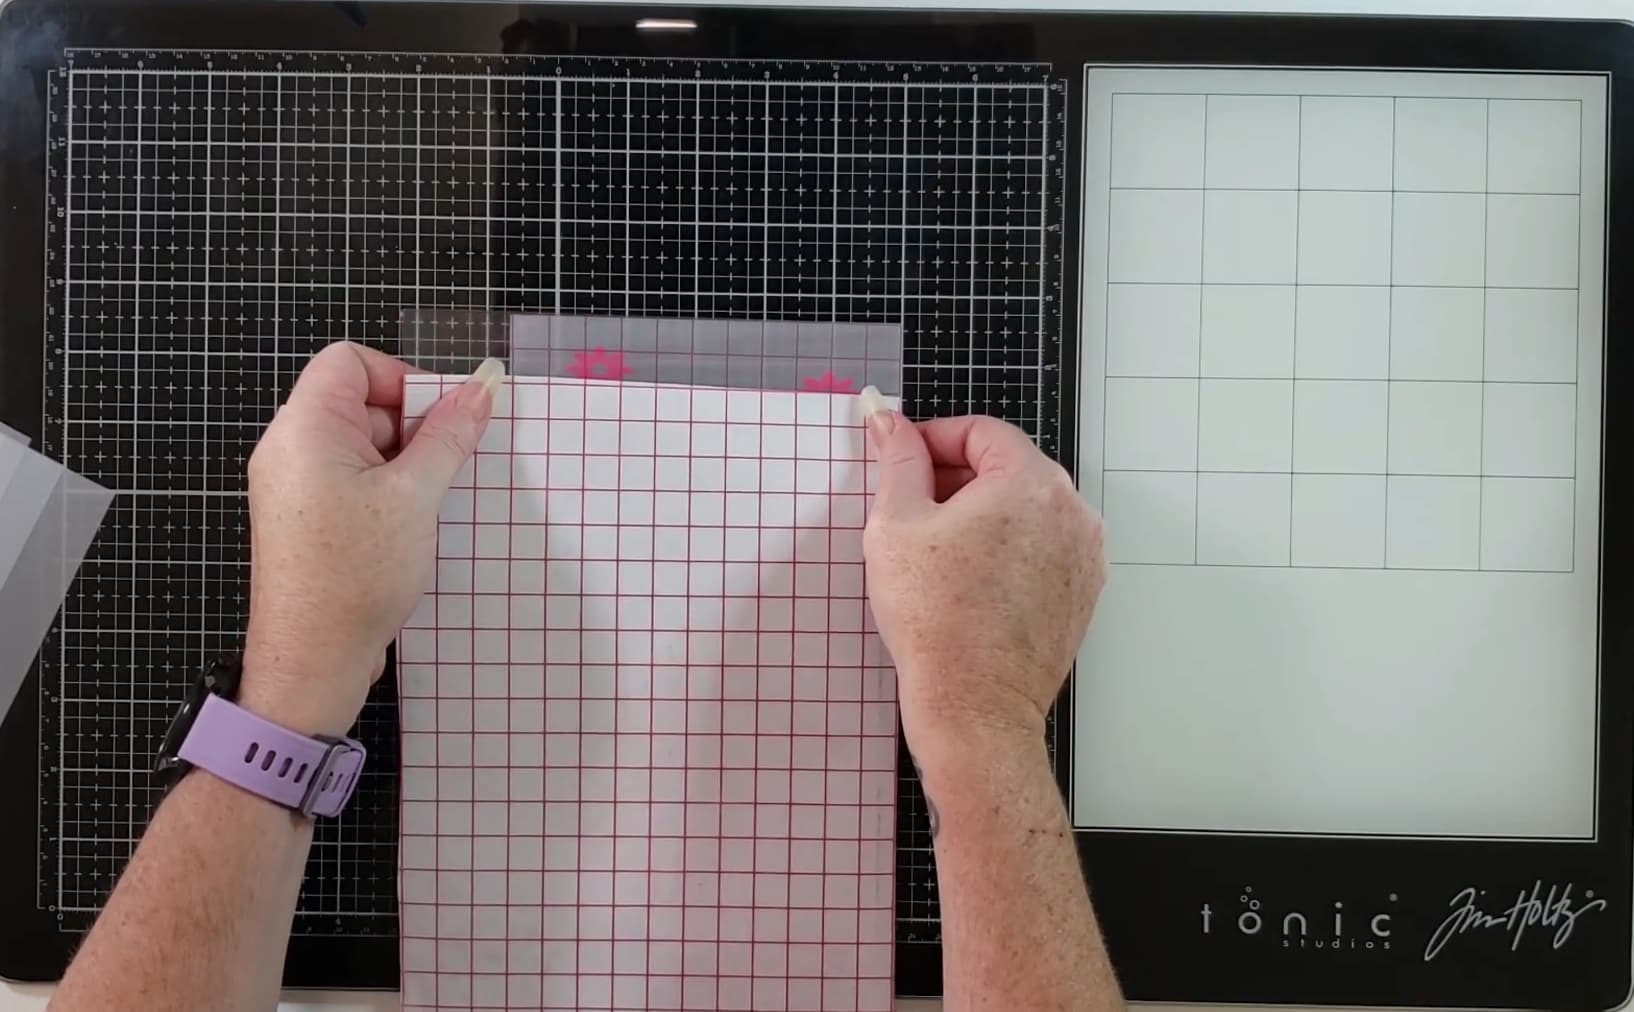
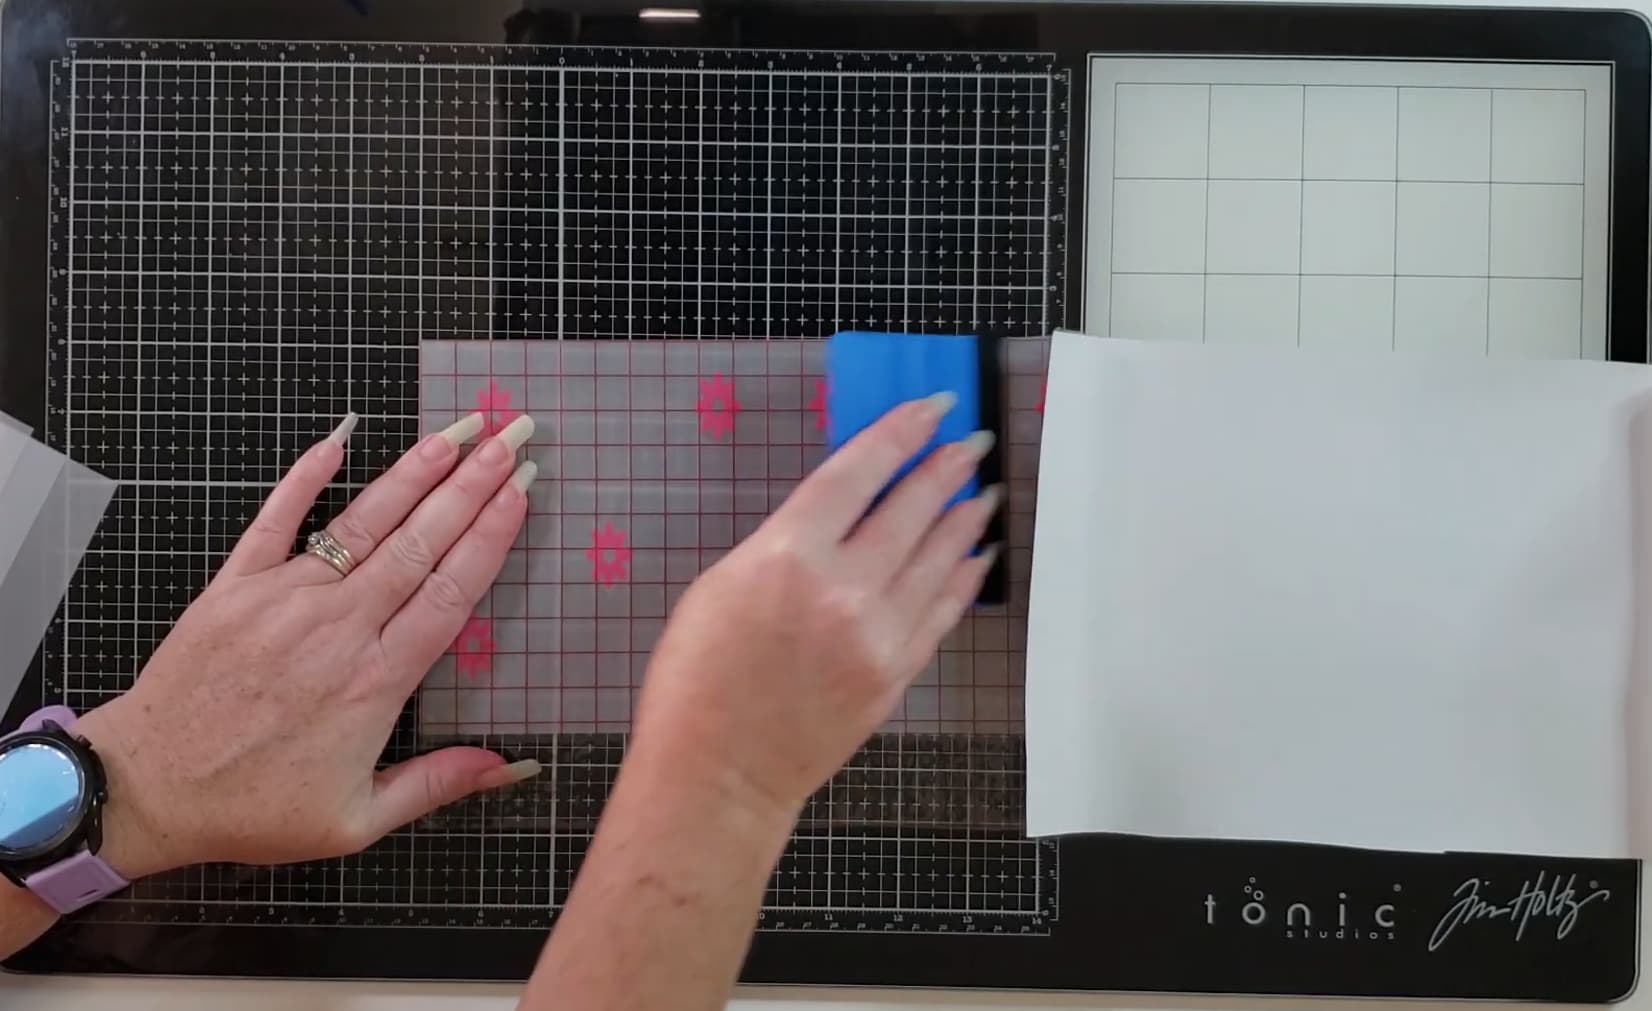
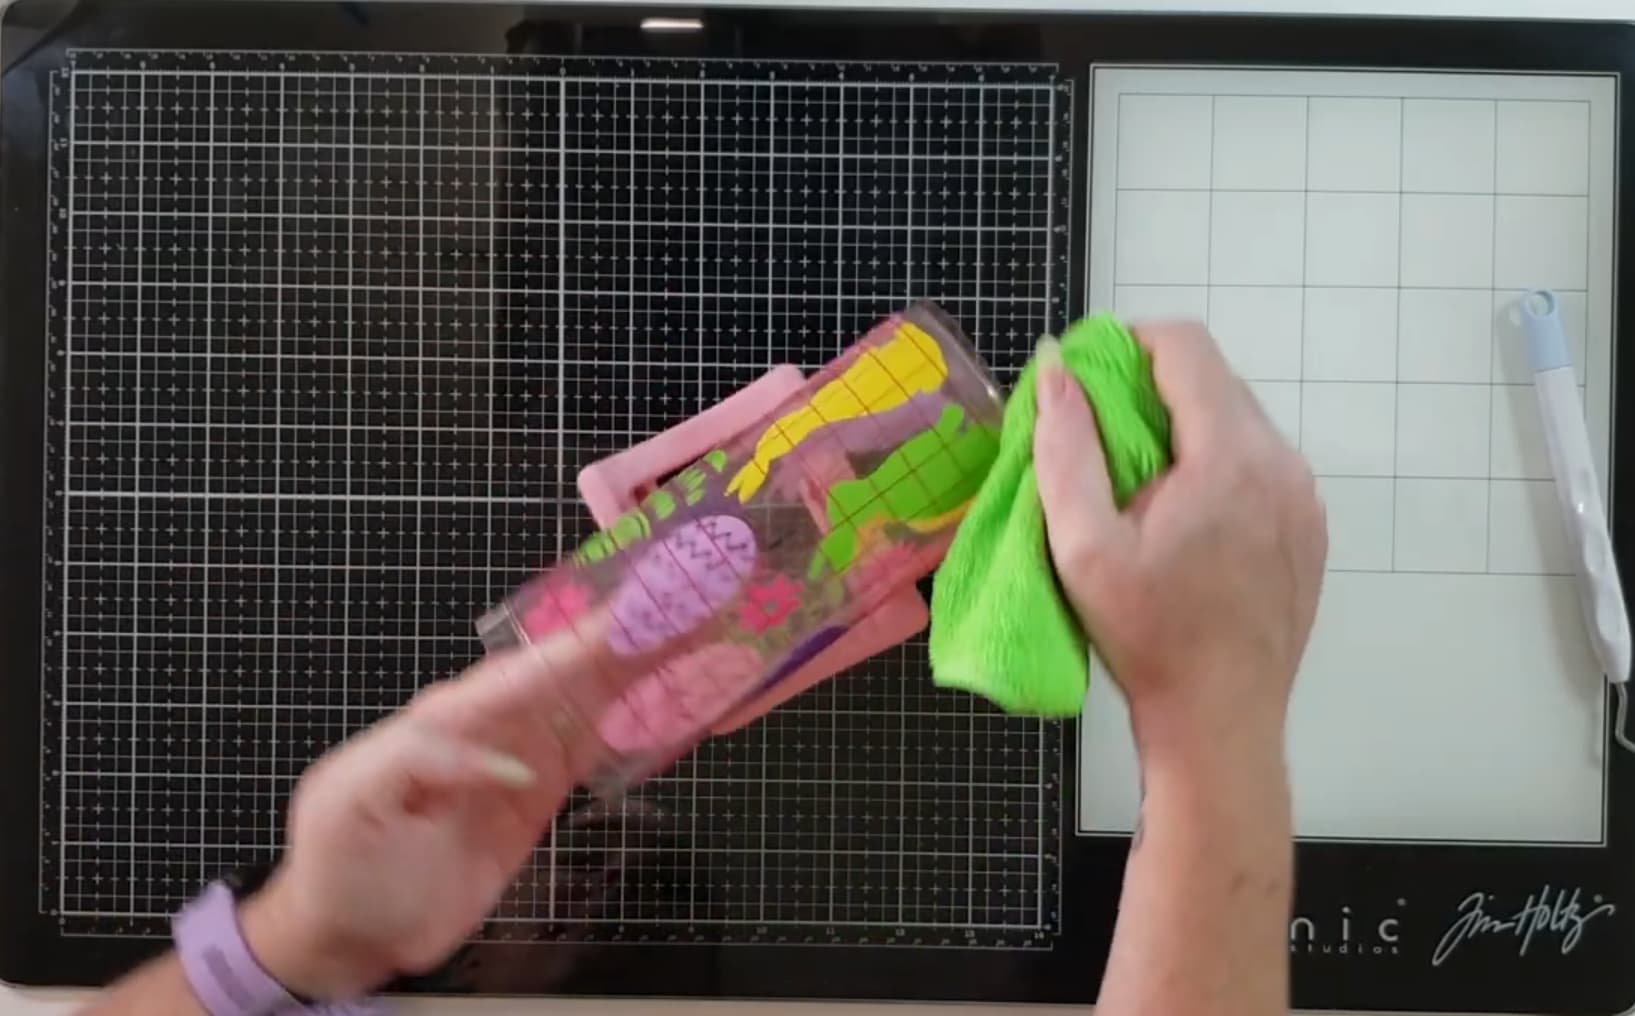
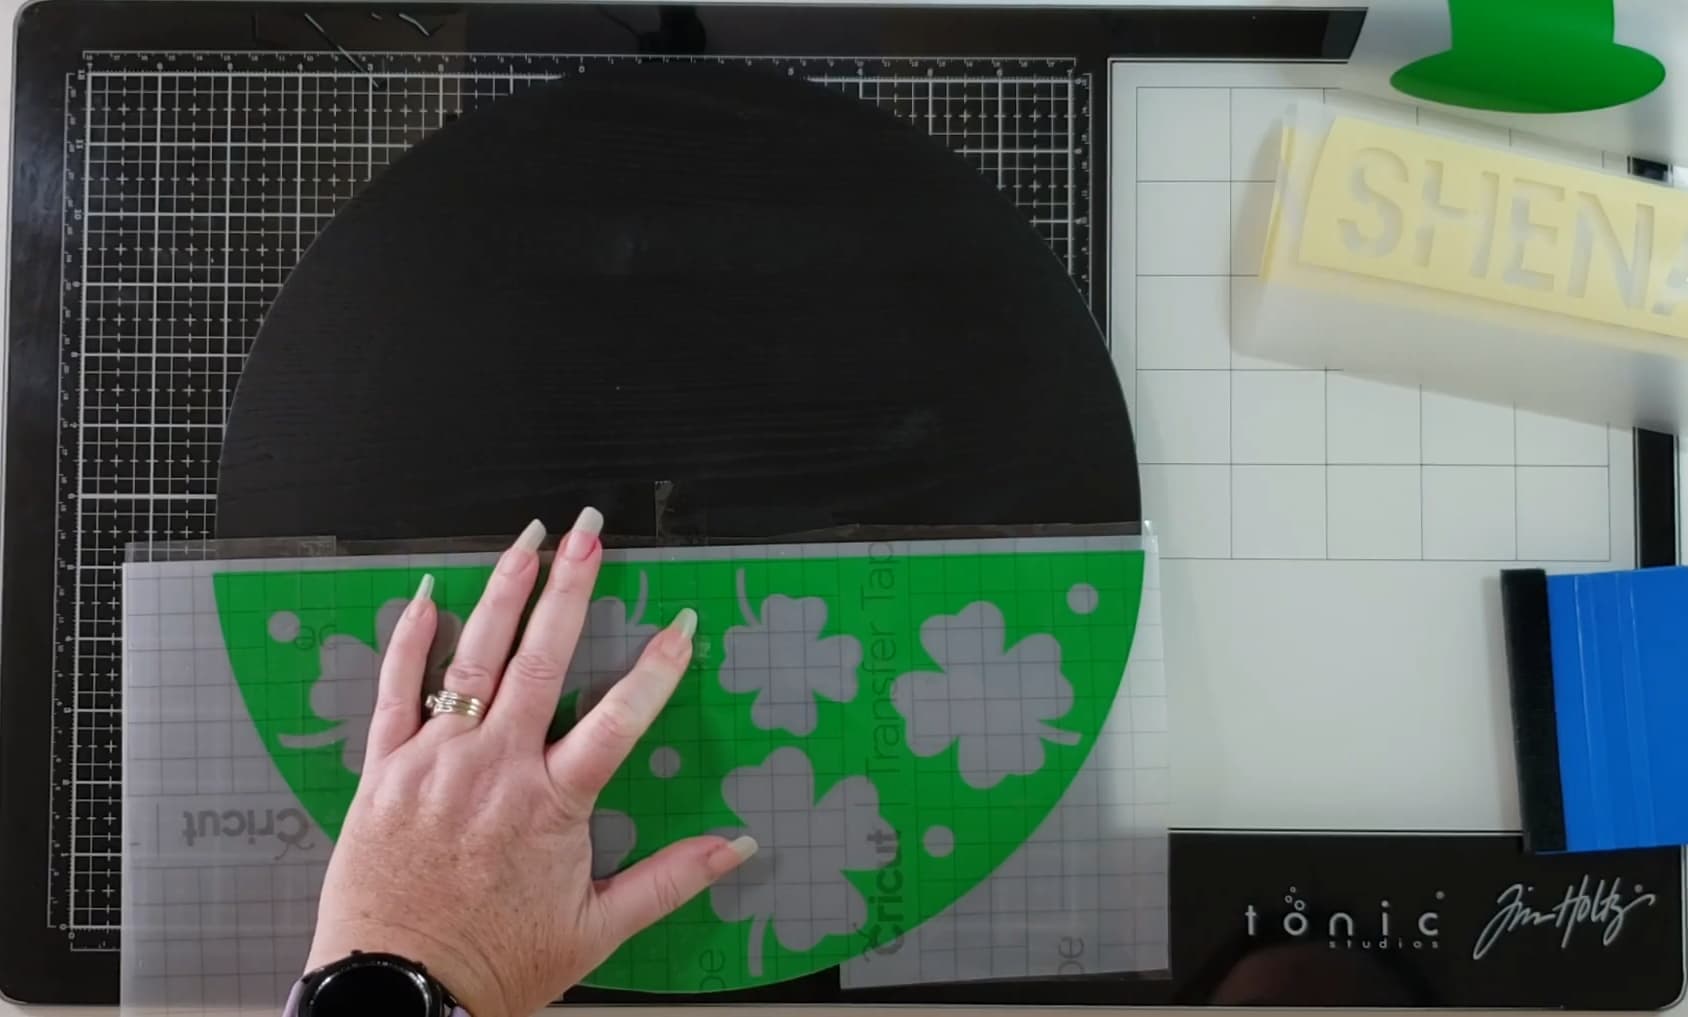
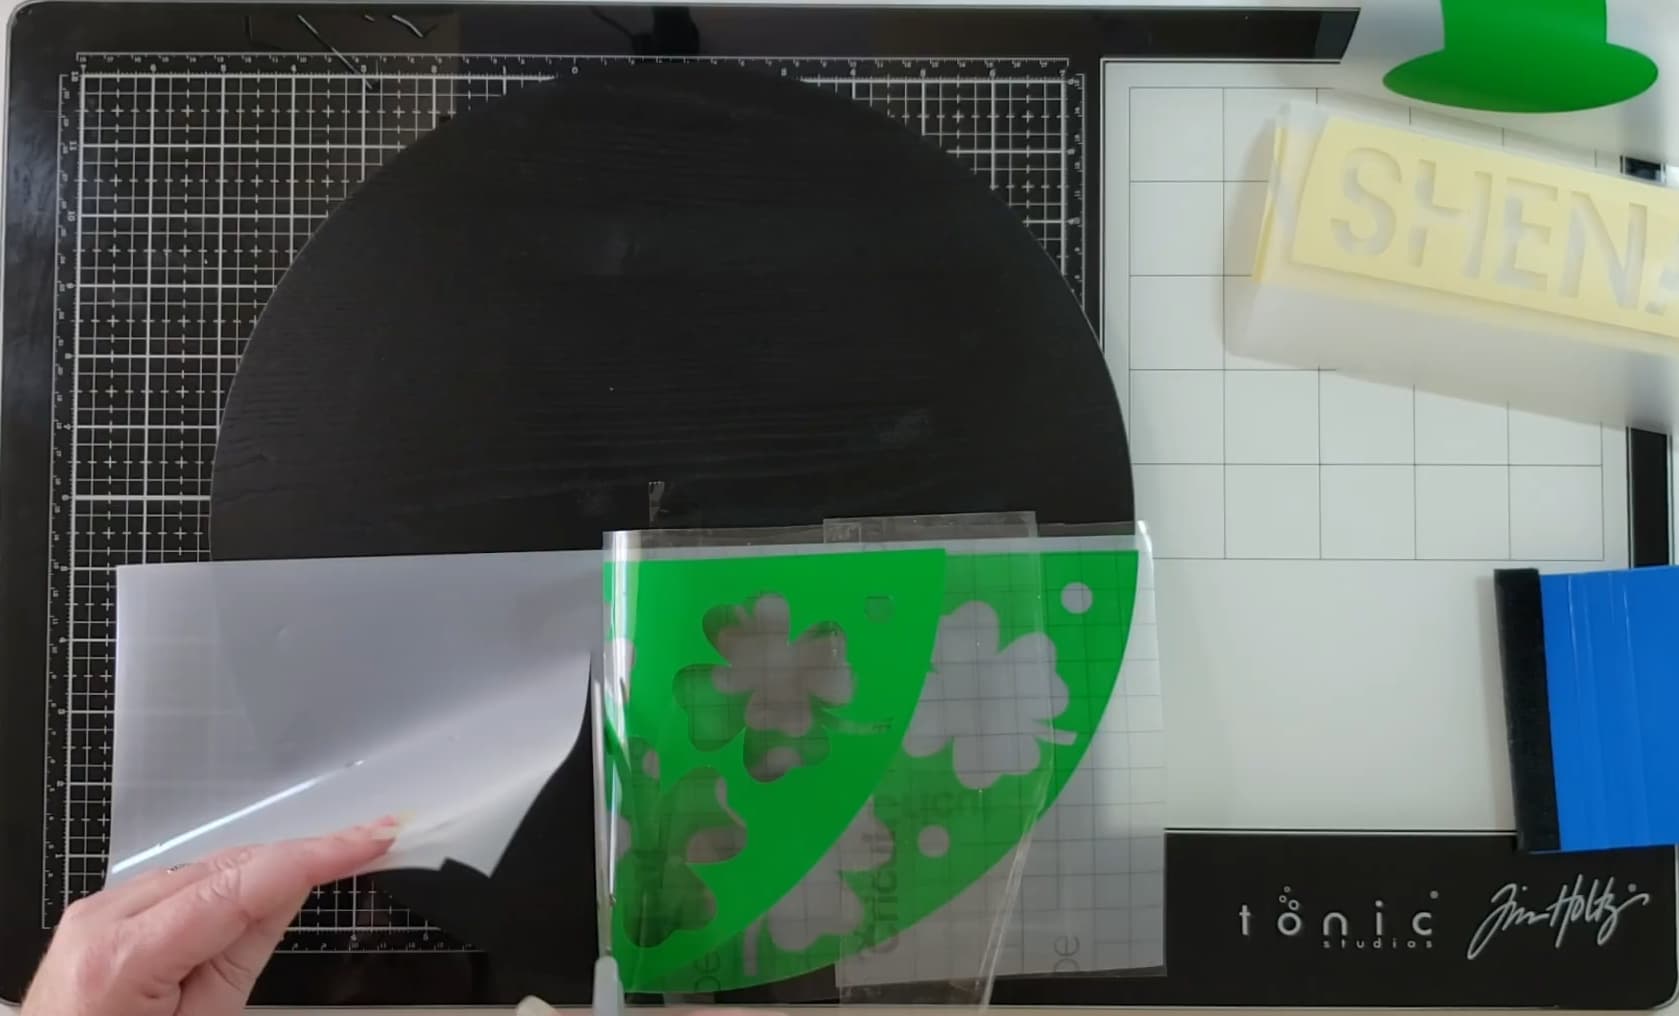
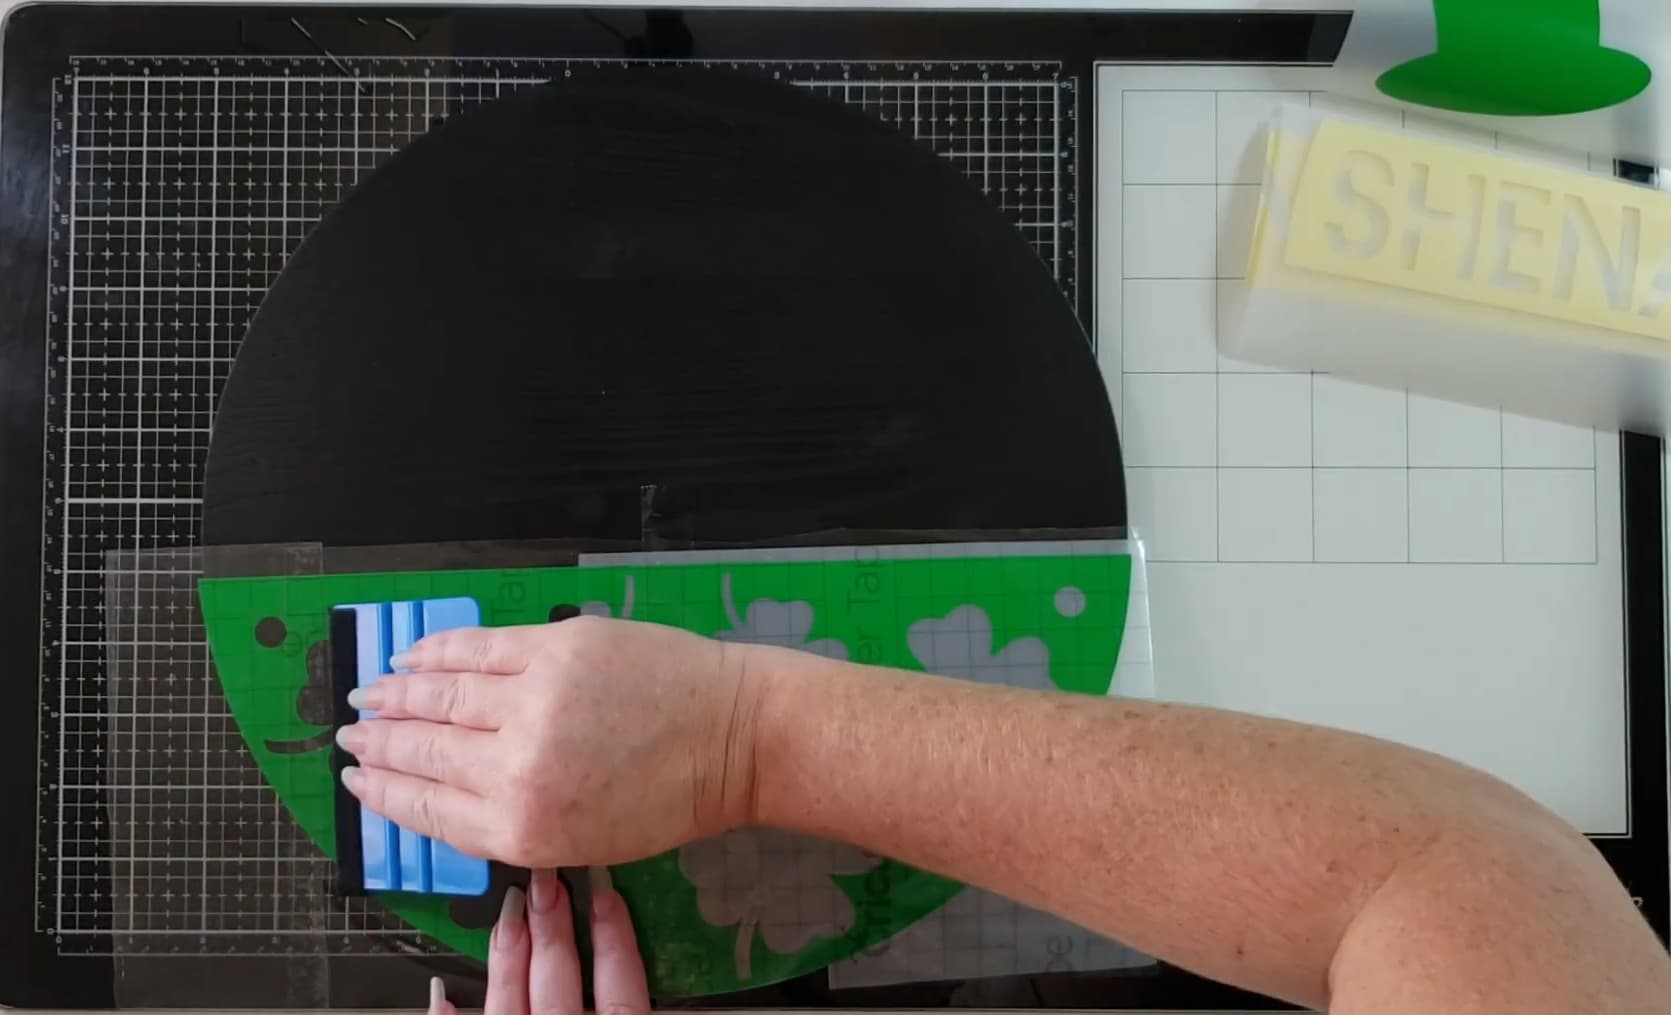
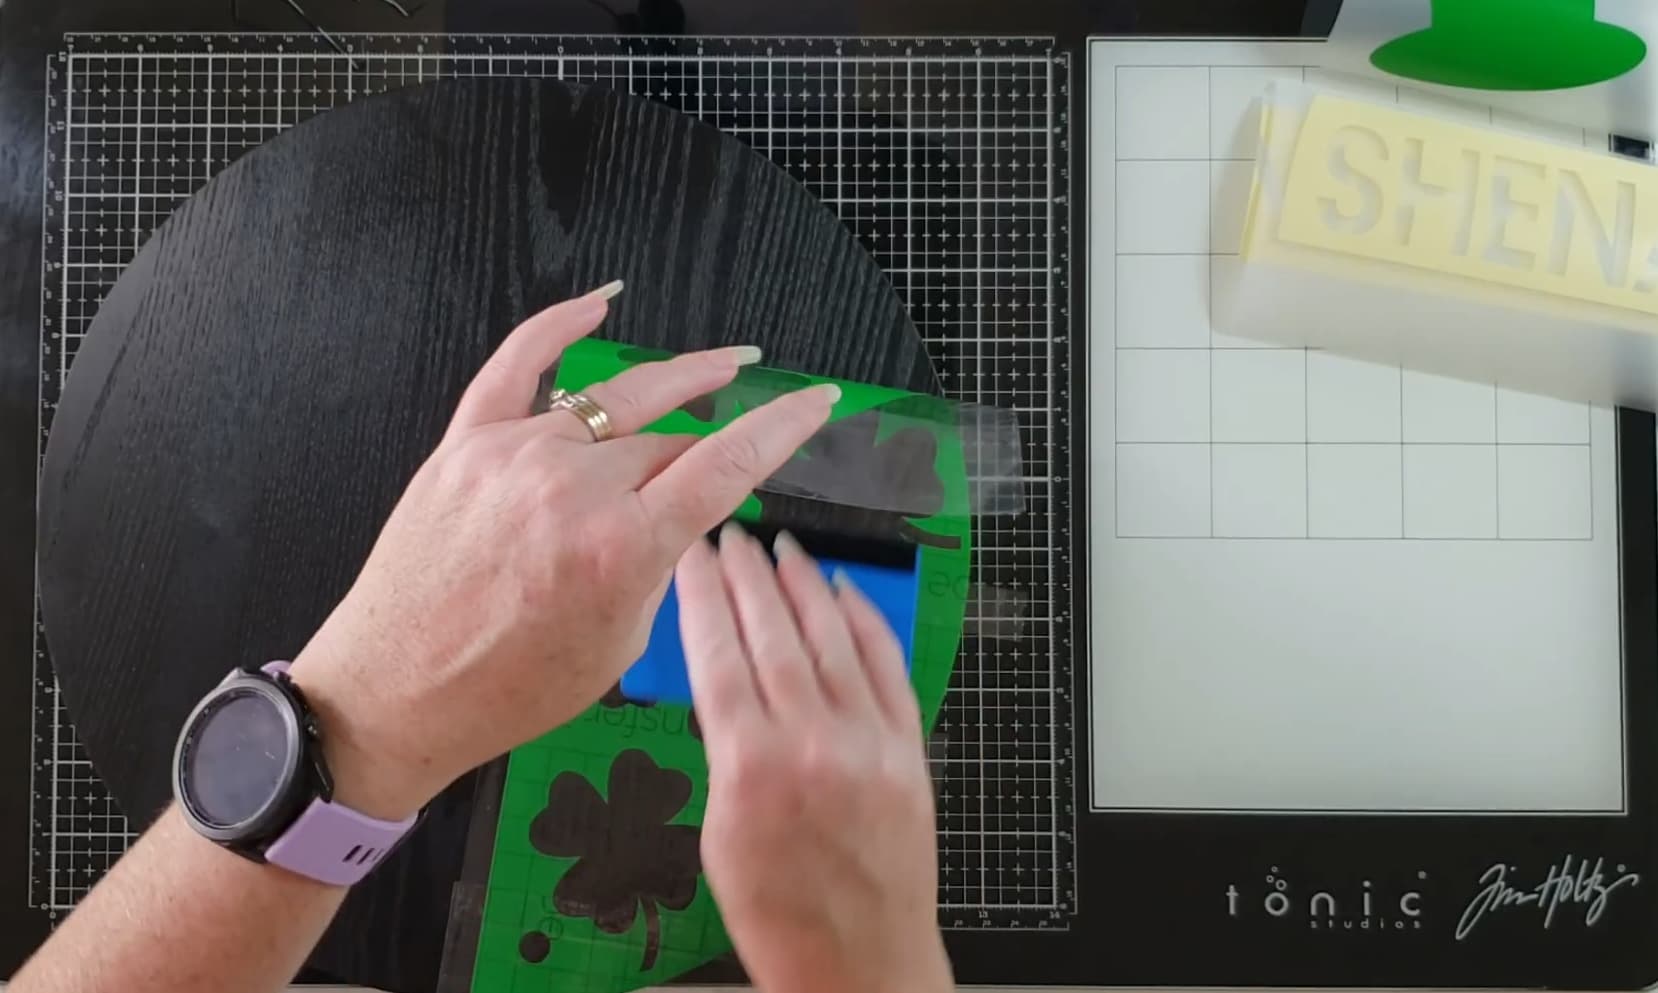
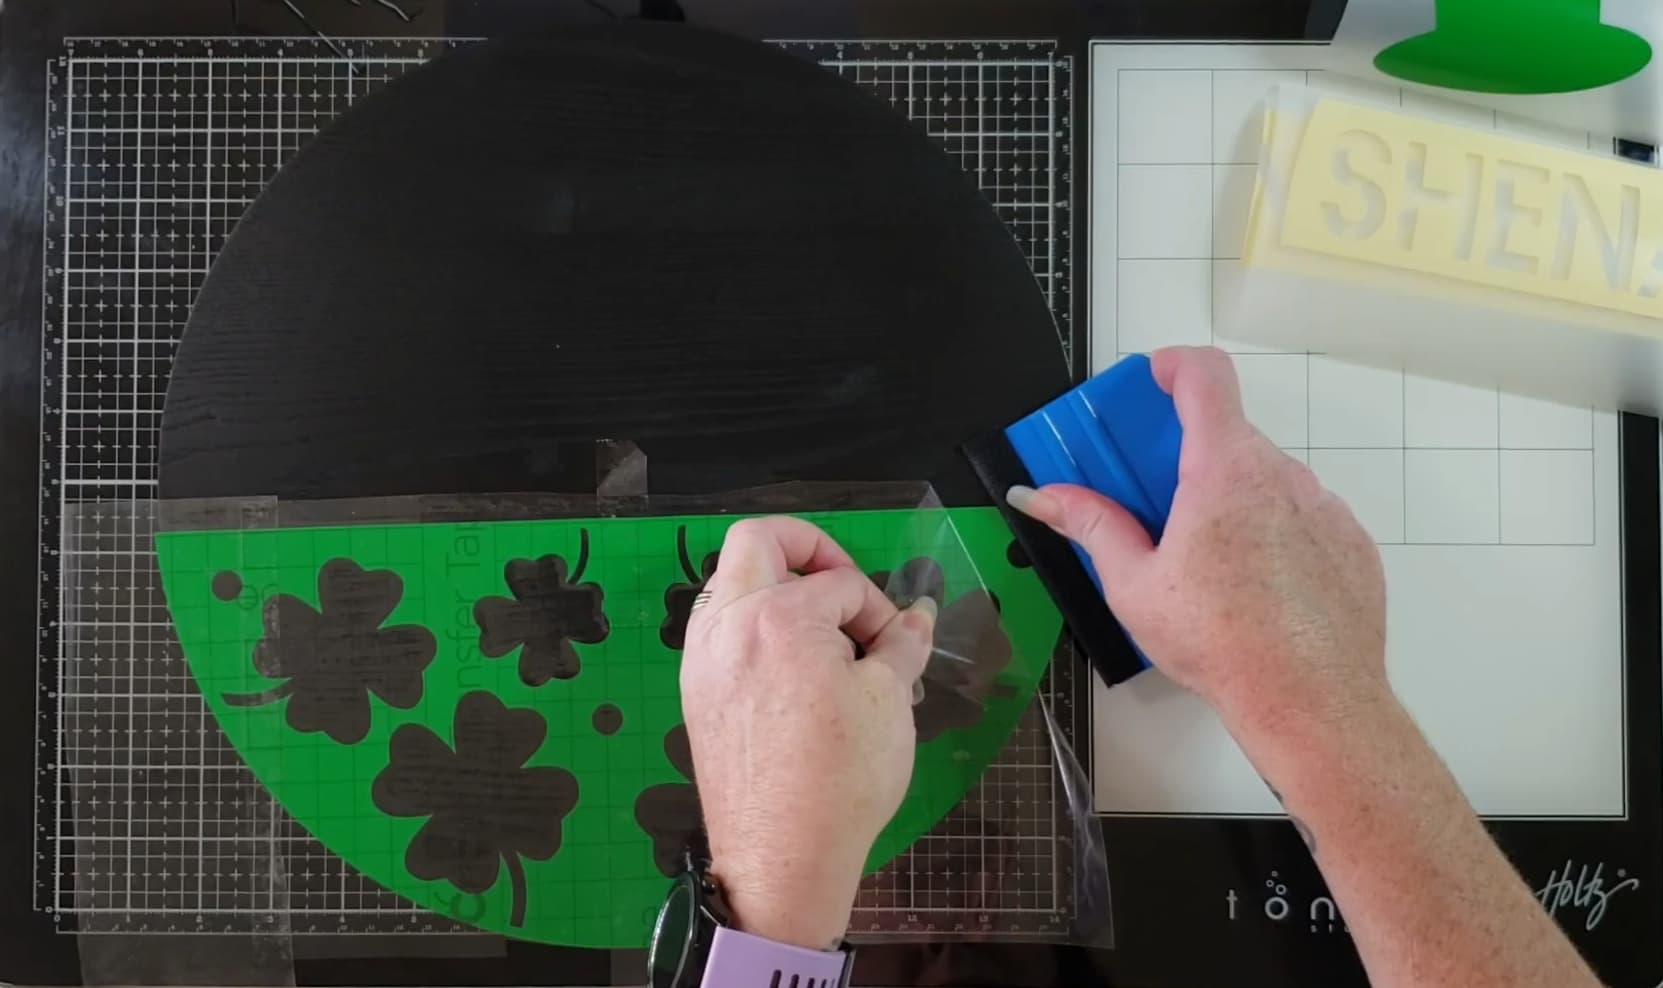
- Apply transfer tape over the design and smooth it out with a scraper
- Peel off the backing paper
- Stick the transfer tape (with design) onto your surface and press down again—then peel off the tape
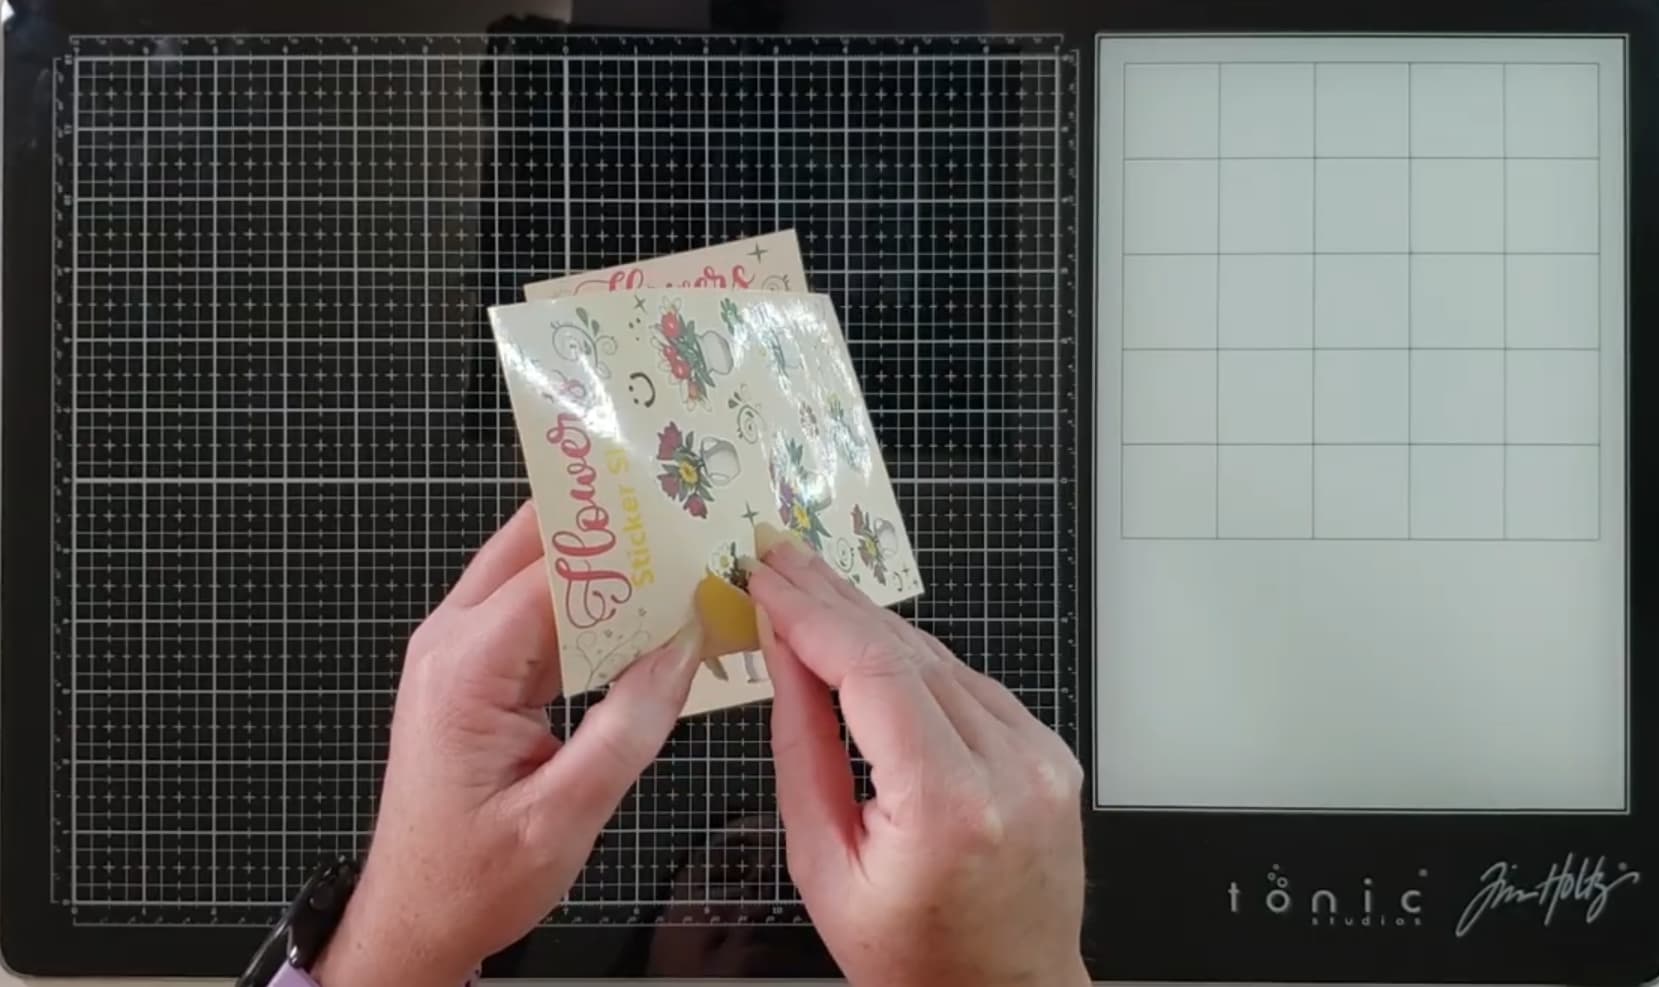
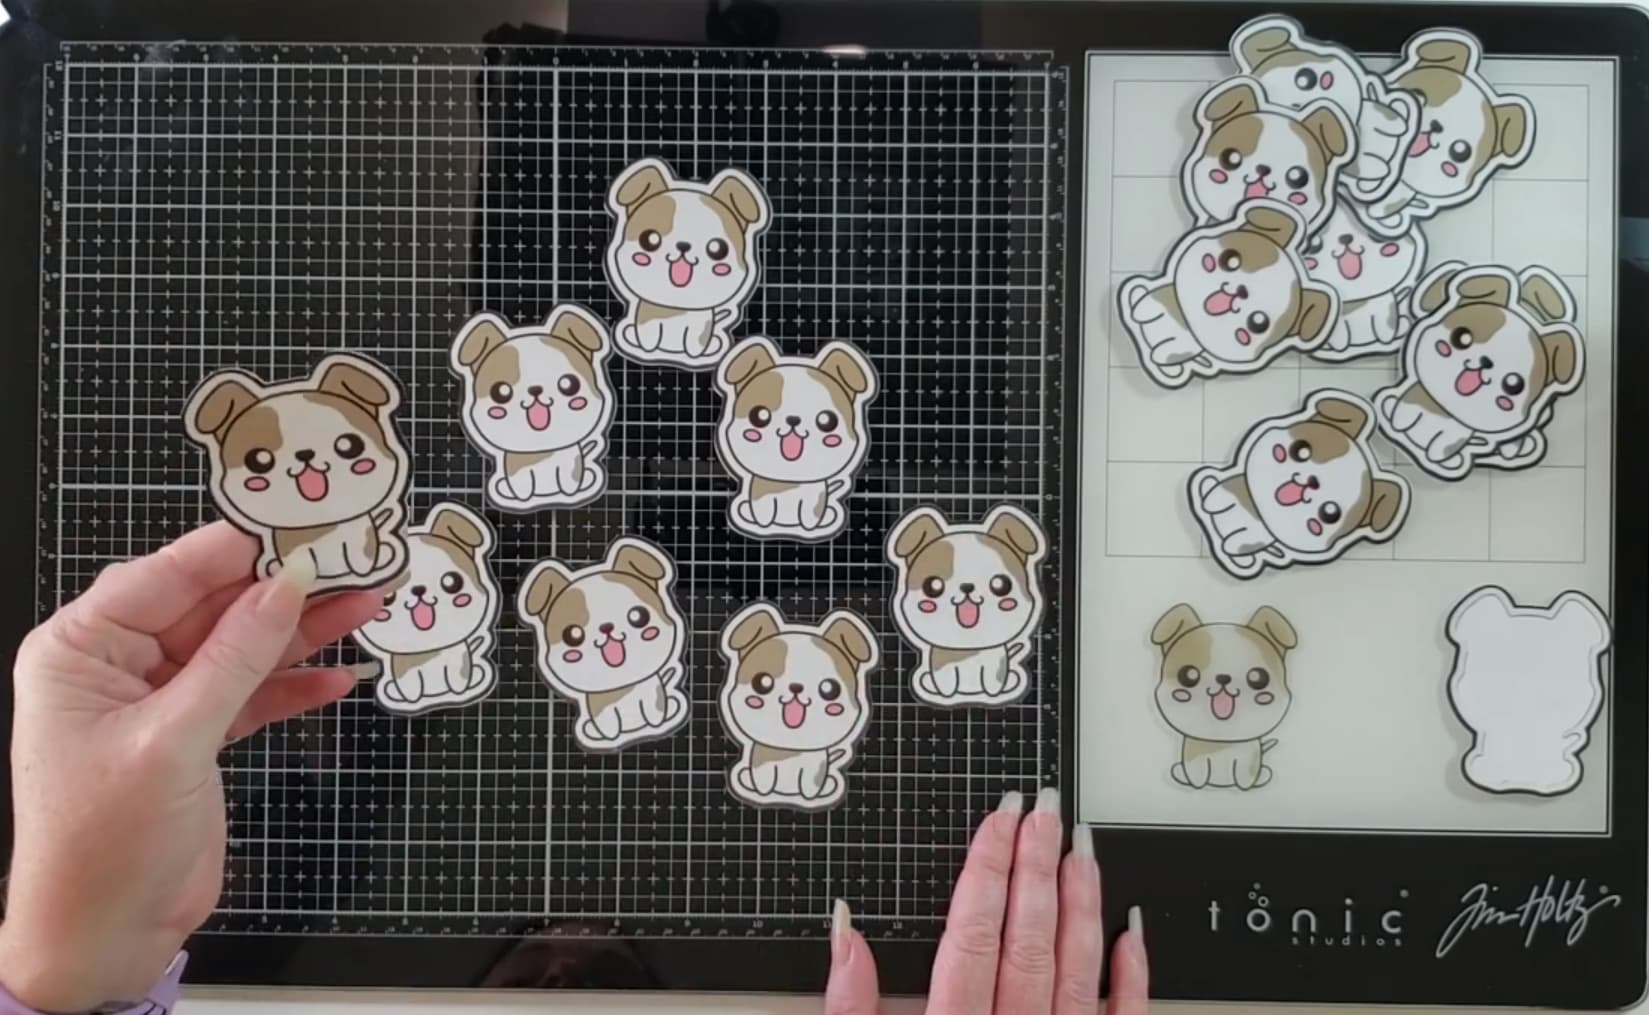
 Printable Vinyl Sticker Paper
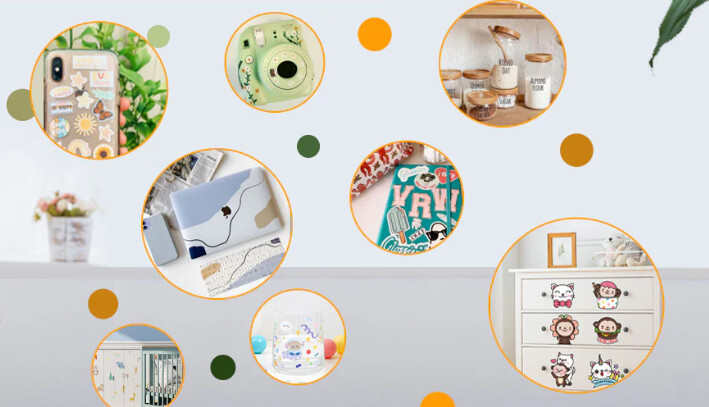
When you want full-color custom stickers, this is your material. Print your design, then contour cut it with your cutting machine. Great for labels, sticker packs, planner pages, and more.
![]() Works with
Works with
Most inkjet printers and cutting machines
![]() Best on
Best on
Clean, smooth, and dry surfaces. Avoid moisture or textured areas.
![]() Things to keep in mind
Things to keep in mind
- Print on the sticky side
- Not ideal for fabric or rough/dusty surfaces
- Water-resistant ≠ waterproof — don’t soak it
![]() How to use
How to use
- Design your image in the software (no mirroring) and send it to your printer
- Print on the sticky side of the paper
- Place the printed sheet on your cutting mat and send it to the cutting machine for contour cutting
- Weed out any excess and apply as needed
![]() Got any tips of your own for using these materials? Share them in the comments—your advice might help another crafter avoid a sticky mistake.
Got any tips of your own for using these materials? Share them in the comments—your advice might help another crafter avoid a sticky mistake.
![]() Next up: Heat Transfer Vinyl & Cardstock—two must-haves for fabric projects and papercraft lovers. Stay tuned!
Next up: Heat Transfer Vinyl & Cardstock—two must-haves for fabric projects and papercraft lovers. Stay tuned!