Hi Community ![]()
Getting a smooth, crisp finish on a hat is always super satisfying. Whether you’re working on foam trucker hats or structured baseball caps, a few simple tricks can make the whole process smoother and the final results even better.
We’ve rounded up some easy and practical tips to try out with our hat heat press — perfect for getting that clean press without the fuss:
![]() Keep the Hat Steady and Aligned
Keep the Hat Steady and Aligned
-
Before pressing, place the hat on the pad and check that it fits snugly. Once it’s in place, open the holder and lift the handle.
-
Before use, check that the heating plate is aligned with the hat.

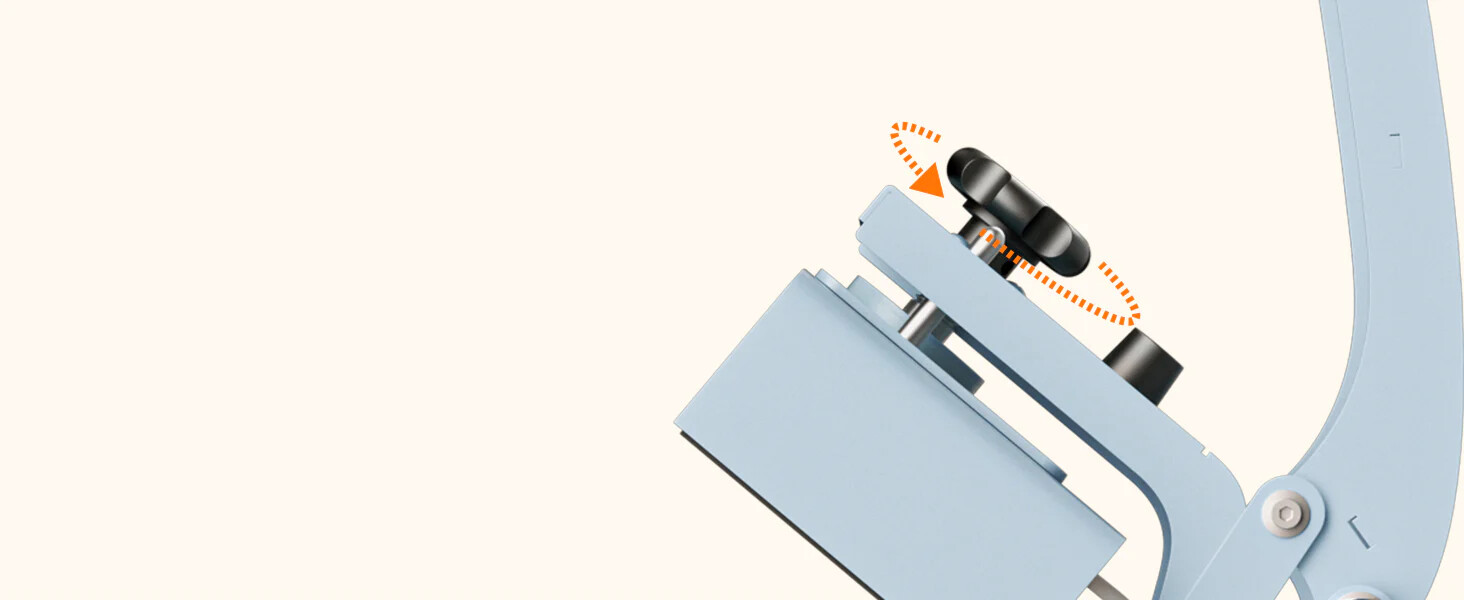
![]() Quick Way to Adjust the Pressure
Quick Way to Adjust the Pressure
- Before turning the machine on, place the hat, lower the handle, and turn the pressure knob while checking how well the heating plate fits against the hat.
![]() Check These Before You Start
Check These Before You Start
- Confirm whether the temperature unit is set to °C or °F.
- Match the time, temp, and pressure to the recommended settings in the manual.
![]() Lifting the Machine Off the Table
Lifting the Machine Off the Table
- Slide one corner of the machine off the edge of the table before lifting.
- Or start lifting from the side to help release the suction more easily.
![]() Tips to Avoid Creases
Tips to Avoid Creases
- Pull the sweatband forward so it’s not trapped under the press.
- Try pressing the hat surface flat before placing the film.
- If creases still show, reduce the pressing time or lower the pressure and try again.
![]() A Note About Countdown Timing
A Note About Countdown Timing
- The countdown starts automatically once the handle is lowered.
- To avoid early countdown, wait until the machine has fully heated before pressing down.
![]() Got your own tips or things you’ve learned while using the hat press? Drop them in the Product Discussion section — we’d love to hear them.
Got your own tips or things you’ve learned while using the hat press? Drop them in the Product Discussion section — we’d love to hear them.
![]() Click crafter-notes to explore more from the series, or catch up on past tips here:
Click crafter-notes to explore more from the series, or catch up on past tips here:
• Small Tips That Make a Difference in DTF Printing
• Little Tweaks for Better Engraving