
One of the best parts of crafting is figuring out little tricks that make the whole process smoother. Here’s a round-up of practical iEngrave tips to help you get cleaner cuts, steadier lines, and just an all-around better experience.
If you’re still getting familiar with your machine, these might come in handy.
 Want Cleaner Cuts and Deeper Engravings? Here’s How:
-
Focus Check
Before each engraving or cut, make sure to use the focus block properly—the bottom of the focus block should touch the surface of your material.
For thicker materials, after focusing normally, lower the laser head by an extra 3mm for better cutting.
-
Software Settings
In LightBurn, go to Edit > Device Settings and check that S-value MAX is set to 1000.
Default speed unit is mm/min—if yours is in mm/s, don’t forget to convert it.
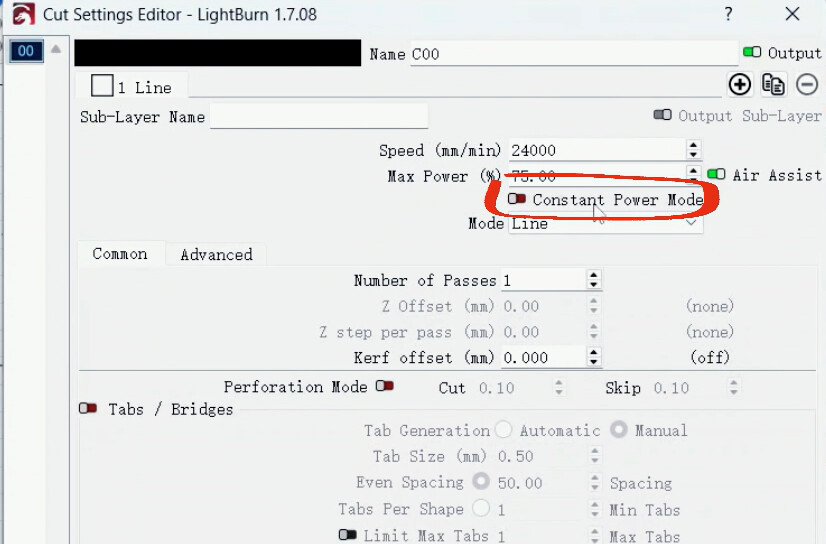
For speeds over 24000 mm/min (4000 mm/s), it’s recommended to turn on Constant Power Mode for a more stable output.
In LaserGRBL, select M3 Mode to maintain steady power.
-
Keep Your Lens Clean
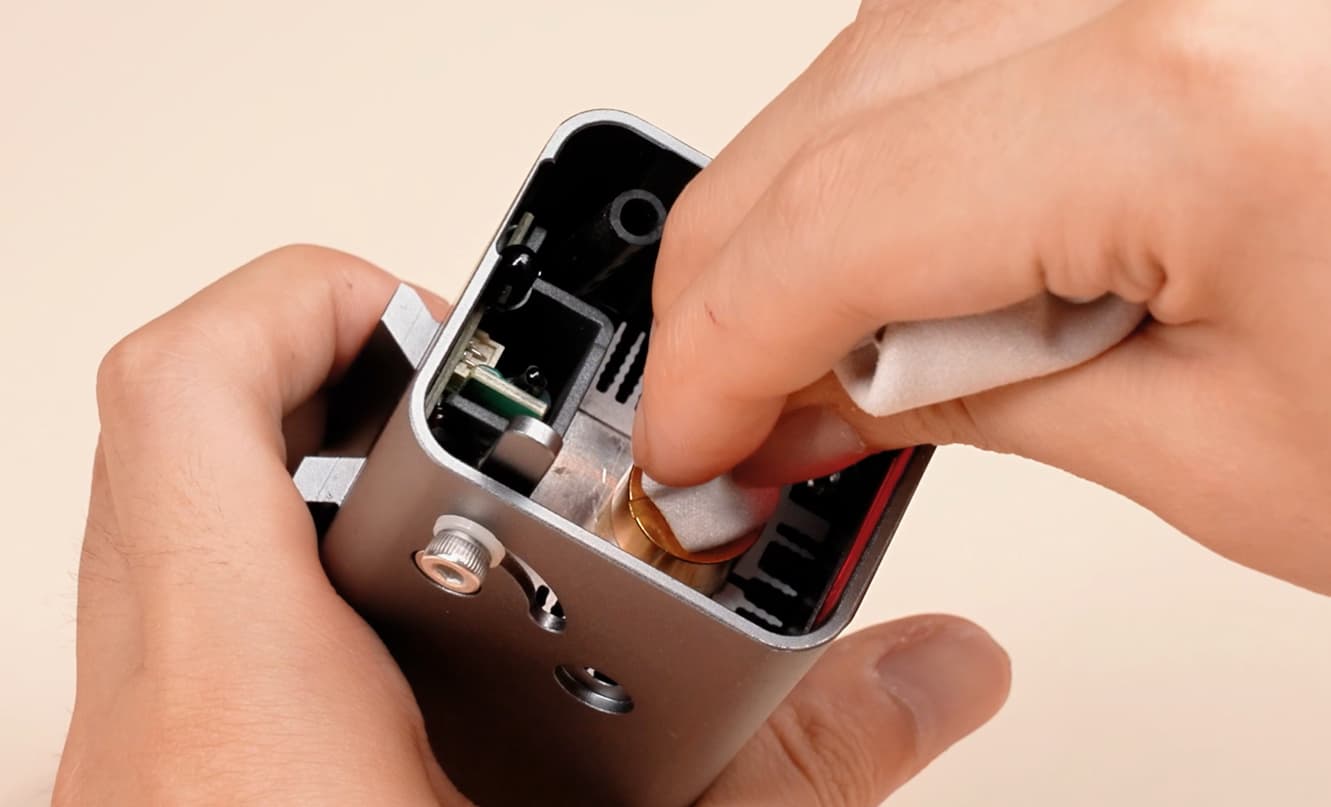
If your cuts seem lighter than usual, check the laser head’s protective lens.
Use a lint-free cloth and 99%+ alcohol to gently wipe away any dust or smudges.
 Want More Stable Engraving?
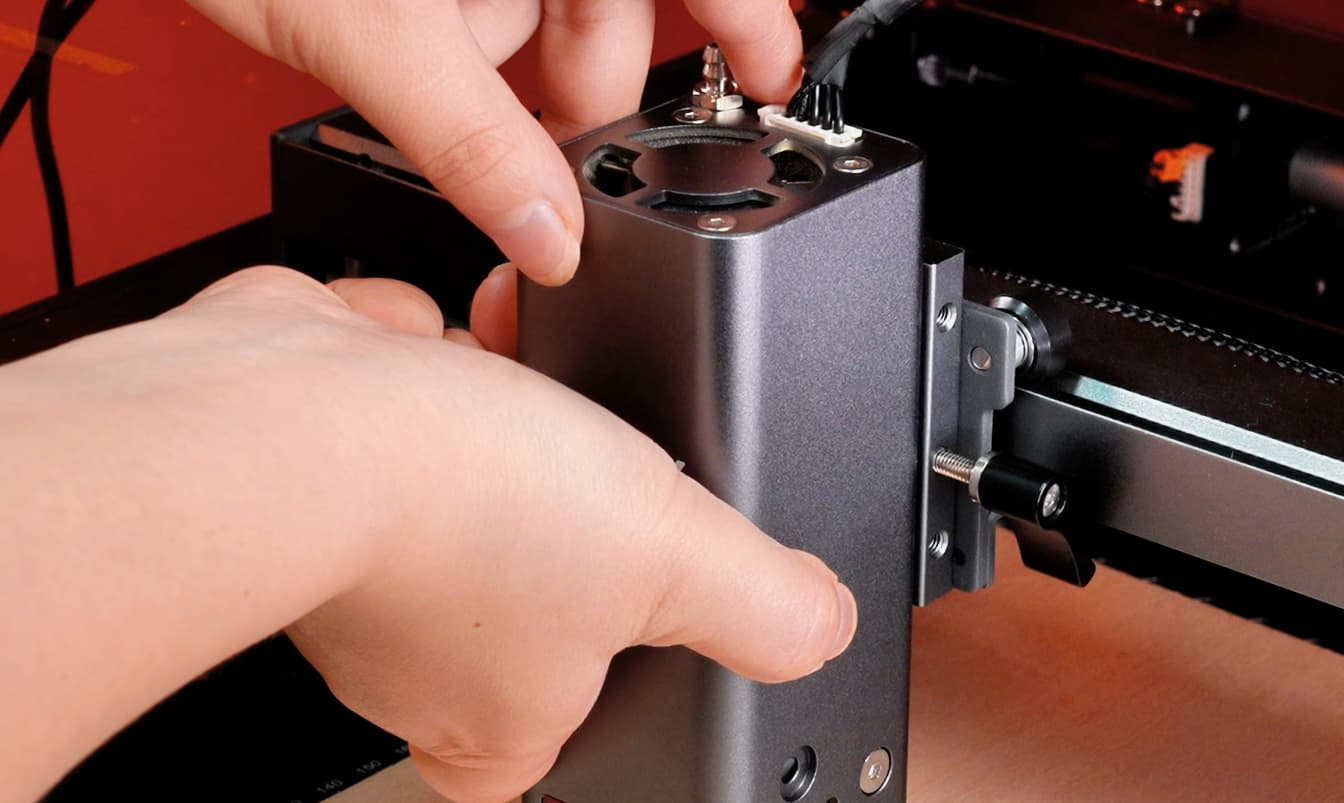
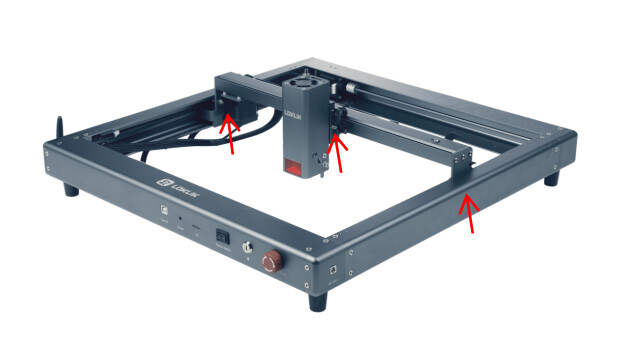
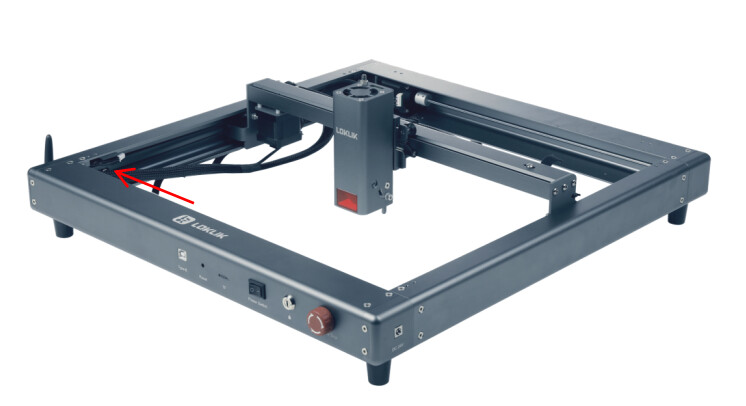
- Gently move the laser module left and right, and slide the X-axis back and forth—it should feel smooth, no sticking.
- Check the eccentric nuts, belts, pulleys, couplings, and motor brackets—tighten if needed to keep the machine stable.
 Engraving Small Items? Try This for Accurate Placement
When working with small blanks, use the software’s Frame (Border Preview) feature first to confirm the laser position.
Adjust the material or the laser head so the frame stays inside your blank—this way you avoid accidentally engraving the workbench.
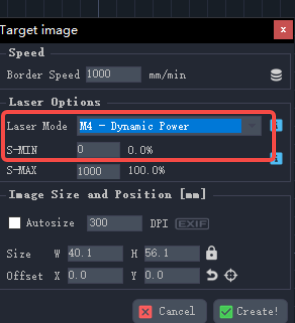
 White Areas in Your Image Engraving Too Deep? Here’s a Fix
If you’re engraving images and notice that white areas are leaving unwanted marks, you can adjust the settings to keep the white parts clean:
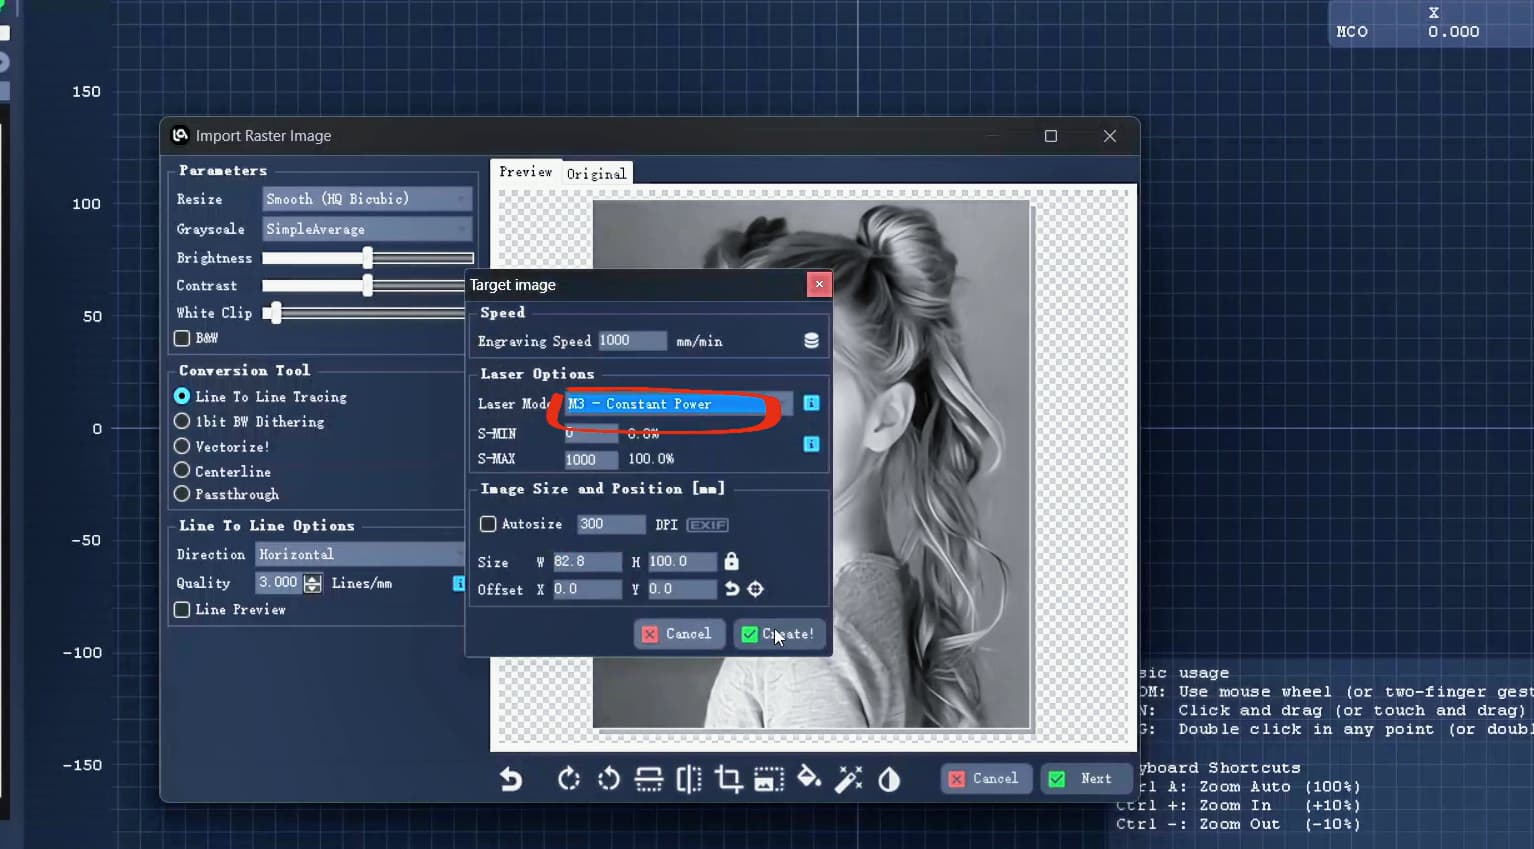
- In LightBurn, go to Cut/Layer Settings, turn off Constant Power Mode, and set the Minimum Power to 0 when using grayscale engraving.
- In LaserGRBL, choose M4 Dynamic Mode and set Minimum Power to 0 as well.
 Acrylic Cutting Tips
- For best results, use dark, opaque acrylic—black works especially well, but red, green, and orange are good too.
- Go for cast acrylic instead of extruded acrylic when cutting—it cuts cleaner.
- If you still want to try light-colored acrylic, paint both sides black first, then adjust your parameters (increase power, reduce speed, add more passes) to test cut.
 Next Up
We’re always collecting ideas for future Crafter Notes—whether it’s about tools, materials, or small tips that make crafting smoother.
Got something you’d like to learn more about? Or a question you’ve run into recently? Feel free to drop a comment and share it with us!
![]() Missed the earlier Crafter Notes? Catch up here:
Missed the earlier Crafter Notes? Catch up here:
- Need a Hand with Calibration? These Tips Might Help
- The Little Things We Do for Better Mug Pressing
- Know Your Materials #1 | Adhesive Vinyl & Printable Sticker Paper
- Know Your Materials #2 | Heat Transfer Vinyl & Cardstock
- Know Your Materials #3 | Heat Transfer Paper & DTF Transfers
- Know Your Materials #4 | Sublimation Blanks & Sublimation HTV