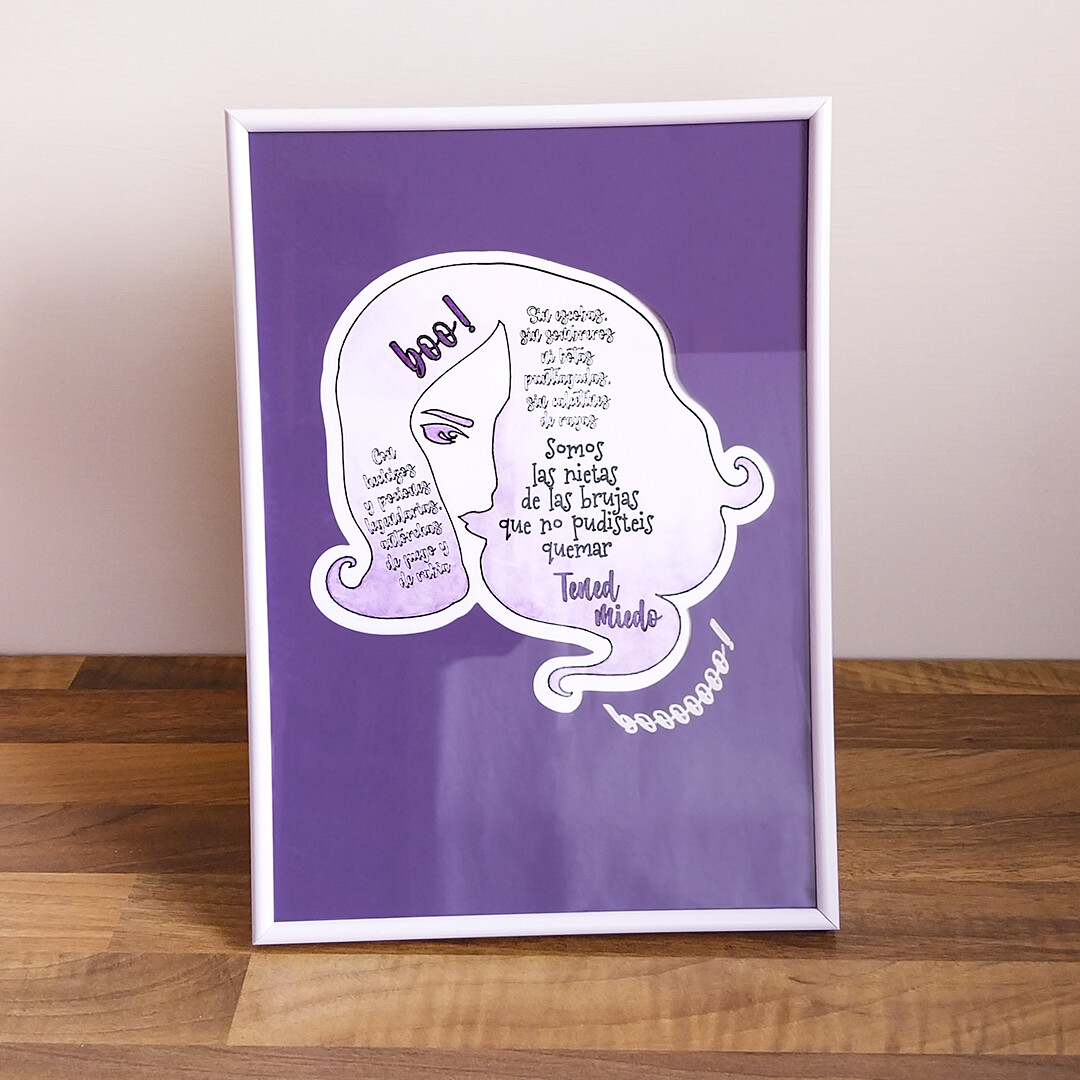
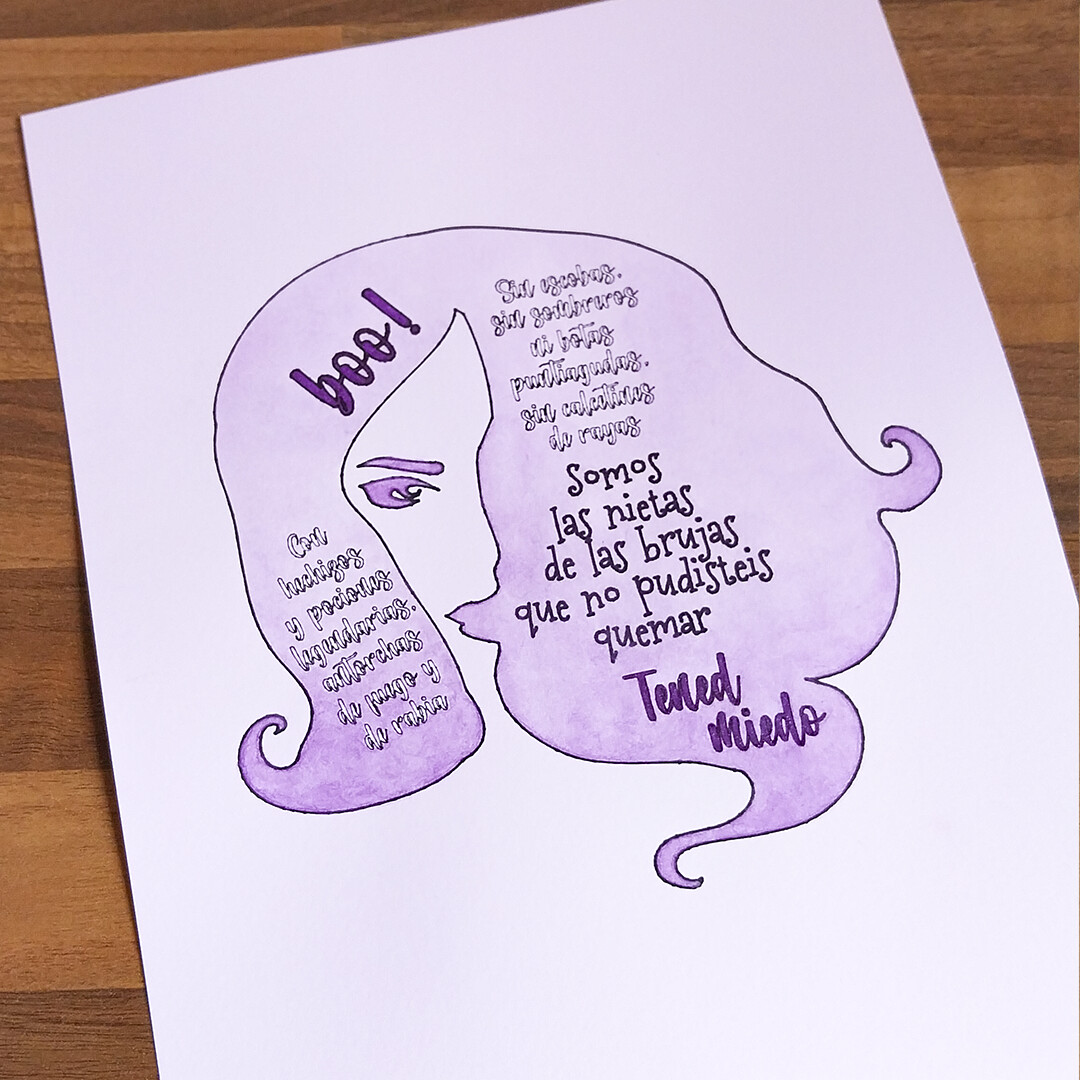
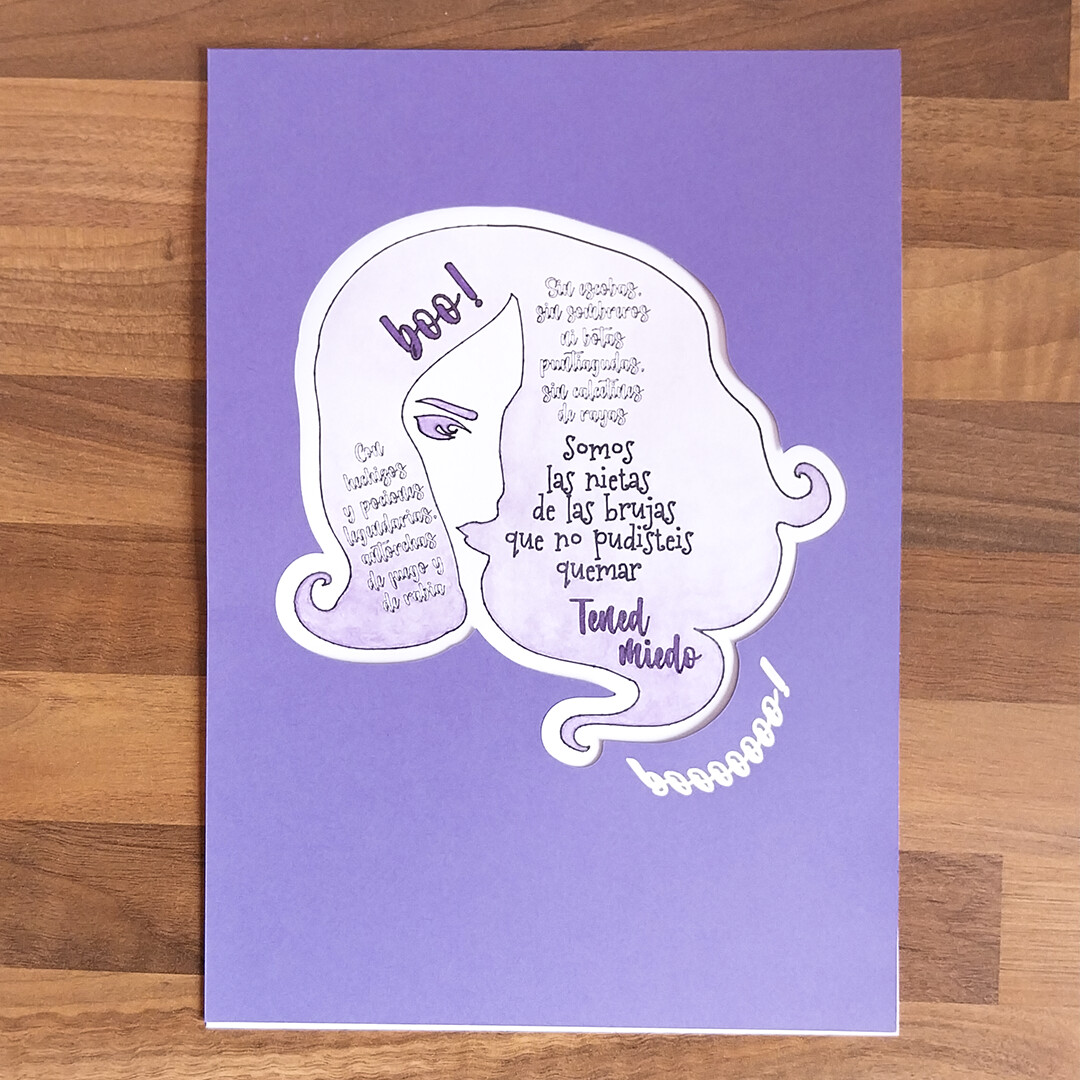
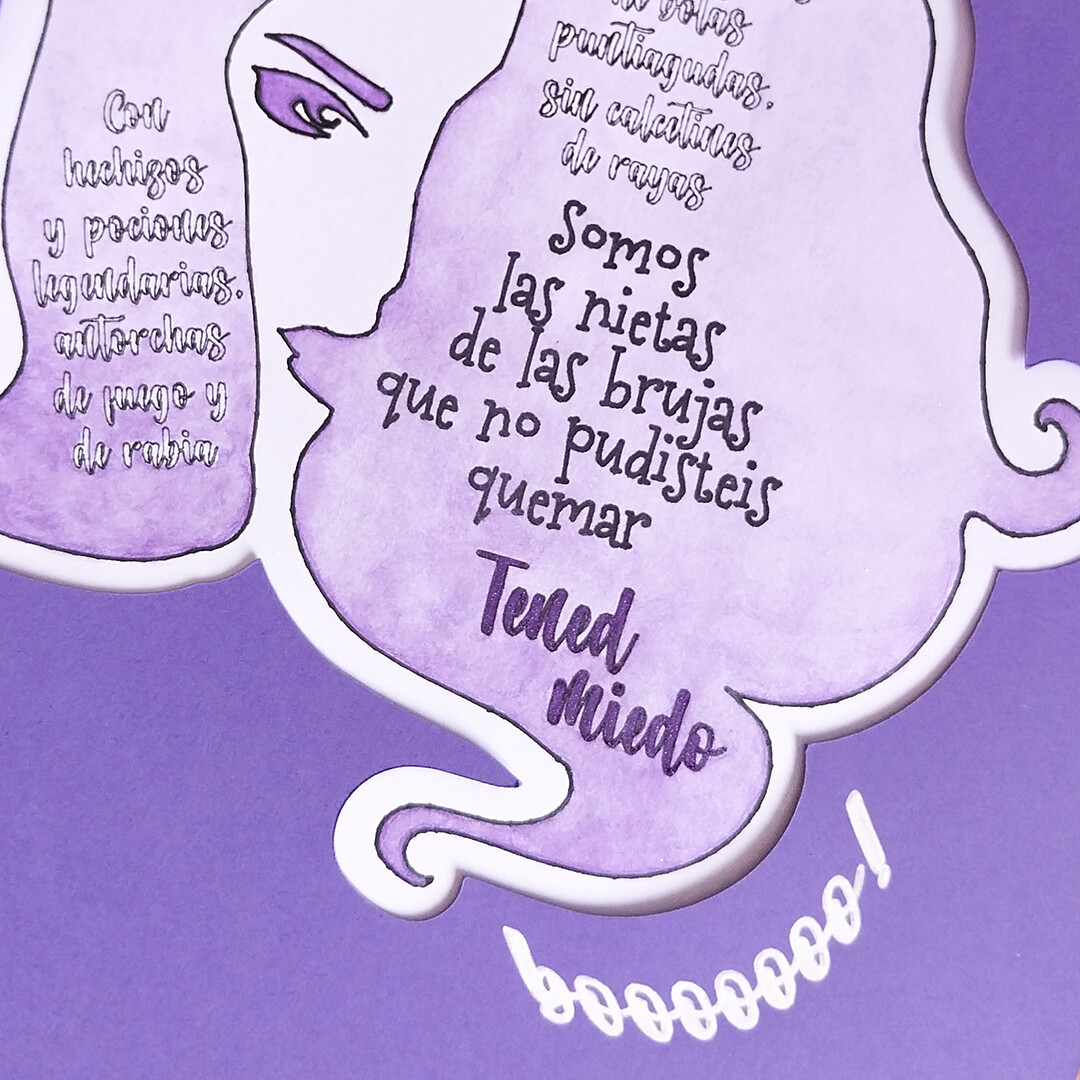
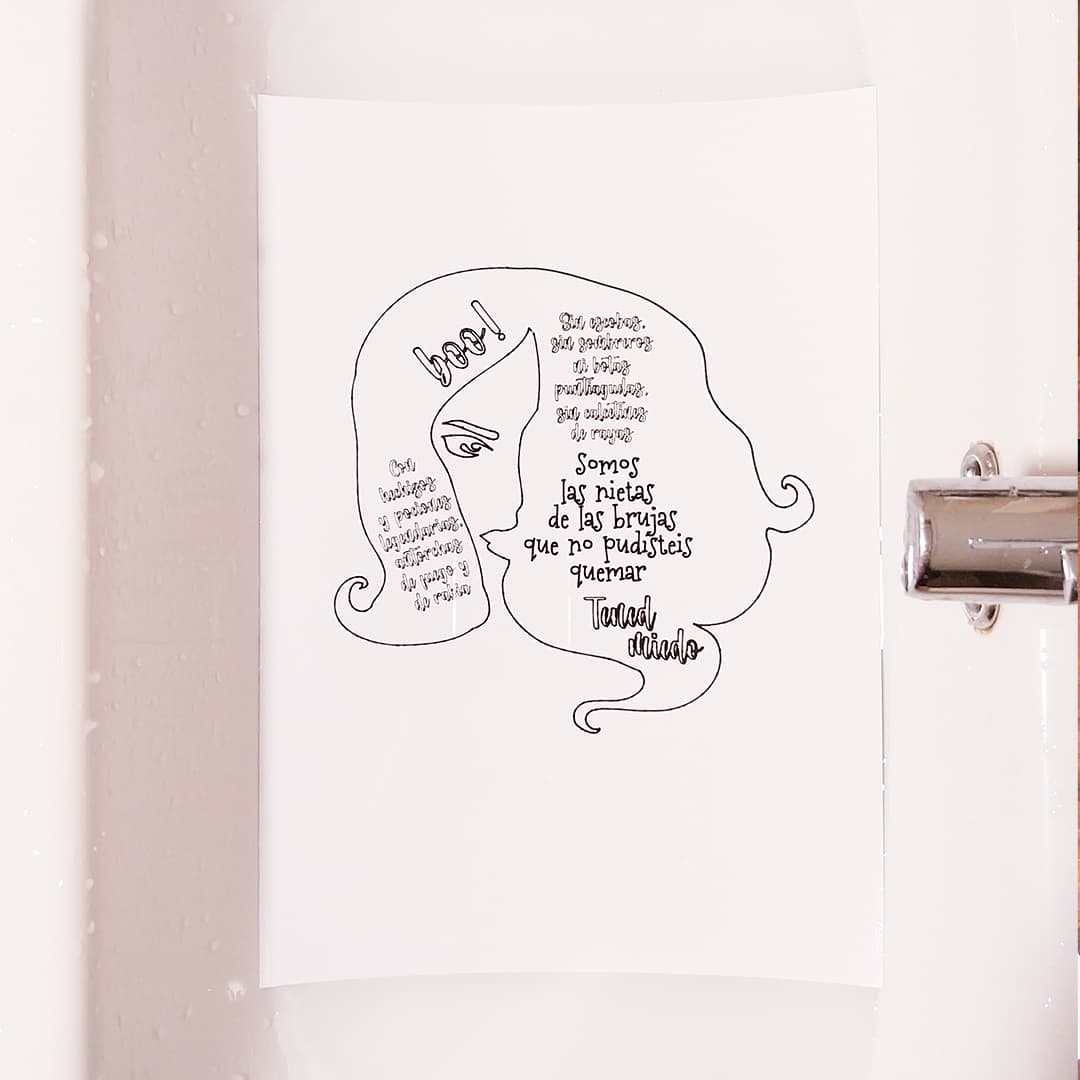
This project is my feminist Halloween tribute: a two-layer artwork fully created in IS. A first layer with the silhouette of a curly-haired woman’s face from the asset library, coloured with a soft glow of metallic watercolor. A second layer with a purple cardstock cut with an offset of the hair shape, serving as a fitting passepartout. Together they form a statement piece for this Halloween, where art, rebellion and sisterhood meet.
The poem reads in Spanish:
“Con hechizos
y pociones
legendarias,
antorchas
de fuego y
rabia
Sin escobas,
sin sombreros
ni botas
puntiagudas,
sin calcetines
de rayas
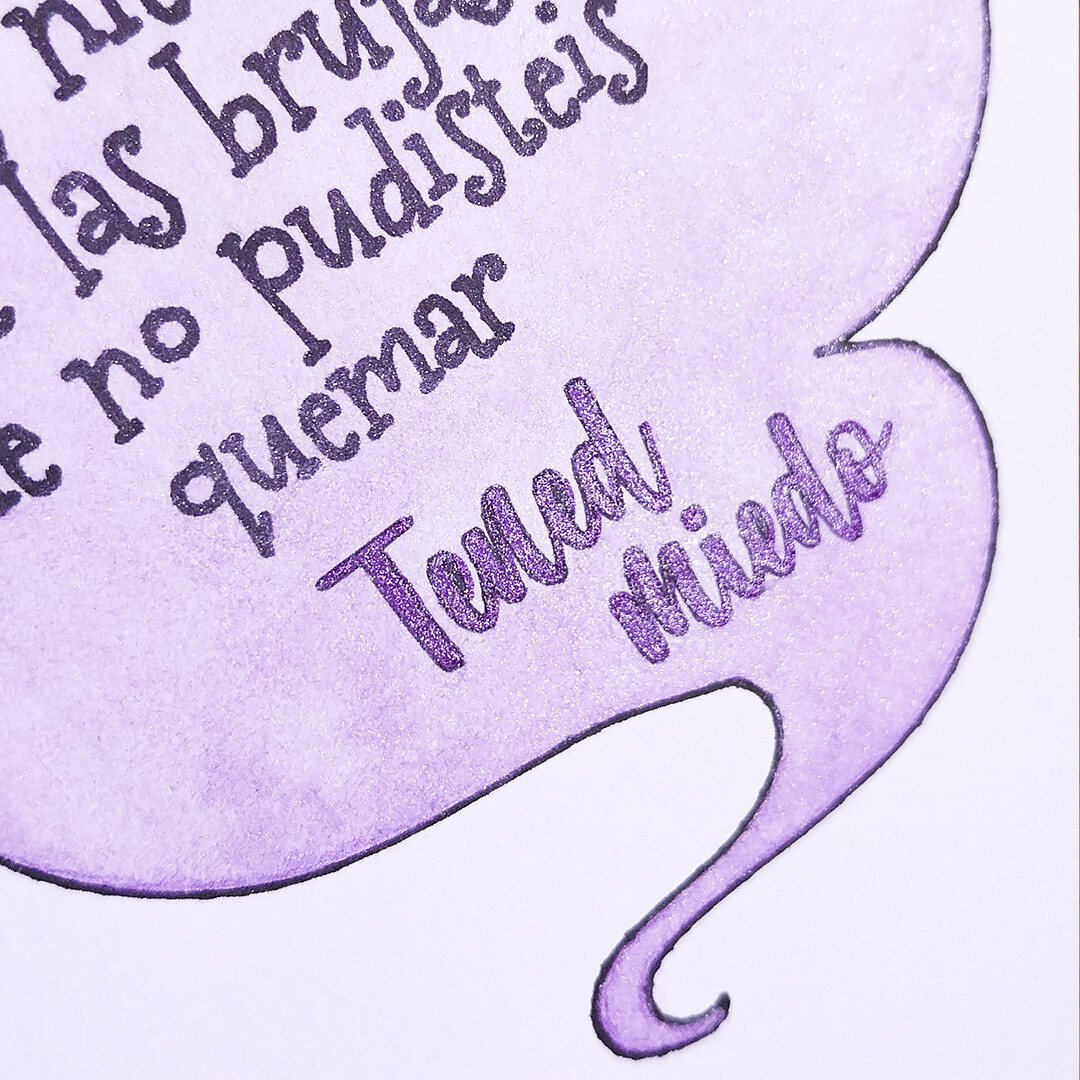
Somos
las nietas
de las brujas
que no pudisteis
quemar
Tened miedo
Boo!”
An English translation would read:
“With legendary
spells
and potions,
torches
of fire
and rage
Without brooms,
without
pointy hats
nor boots,
without striped socks
We are
the granddaughters
of the witches
you could not
burn
Be afraid
Boo!”
The poem seemed to write itself from my reflections on witches (feminism vs history), and wonders about their symbols. Perfectly joining the “we are the granddaughters of the witches…” universal feminist slogan, and expressing my thoughts on the strength of a witch, and what it is not. The threat of a sage to those who condemn us.
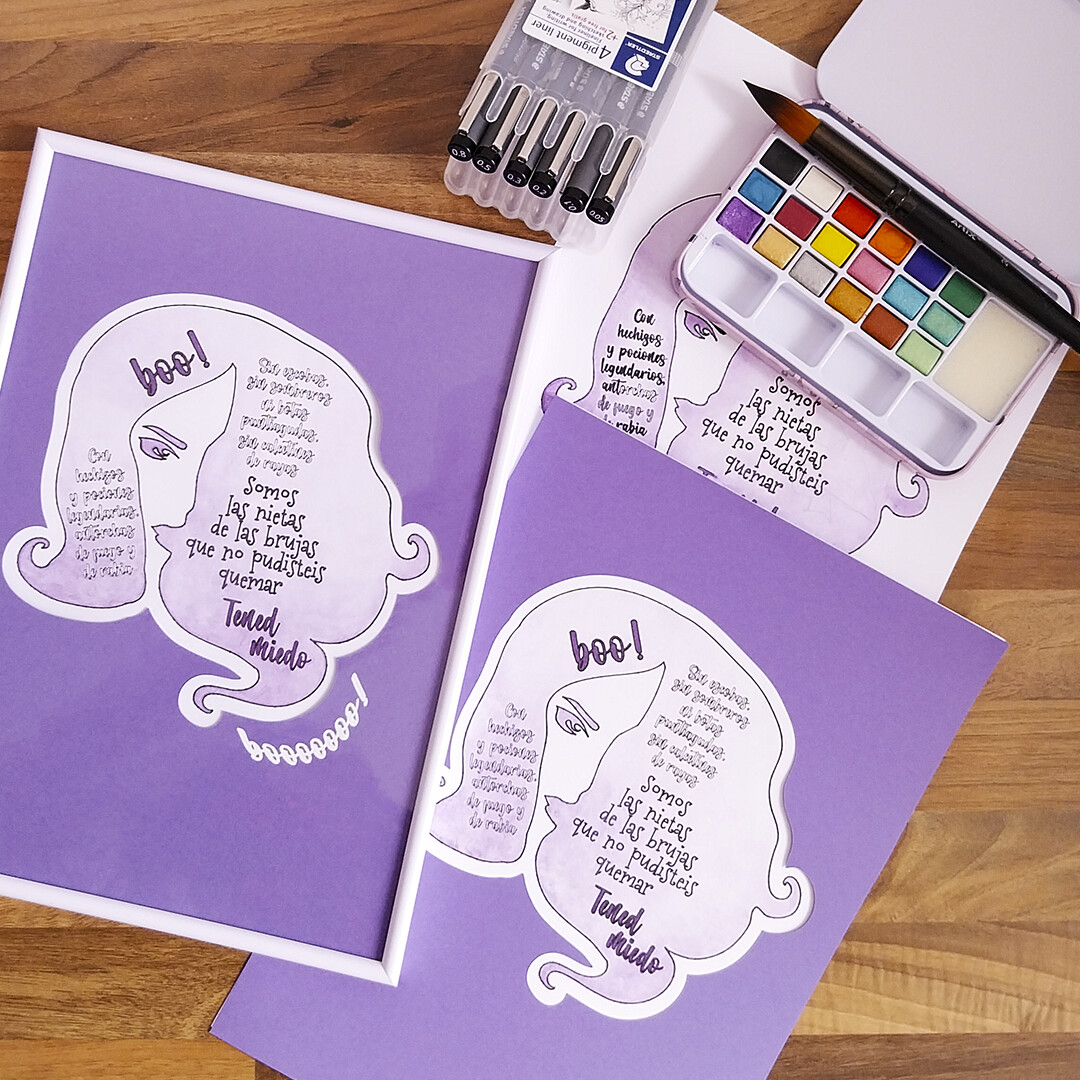
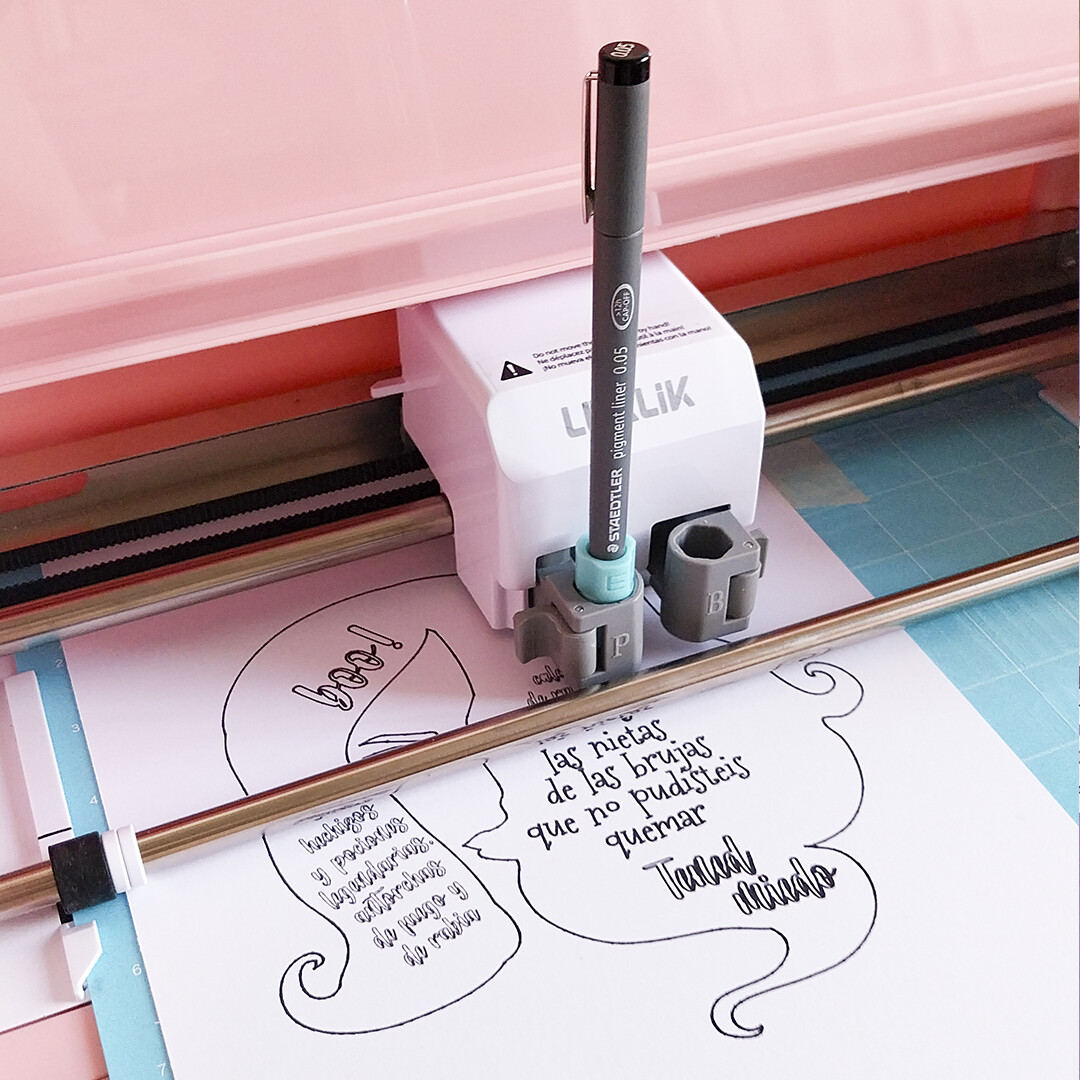
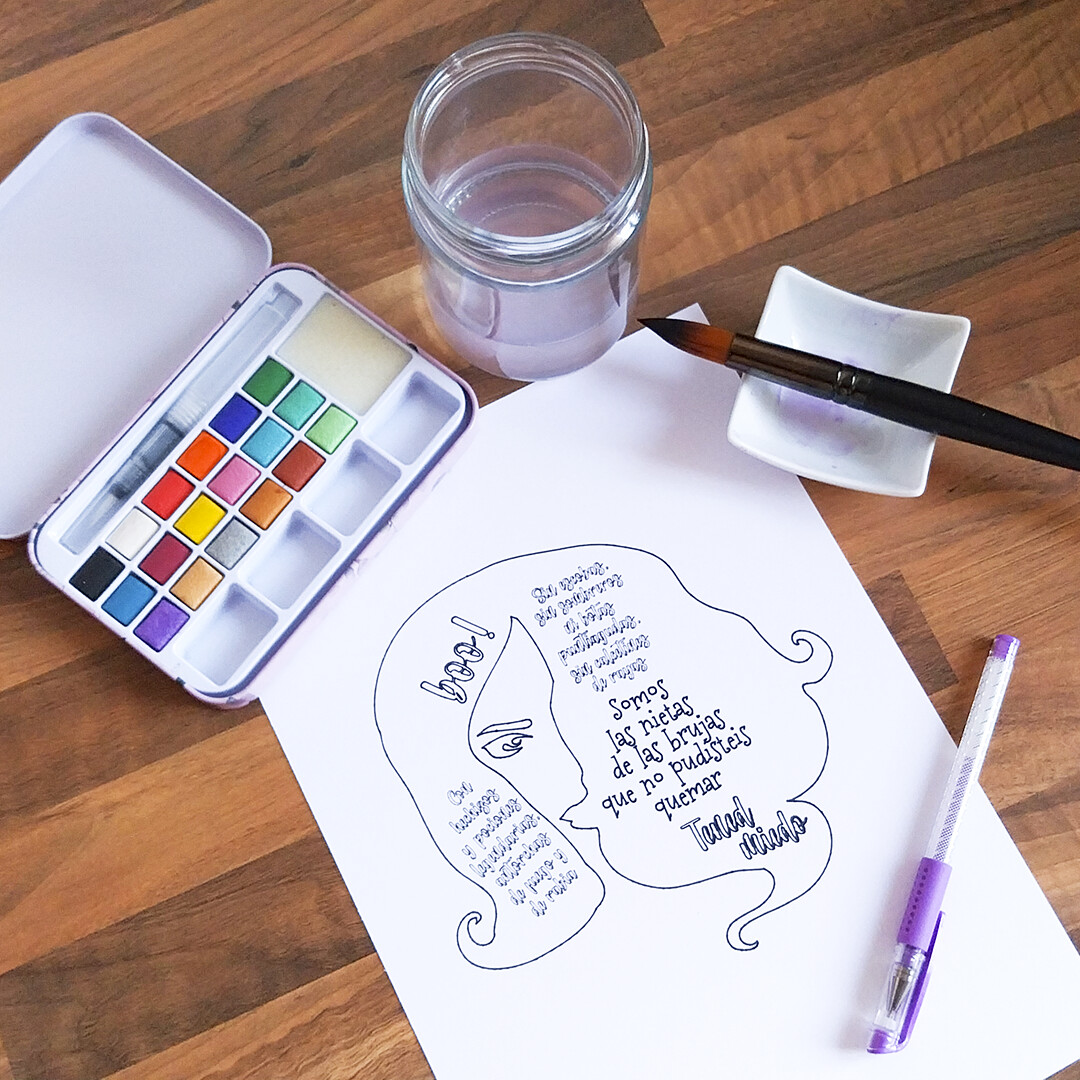
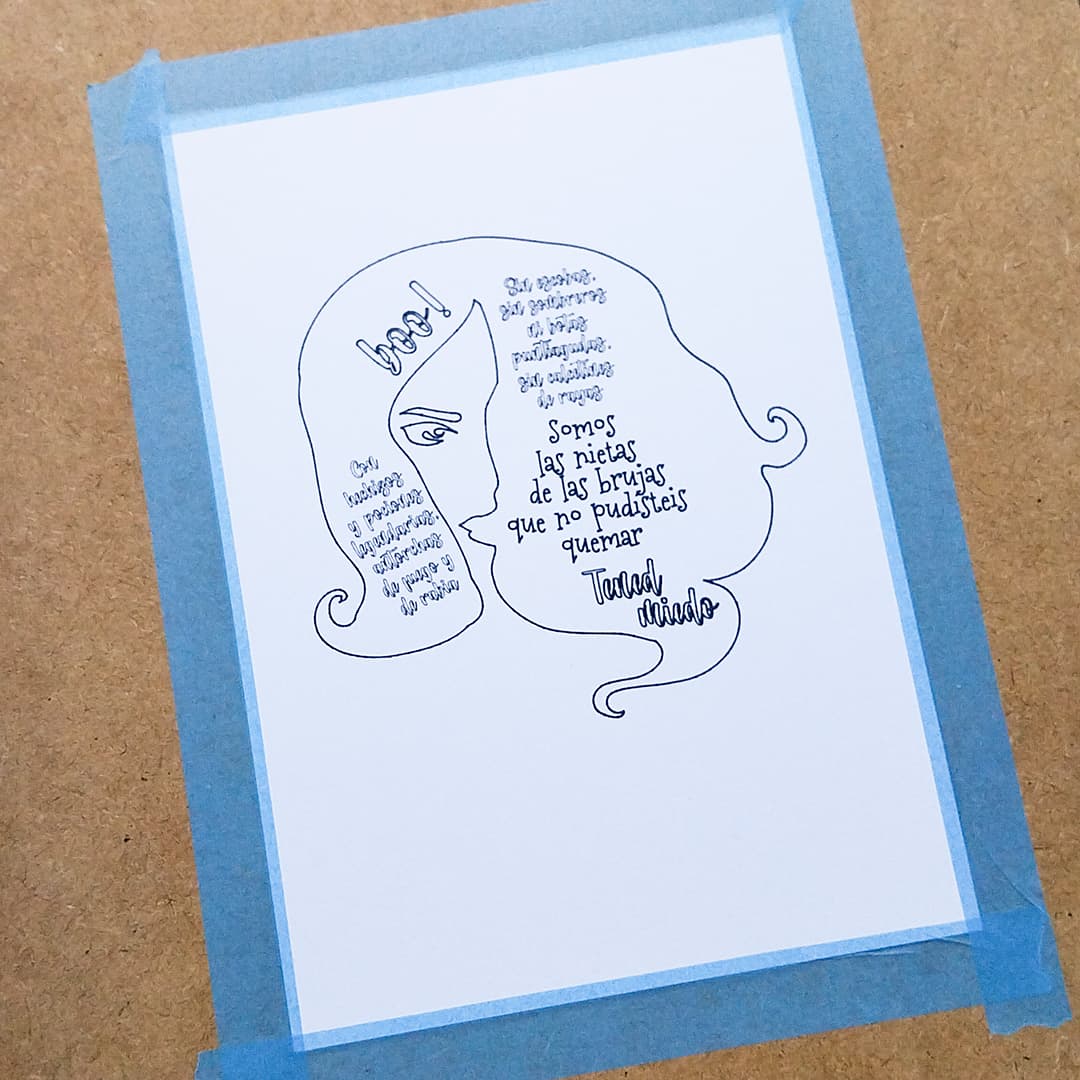
I drew everything with the Crafter’s Pen function using waterproof pigment markers, my adapter set and a cheap set of metallic watercolors I wanted to test. After drying, I pressed the sheet with my Impress Auto 2. The very first time I used it for watercolor pressing, and honestly, I don’t know how I lived without it! It turned what used to be a slow, careful process into a perfect, quick flattening.
Some glitter gel pen details brought the shine back, and I just need to cut the purple layer and add “booooooo!” in white with a Gelly Roll pen, arched thanks to the new curved text feature in the IS desktop version to use the Pen Function again. Now it only needs a frame, and the spell is complete!