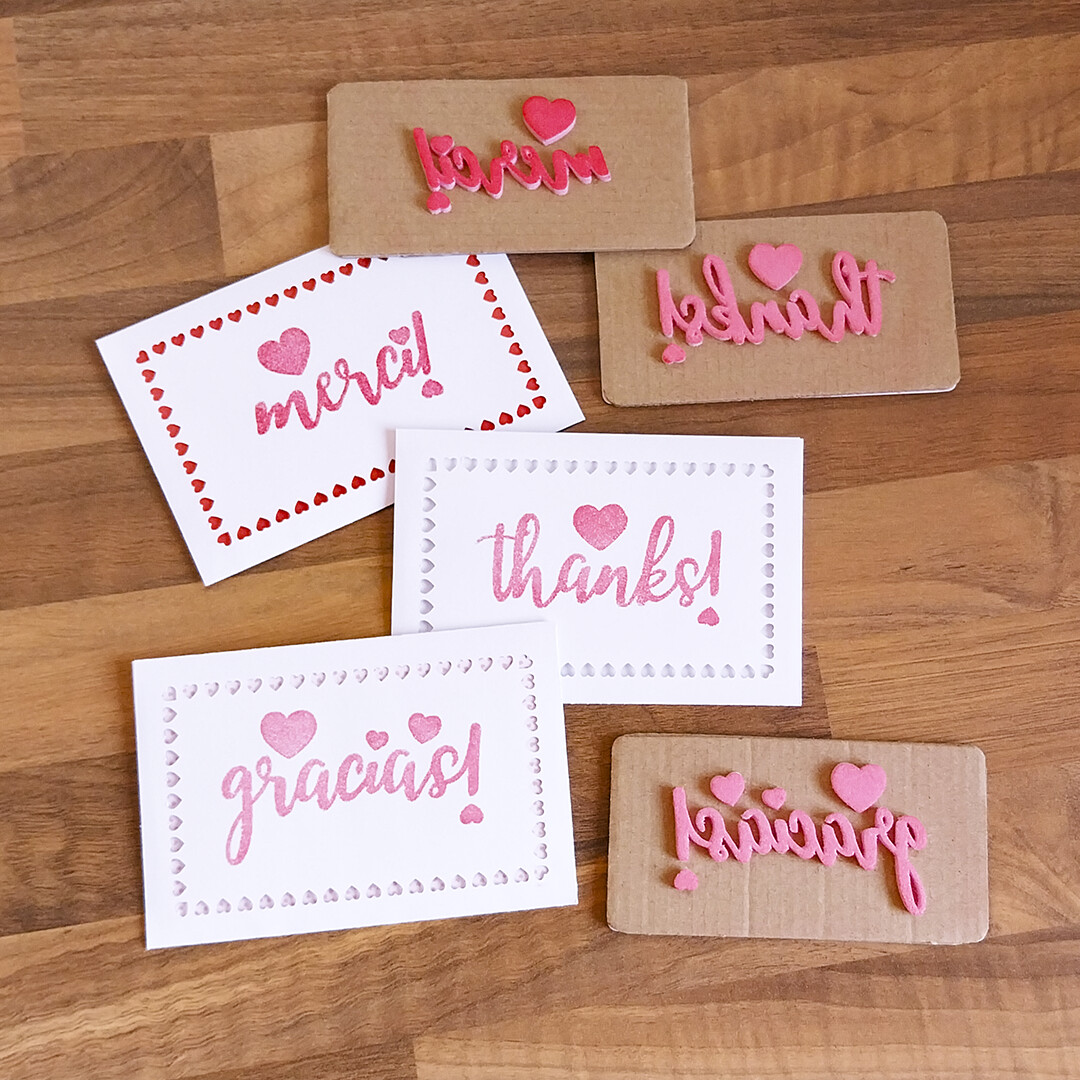
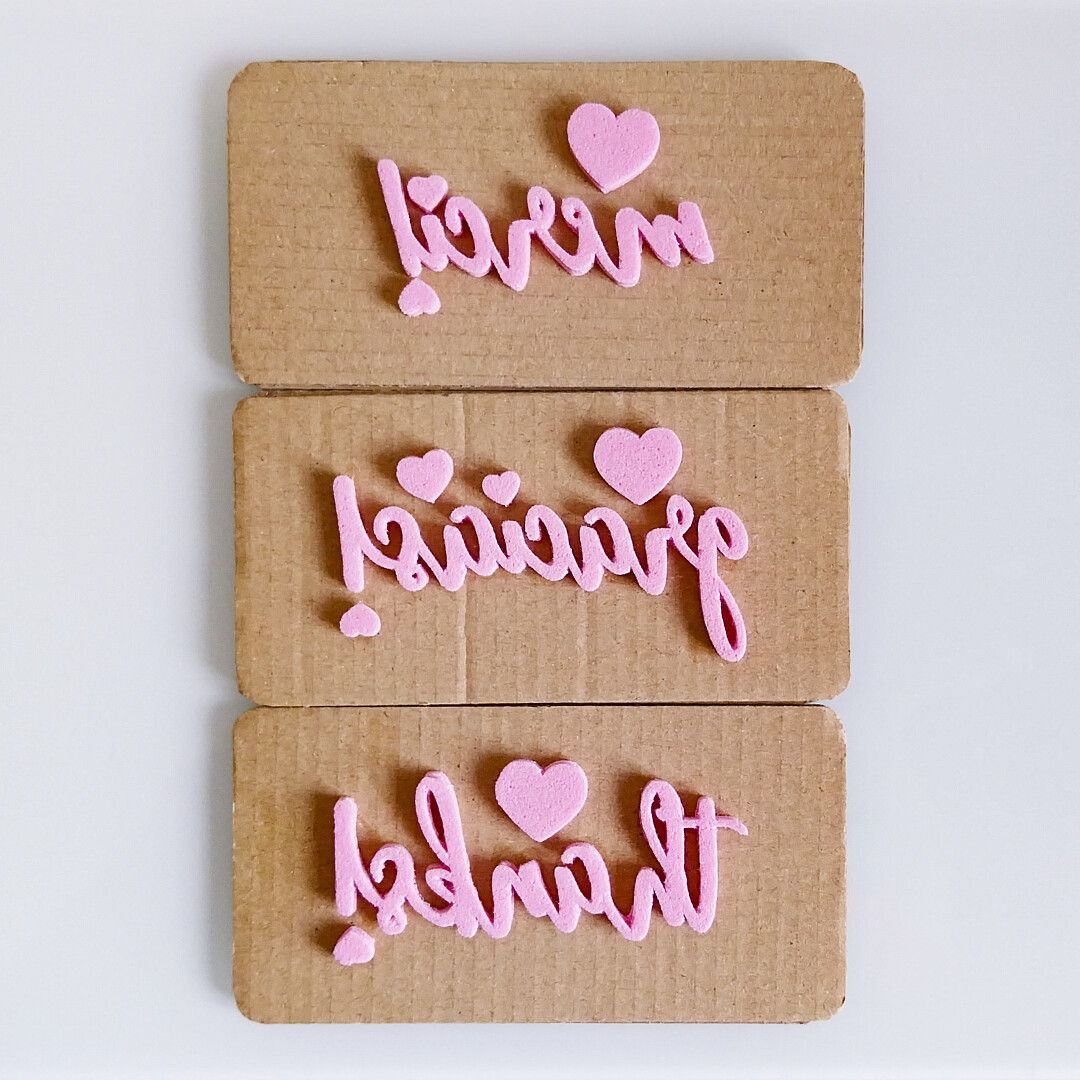
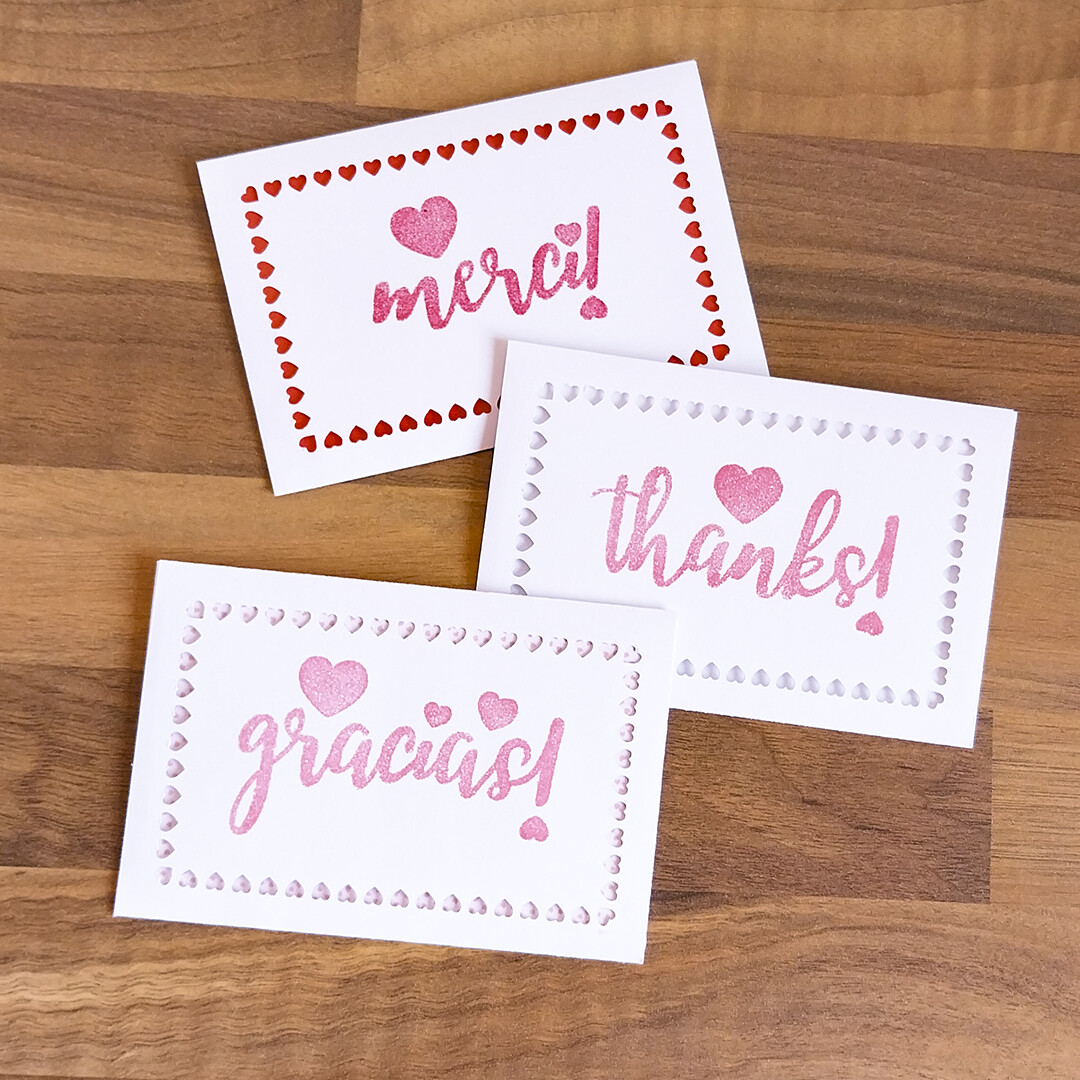
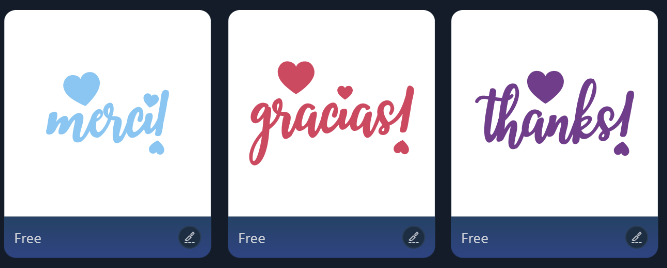
This project closes my “Crafting with Words” series with a heartfelt thank you in three languages: gracias!, thanks! and merci!. I made a set of handmade stamps using EVA foam mounted on cardboard, each word decorated with tiny hearts from the asset library.
For my sticker packaging I usually print and cut a folded card with my logo and a thanks message one of these three languages. I often run out of the right language, which made me think how useful it would be using stamps instead, so I could print a batch of blanks and just stamp the needed word per order. If only I had the iEngrave, I could make beautiful personalized stamps and improve my little shop’s workflow and quality.
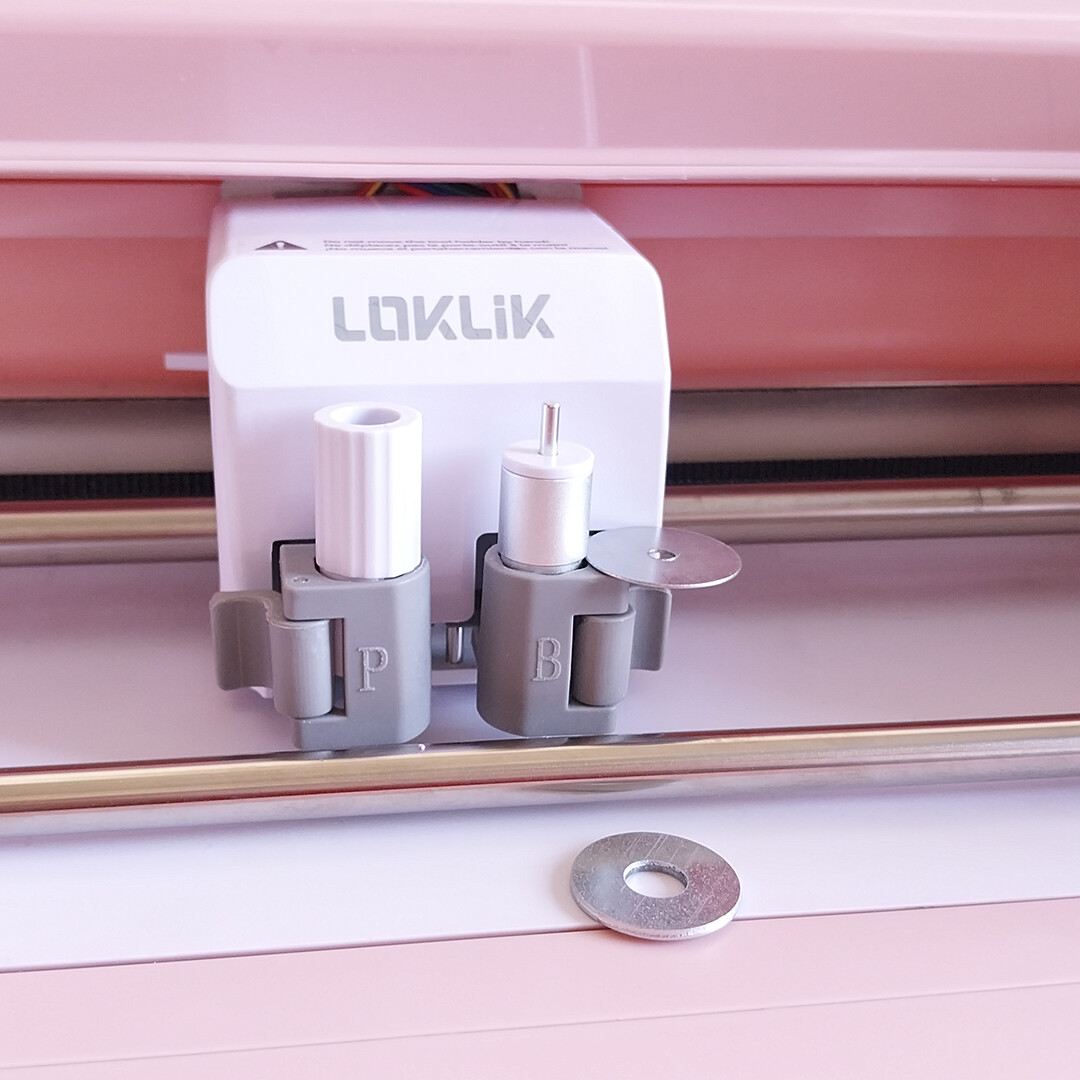
I had tested EVA cutting before with simple shapes, but I wanted to see how far I could go with more intricate details and smaller sizes. This EVA is thick (1.8 mm) and the deep-cut blade kept tearing it apart in complex shapes. After several failed tests, I realized that if I started cutting just on the surface and went gradually deeper in each pass, I might get a cleaner result. Since the Crafter doesn’t allow multi-depth passes like the iCraft might, or so I understood from Donna’s project, I improvised a tiny hack: I used metal washers as spacers to raise the blade at controlled heights between passes.
That night I went to bed amazed. Tthe cuts were crisp and precise even on the tiniest details. Really! Zoom in and look at those small (7 4.5 cm) words! I layered each word twice and mounted them on double corrugated cardboard, adding printed positives on the back. I quickly made a few envelopes and tested my new pigment inks bought from a discount shop. The result thrilled me! The ink quality can improve, but discovering this opens a whole new world of possibilities.
Now I have these little stamps ready to make my work easier and to decorate the envelopes where I include small gifts with each order. A perfect way to say thank you: to my customers, and to my Loklik Crafter!
Such a clever and heartfelt finale to your series! The multilingual stamps are not just adorable—they’re a smart solution to your packaging workflow. That washer hack? Brilliant. And those crisp EVA cuts prove your persistence paid off. Your Loklik Crafter should be proud to have you as its partner in innovation.
I’ve always loved the stamped ink look. I bought some foam sheets a few weeks ago, so I may have to try something similar soon.
The Crafter continues to amaze me with what a capable machine it actually is. Next on my to-do list is to trying engraving on some leftover acrylic blanks from the wedding nameplates.
Thank you for teaching me something new redhada. I love finding out new techniques and crafts that can be made with the crafter definitely such a genius craft
Wow this is so cool, making stamps from EVA foam. Well done, I might have to create some of my own for my card making. Thank you for this awesome tutorial.
This is amazing thank you for sharing
I agree with you about the deep point blade in the crafter, as I was cutting a cake topper and I usually use my fine blade but the system recommends the deep one so I said OK I’ll try the deep point blade and it was not a success as it press very firmly and ends up tearing the glitter cardstock. But using the fine and letting it cut 2 times in a raw works great.
With all the bussiness last week, I forgot to tell you that you can find the assets now in the Official Library. You can find them under “stamp”, “word” , “gracias” , “thanks” and “merci”