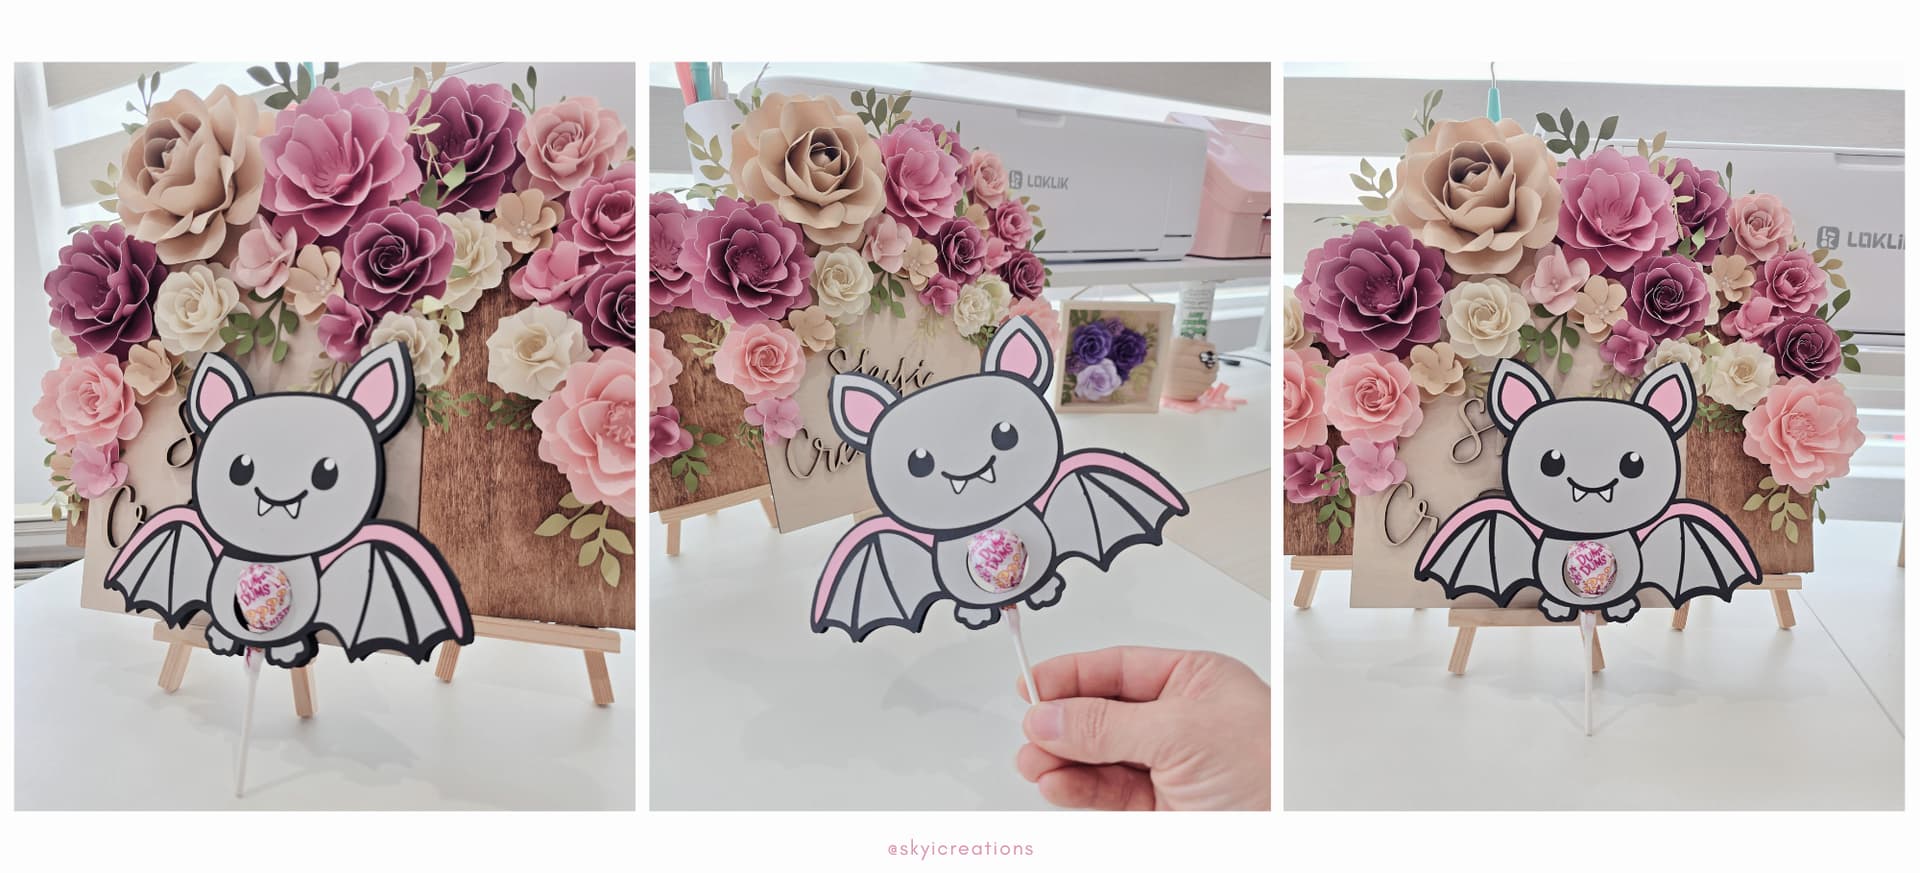
Project Overview:
I know I cannot be the only DIY mommy on here and with Halloween around the corner, let’s make a cute candy holder using the LOKLiK iCraft. It is such a cute design, and it is made using a cute SVG available on the LOKLiK library.

Materials:
- Cutting machine: LOKLiK iCraft
- Sticky mat: LOKLiK standard grip
- Cardstock: 60 lb or equivalent, for this tutorial I used black, grey, pink and white
- Craft glue
- Candy lollipop - I used mini lollipops for this tutorial.
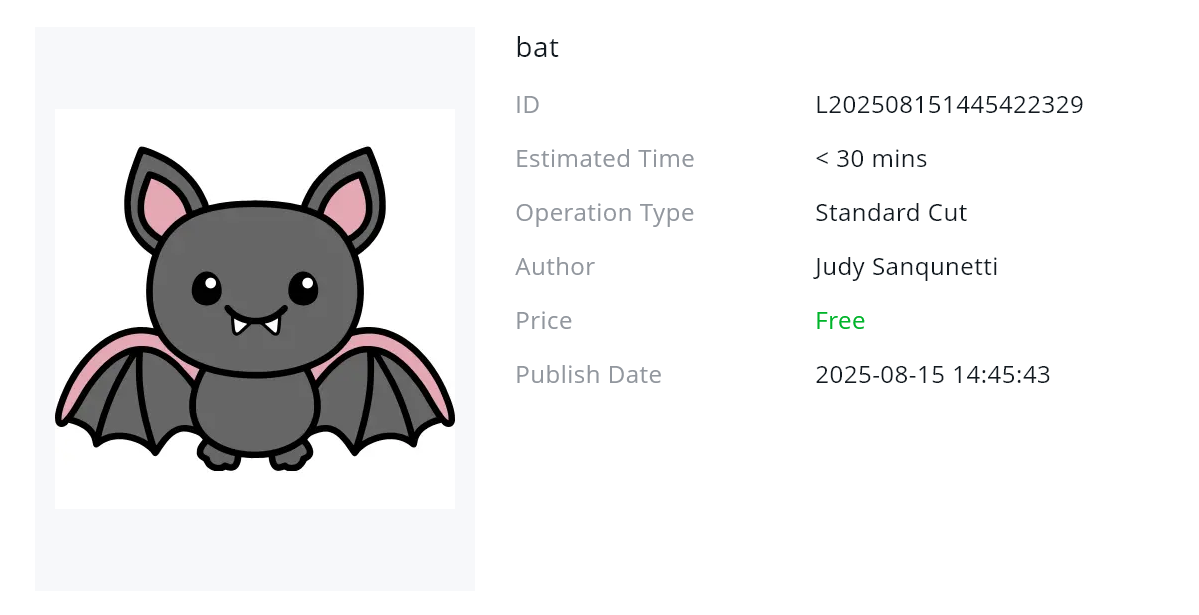
- Template: from LOKLiK Library
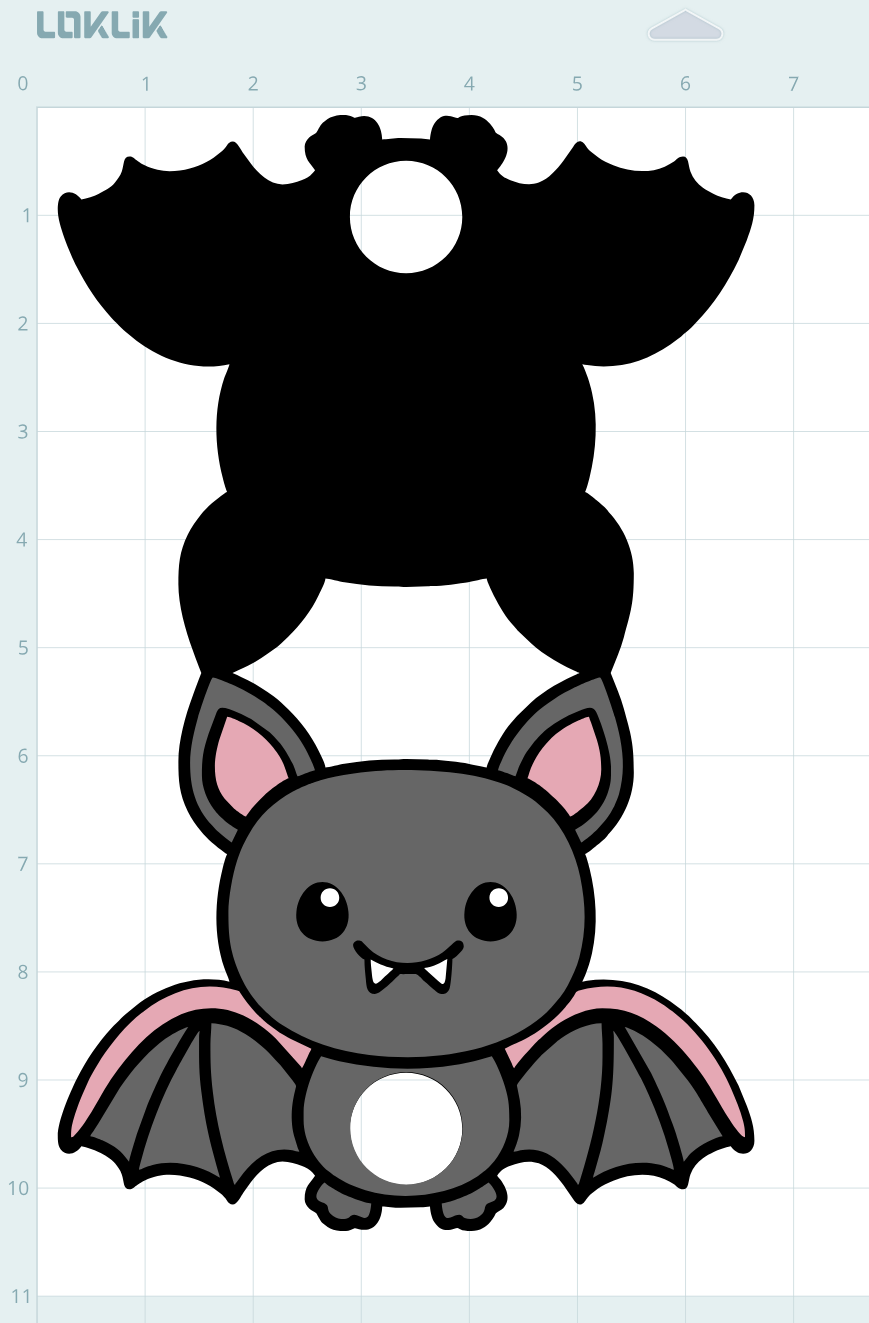
** Bat**
Design and Cutting Process:
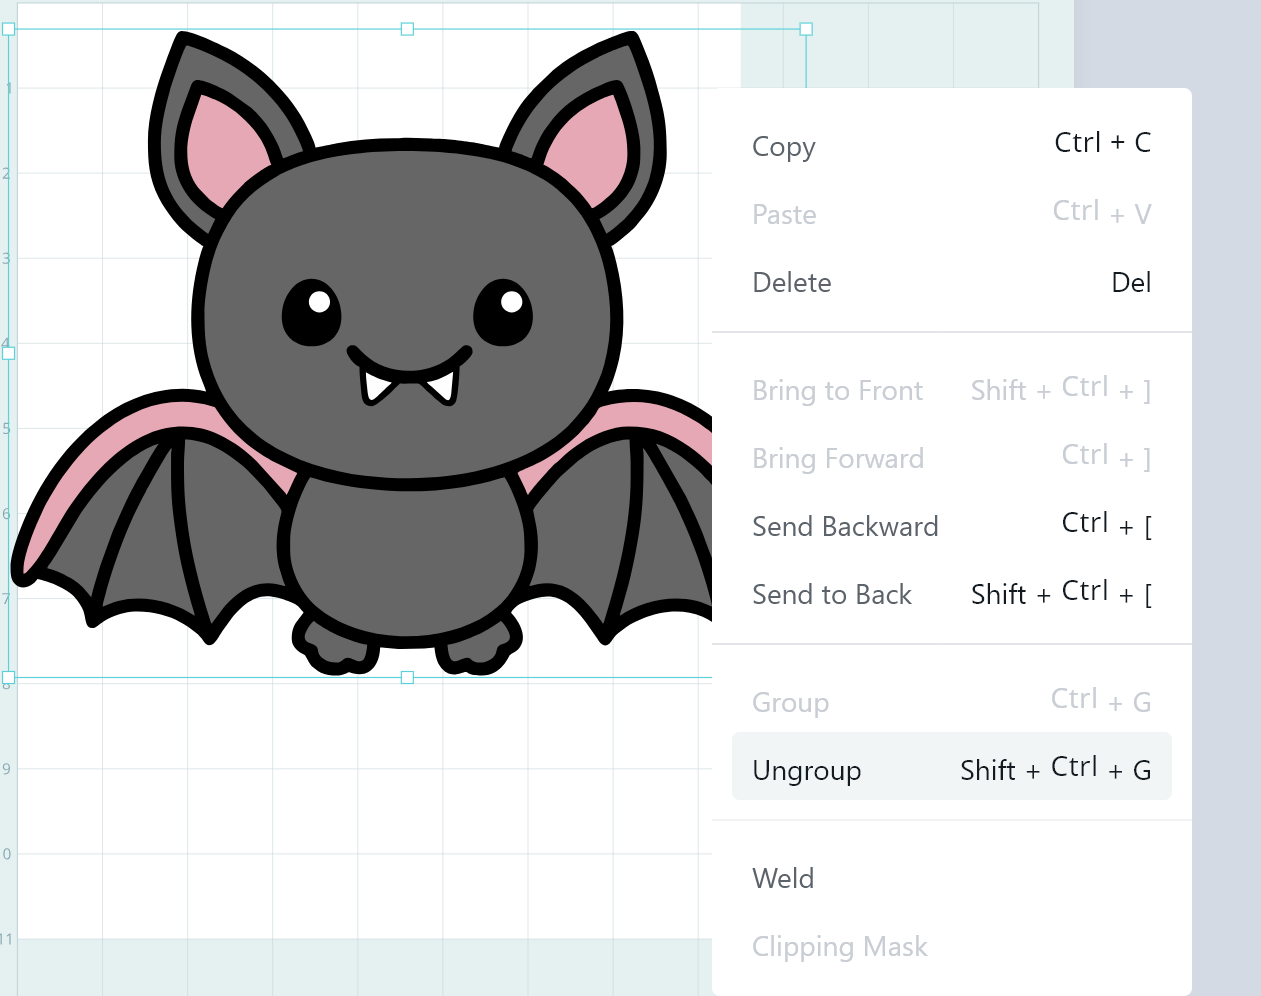
- Using the LOKLik IdeaStudio Library, search for the template and select the + to add the template to the canvas.
- Ungroup the SVG design to allow us to modify the template to allow space for the lollipop and add a “closing” mechanism.
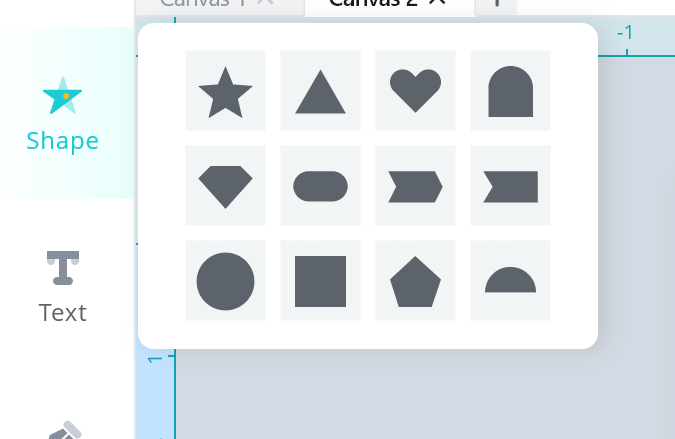
- Using the shape feature, add a circle to allow room for the lollipop. I used a small lollipop for this tutorial so a small 1.04 in circle was a good size.
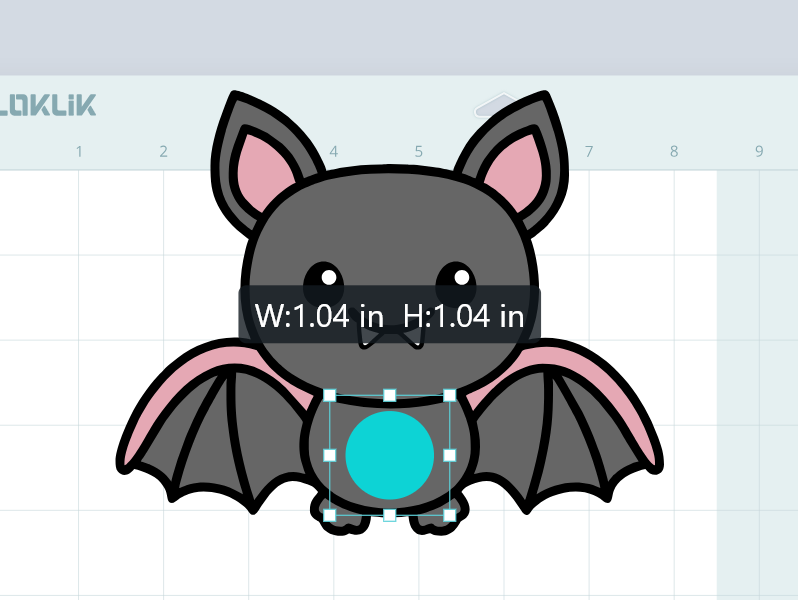
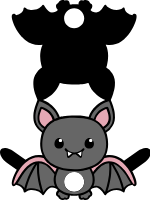
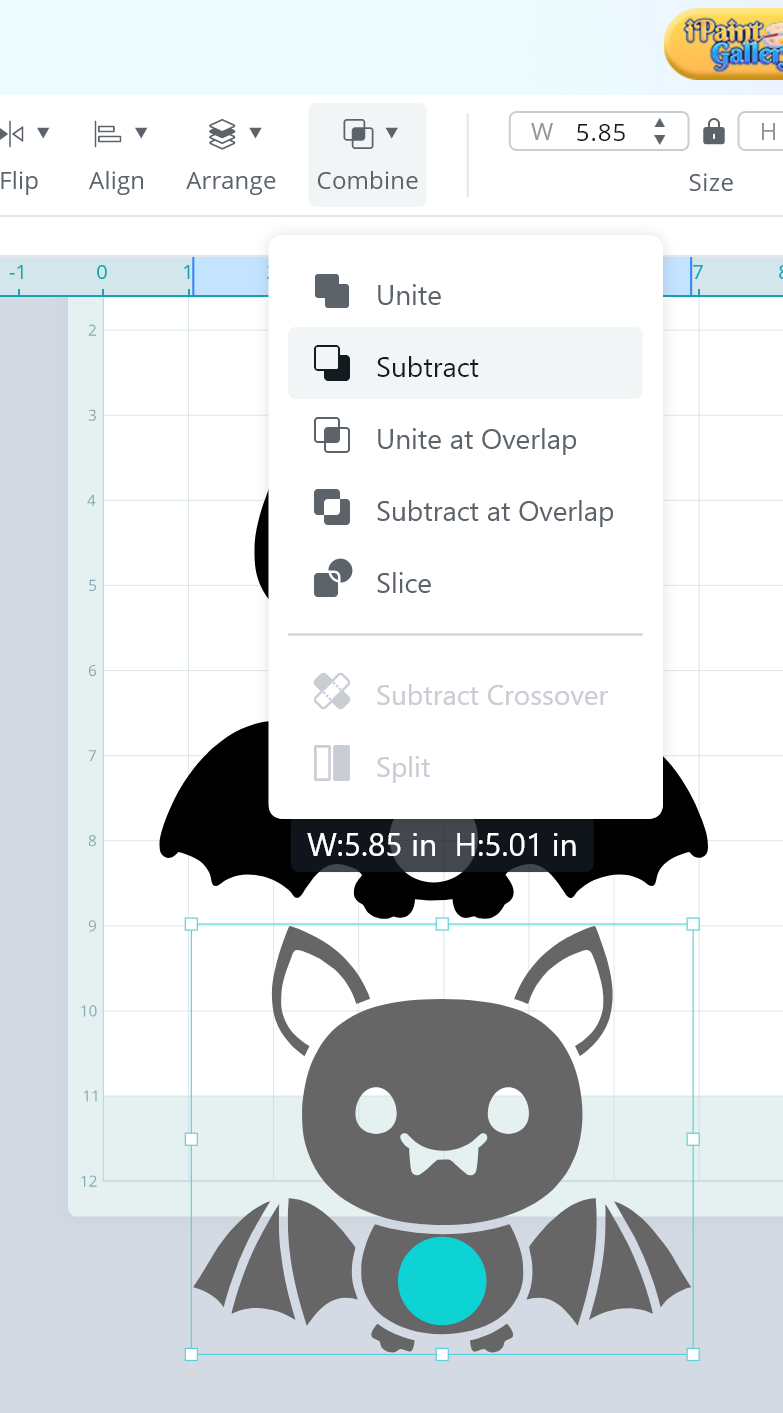
- I placed the circle inside the SVG like in the photo below. I then made 2 copies of the SVG with the circle and only left the grey pieces and black pieces.
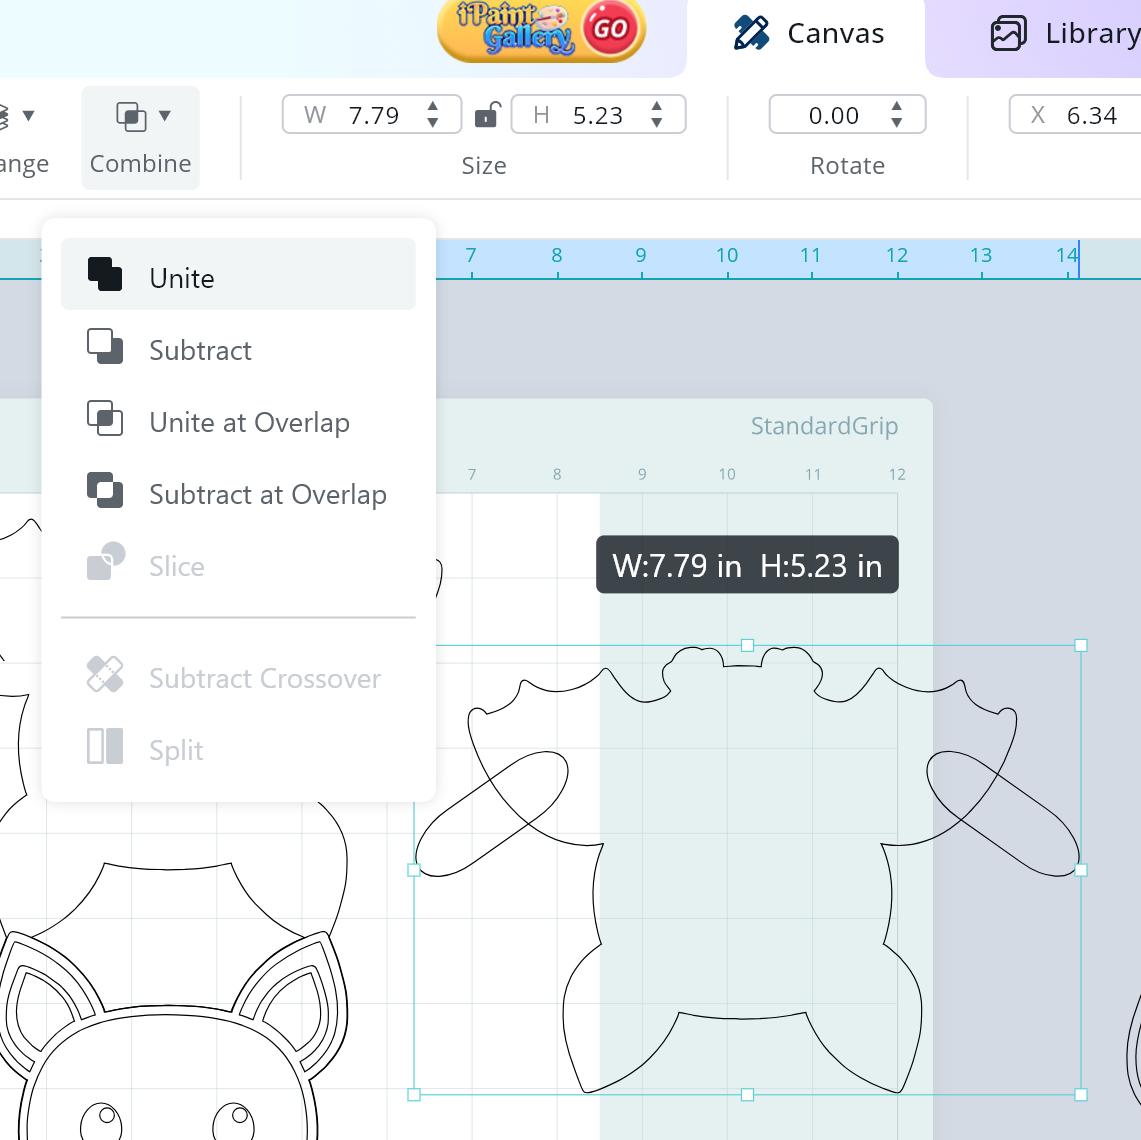
- After then you will be using the Combine feature and “subtract” for each of the SVG images.
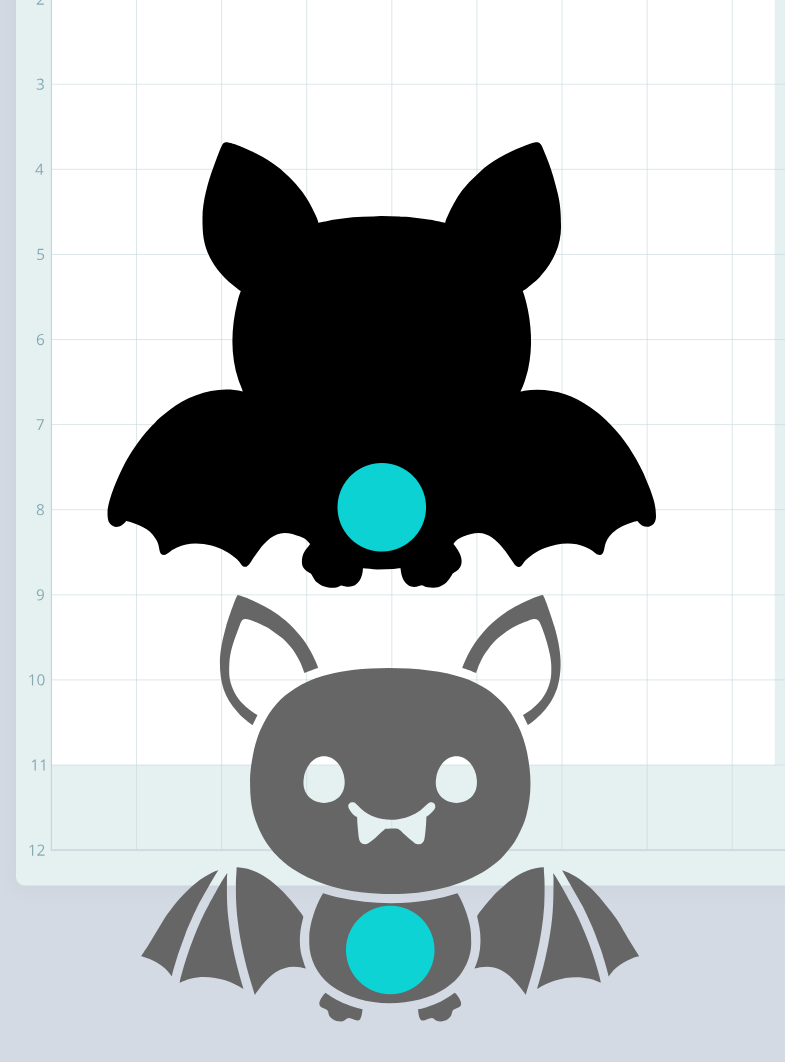
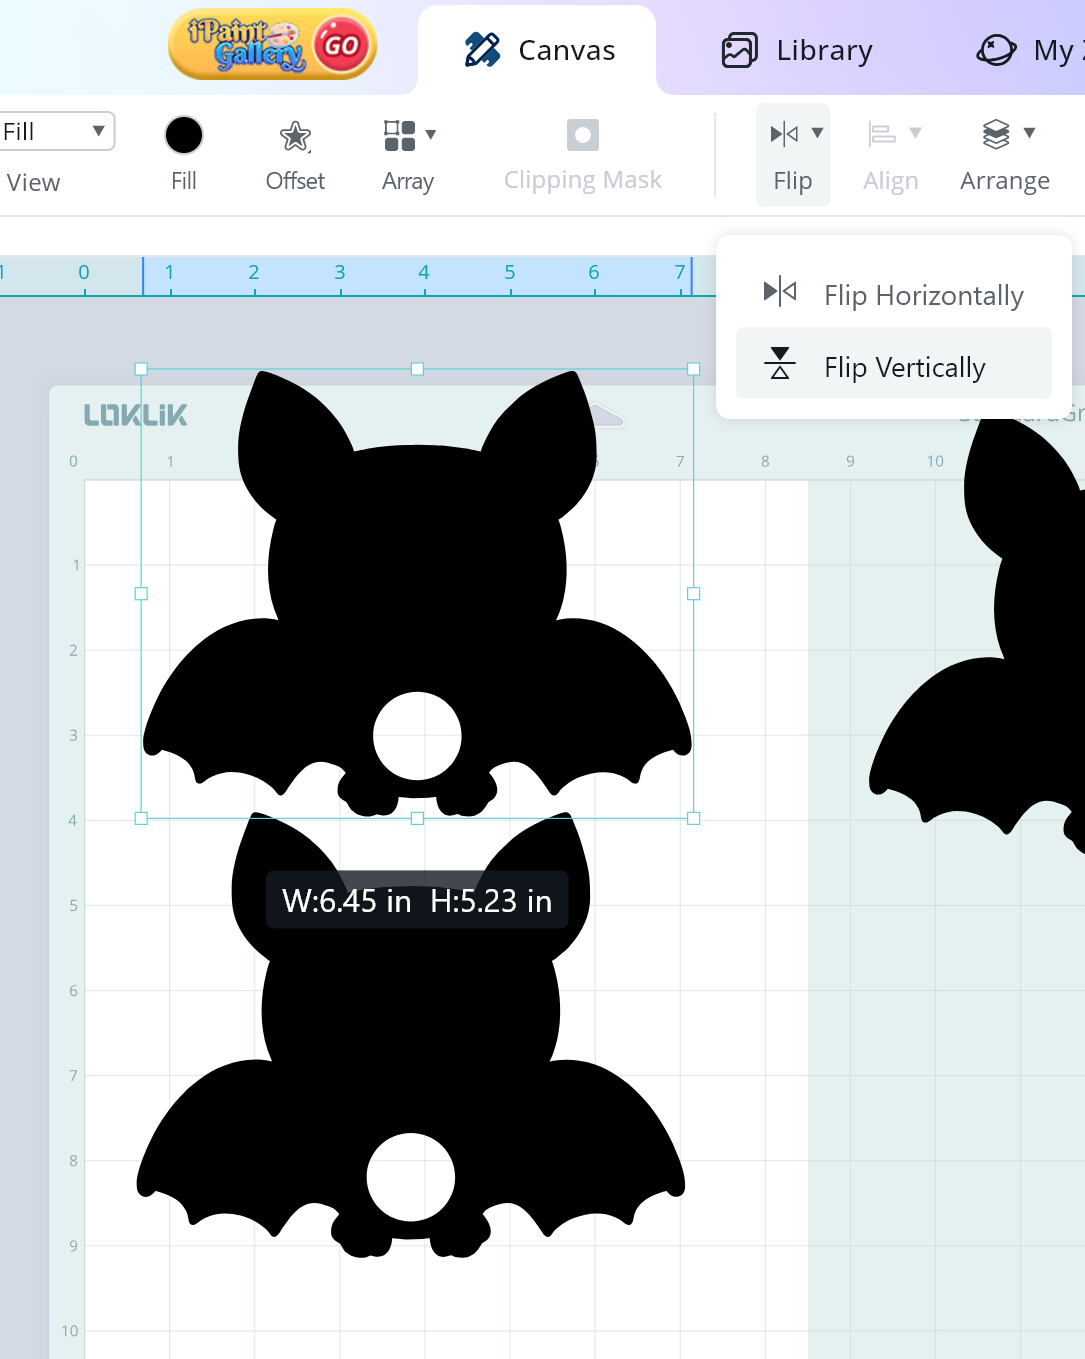
- You will then need to make a copy of the black layer, this will be the back side of the lollipop holder.
- Then using the flip feature, flip the bat vertically.
- You will then use the align feature and center the 2 bat SVGs horizontally.
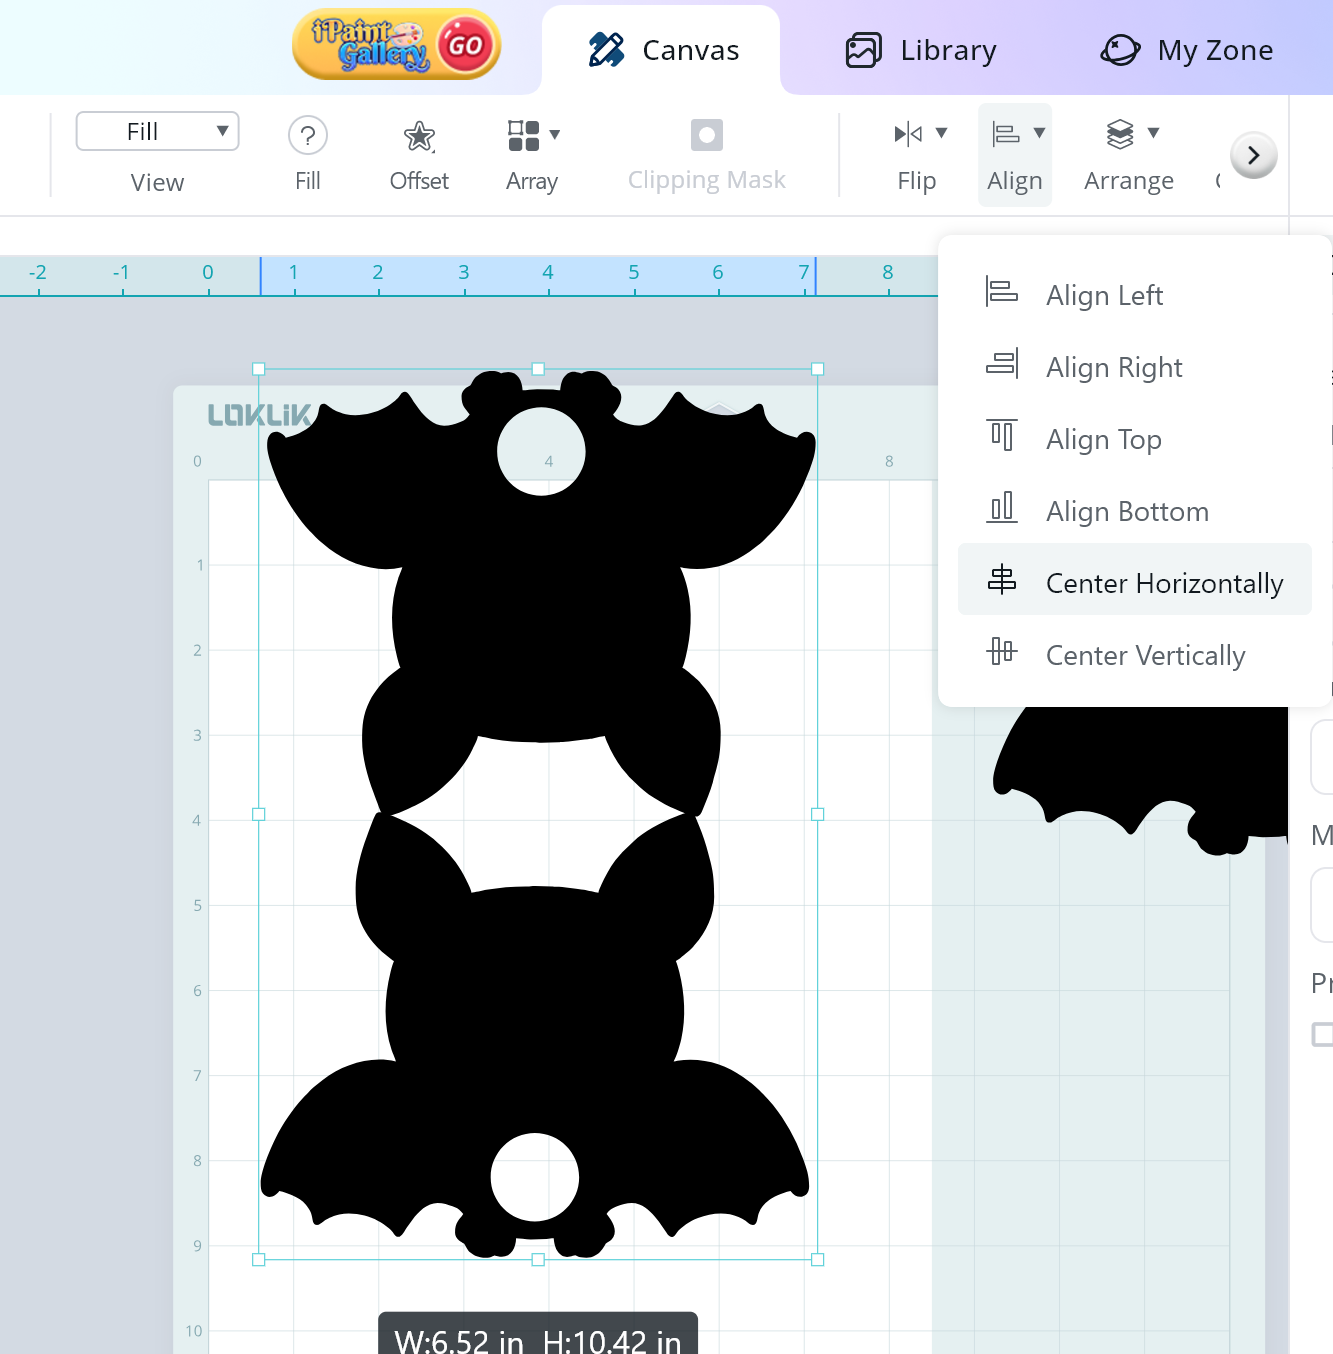
- I then changed the view to contour to allow me to see the lines of the bat SVG and adjust the position so the bat ears overlap slightly.
- Using the align feature, both bats to center horizontally.
[grid]
[/grid/
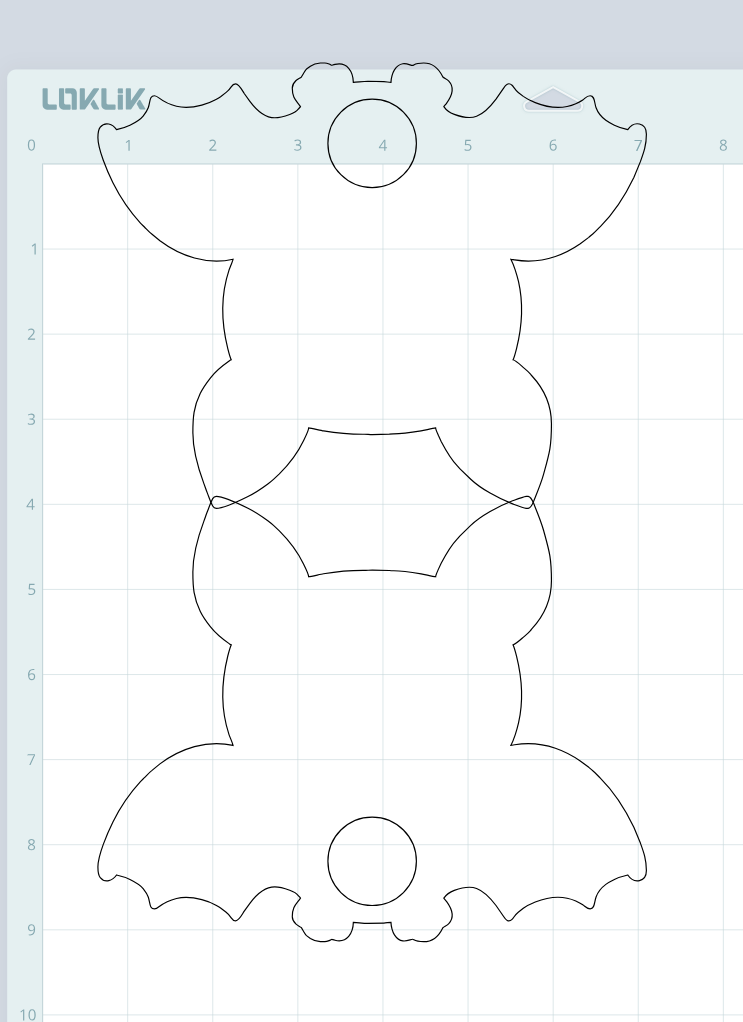
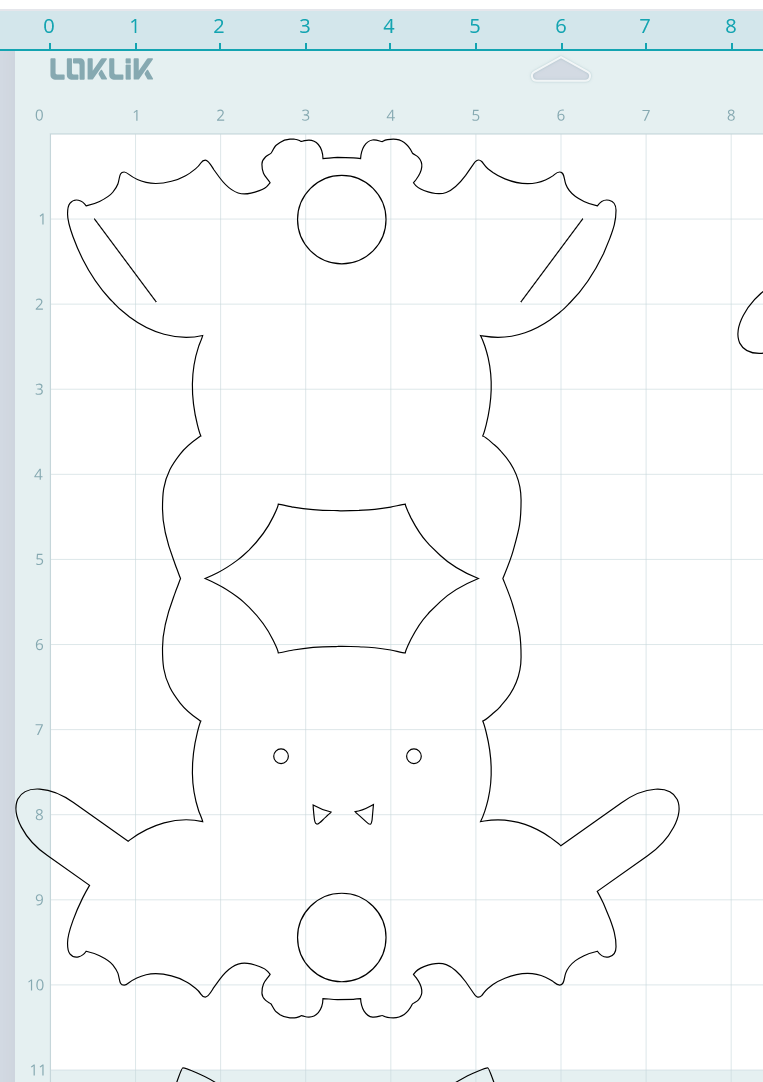
- Here is an example of the project so far, now onto adding the slits and extension pieces to allow you to “close/open” the lollipop holder.
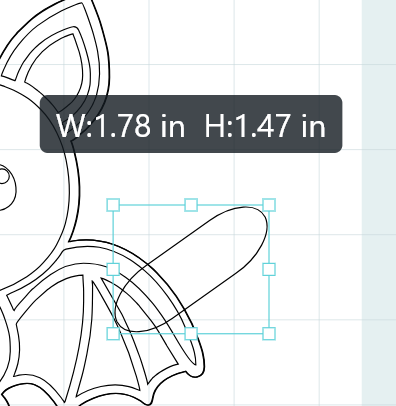
- To add the extensions to the bat, we will be using the shape feature once more.
- I added an oval and resized it to 1.78in to 1.47in as seen below.
- Copy and paste the shape and place one on the other side of the bat.
- Using the pattern tool, add a cut line on the top bat to match the location of the extension you added.

- Select the bat layer and the 2 extensions and using the combine feature click on “unite,” this will make the bat layer with the extension as 1 piece.
Great job! Now you have the designs ready to cut.
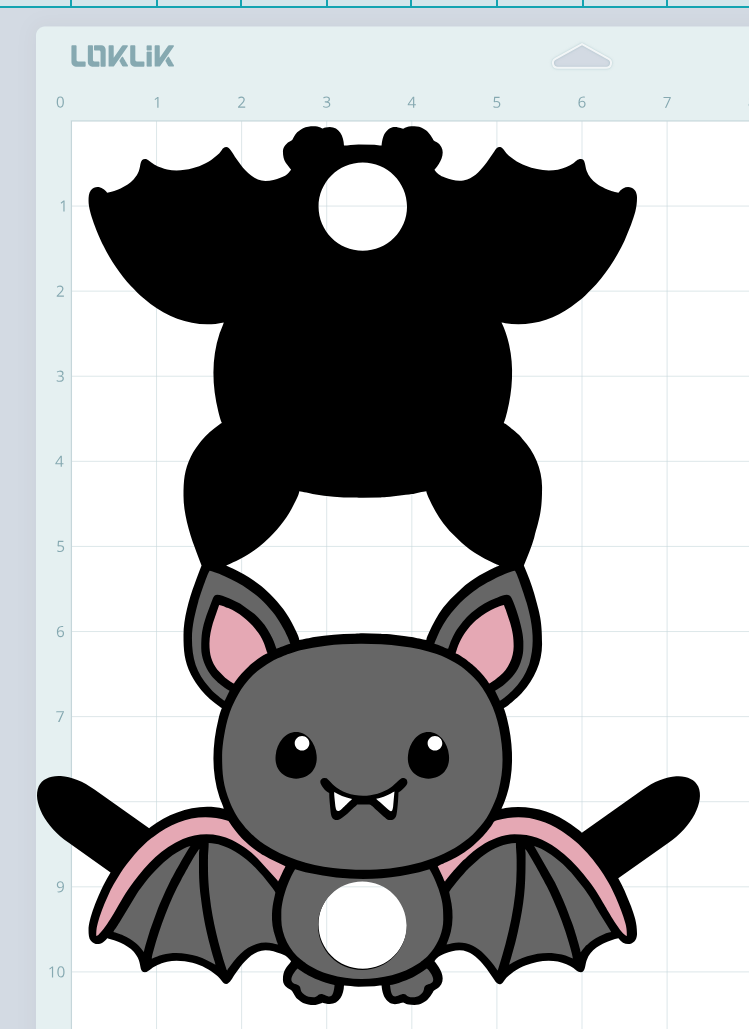
- Send all of the pieces to cut.
** Cut Settings**
** Material Type: Cardstock Paper (120g/65lb)
**Force: 7.5
**Speed: 5
**Passes: 2
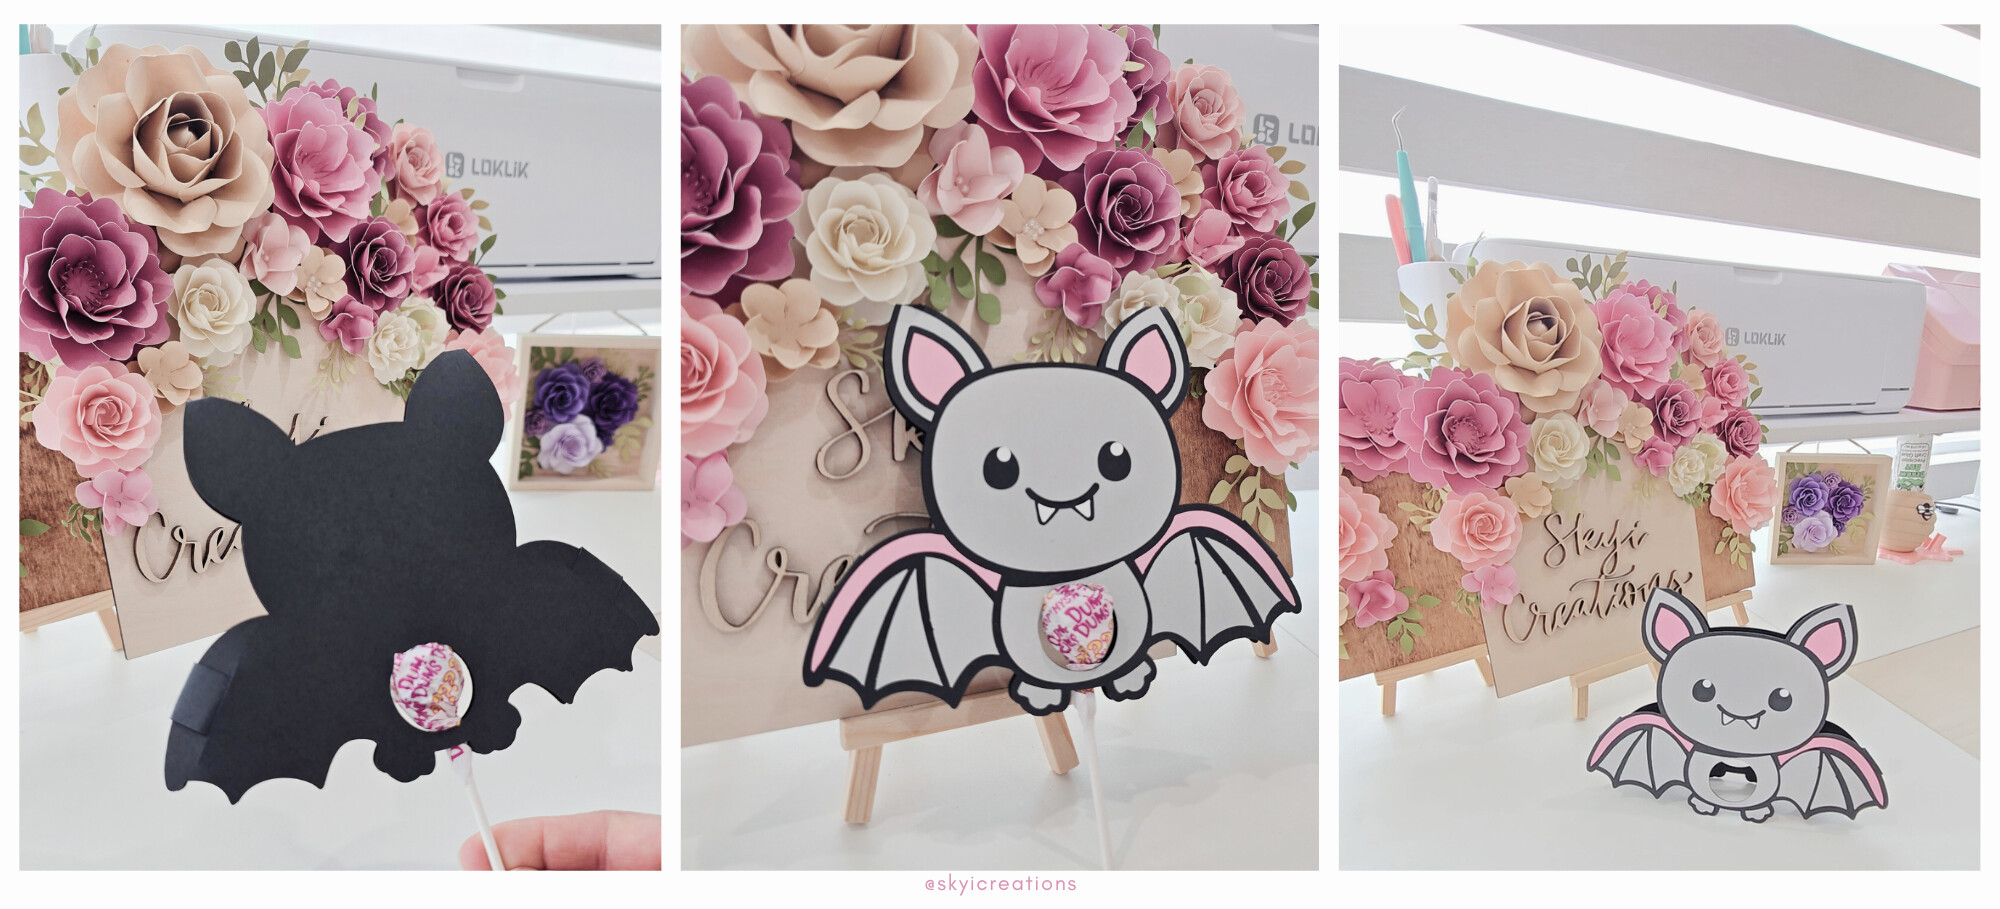
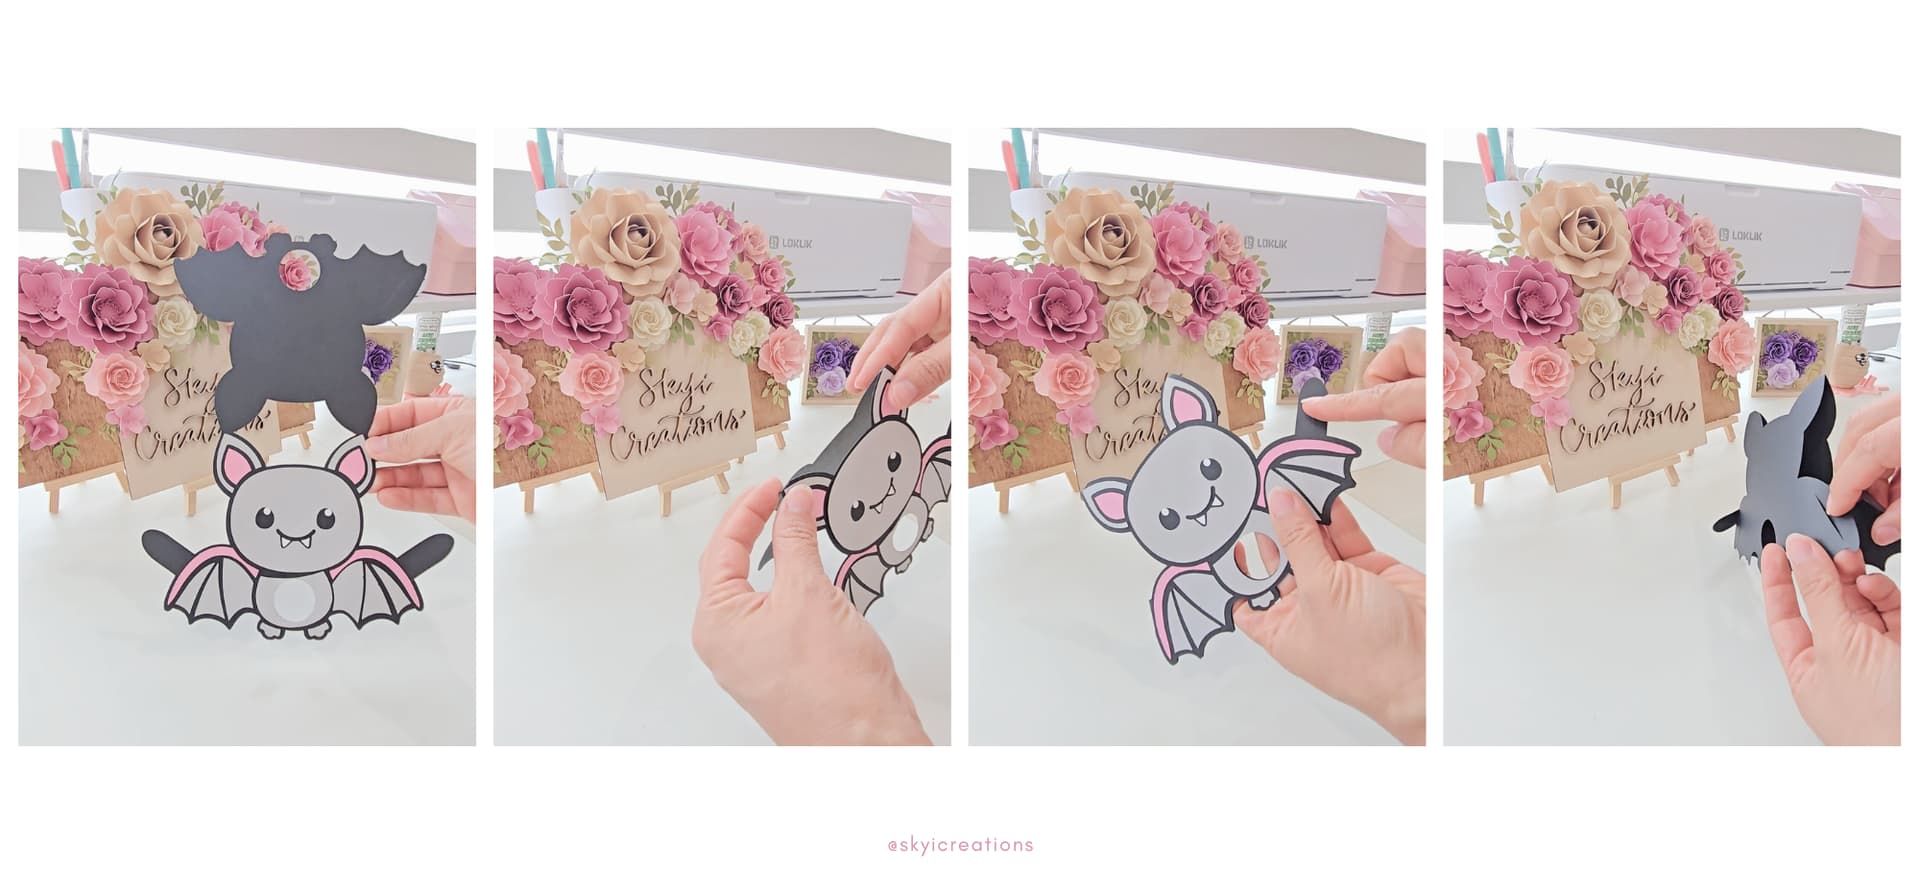
Assembling the Bat Lollipop Holder
- Begin with black layer and place the bat face/body pieces in their location. I always do a '“dry fit” on my projects. This means to place the pieces where they are going to be in order to ensure that you are placing them in the correct location prior to gluing.
- Once the pieces are in the correct location, use craft glue to glue all the pieces on the bat layer.
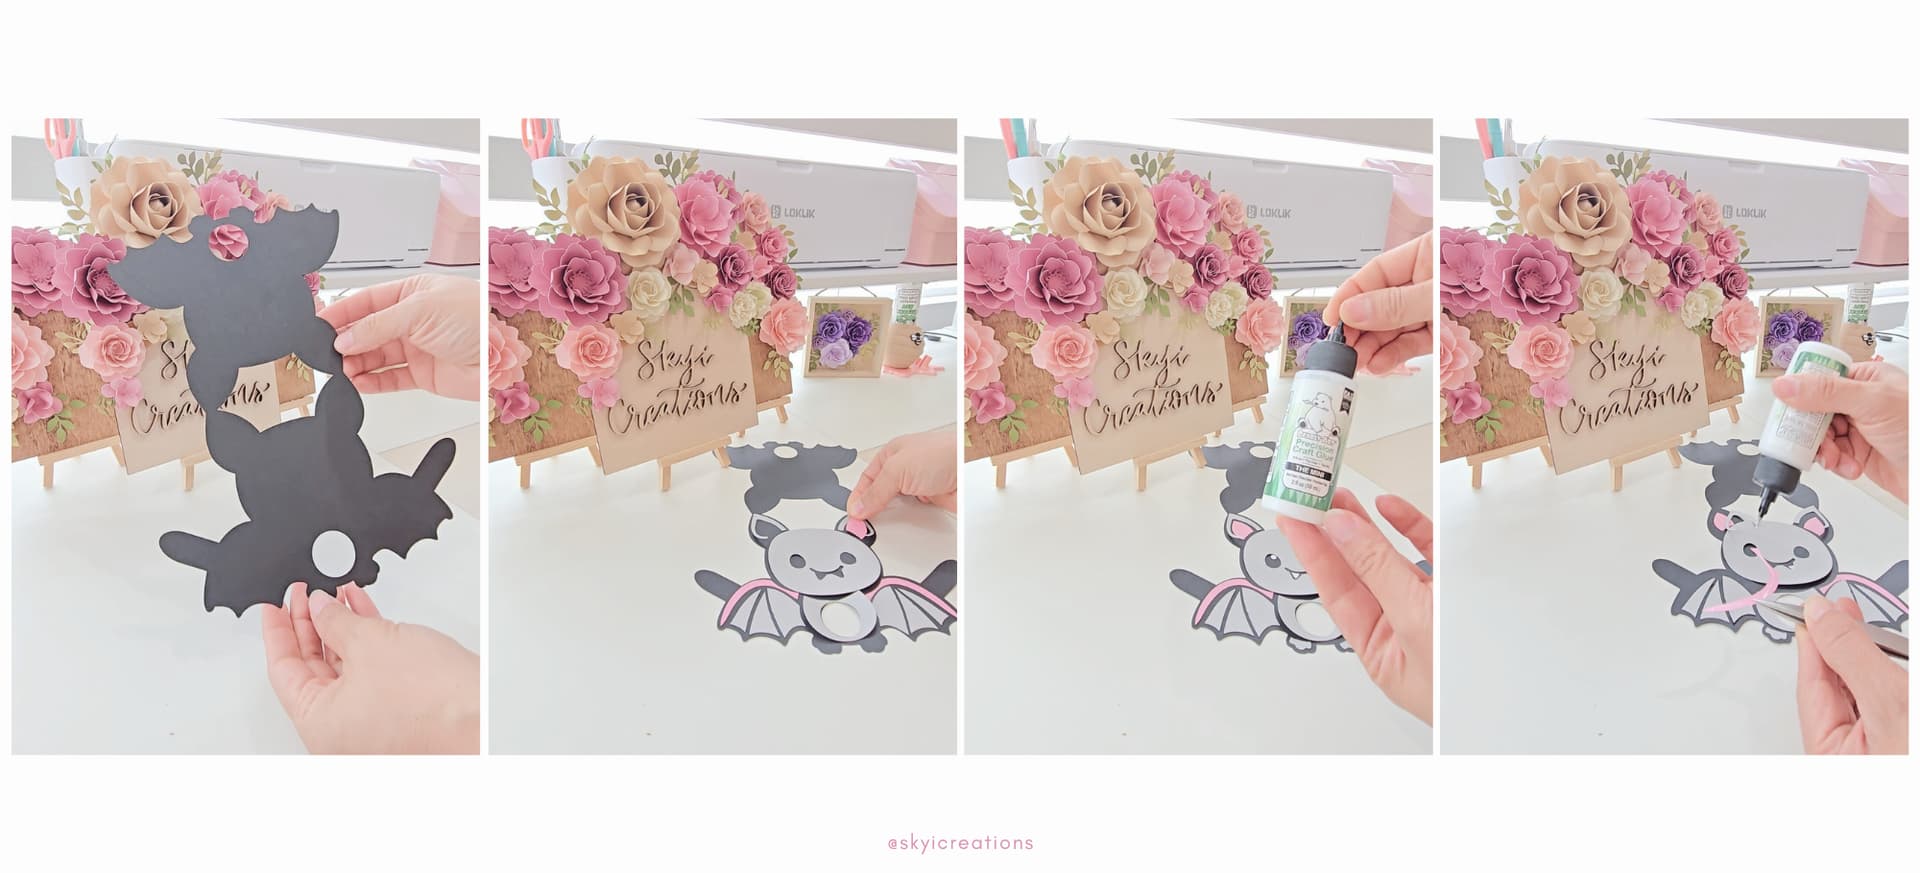
- Now you will fold the bat layer in half (by the ears).
- Gently fold the paper extensions and insert them into the slits created on the back.
- Add the lollipop into the bat lollipop holder.
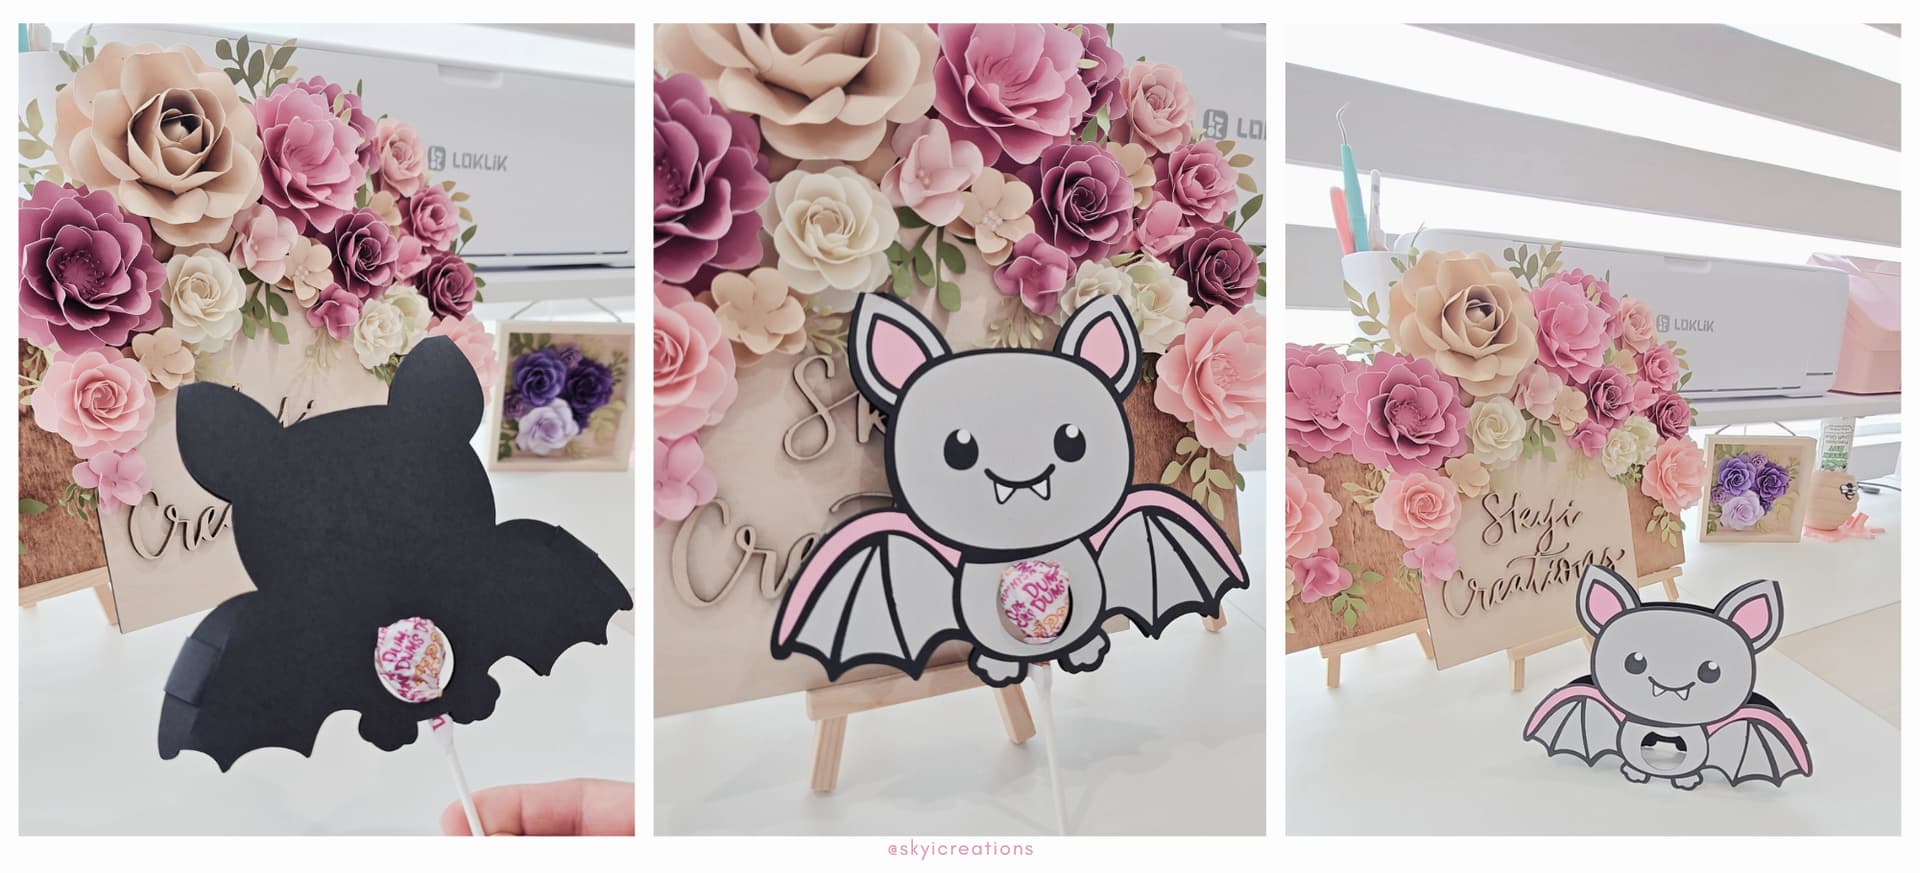
WONDERFUL!!! You have made a cute bat lollipop holder.