Project Overview:
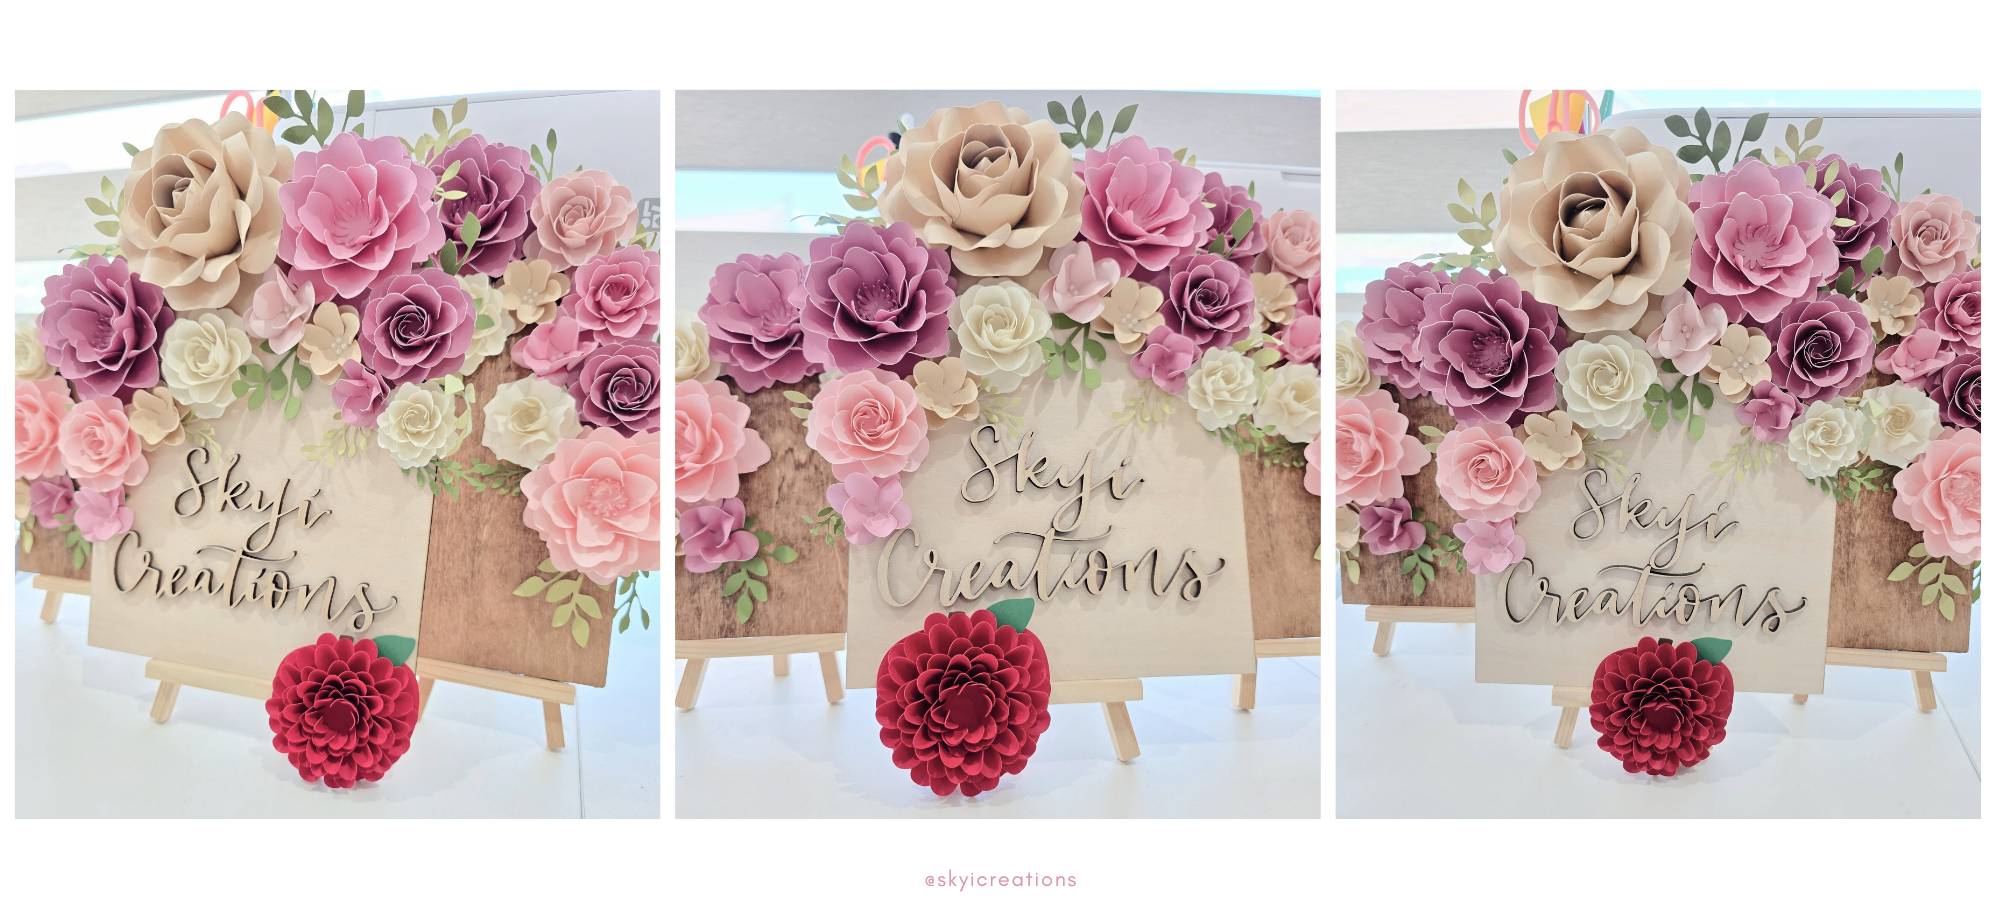
The kiddos are back in school, and our amazing teachers are doing a great job. Send her a little thank you gift by creating this beautiful paper flower apple. The best part is that the template used was from the LOKLiK library and available for free!

Materials:
- Cutting machine: LOKLiK iCraft
- Sticky mat: LOKLiK standard grip
- Cardstock: 60 lb or equivalent, for this tutorial I used red, brown and green
- Craft glue and hot glue
- Paper rolling tool or kabob stick
- Templates: from LOKLiK Library
** Free Colorful Butterfly and Coil SVG file for Party and Stages*
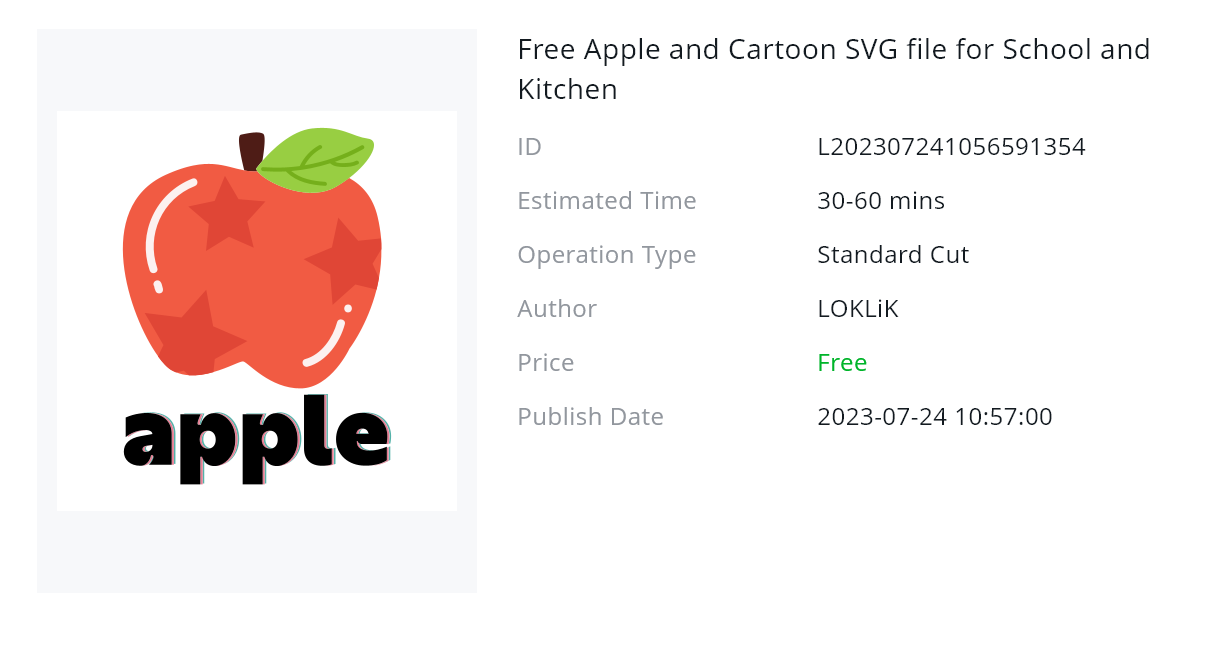
** Free Apple and Cartoon SVG file for School and Kitchen*
Design and Cutting Process:
- Using the LOKLik IdeaStudio Library, search for the template and select the + to add the template to the canvas.

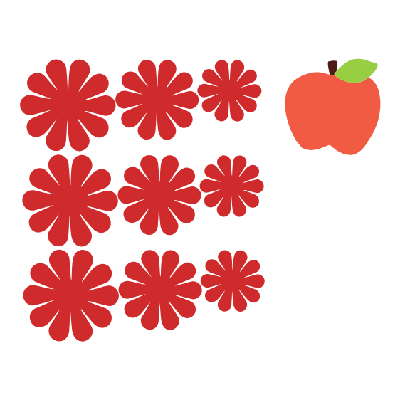
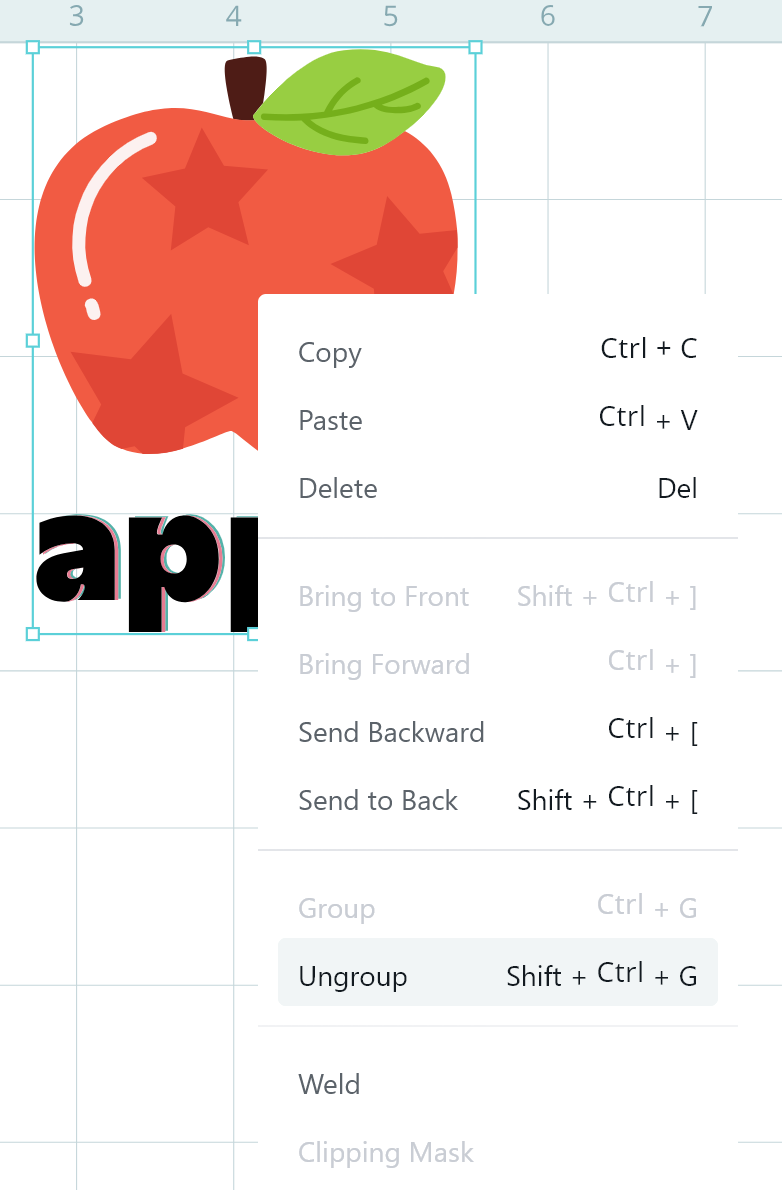
- Ungroup the SVG design to allow us to pick and choice the components we will be using. For this project we are using the orange flower template on the far left corner as well as the apple/stem/leaf.

-
Delete the extra flower templates from your canvas.
-
You will need 3 copies of the paper flower template for each size.
** Flower Sizes (3 of each)**
**Large: 2.70in by 2.59in
**Medium: 2.35in by 2.26in
**Small: 1.81in by 1.74in


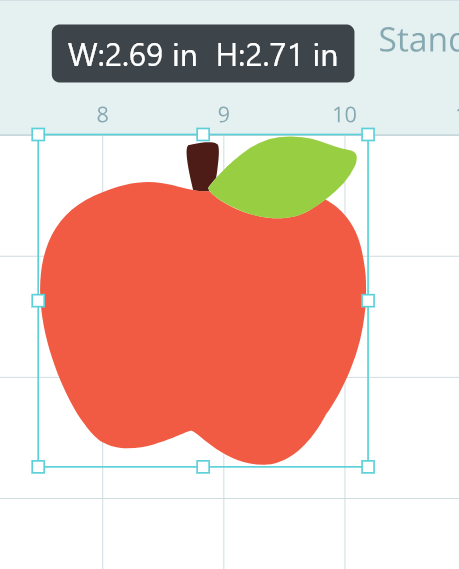
- You will also want to resize the apple SVG to ensure that it fits the paper flower. If you are resizing your paper flower to be bigger or smaller, make sure you keep the proportion of the apple so that the flower lays over the apple without covering the stem and leaf. For this tutorial, the apple measures 2.69in by 2.71in.
- Here is an example of the canvas prior to the cardstock to cut.
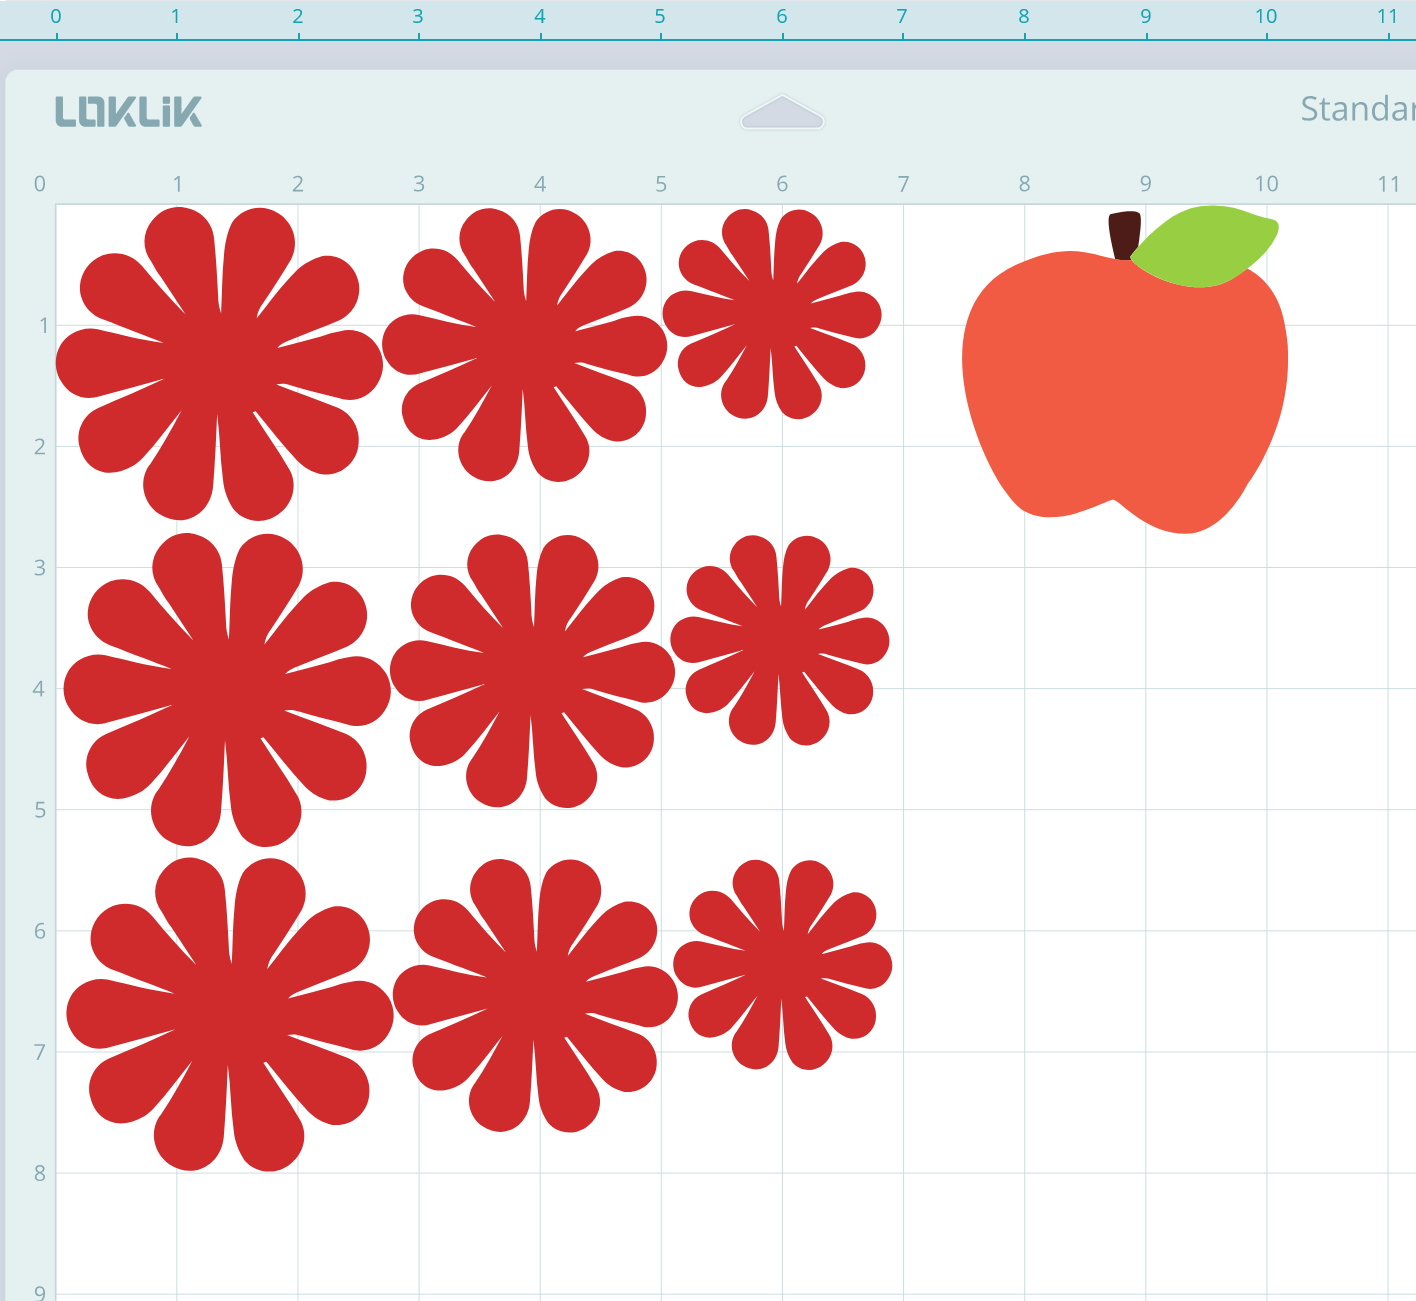
Great job! Now you have the designs ready to cut.
- Send all of the pieces to cut.
** Cut Settings**
** Material Type: Cardstock Paper (120g/65lb)
**Force: 7.5
**Speed: 5
**Passes: 2

Assembling the Paper Flower
- Begin with the large flower petals by using a paper rolling tool or in this case, a kabob stick to curl the petals upward. As you see in the photos below, I stack all 3 layers together and fold them as a group.
- You will do the same for each petal size.
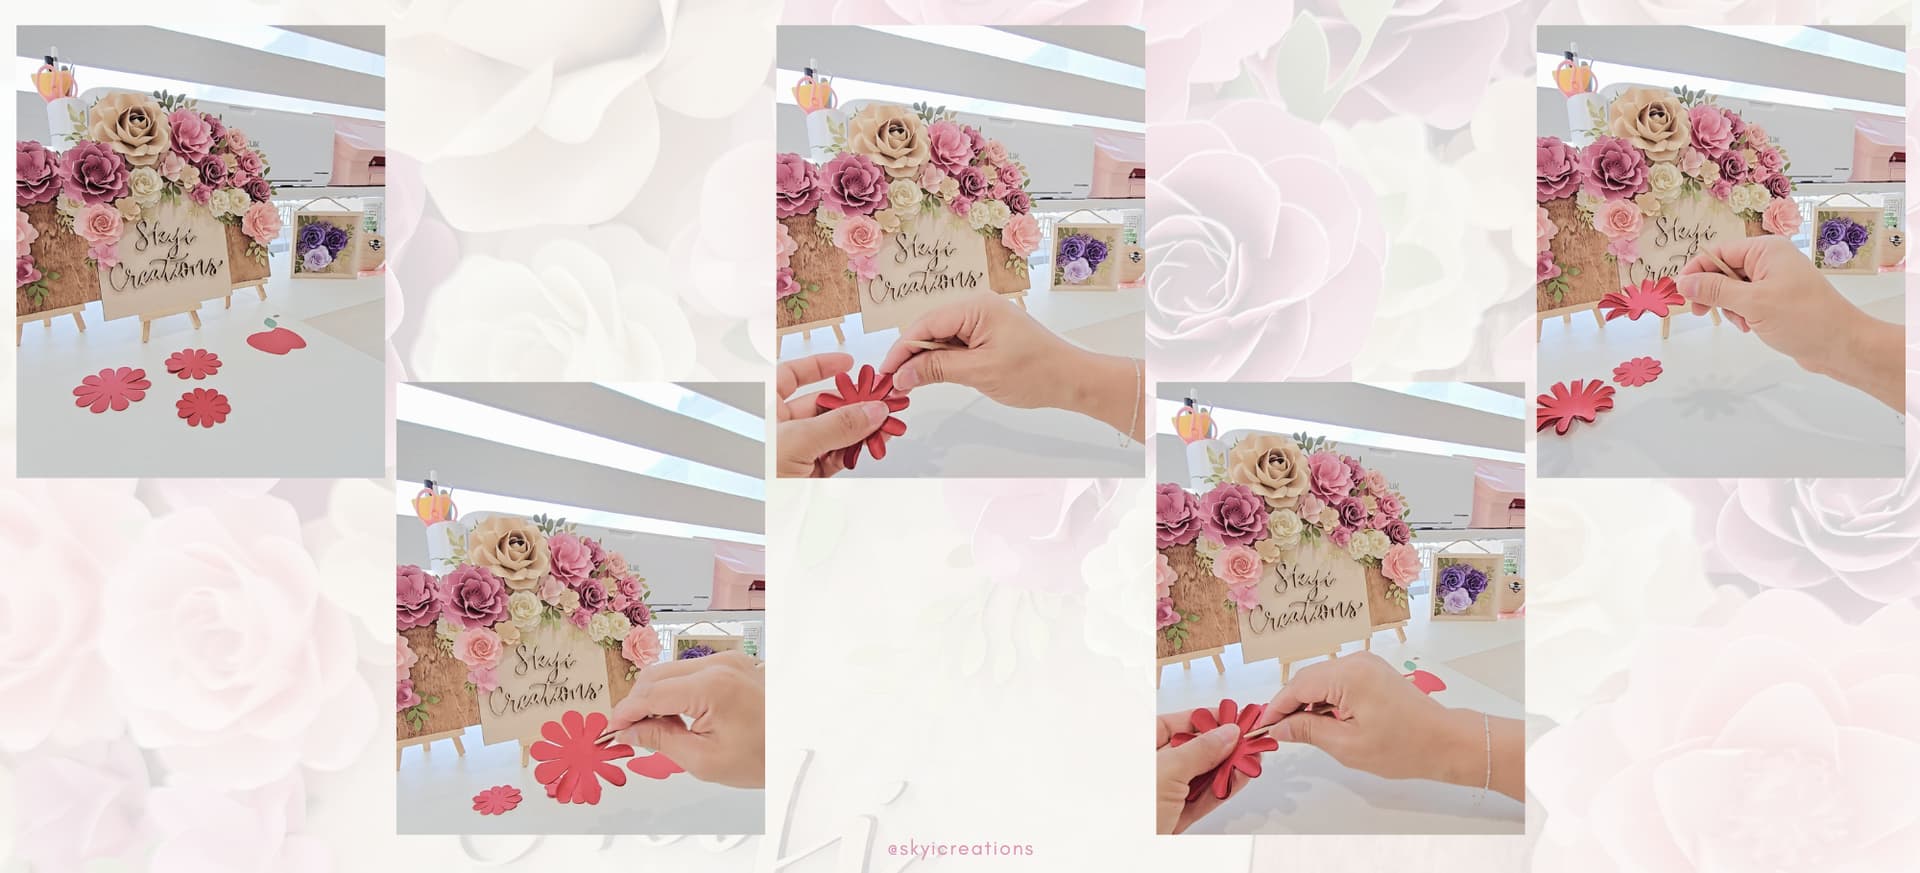
- Begin to glue each paper flower together by gluing the first 2 layers in a staggered position. Then the 3rd layer will be glued at the same position as the first layer.
- As you work your way from the largest size to the smallest, I recommend that you fold the petals up and twist them “closed” so that they do not lay flat and create a full looking flower.

You are now done with flower, now to adding it to the paper apple.
- Using craft glue, glue the stem and leaf to the apple base.
- Glue the paper flower to the apple base ensuring that you do not cover the stem and leaf.

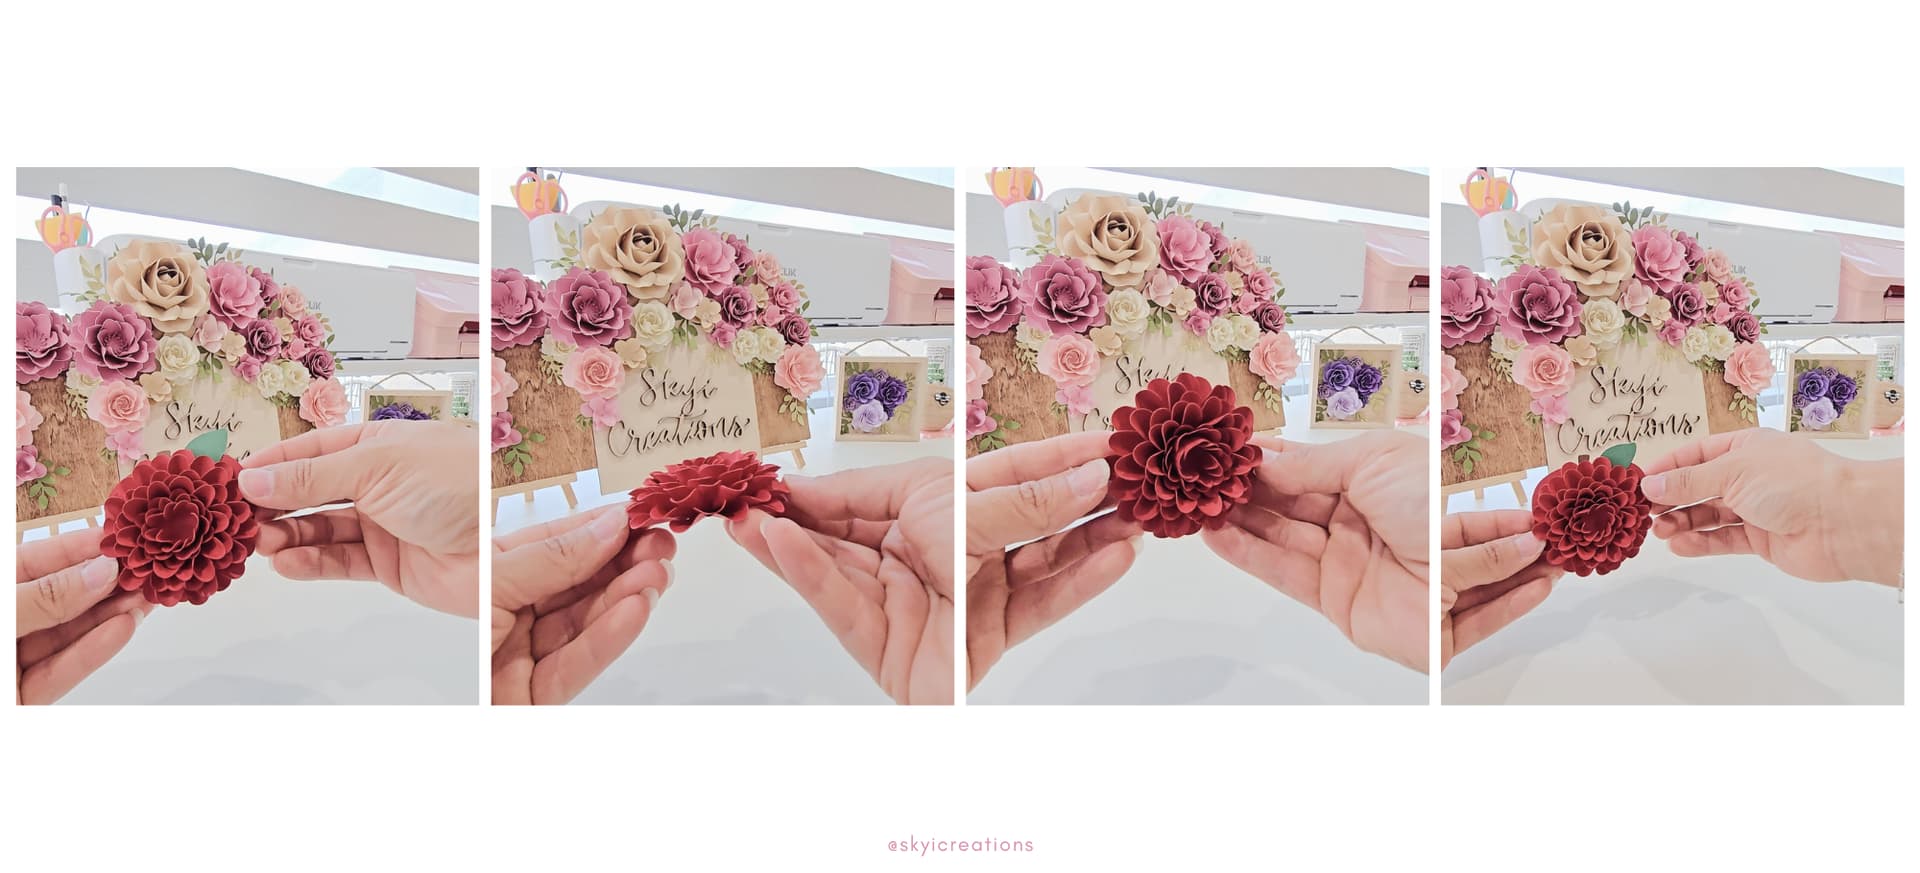
**WONDERFUL!!! You have made a beautiful paper flower apple. A perfect little thank you gift to our amazing teachers.
