Project Overview:
A crafting season would not be complete without a treat box. I am using a free SVG from the LOKLiK library to create this cute 3D box topped with a label. This project is a great option for crafters who want to learn how to assemble 3D boxes, the SVG is wonderfully made.


Materials:
- Cutting machine: LOKLiK iCraft
- Sticky mat: LOKLiK standard grip
- Cardstock: 60 lb or equivalent, for this tutorial I used yellow and orange
- Craft glue
- Vinyl for the tag
- Twine to seal the treat box
- Templates: from LOKLiK Library
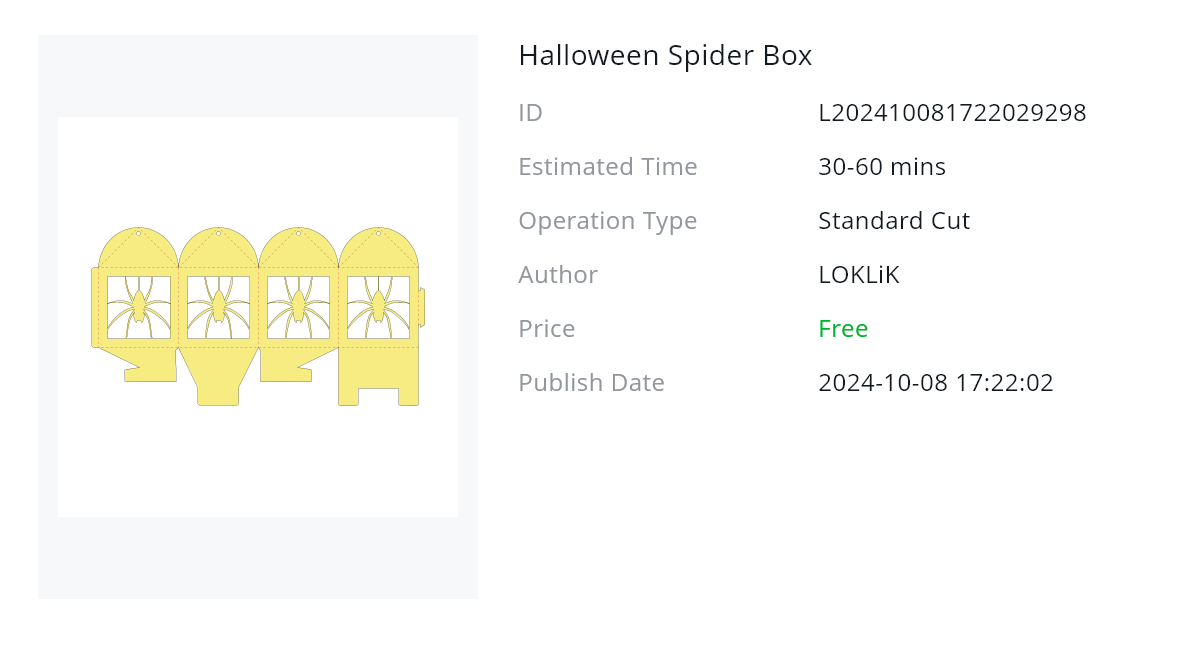
** Halloween Spider Box**
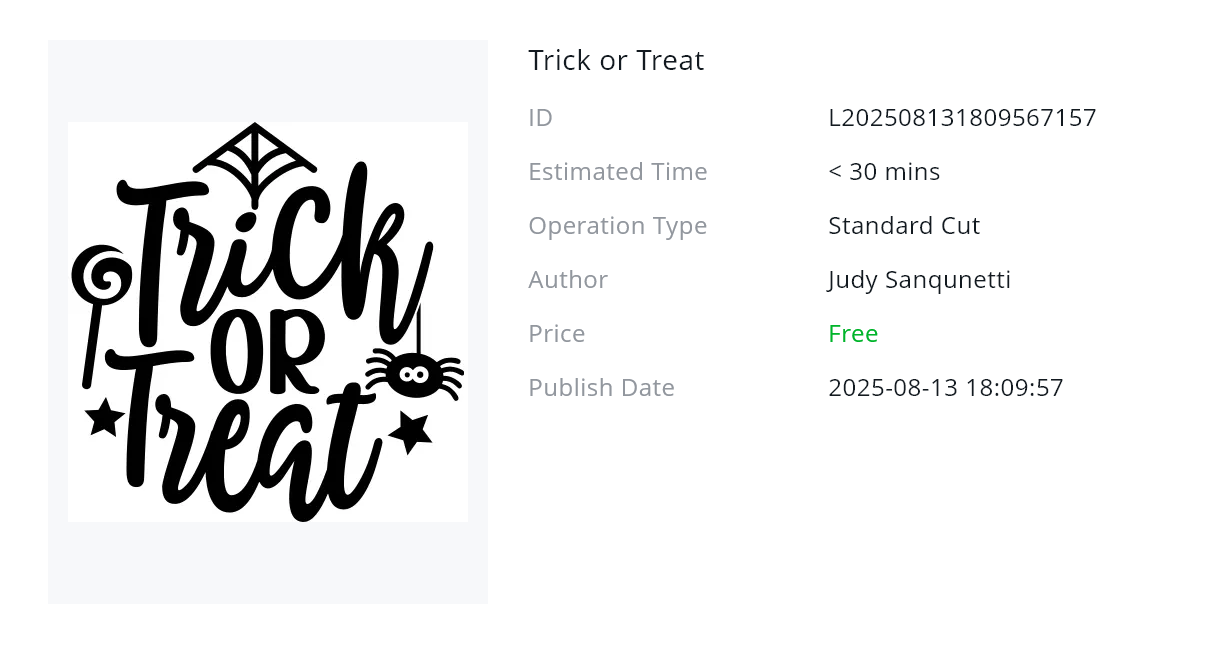
** Trick or Treat**
** Label Tag Marker**
Design and Cutting Process:
- Using the LOKLik IdeaStudio Library, search for the template and select the + to add the template to the canvas.

- Ungroup the Label Tag Maker SVG design to allow us to modify the template.
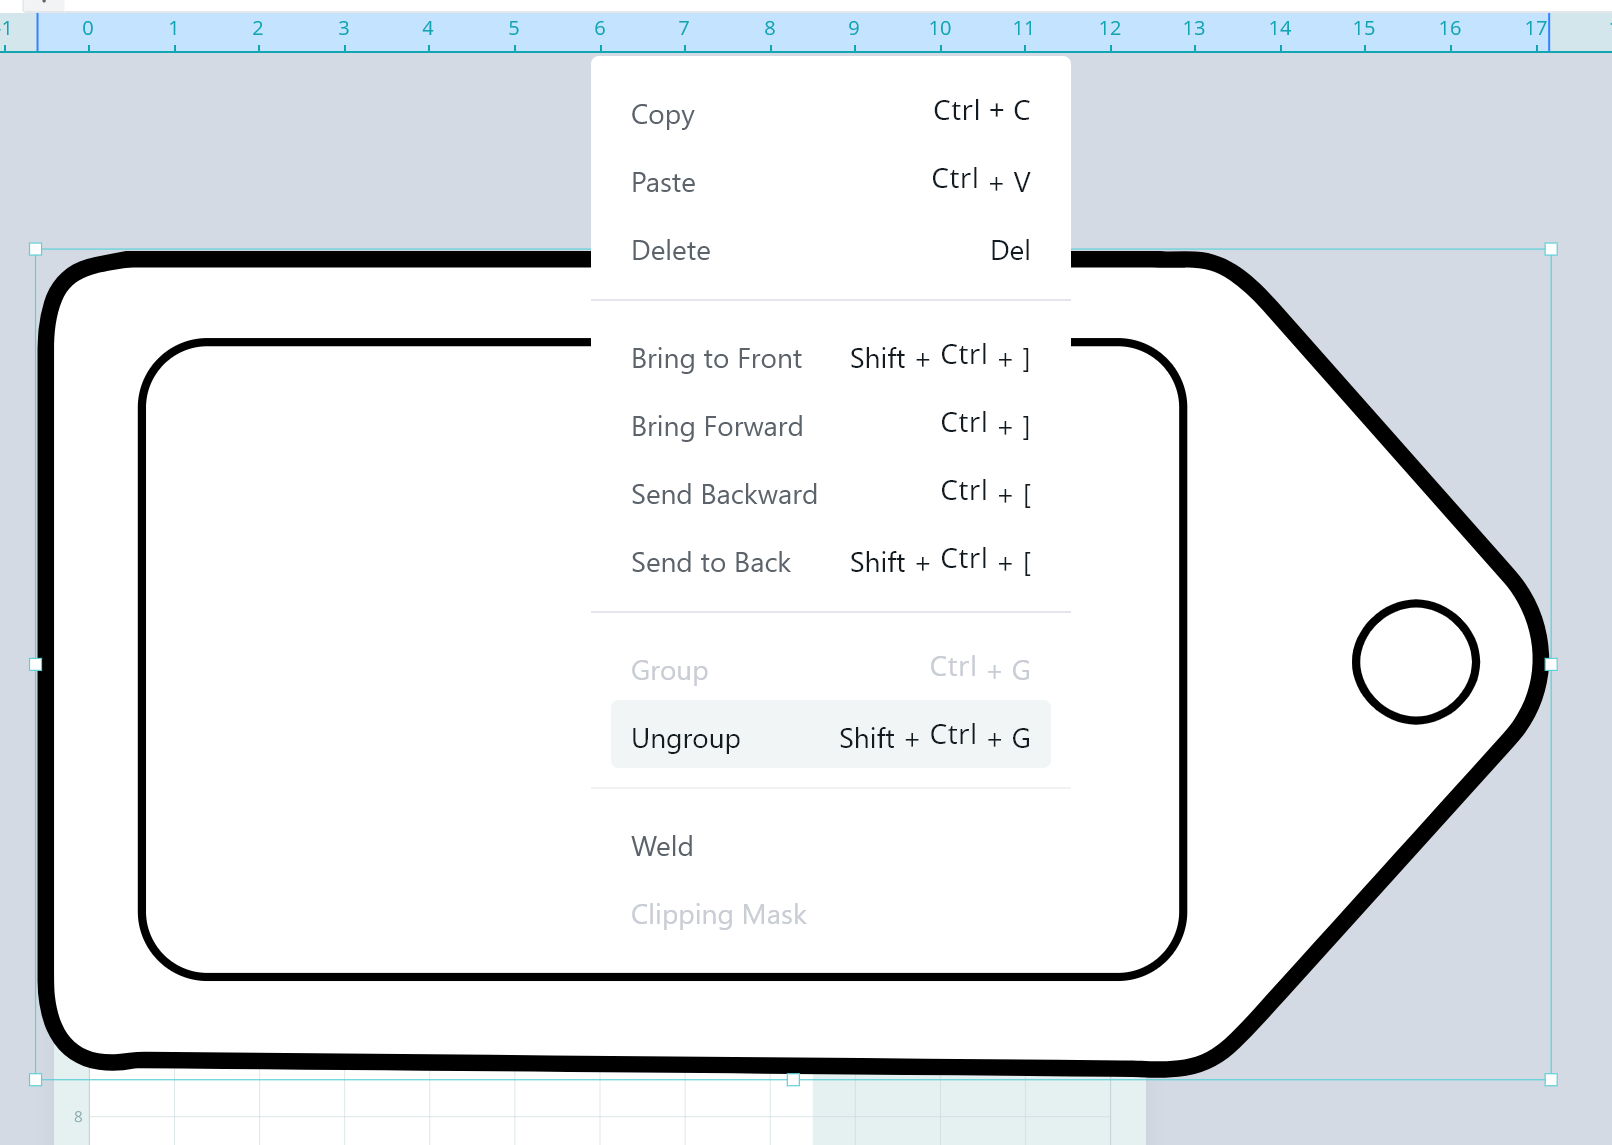
- Delete the outer segments and combine/subtract the tag and circle.

- Rotate and resize the spider box to fit your cardstock. For this tutorial, I used letter paper (8.5in by 11in) and resized the SVG to 5.61in wide by 10.47in tall.

- Change the color of the tag to match your theme, in this tutorial I used orange and resize it to a proportional size compared to the treat box. For this tutorial I thought a tag that is 2.77in wide and 1.49in tall would match well.
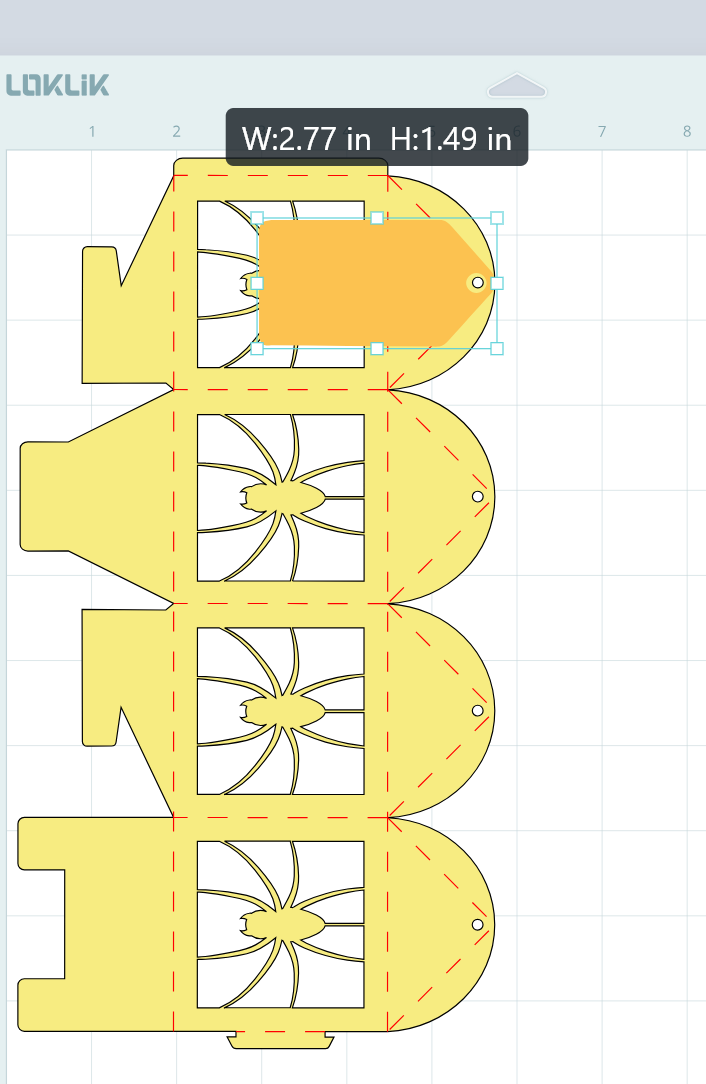
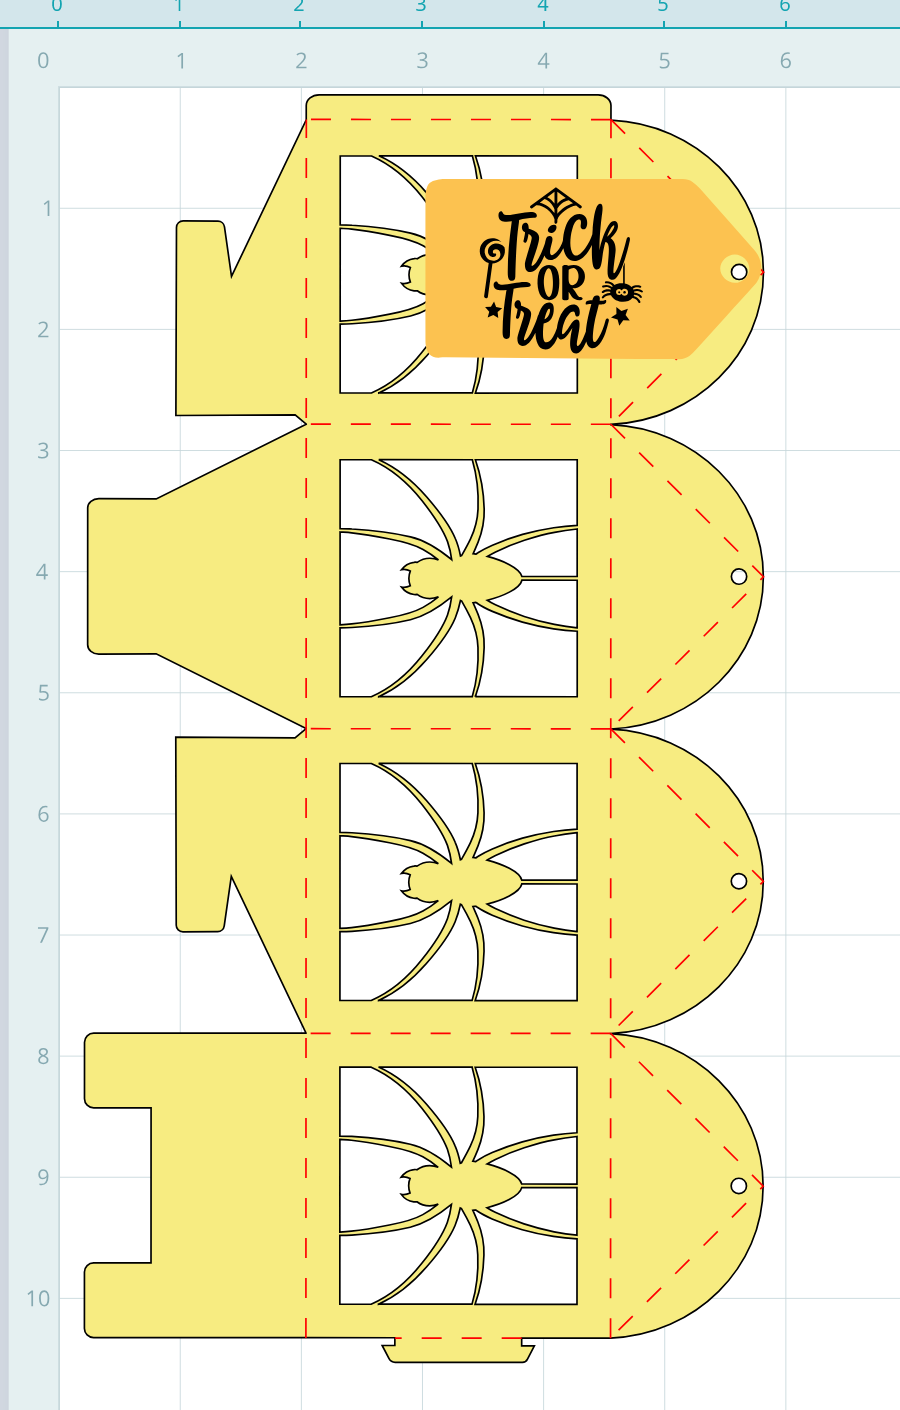
- Resize the text SVG to fit inside of the tag as seen below.

Great job! Now you have the designs ready to cut.
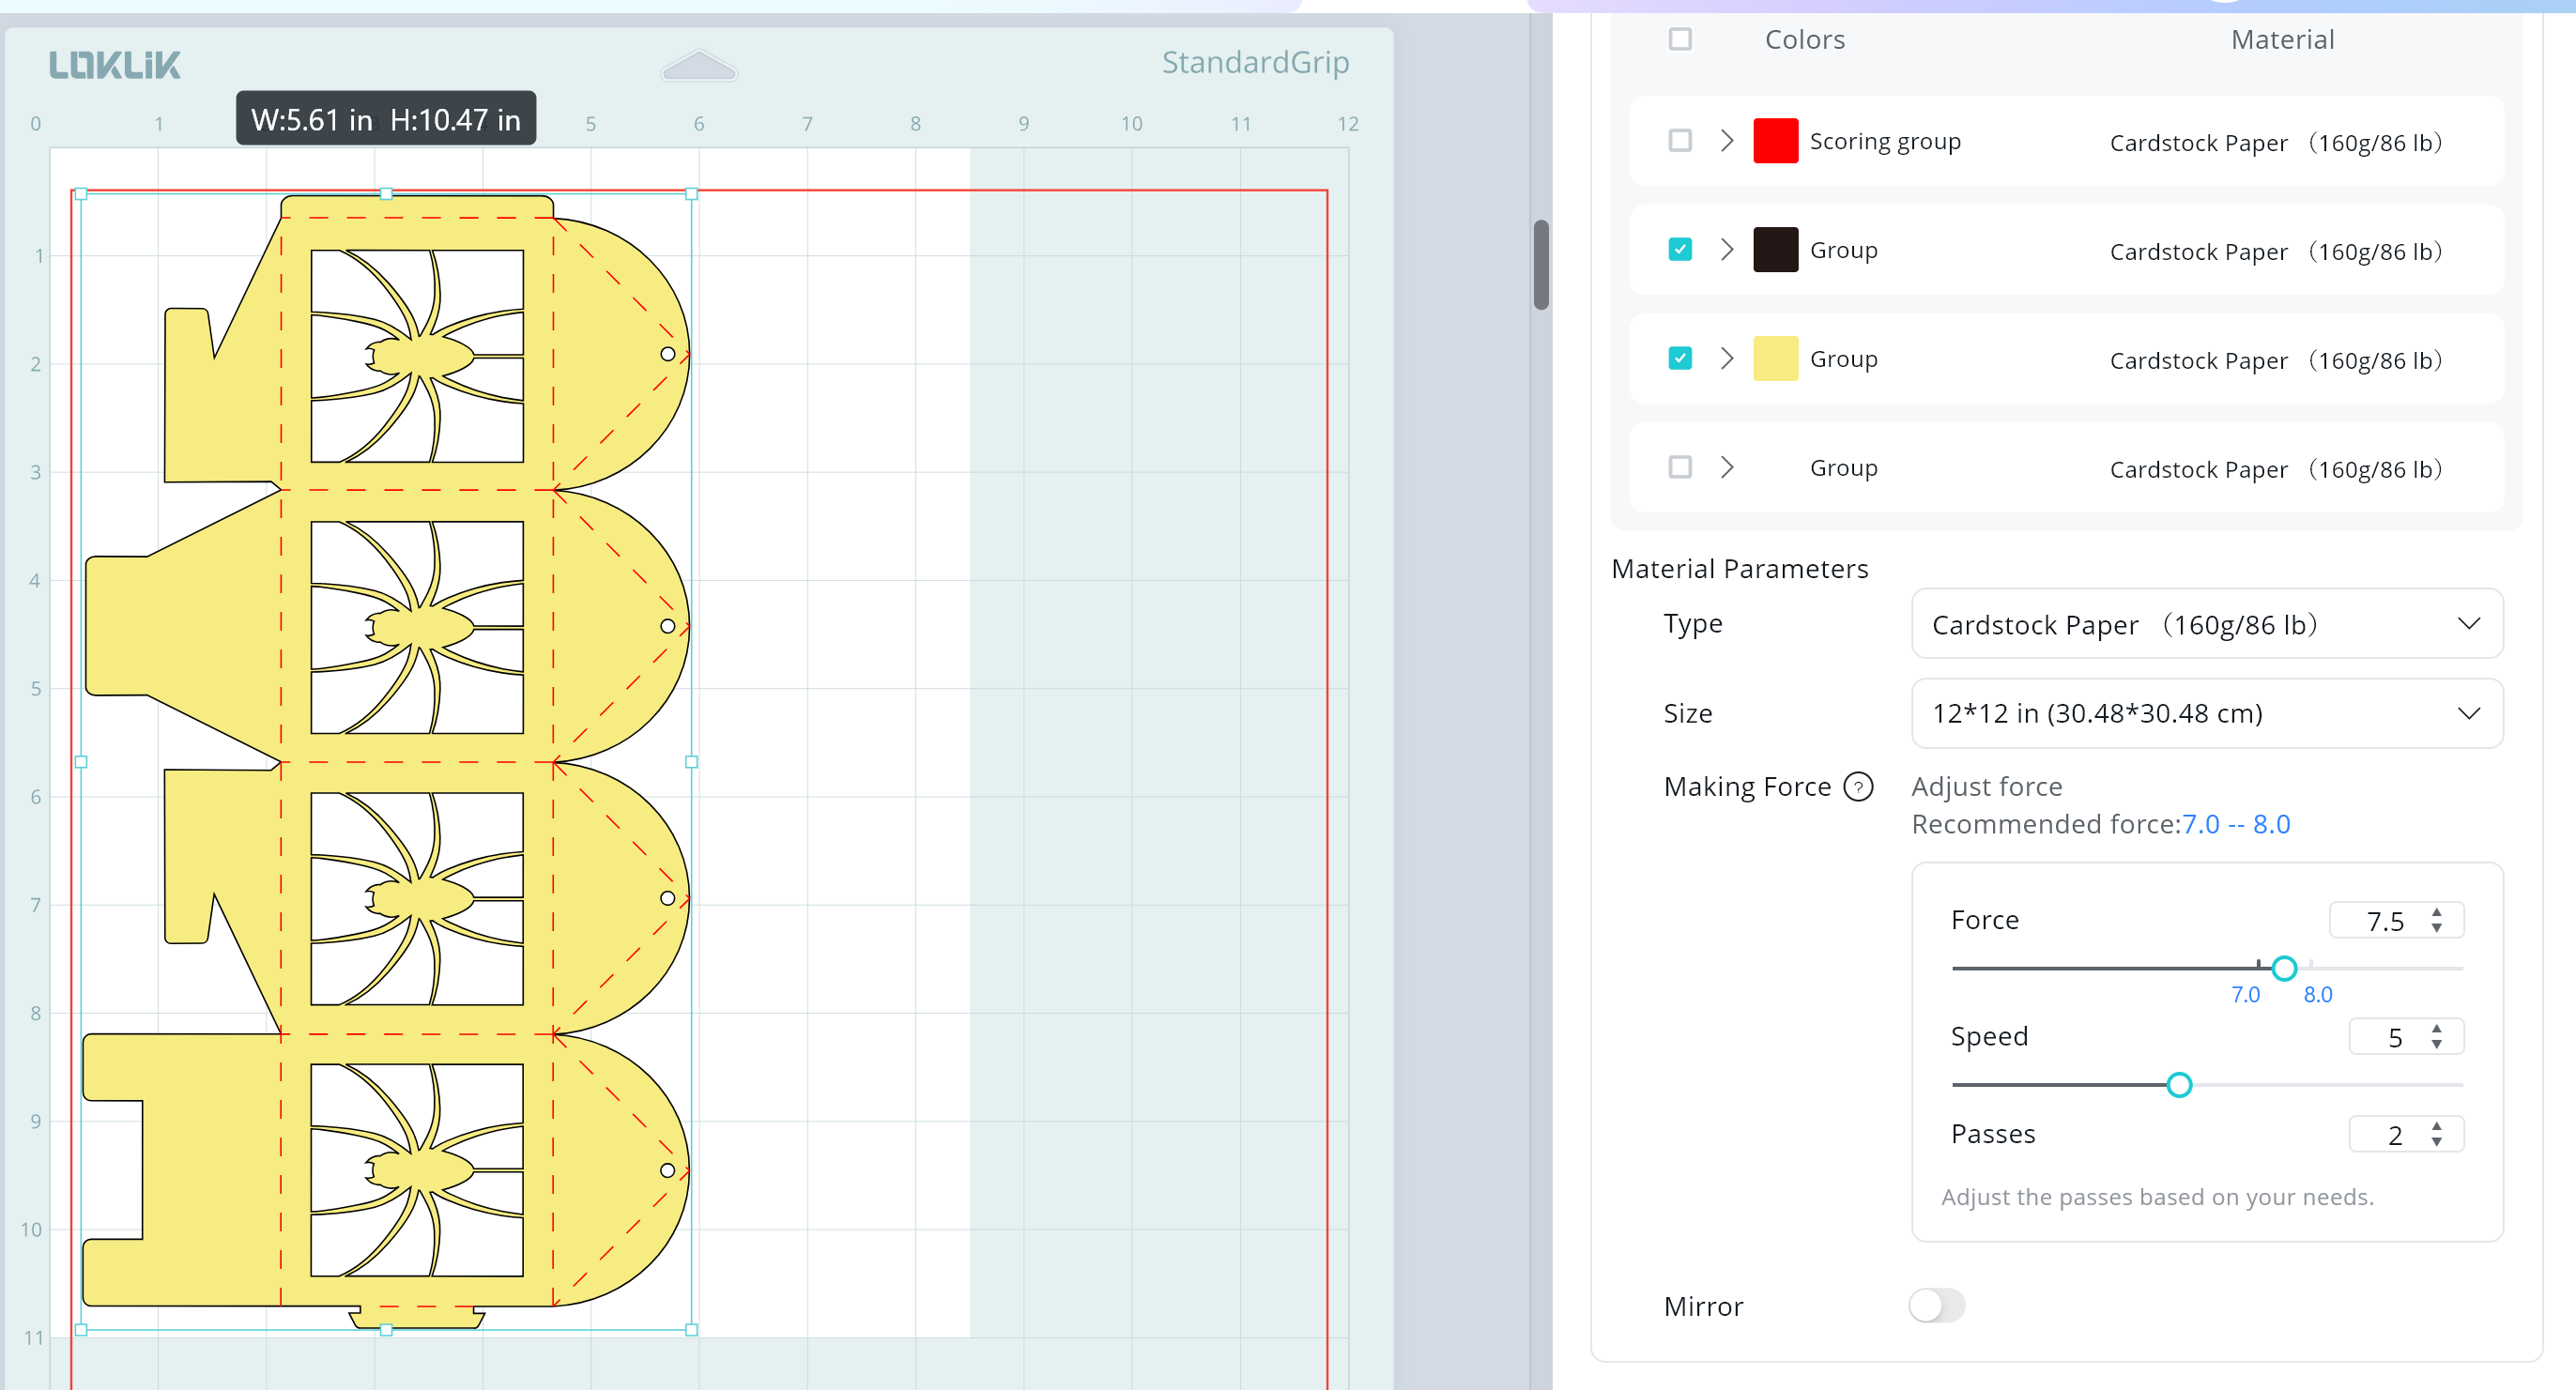
- Send all of the pieces to cut.
** Score Settings - using the regular blade**
** Material Type: Cardstock Paper (160g/86lb)
**Force: 5.5
**Speed: 5
**Passes: 2

** Cut Settings**
** Material Type: Cardstock Paper (160g/86lb)
**Force: 7.5
**Speed: 5
**Passes: 2

Assembling the Treat Box
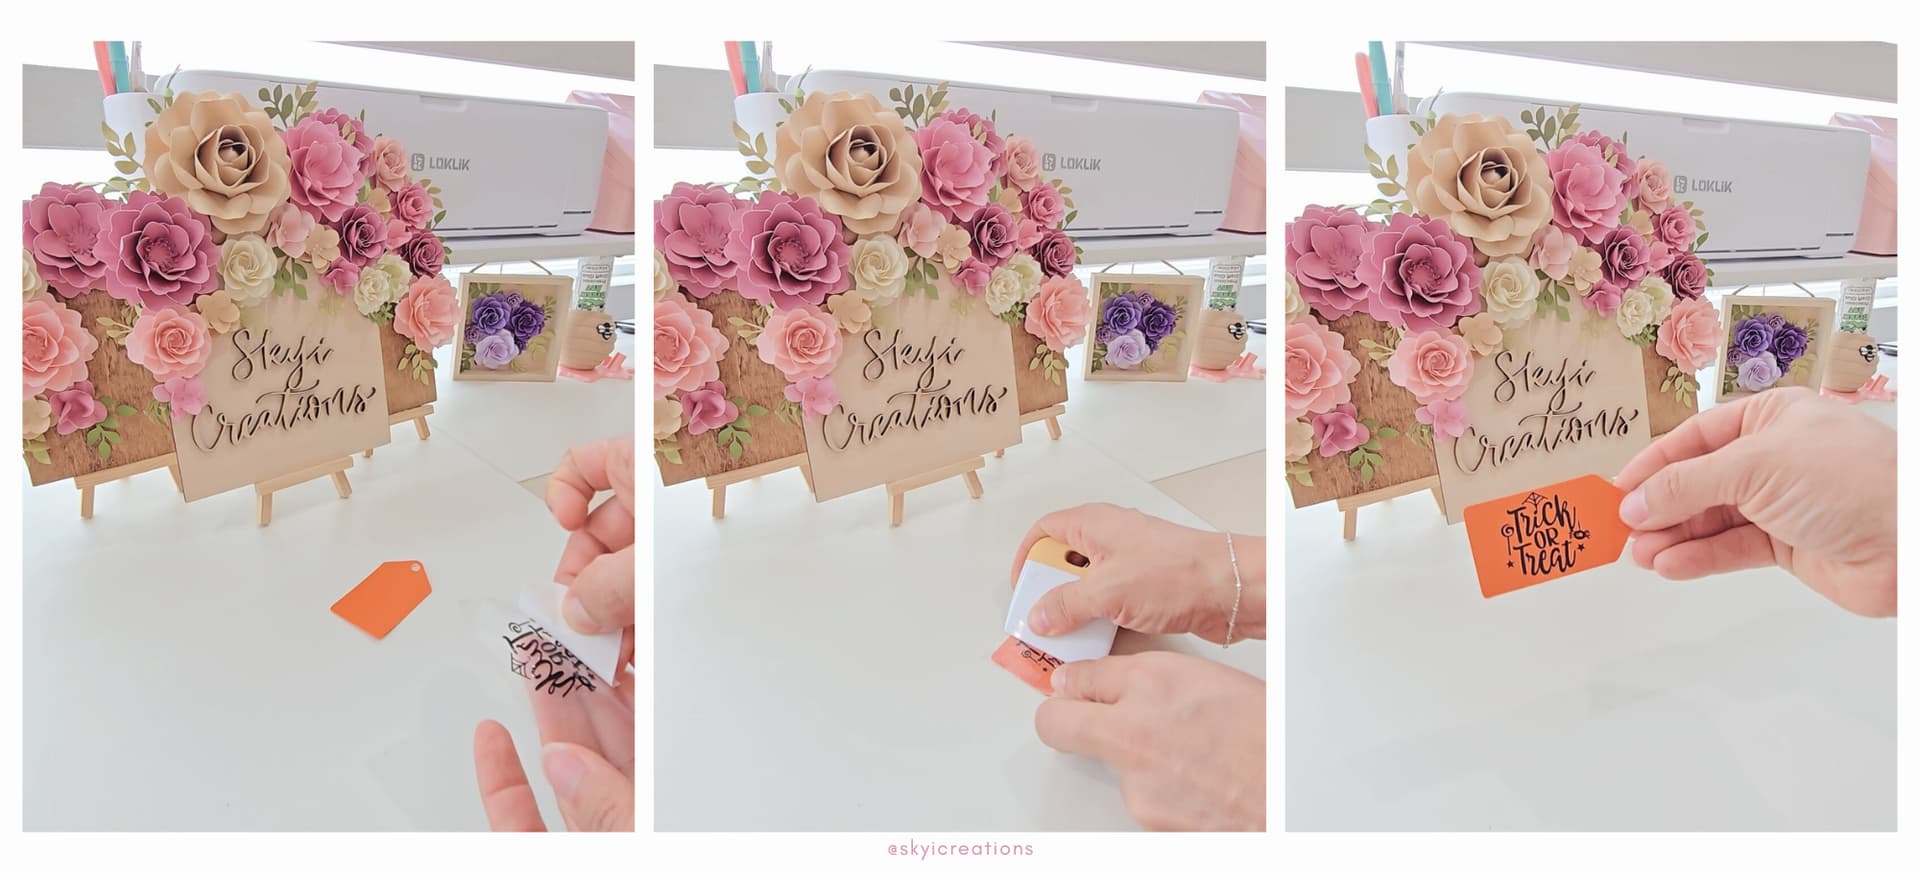
- Begin with black vinyl cutout and using transfer tape, transfer the design to the paper tag.
- Gently fold the treat box along the score marks.
- To assemble the bottom of the box, you will want to fold the large piece first and then tuck in the 2 smaller sides behind the large piece.
- You will then fold in the last piece into the slit to close the bottom.

- To close the side piece, use some craft glue and apply pressure to seal the box.

- To close the top of the box, gently fold in the pieces (they should fit well together) and string the twine in and out of the holes.
- Tie a soft knot and use the twine to add the tag to the box.
- Tie a bow and cut off the excess twine.

WONDERFUL!!! You have made a cute spider treat box.
