How to rename a layer?

I was trying to do a design of misc stickers and ran into several issues.

  1. watched a video that showed how to use the offset pan and then regroup the layers and give them a name. She was able to do it, but she was in Australia. is their software different?
  2. my designs with using the ‘print/cut’ often just disappear for no reason.
  3. does anyone have a US link to a video that shows step by step how to do stickers?
  4. I was attempting to make labels for my canned tomatoes. I got a good tomato photo but when I save it - and tried to bring it into IS - it just didn’t work. I tried several formats. SVG - PNG and JPG. I had hope to put the year on the tomato using the ‘slice’ command. It just would not work.
5 Likes
  1. Just doble click in the layer name
  2. They must have gone in an undo action. There’s a glitch, so keep it saved. But it is really annoying as the “Save as” for resave is something we’ve been asking for but still not implemented.
  3. Our creators such us @BellethehowtoGuru and other members such as @InkiteeWorkshop have many tutorials on that in English but they’re not in the USA, why do you need it to be form there? You can find them in the Tutorial category.

Look, you have a wonderful one here by @skyicreations . She’s in the USA if I’m not wrong, in case you need it to be done in that particular country for whatever reason.

Print-then-Cut Tutorial

  1. There’s no reason why it shouldn´t work. We may need further details, to guess what’s happening to you.
7 Likes

Oh, I think if you save a raster pic as svg, Idea Studio is not going to show it, as it is not a vector but a bitmap.

4 Likes

About raster pics (bmp, png, jpg…) you just select upload > my files and it will ask you how you want to proceed with it

To make stickers, choose Print then Cut. It will take you to the remove background assistant. Standard Cut will take you to vectorizing assistant.

4 Likes

Thanks @redhada for sharing the tutorial. @mary_sergeant is the tutorial helpful? Or is there something specifically you need help with?

5 Likes

@mary_sergeant, could you please share some screenshots and a brief description of the steps you’re trying to do? That will help us assist you more effectively. :wink:

3 Likes

Thanks for the shout out @redhada

Hi @mary_sergeant stickers can become very tricky to get the hang off.

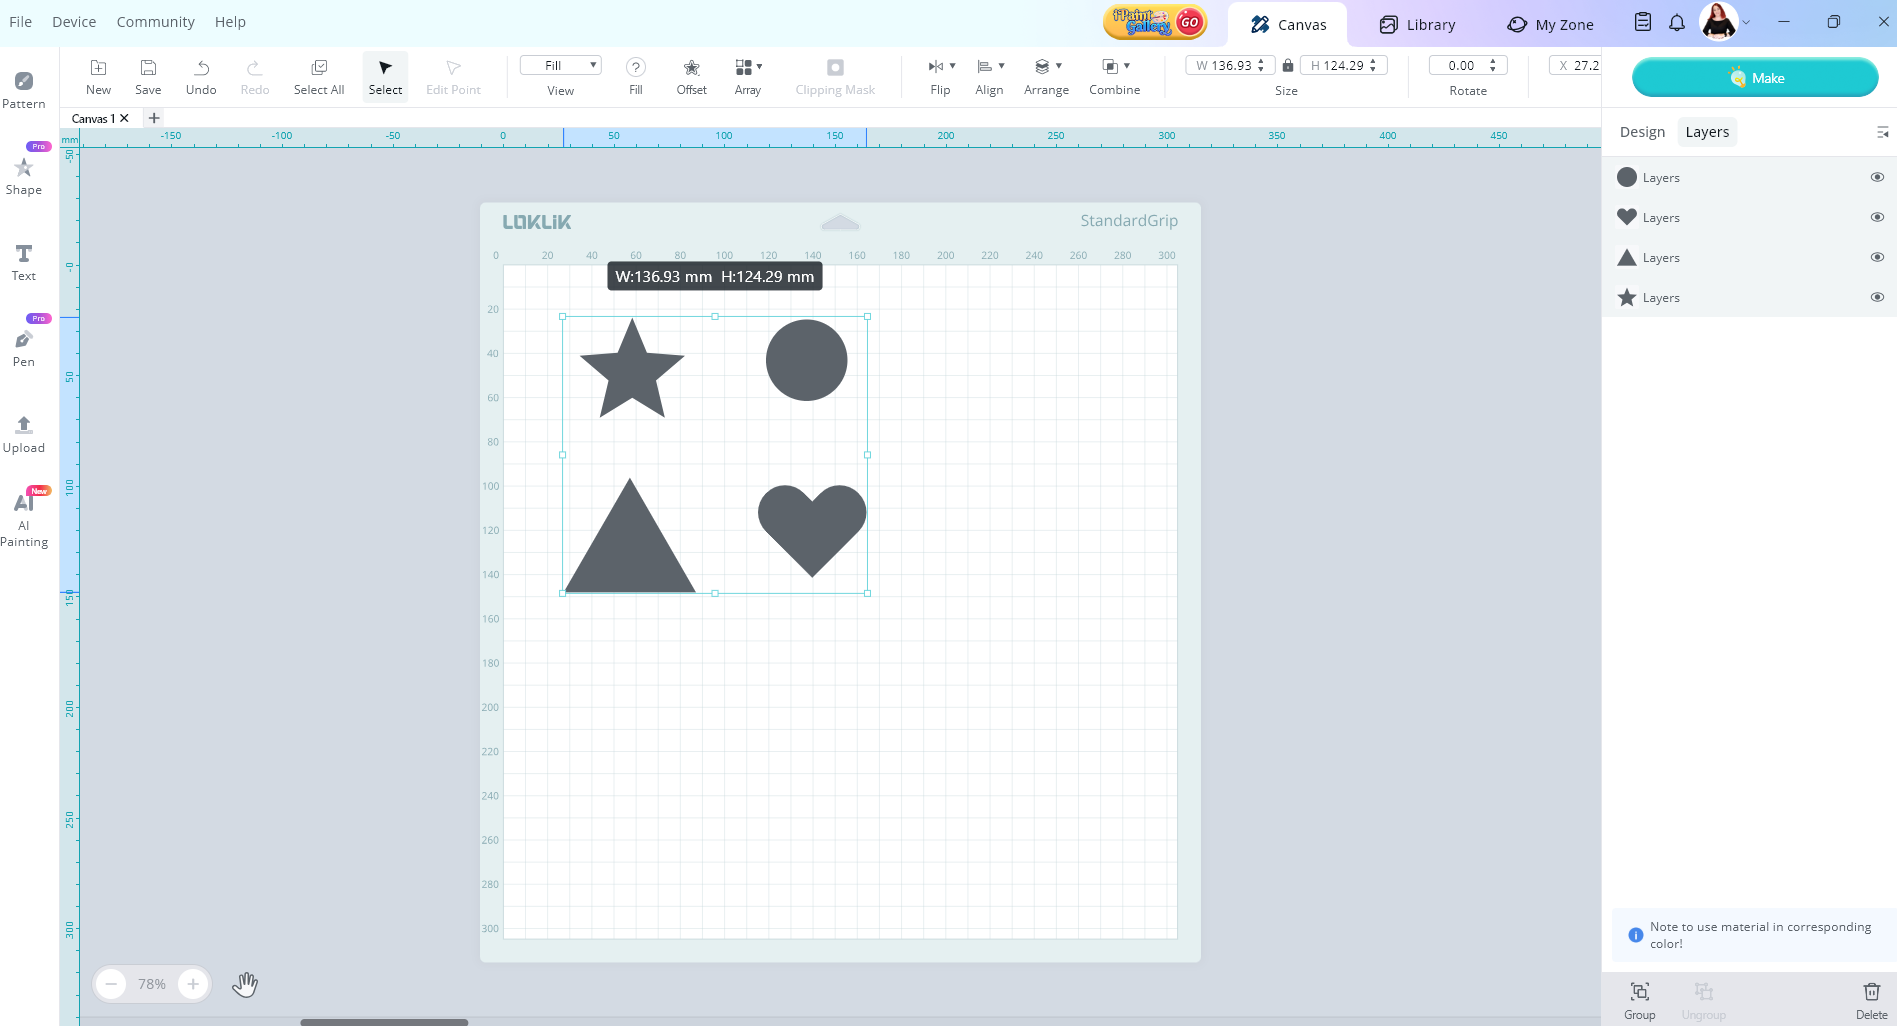
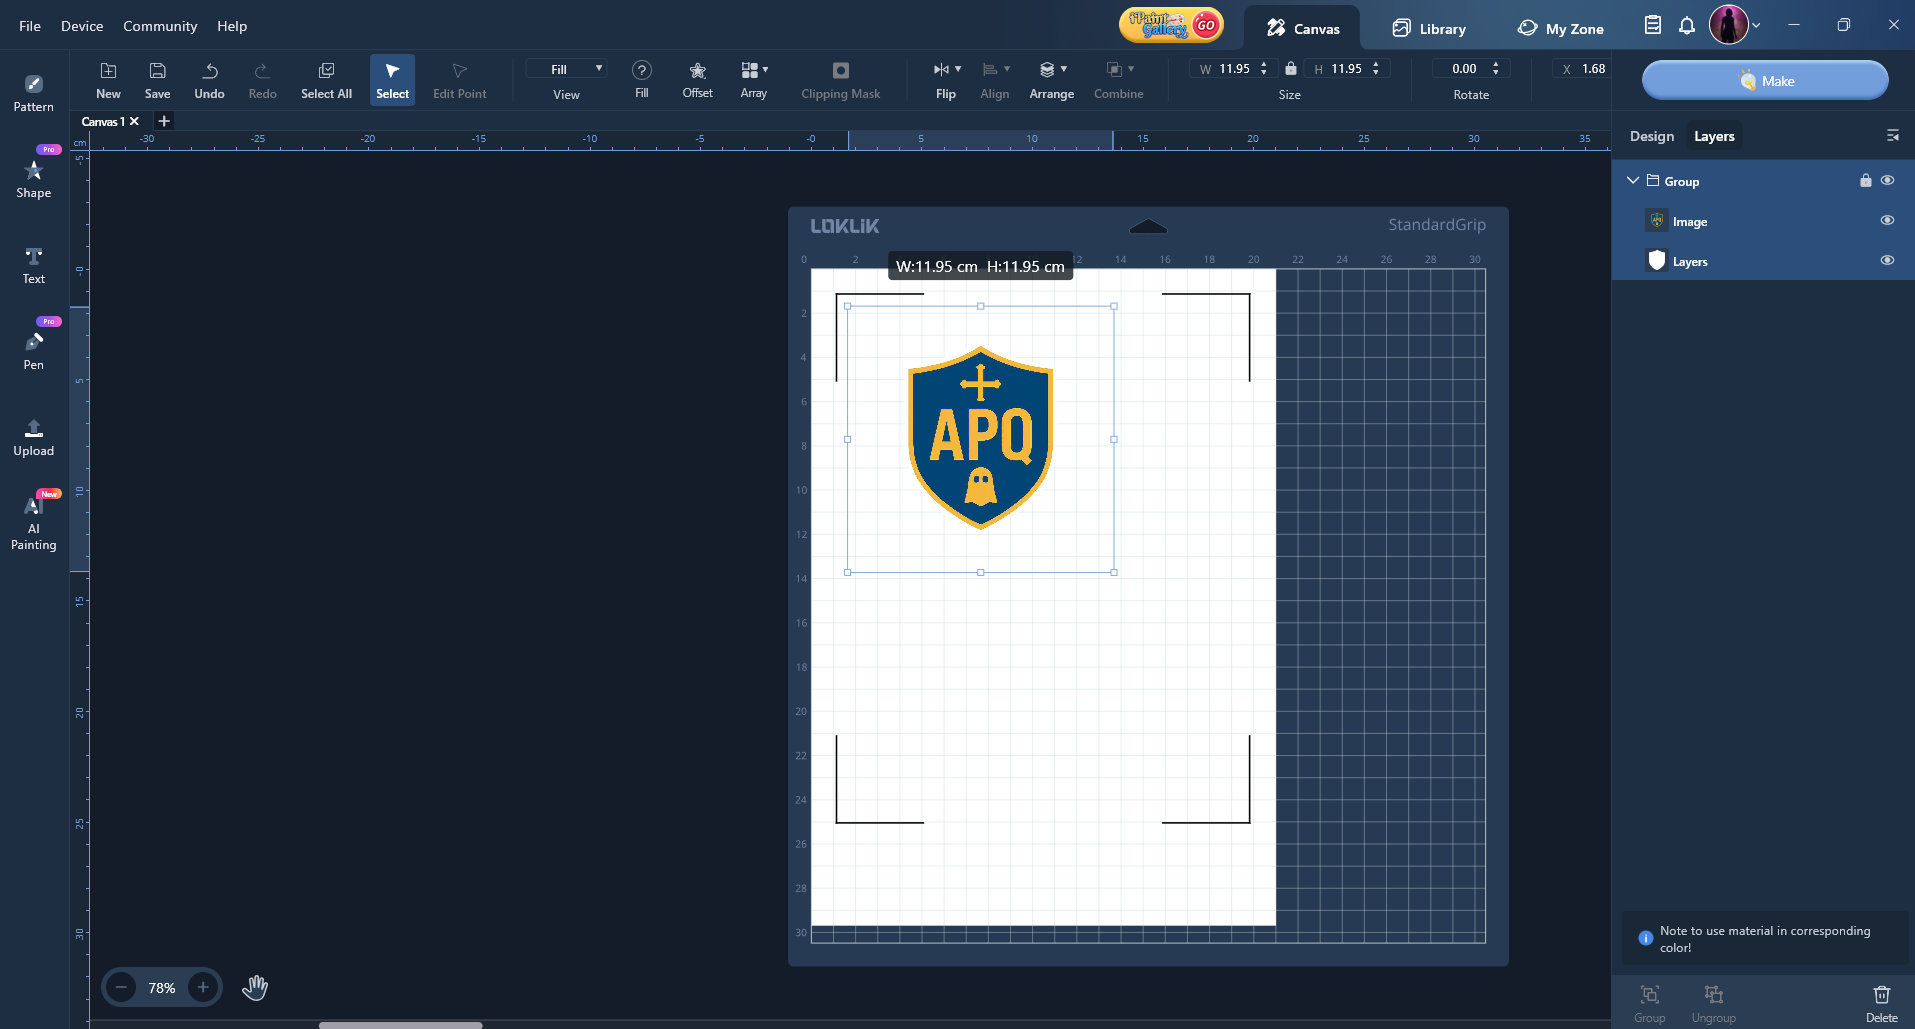
1 - So to ungroup and group layers together make sure the layers that you want together are selected. Then down the bottom right hand side you will see a group and ungroup button.

Then to rename the layer you need to make sure the layer is selected and then double click where it says Layers. Then you can type in the name you would like for it.

LOKLiK Idea Studio is not different for any region, it’s the same software for everyone.

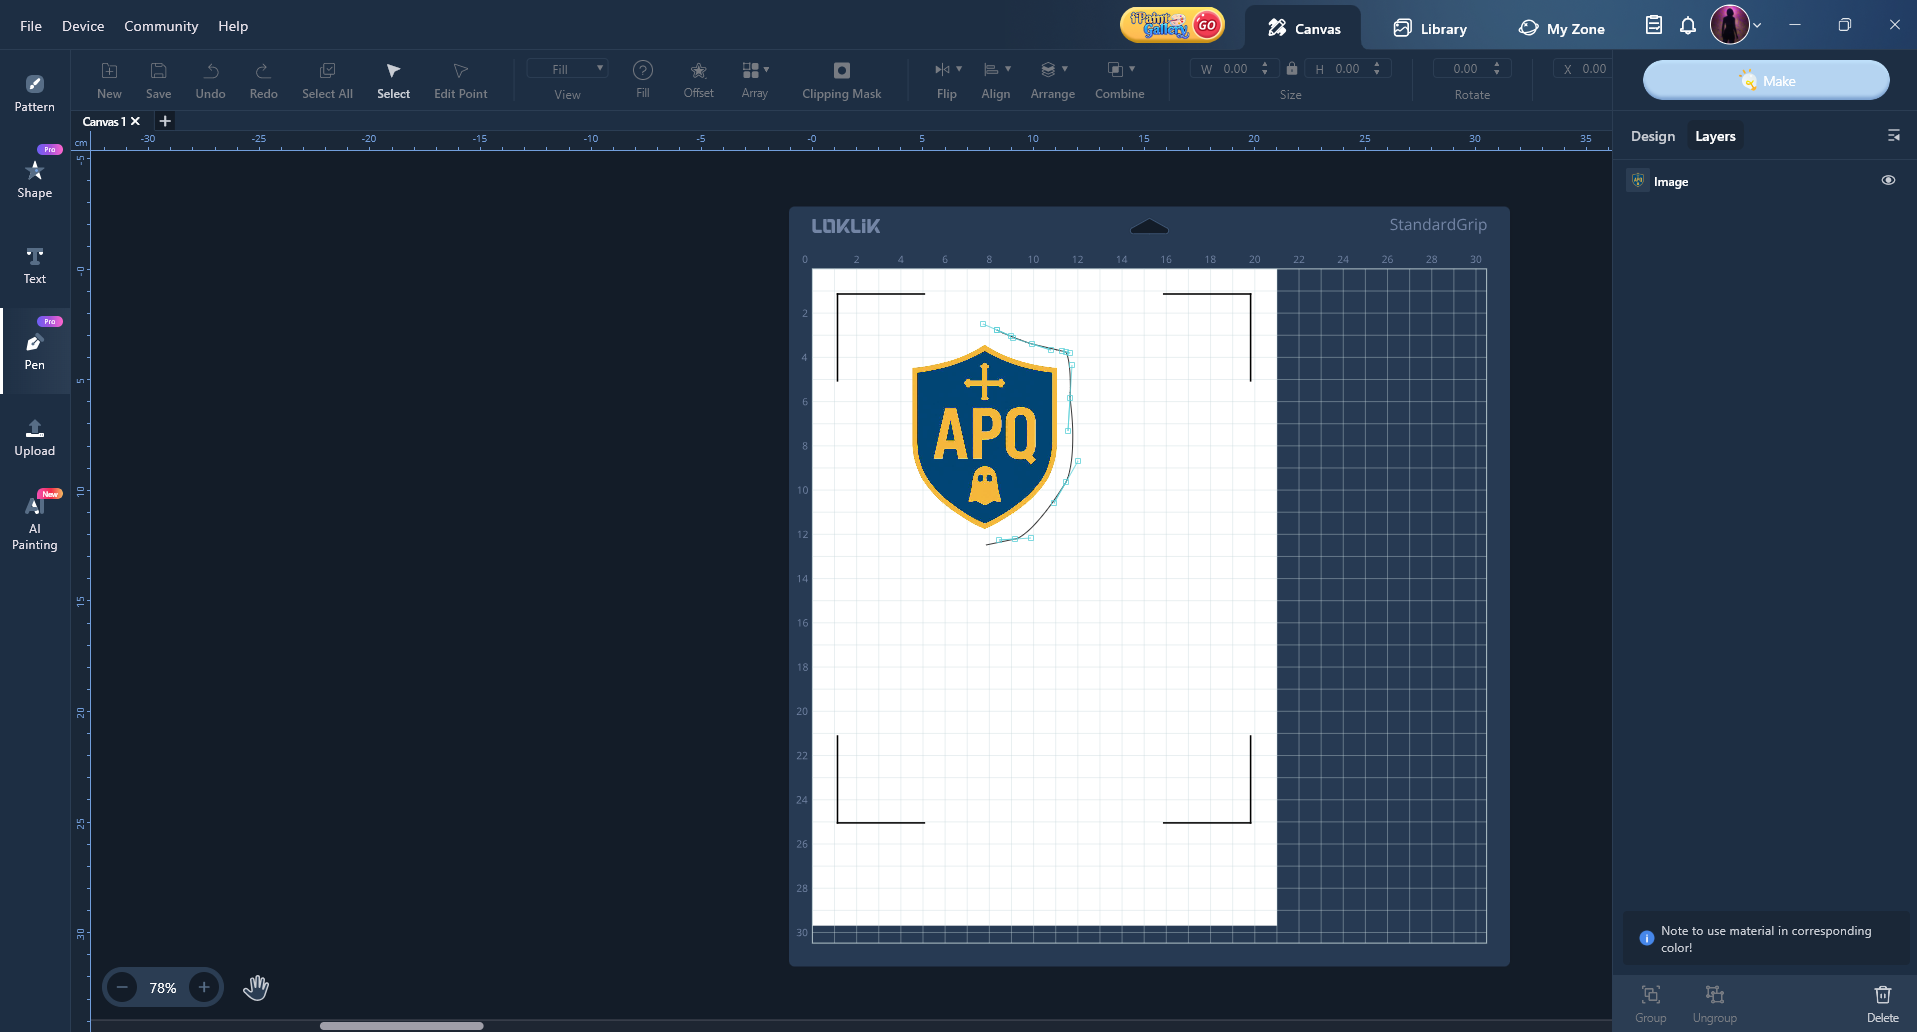
2 - When you say your design disappears are you referring to it not showing up when you go to make it? If thats the case you may not of selected all the layers that you wanted to make. Alternatively you may not of selected the action Idea Studio should take when it comes to your uploaded picture. If you go into the design tab with your picture layer selected you should be able to click on the print and cut operation.

If this didn’t help please share more about your experience and what you are doing when this happens.

3 - I don’t have a US link, I’m in Australia but have a lot of videos on how to calibrate for stickers and then make sticker sheets.
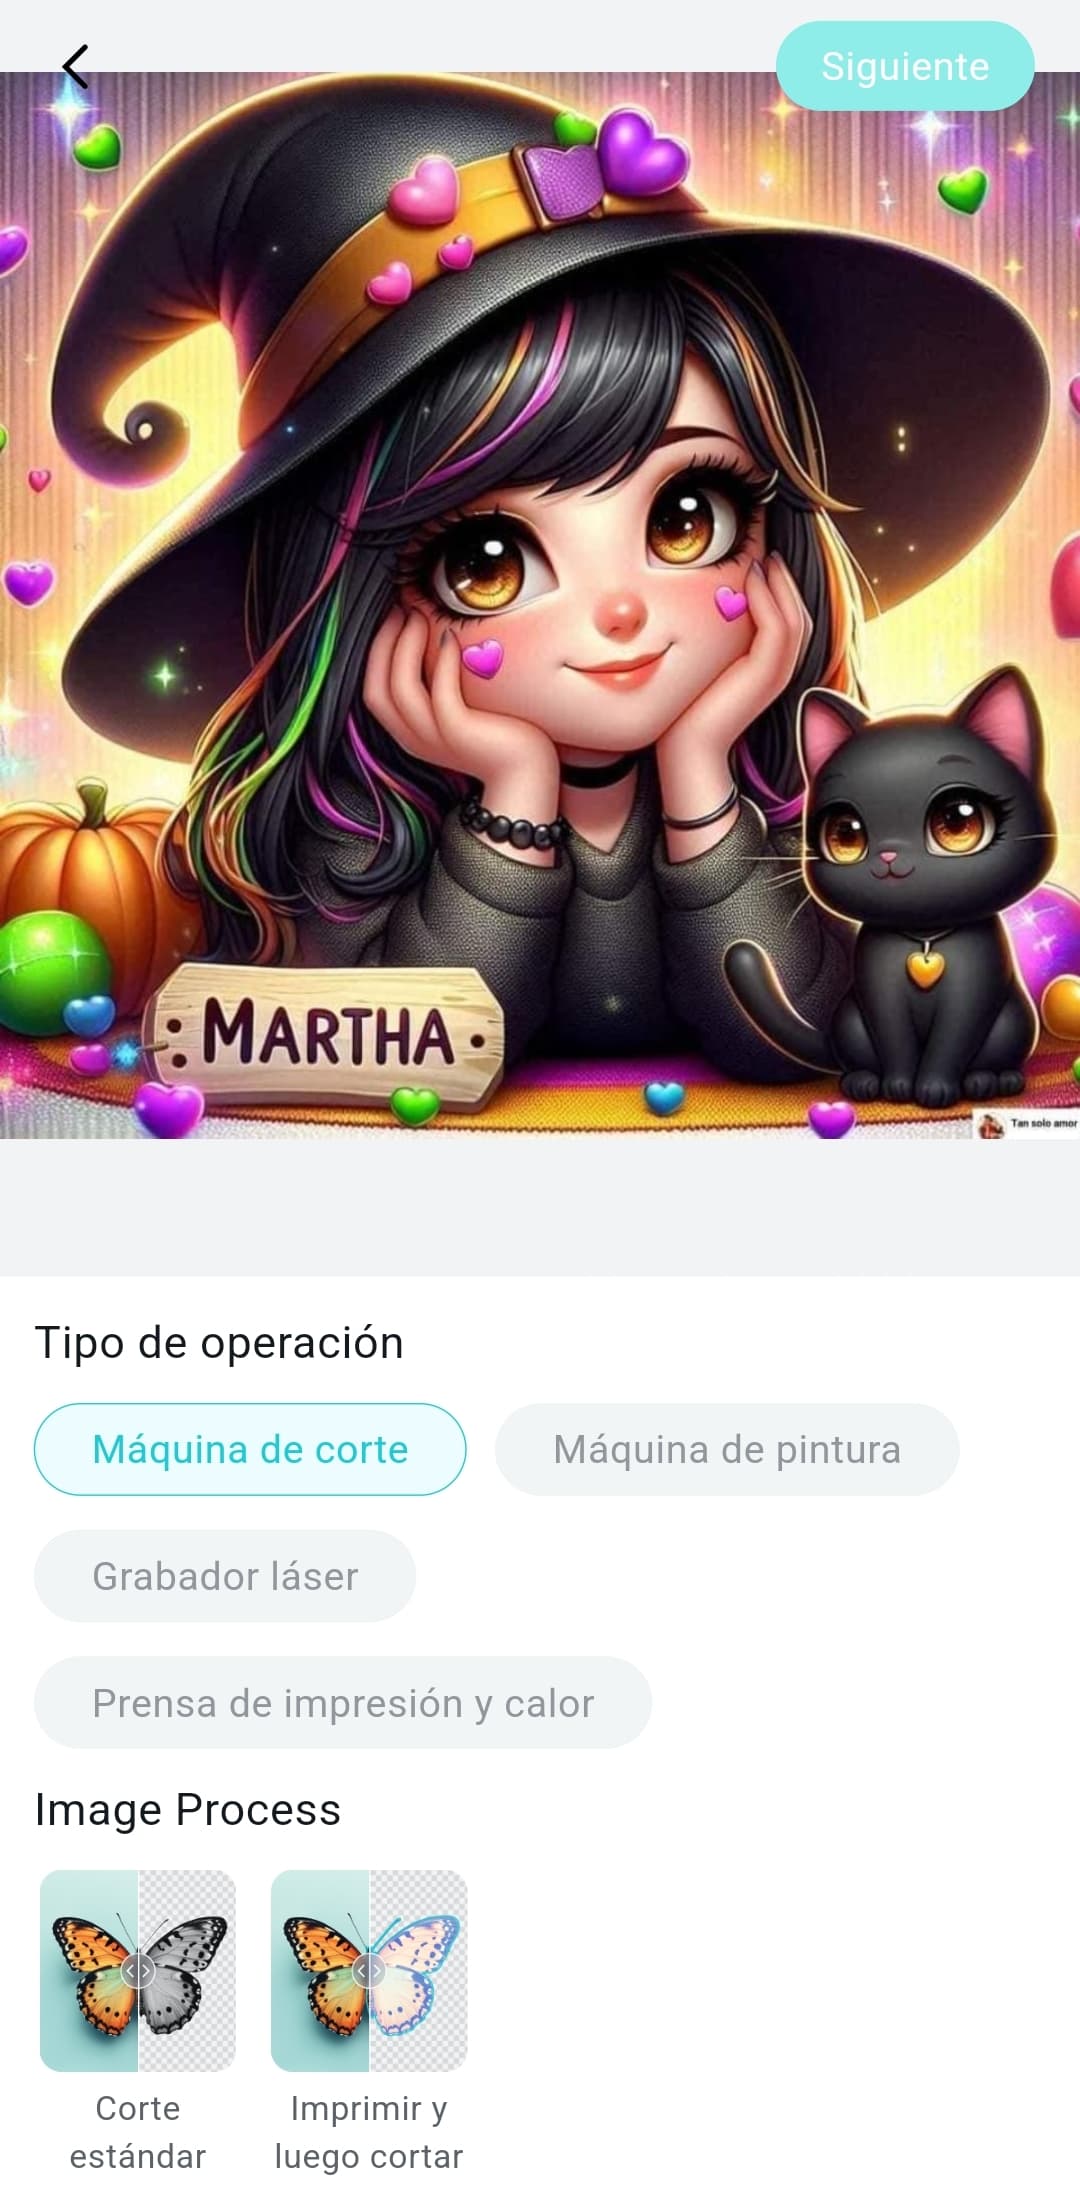
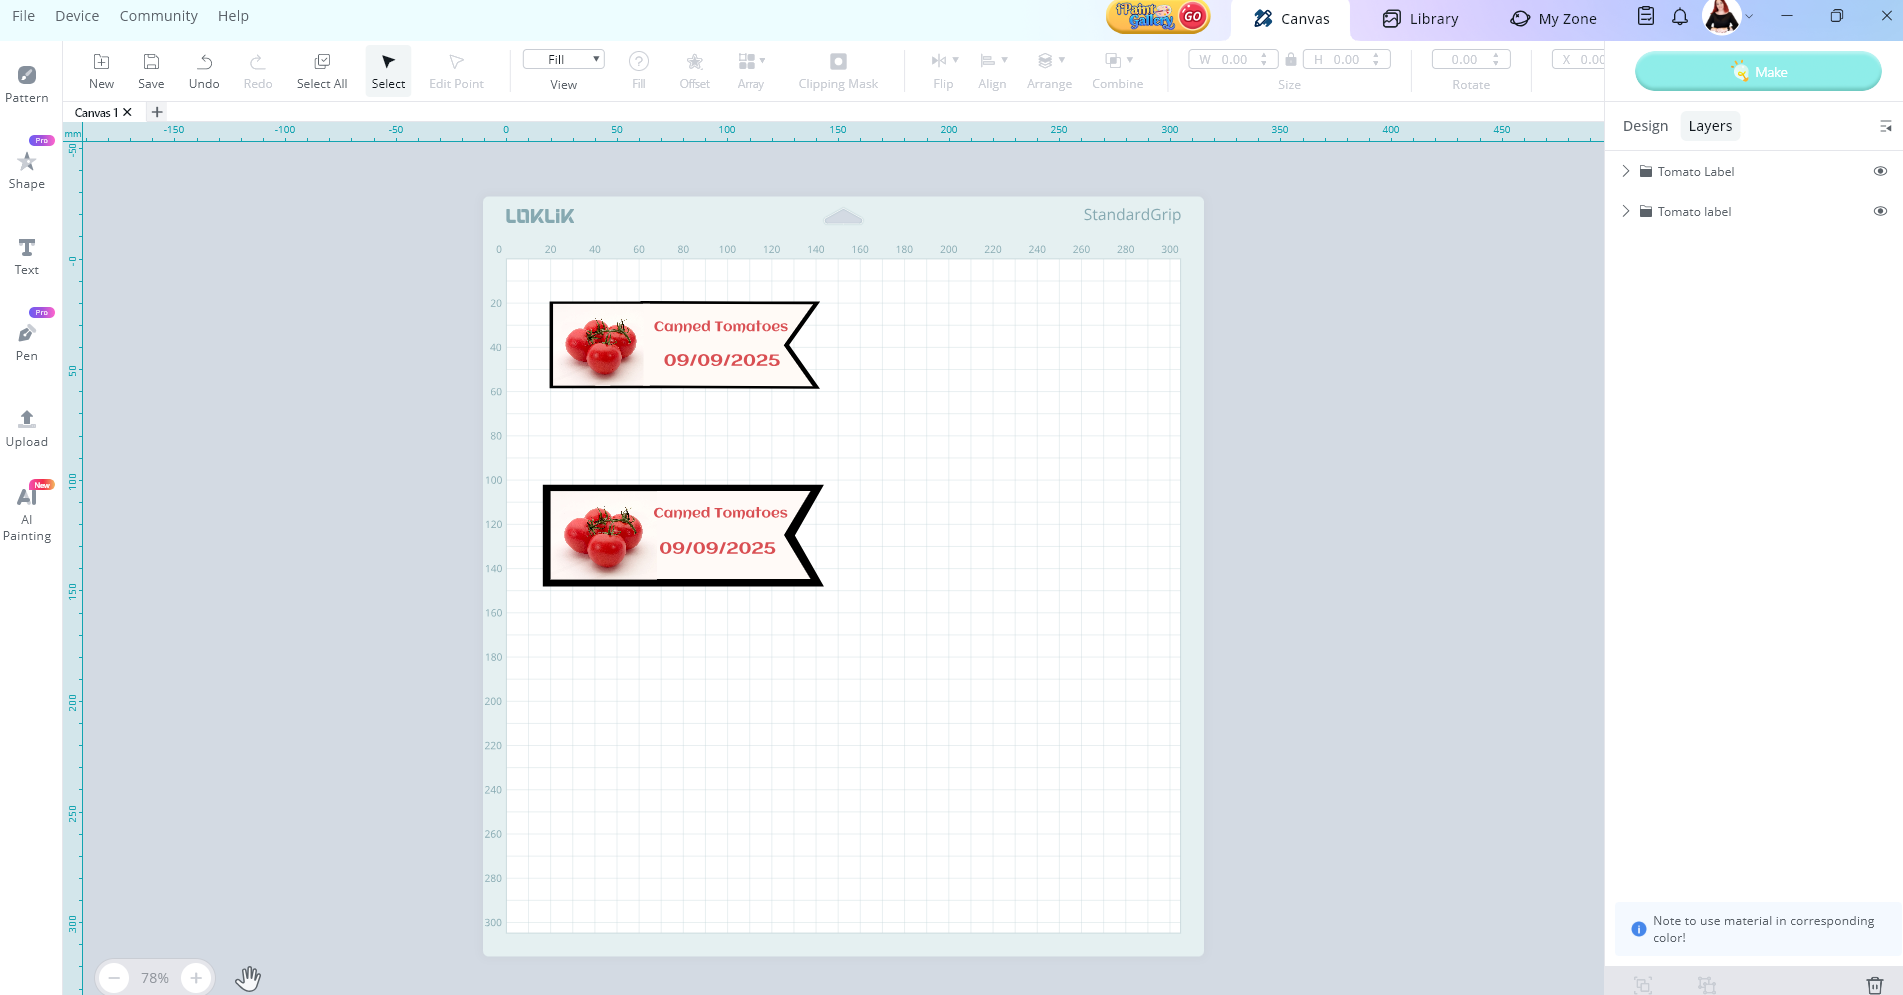
4 - Making a label
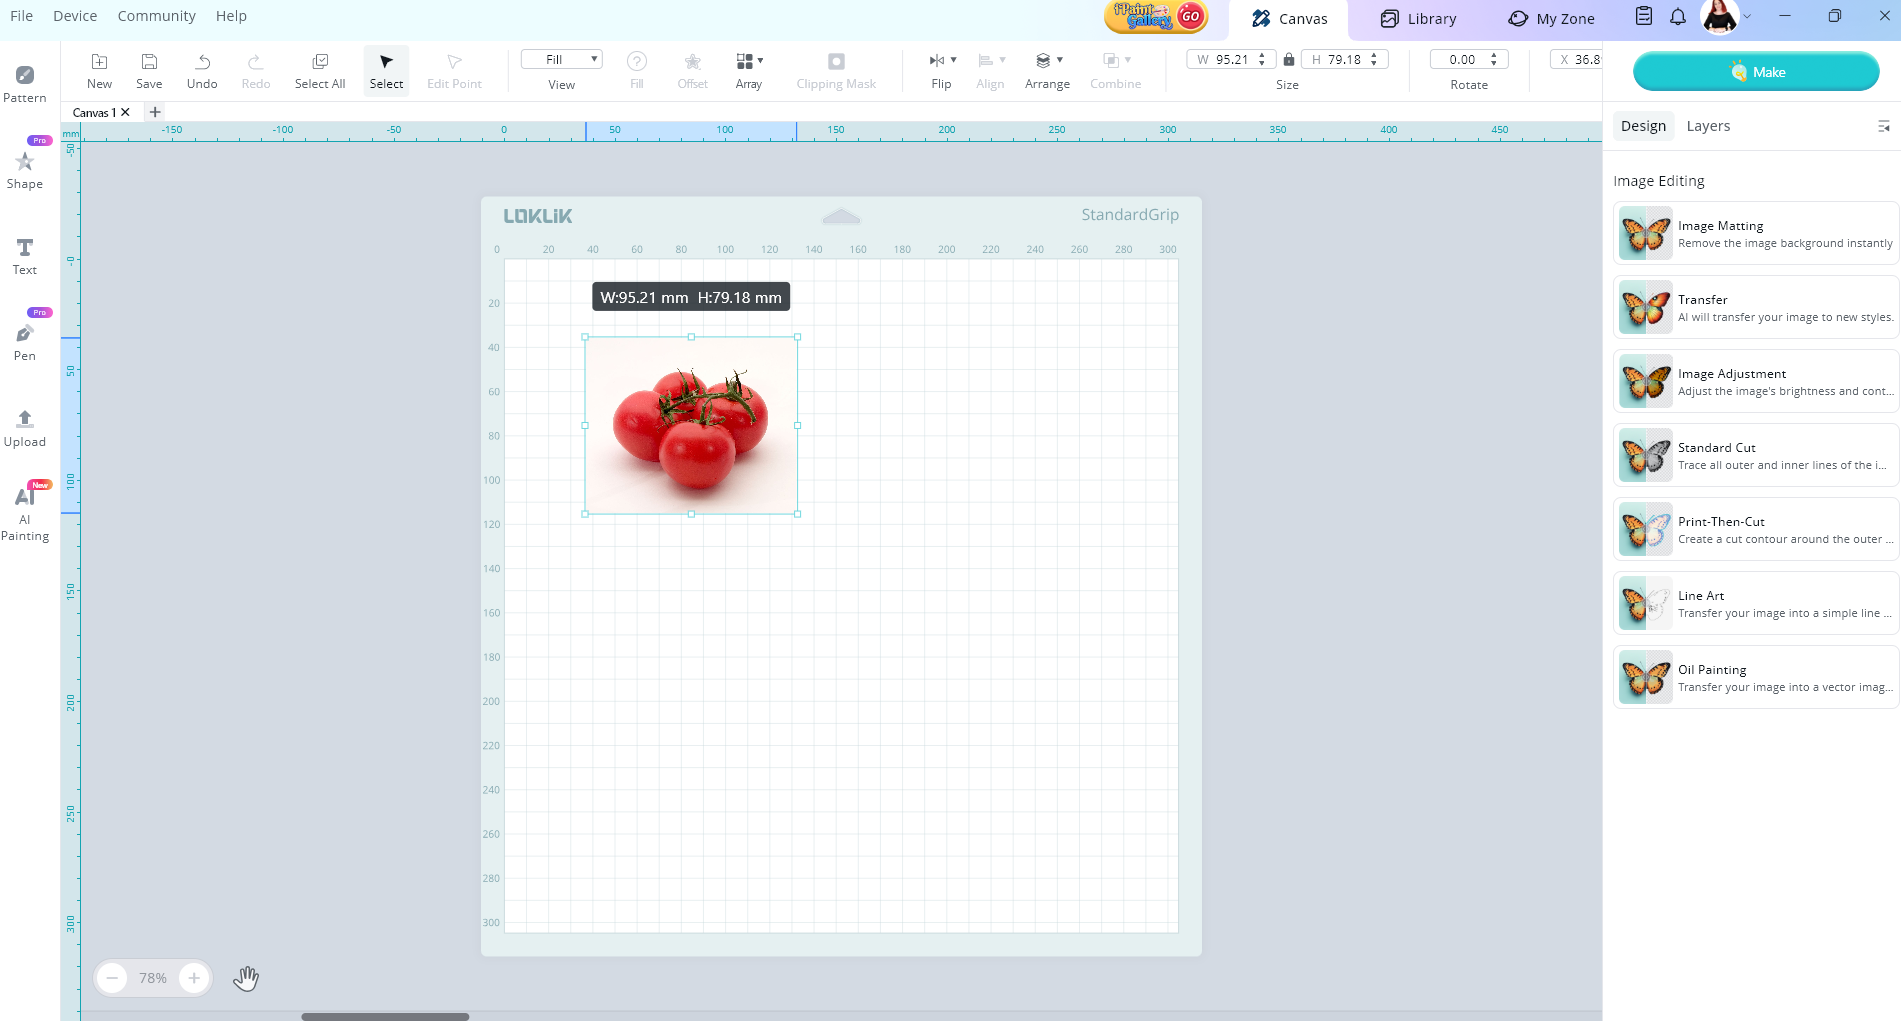
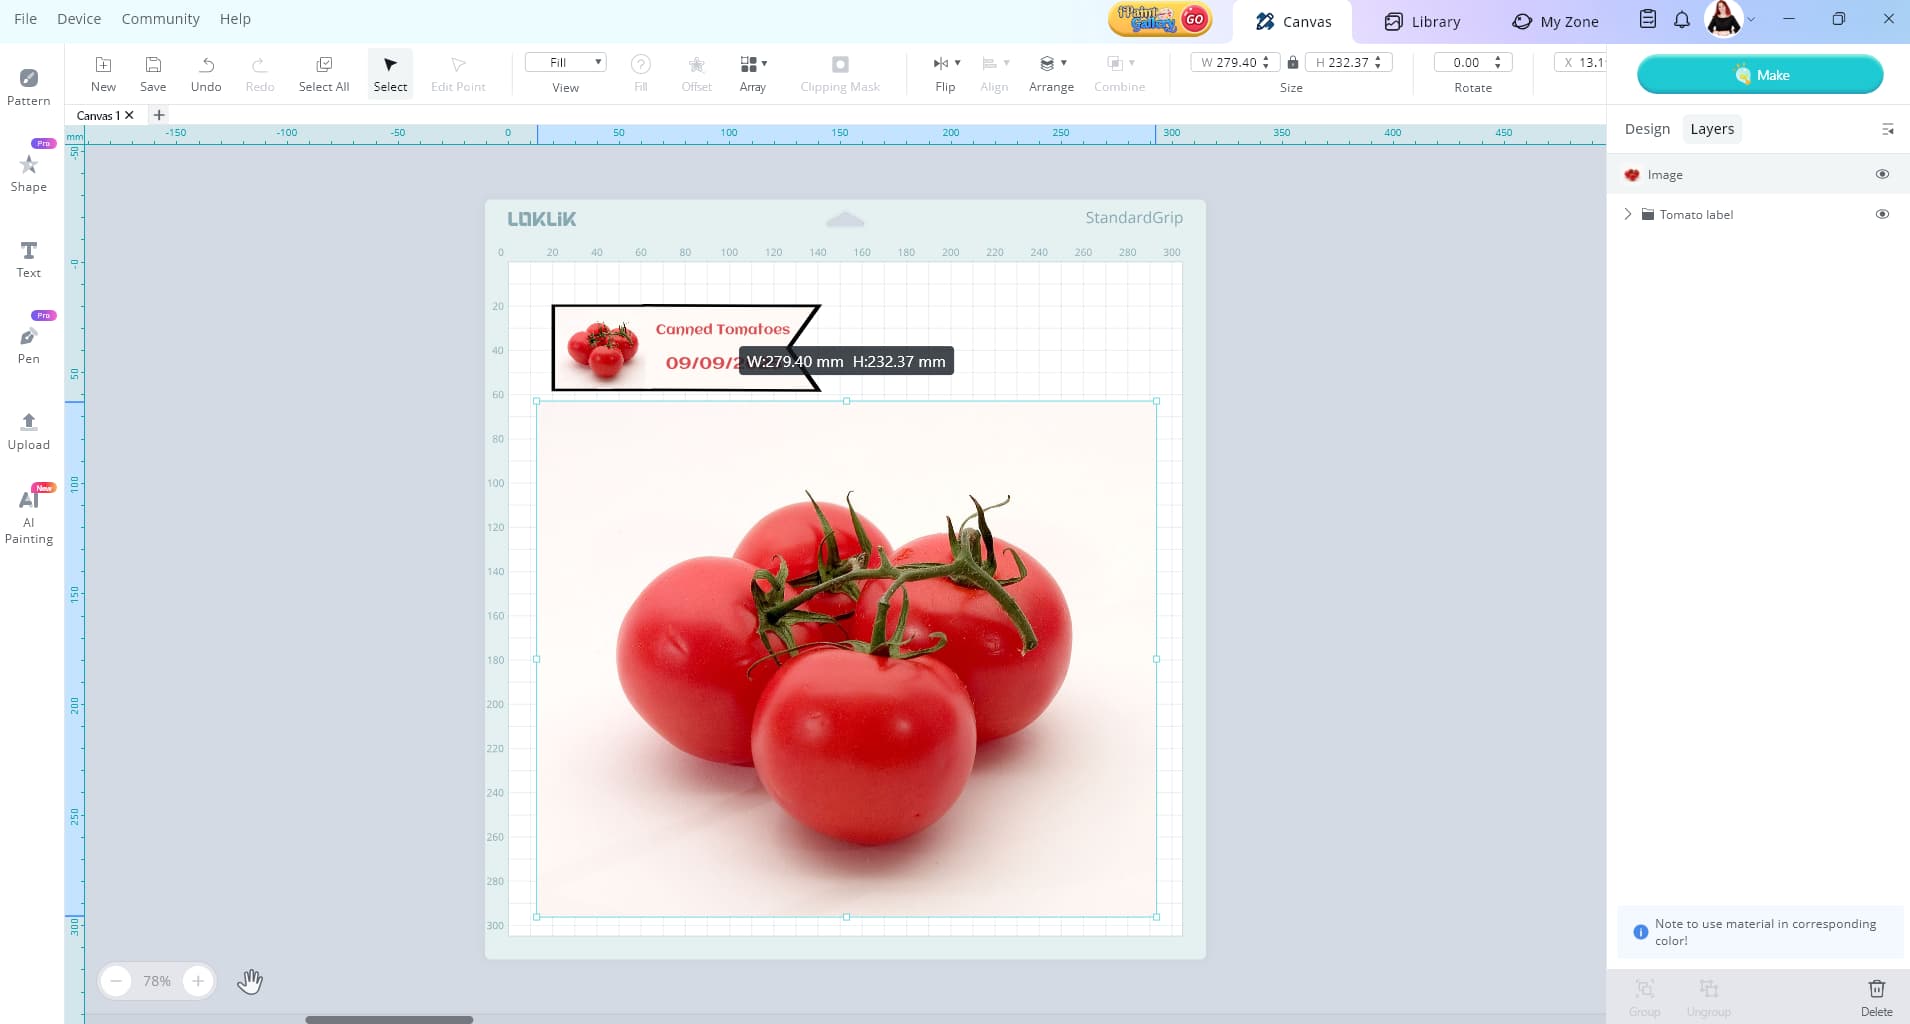
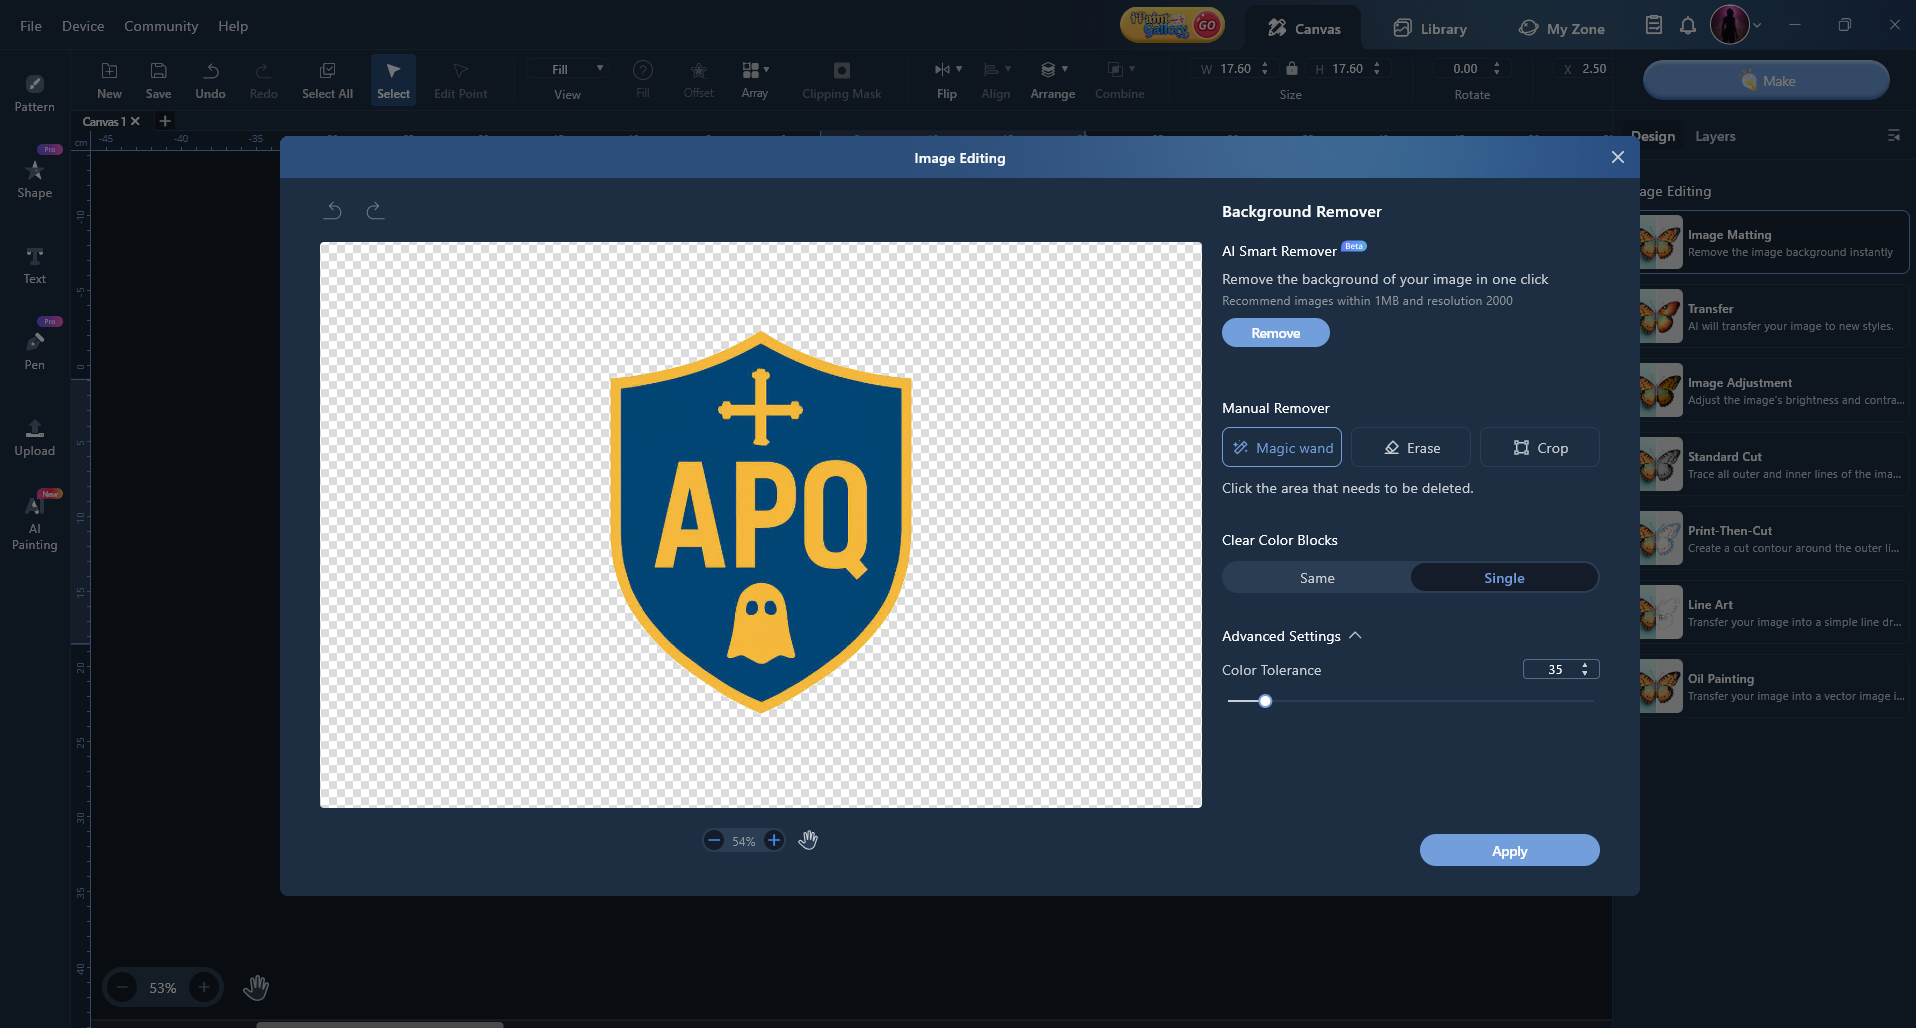
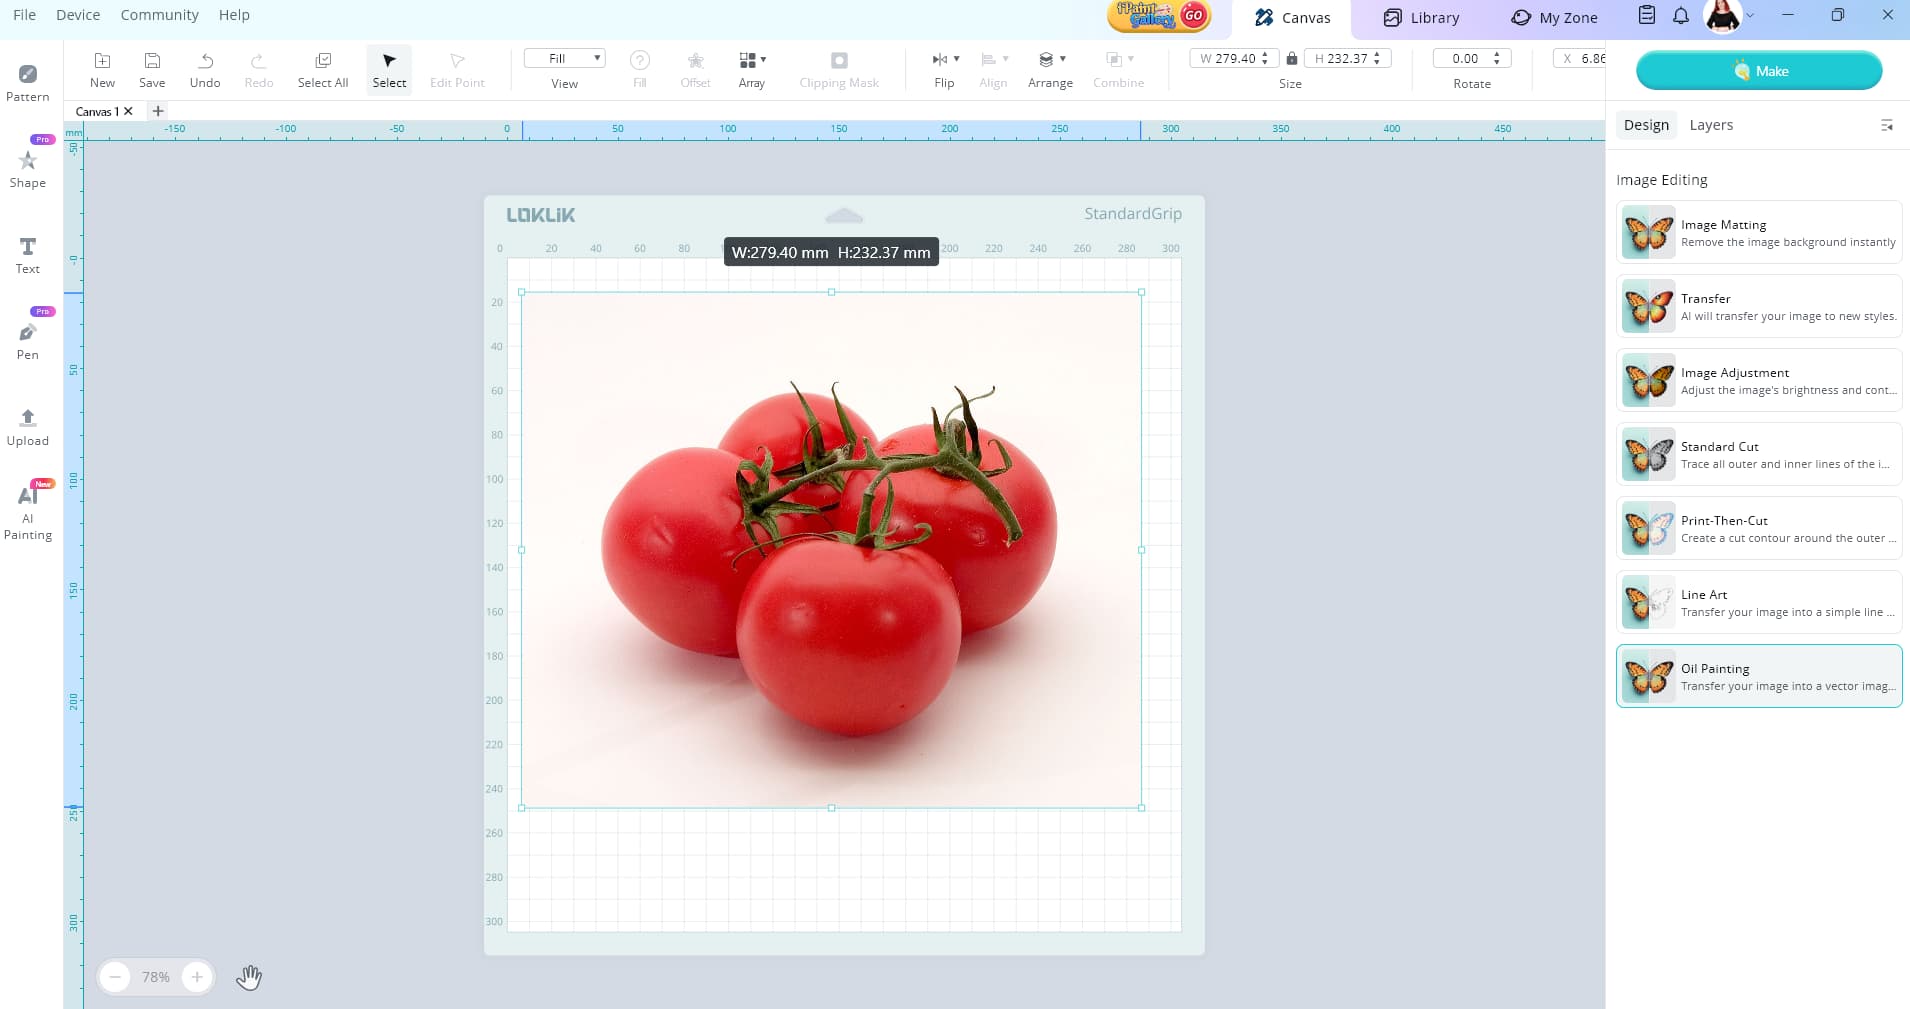
First upload you tomato picture or choose one from the library. I found this one with a quick google search. If you still have problems uploading please let me know and I’ll help you.

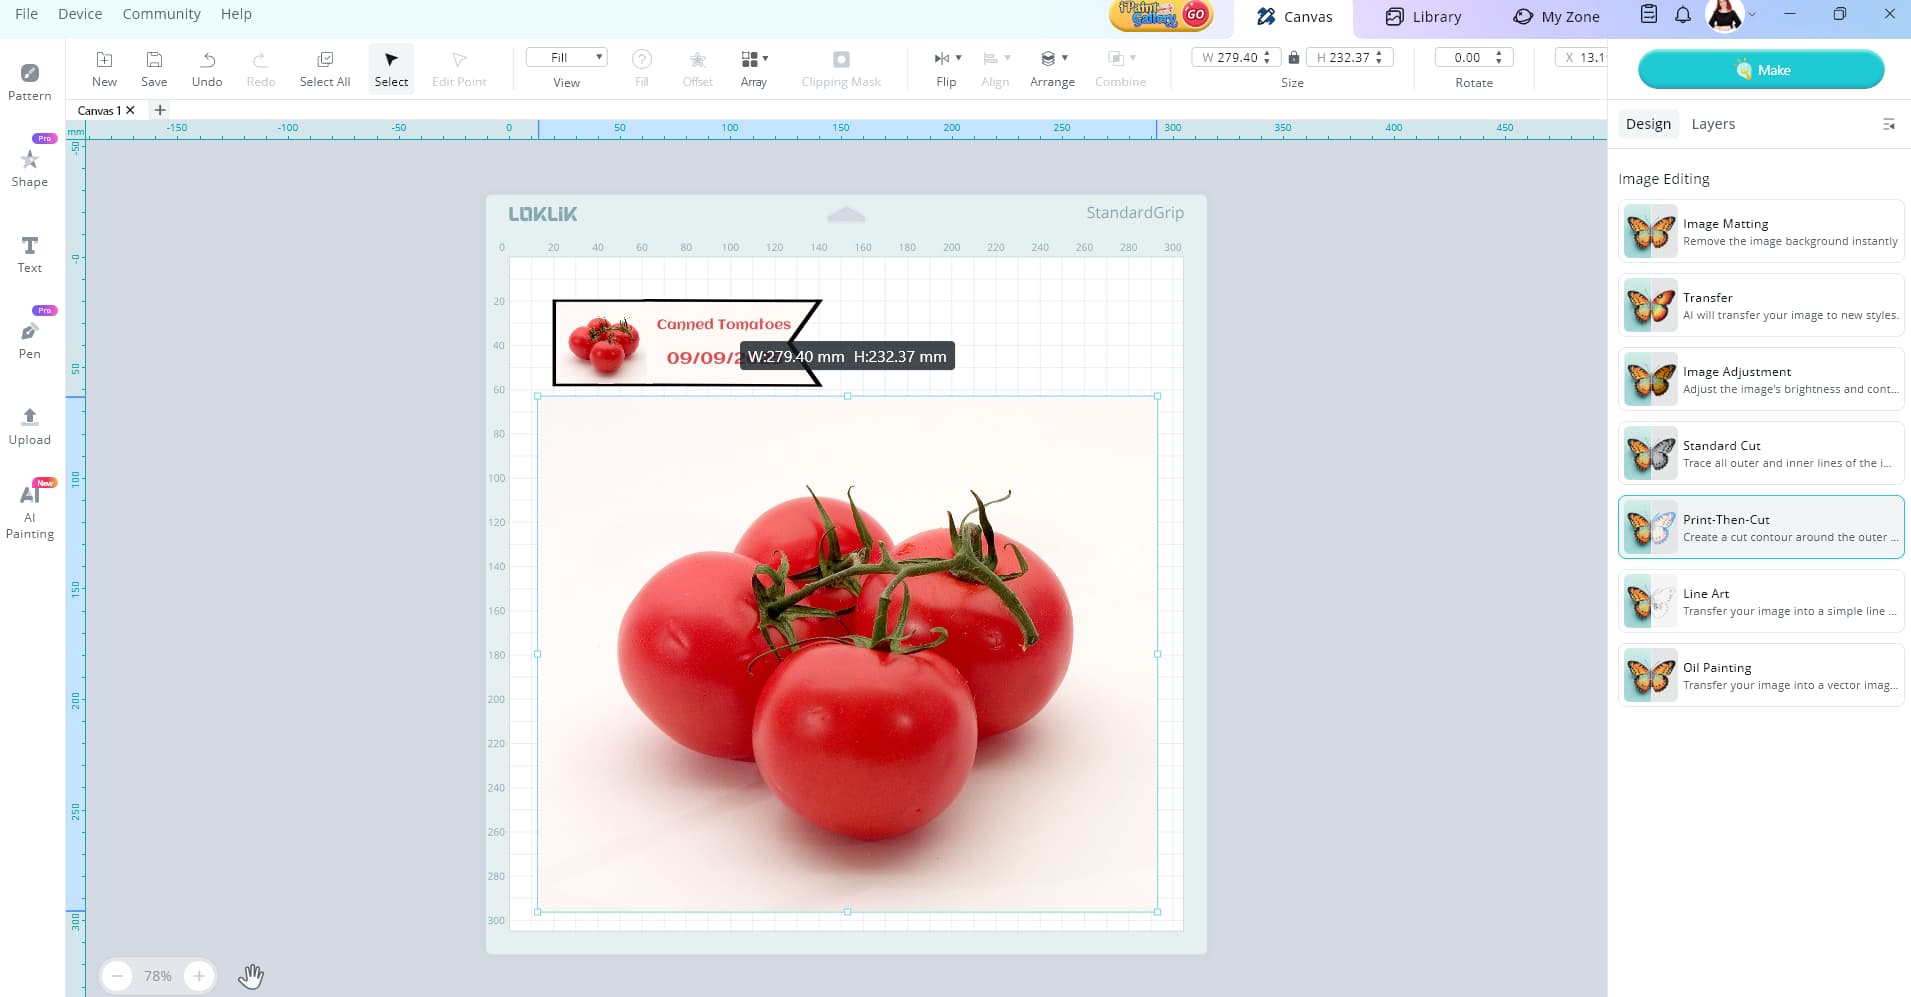
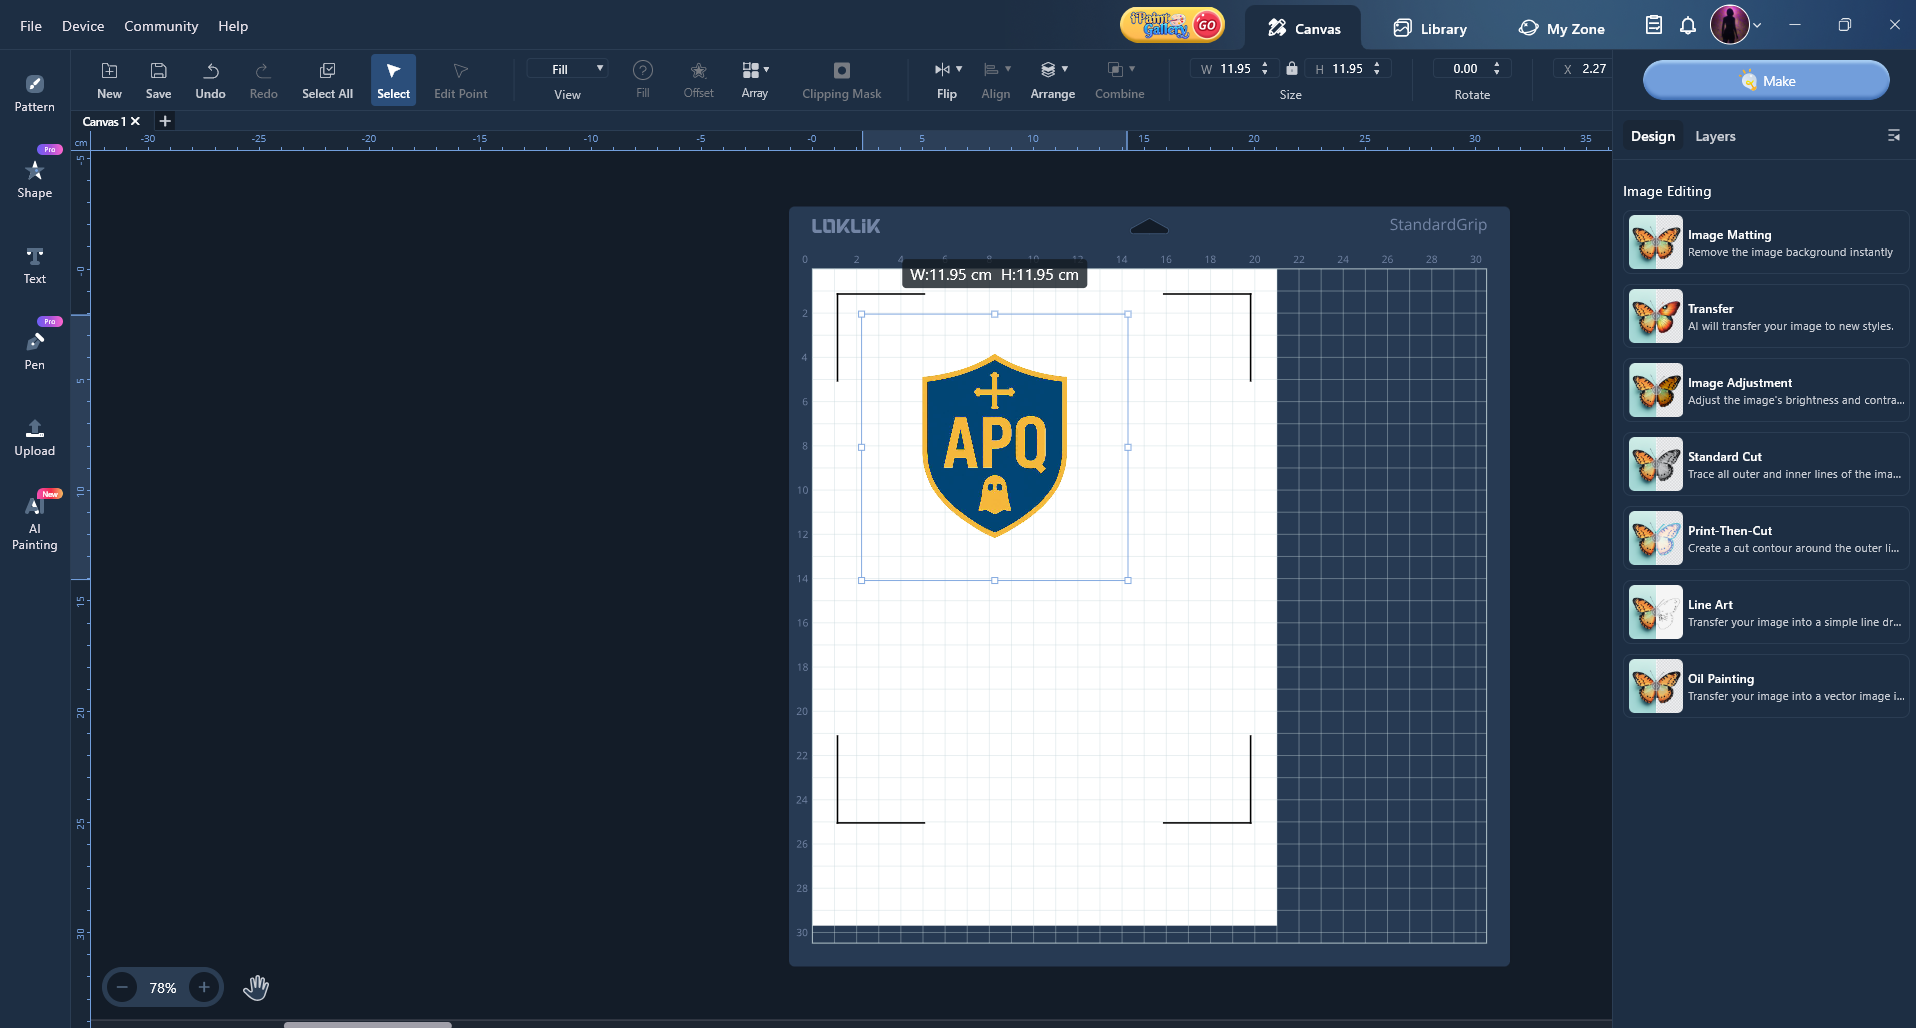
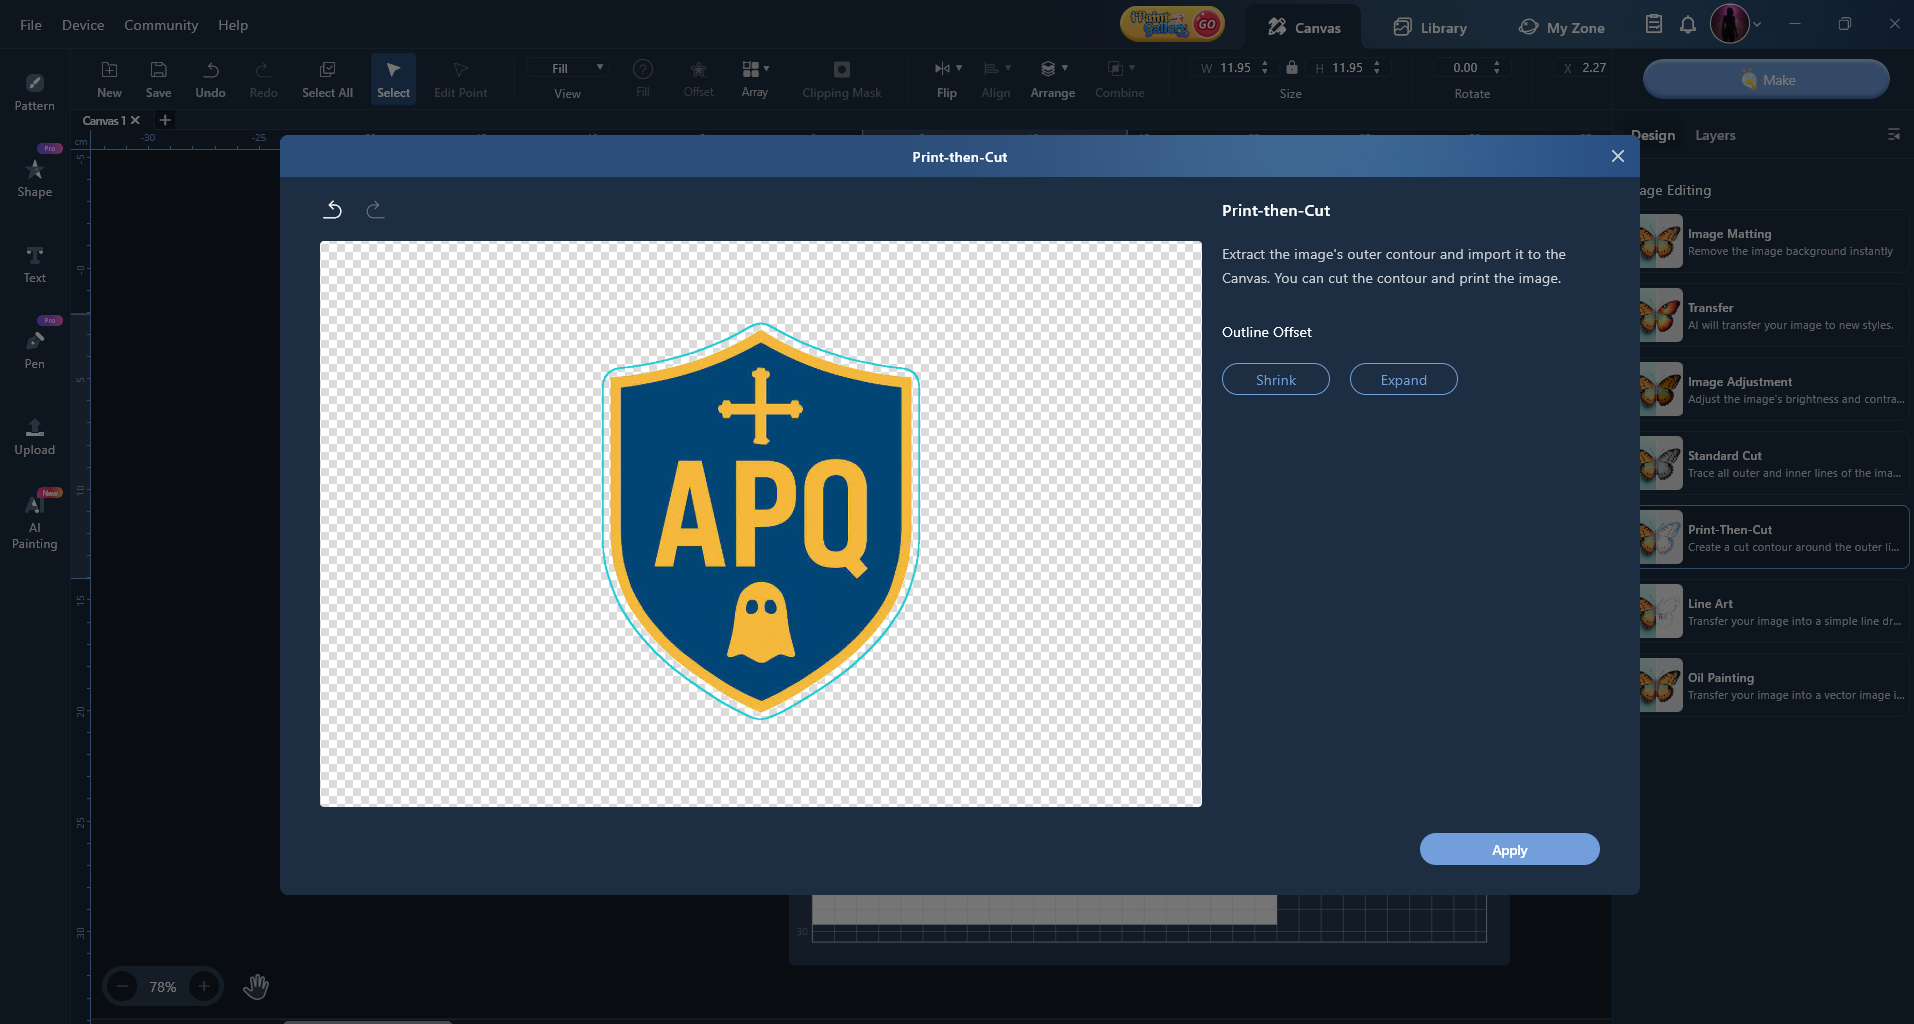
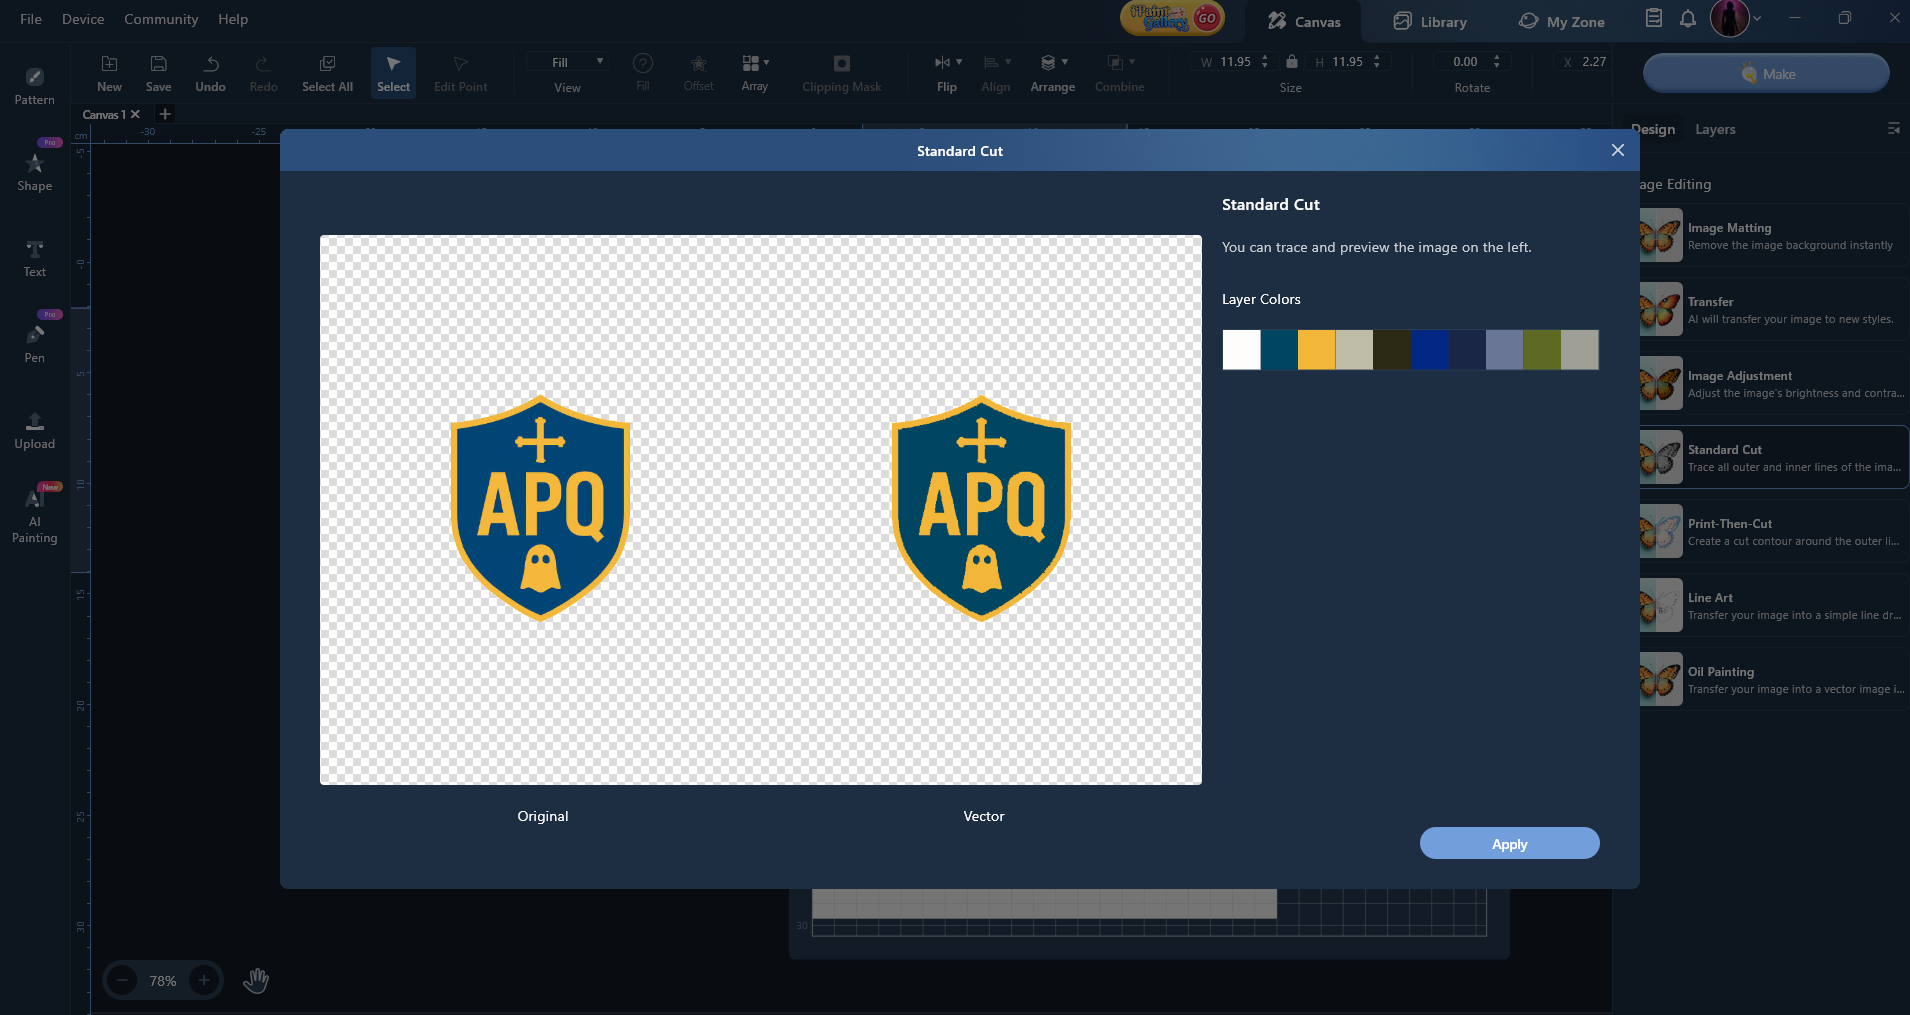
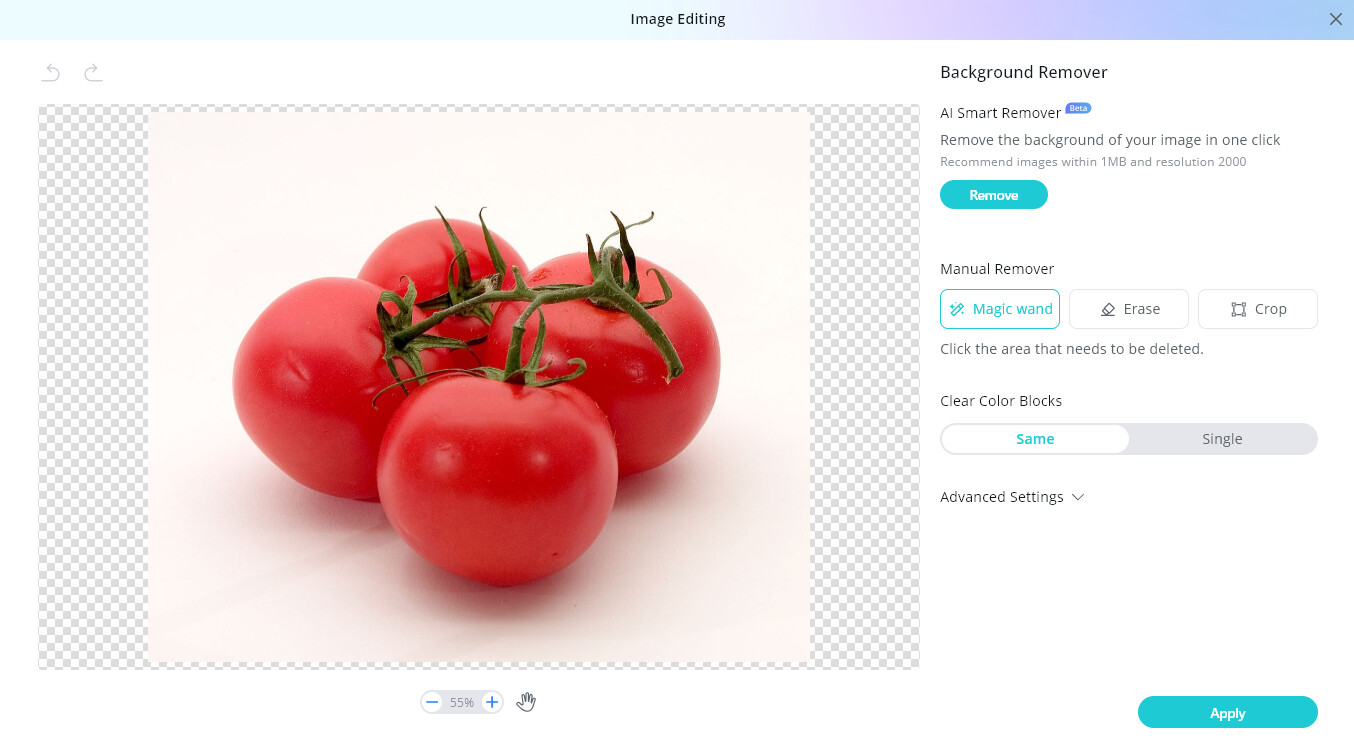
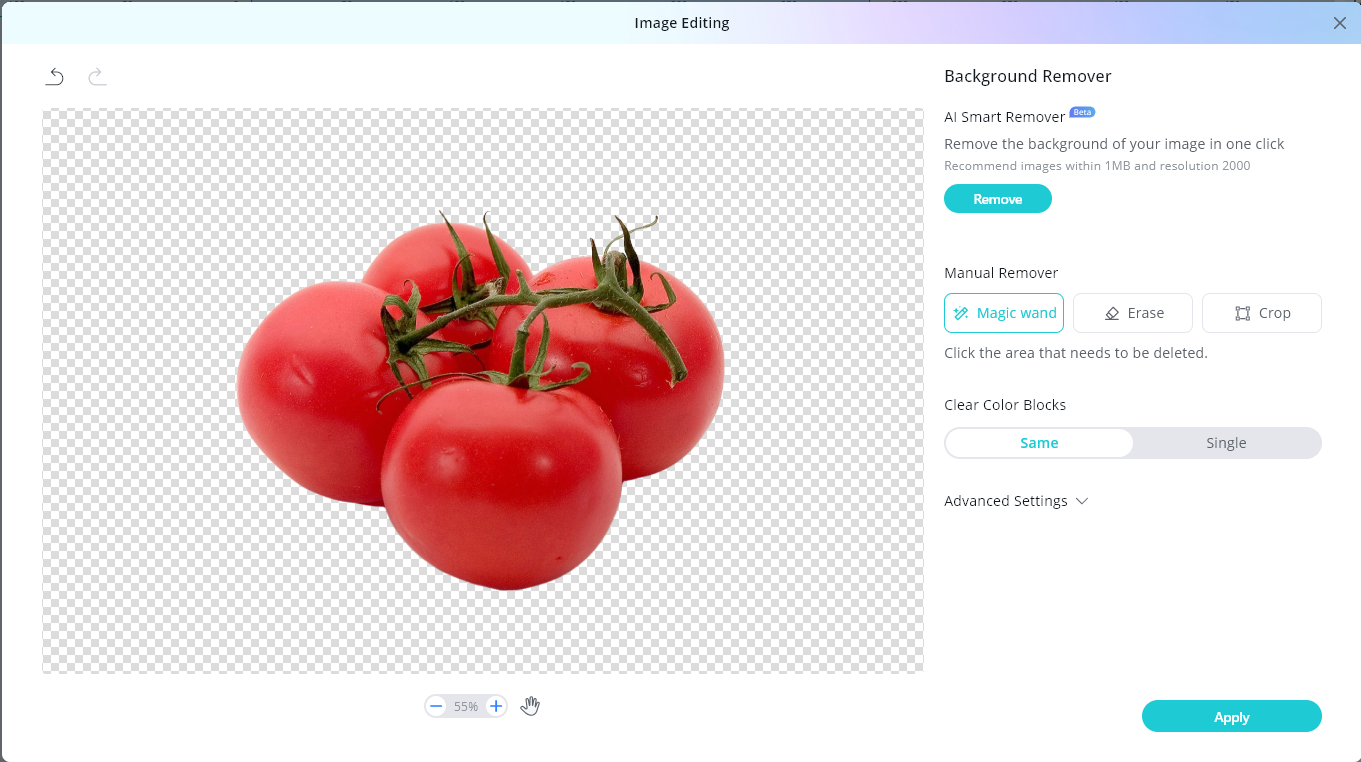
With your image selected click the design tab and then click print then cut image

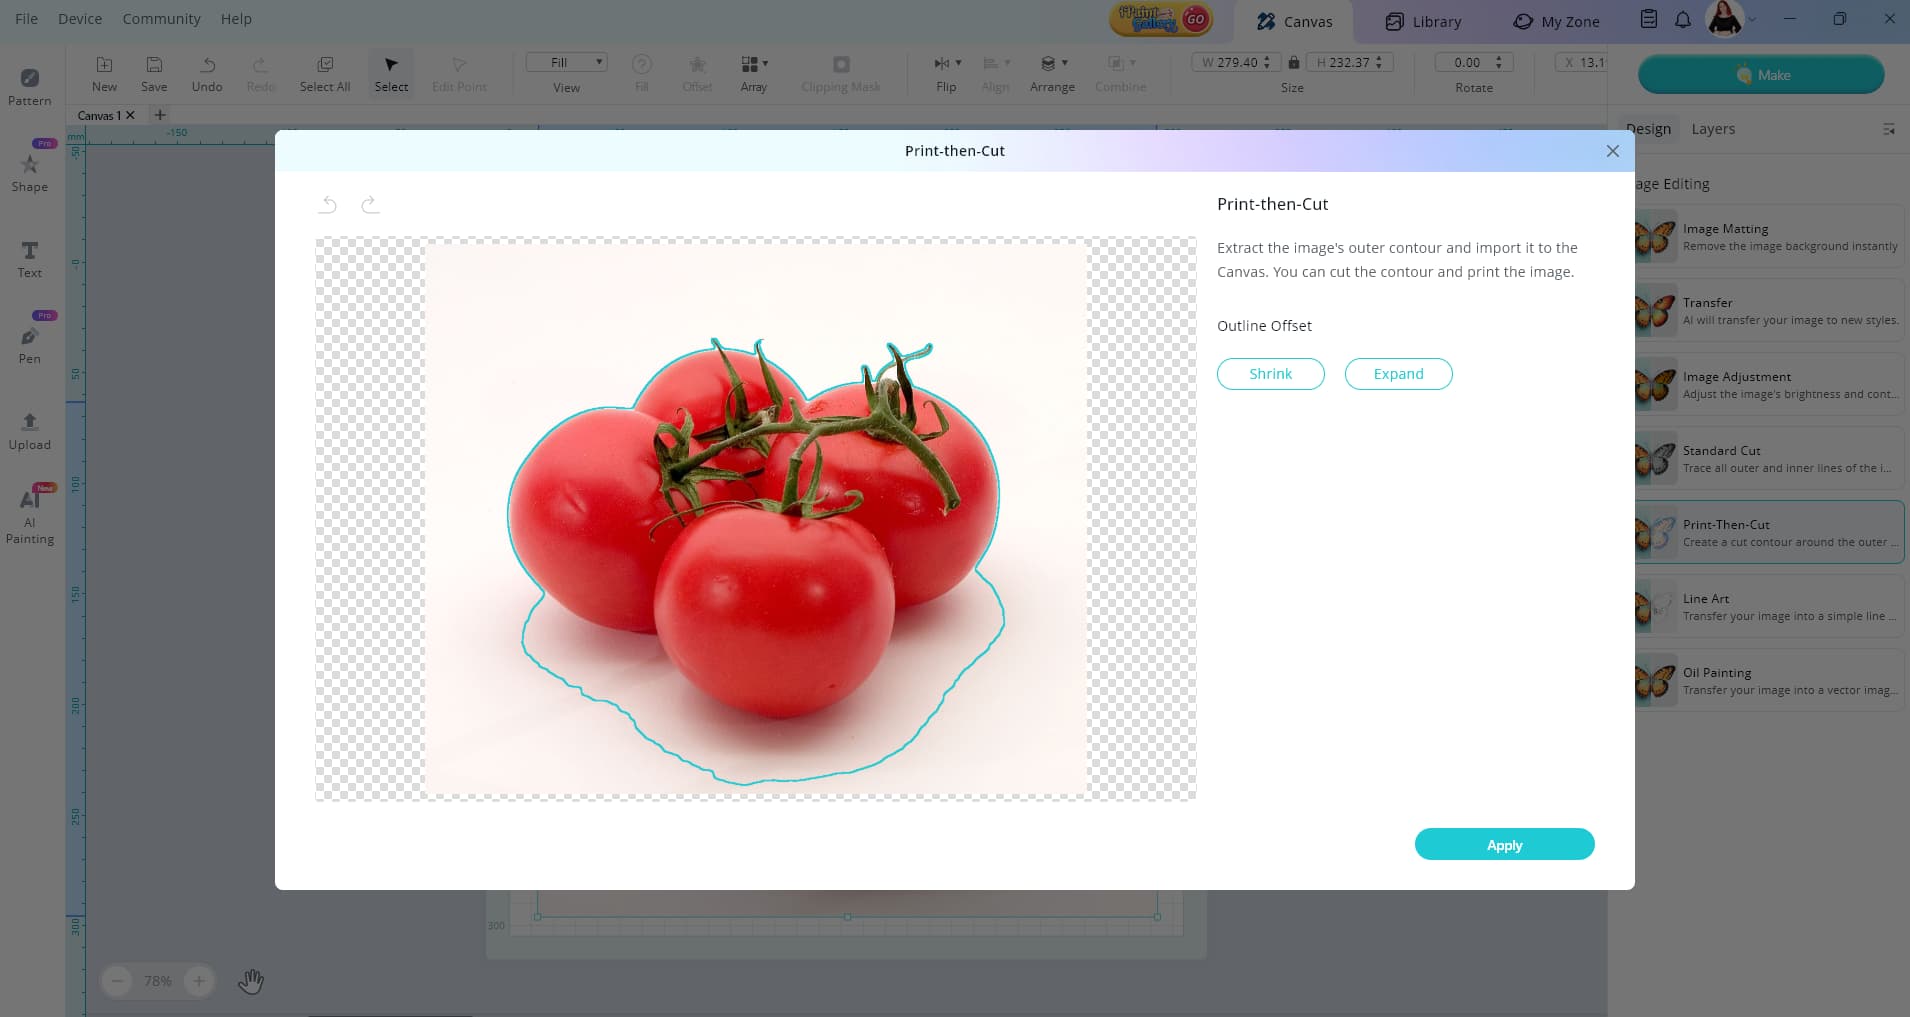
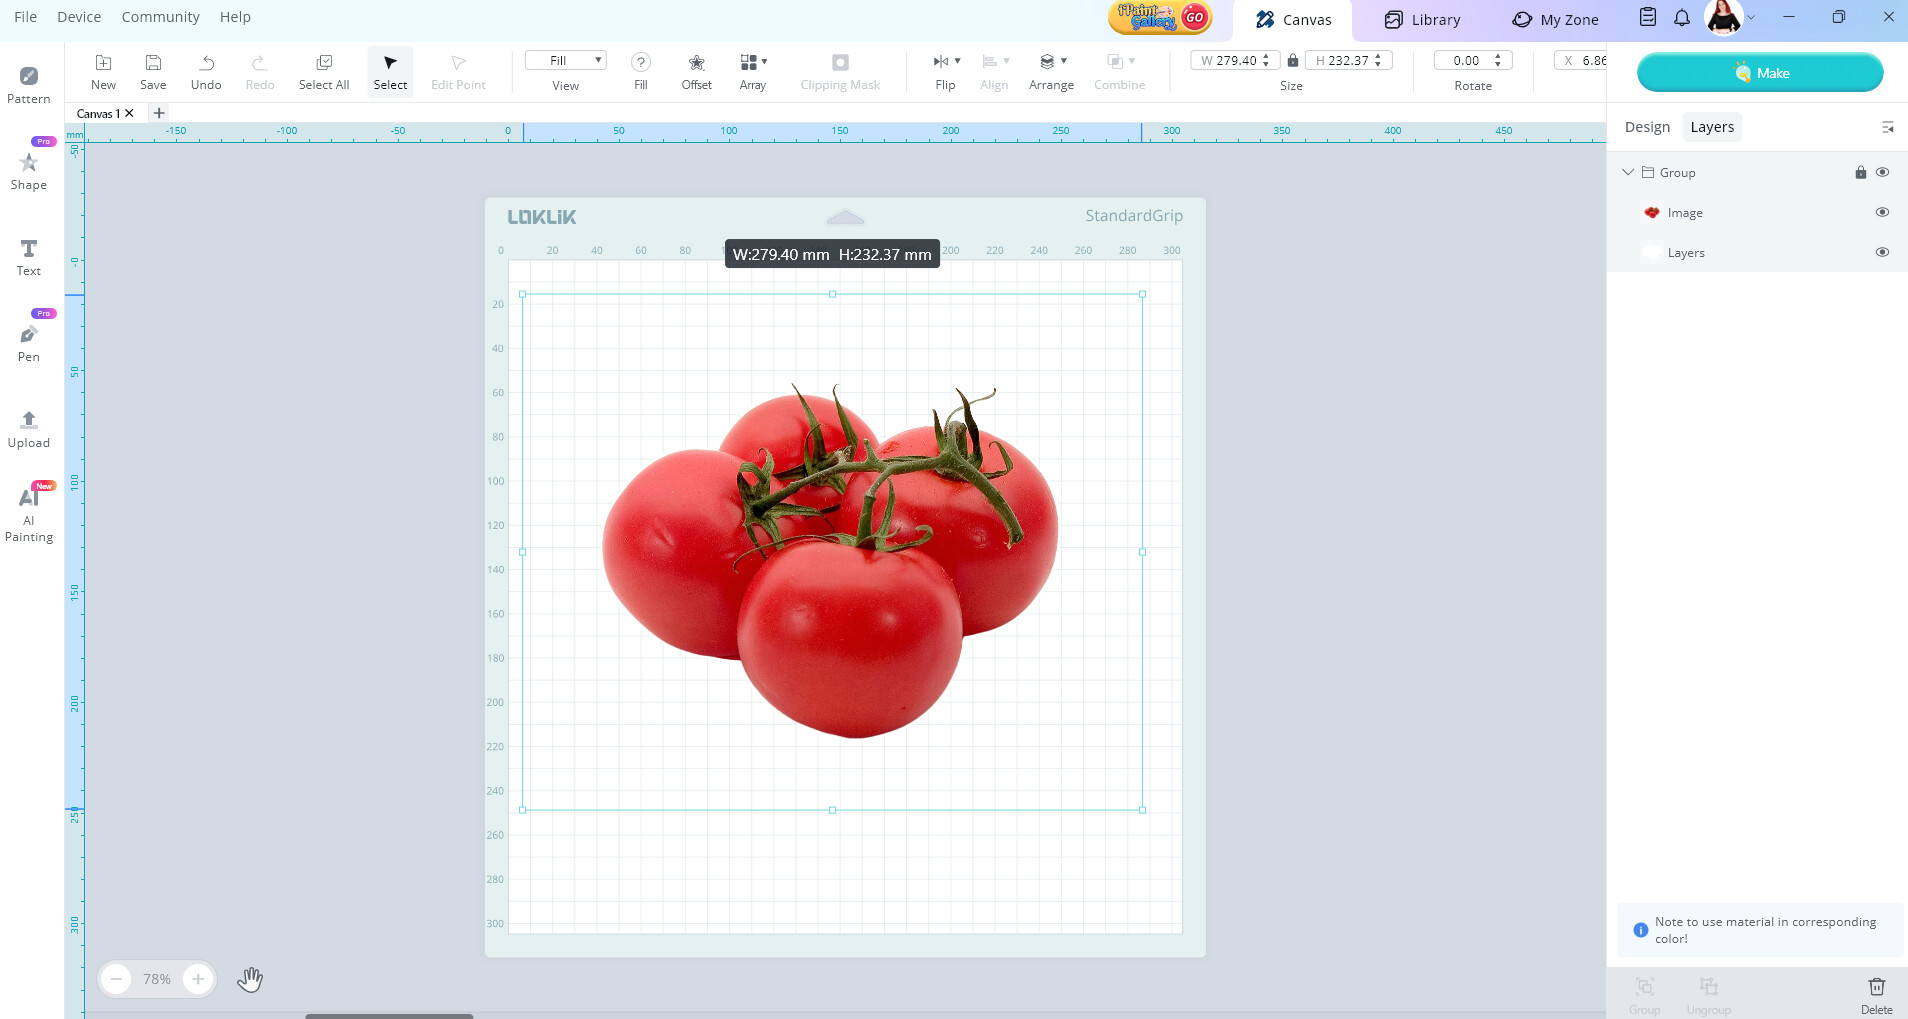
You don’t need to worry about the cut line here if you make labels like mine. If you want a nice line cut around your picture you can use the shrink and expand buttons. I’m just going to press apply.

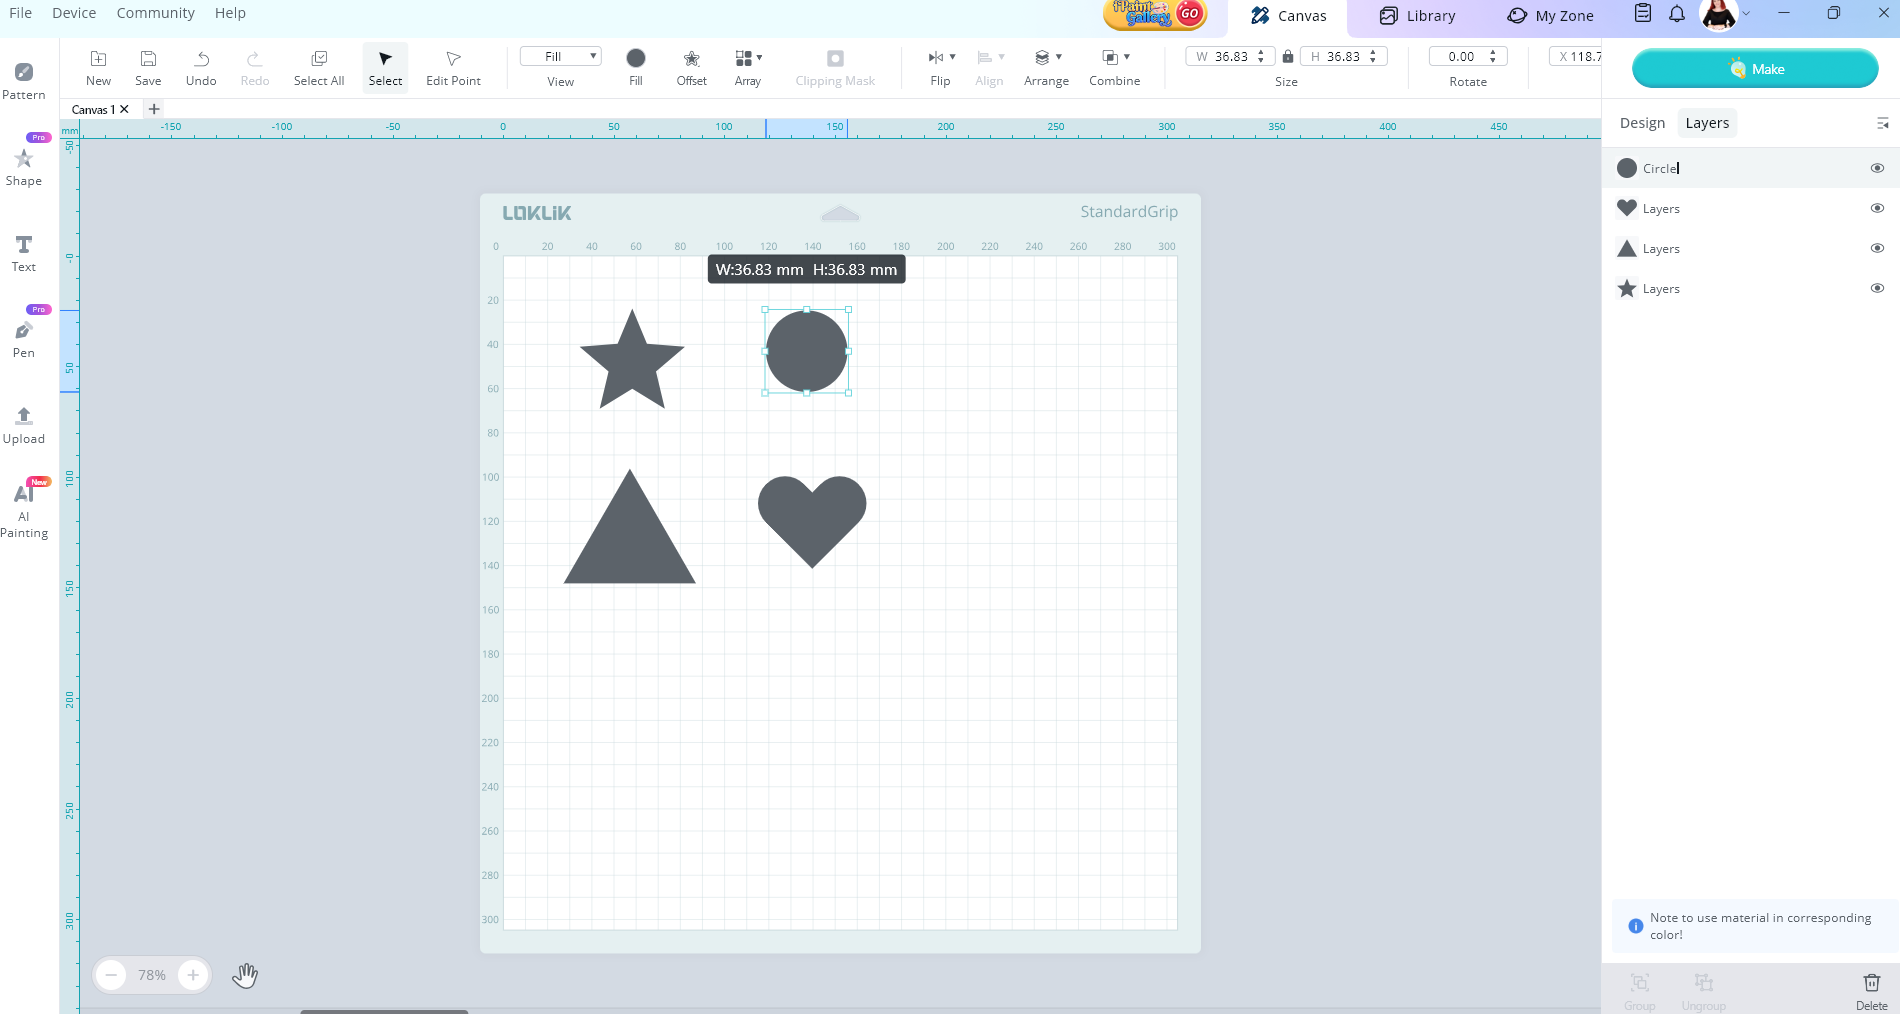
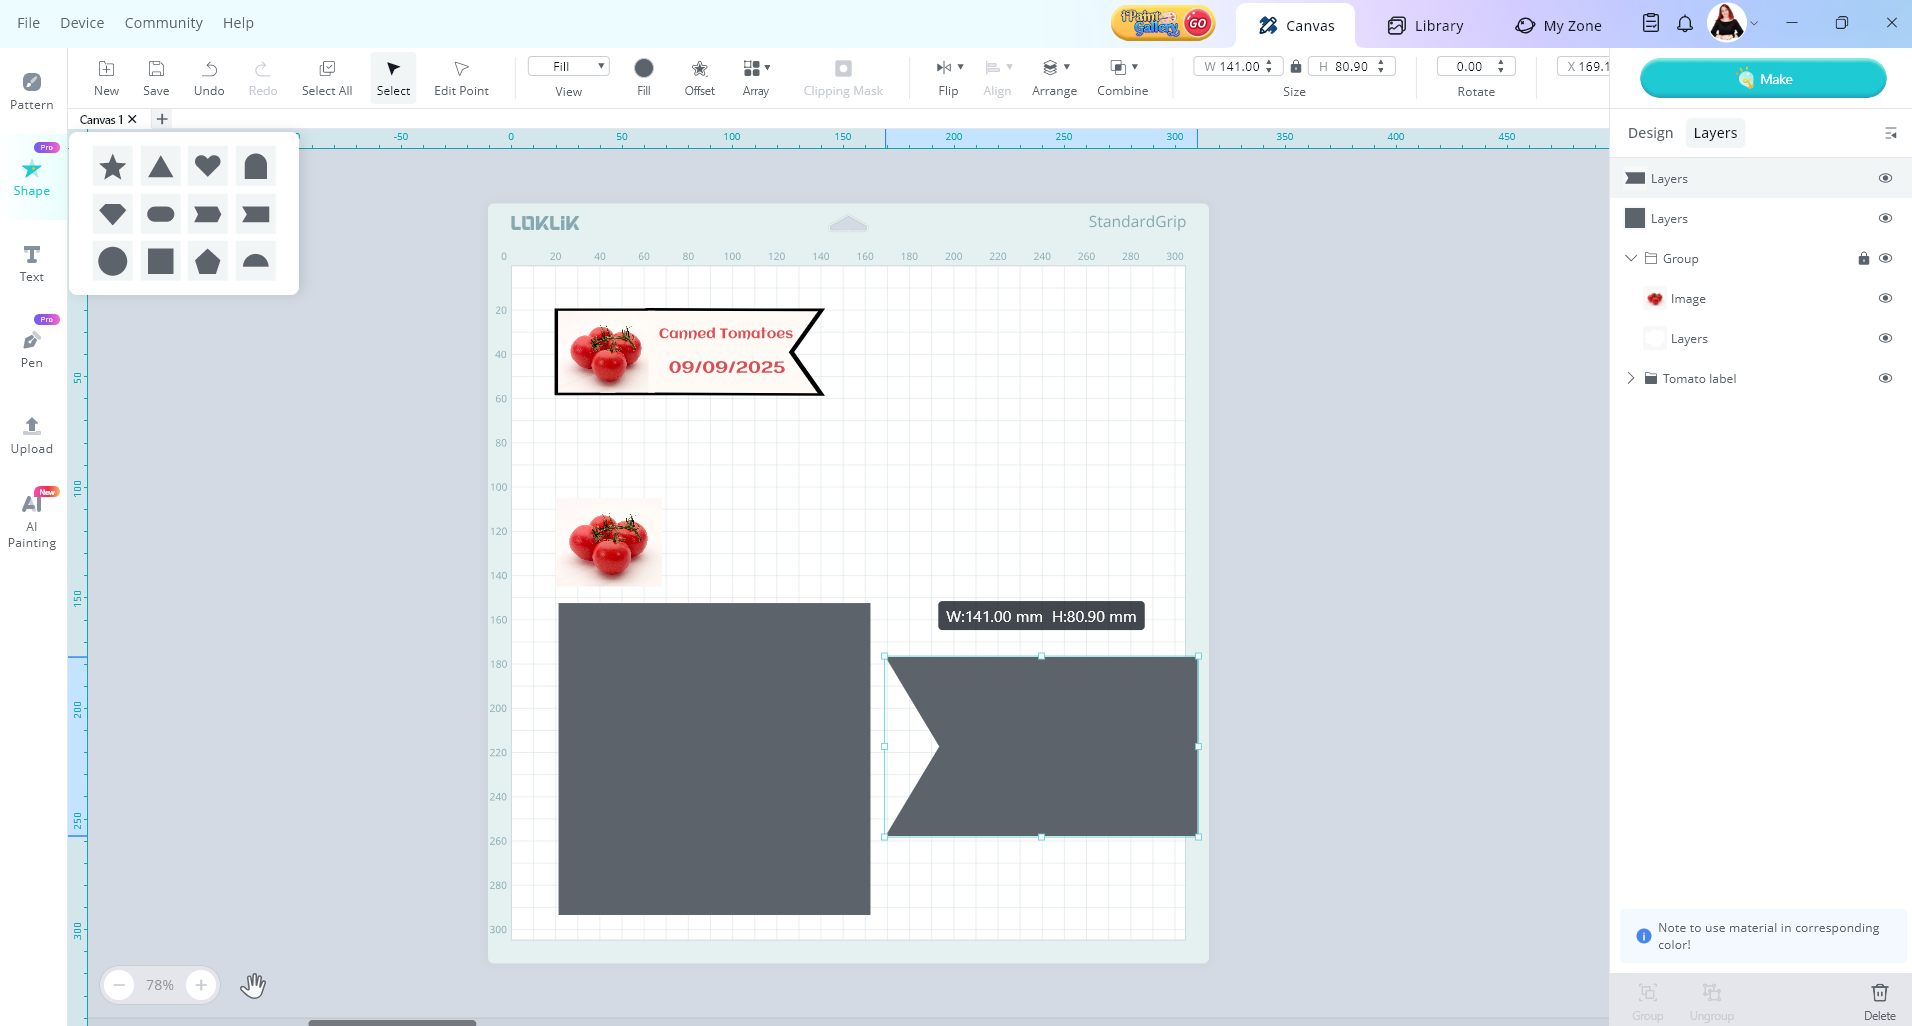
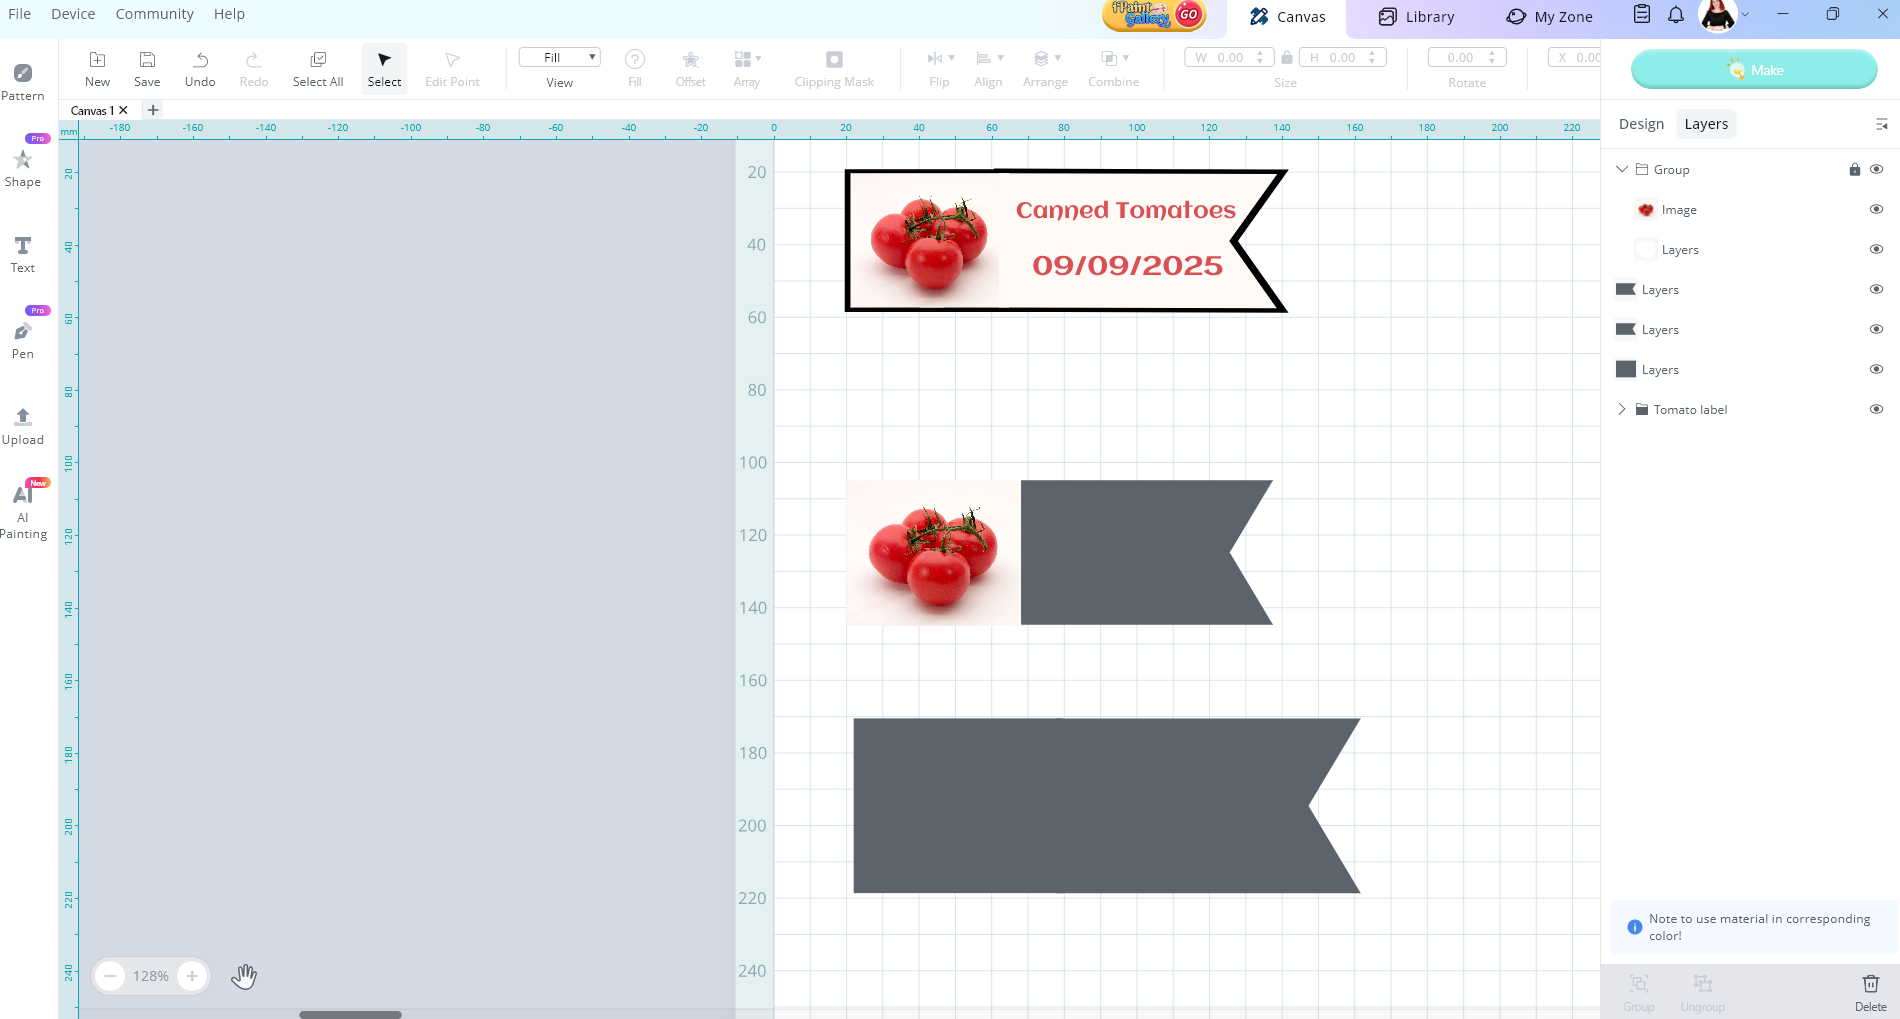
Now I resized the tomato pic and then grabbed a couple shapes from the shape menu.

Then I rotated the flag shape 180. I duplicated it by pressing ctrl c and ctrl v when it was selected. CMD C and CMD V on mac. Then I resized all the shapes smaller.

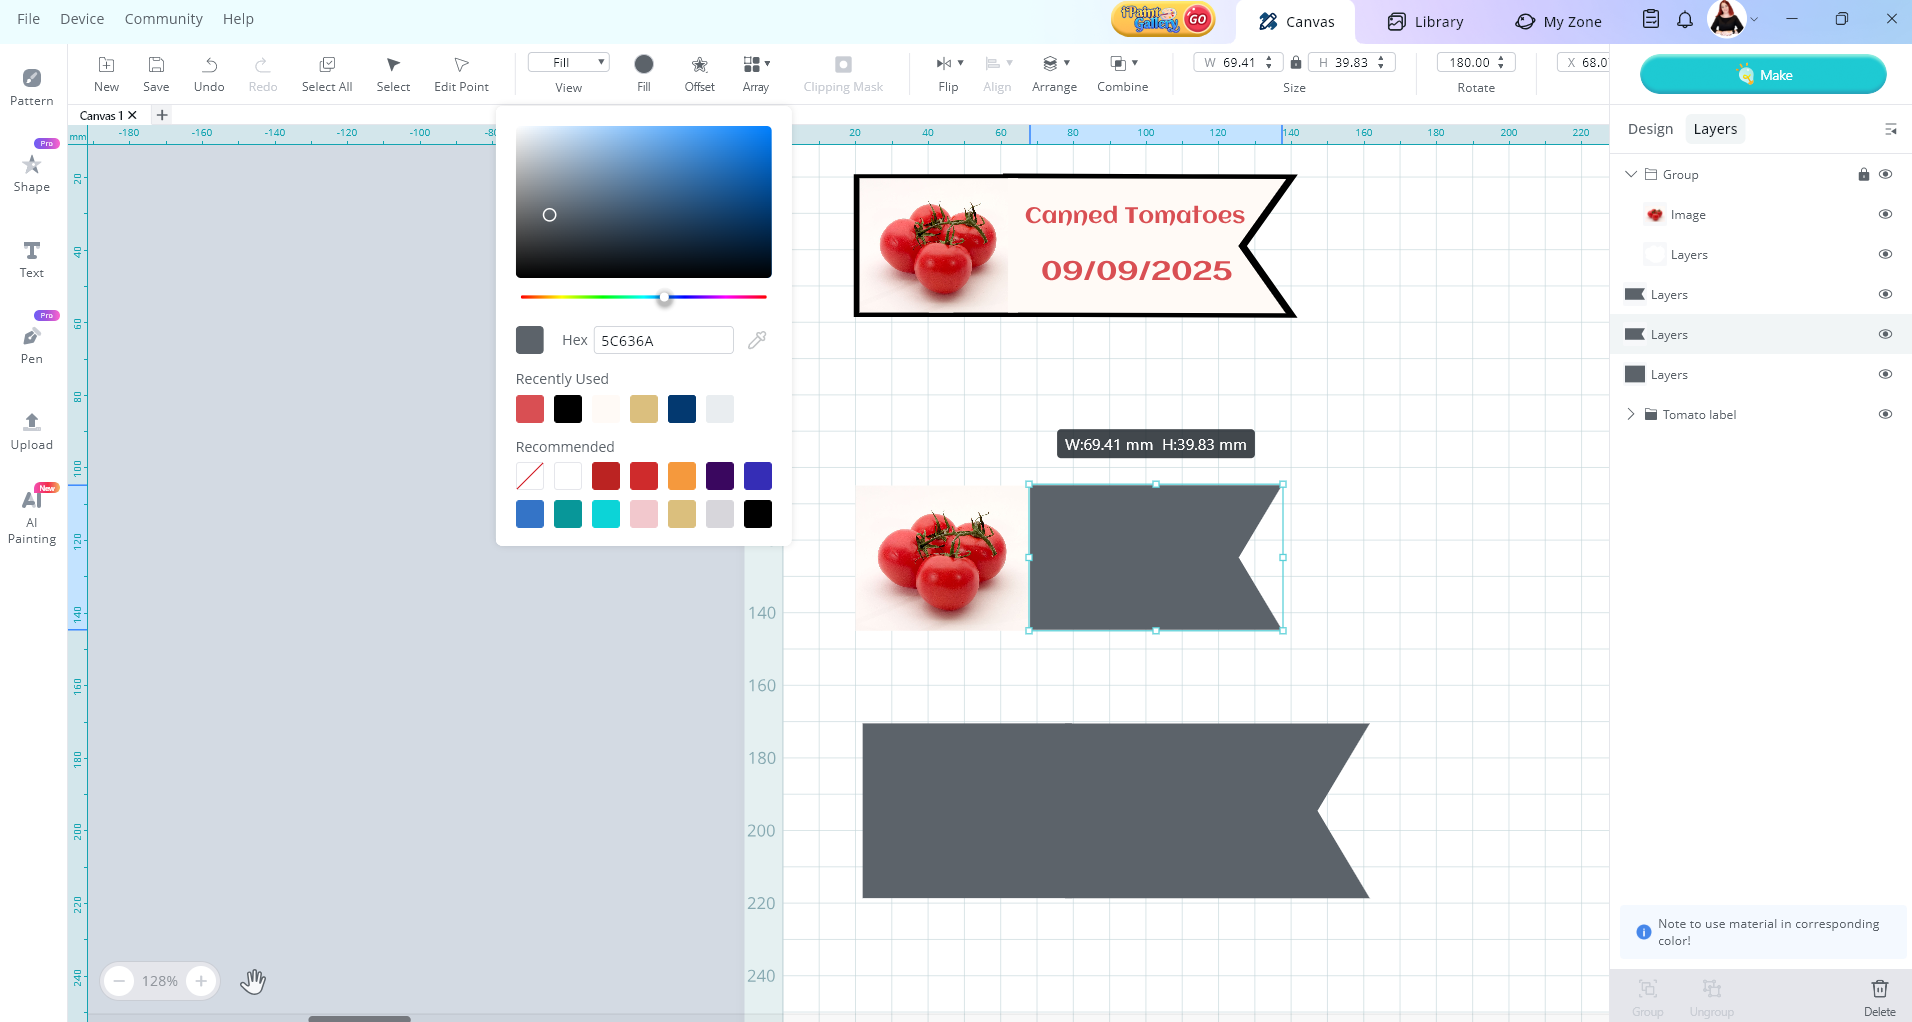
Now I’m going to change the colour to match the background of the tomato

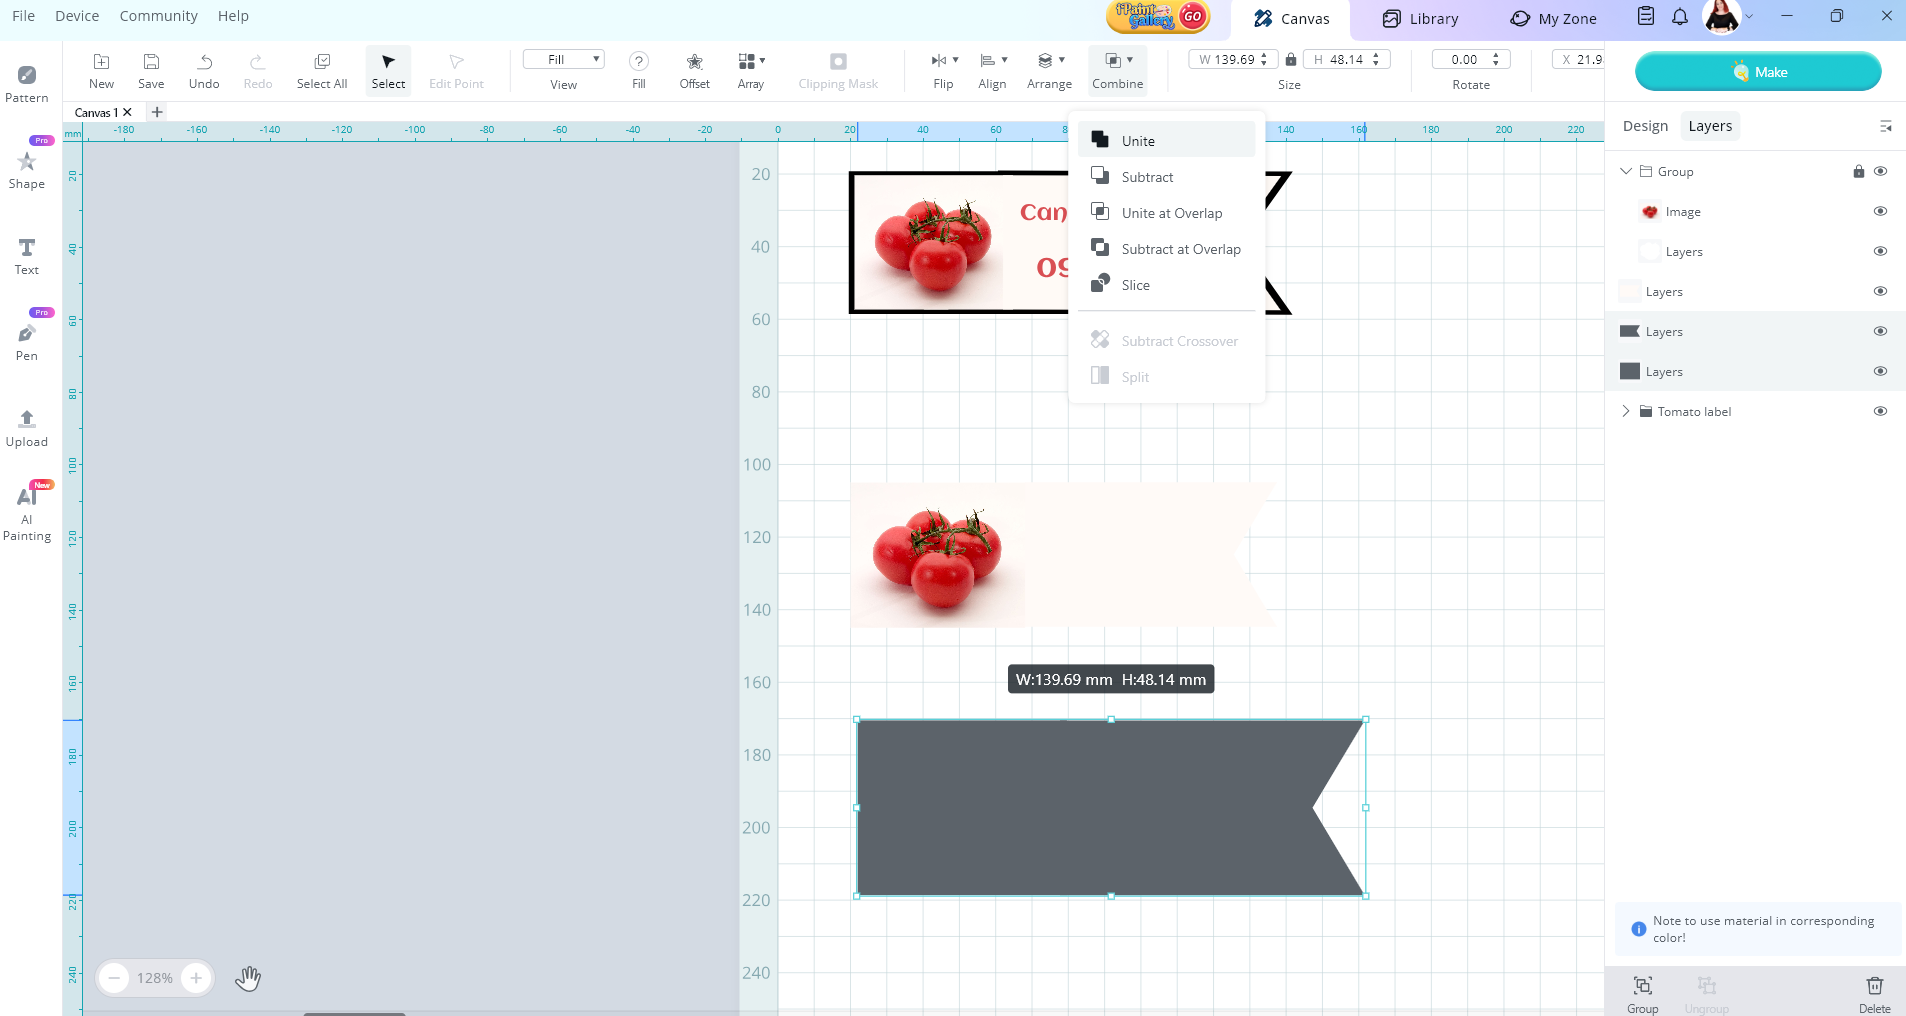
Now with the other two shapes selected, I’m going to select combine and then unite

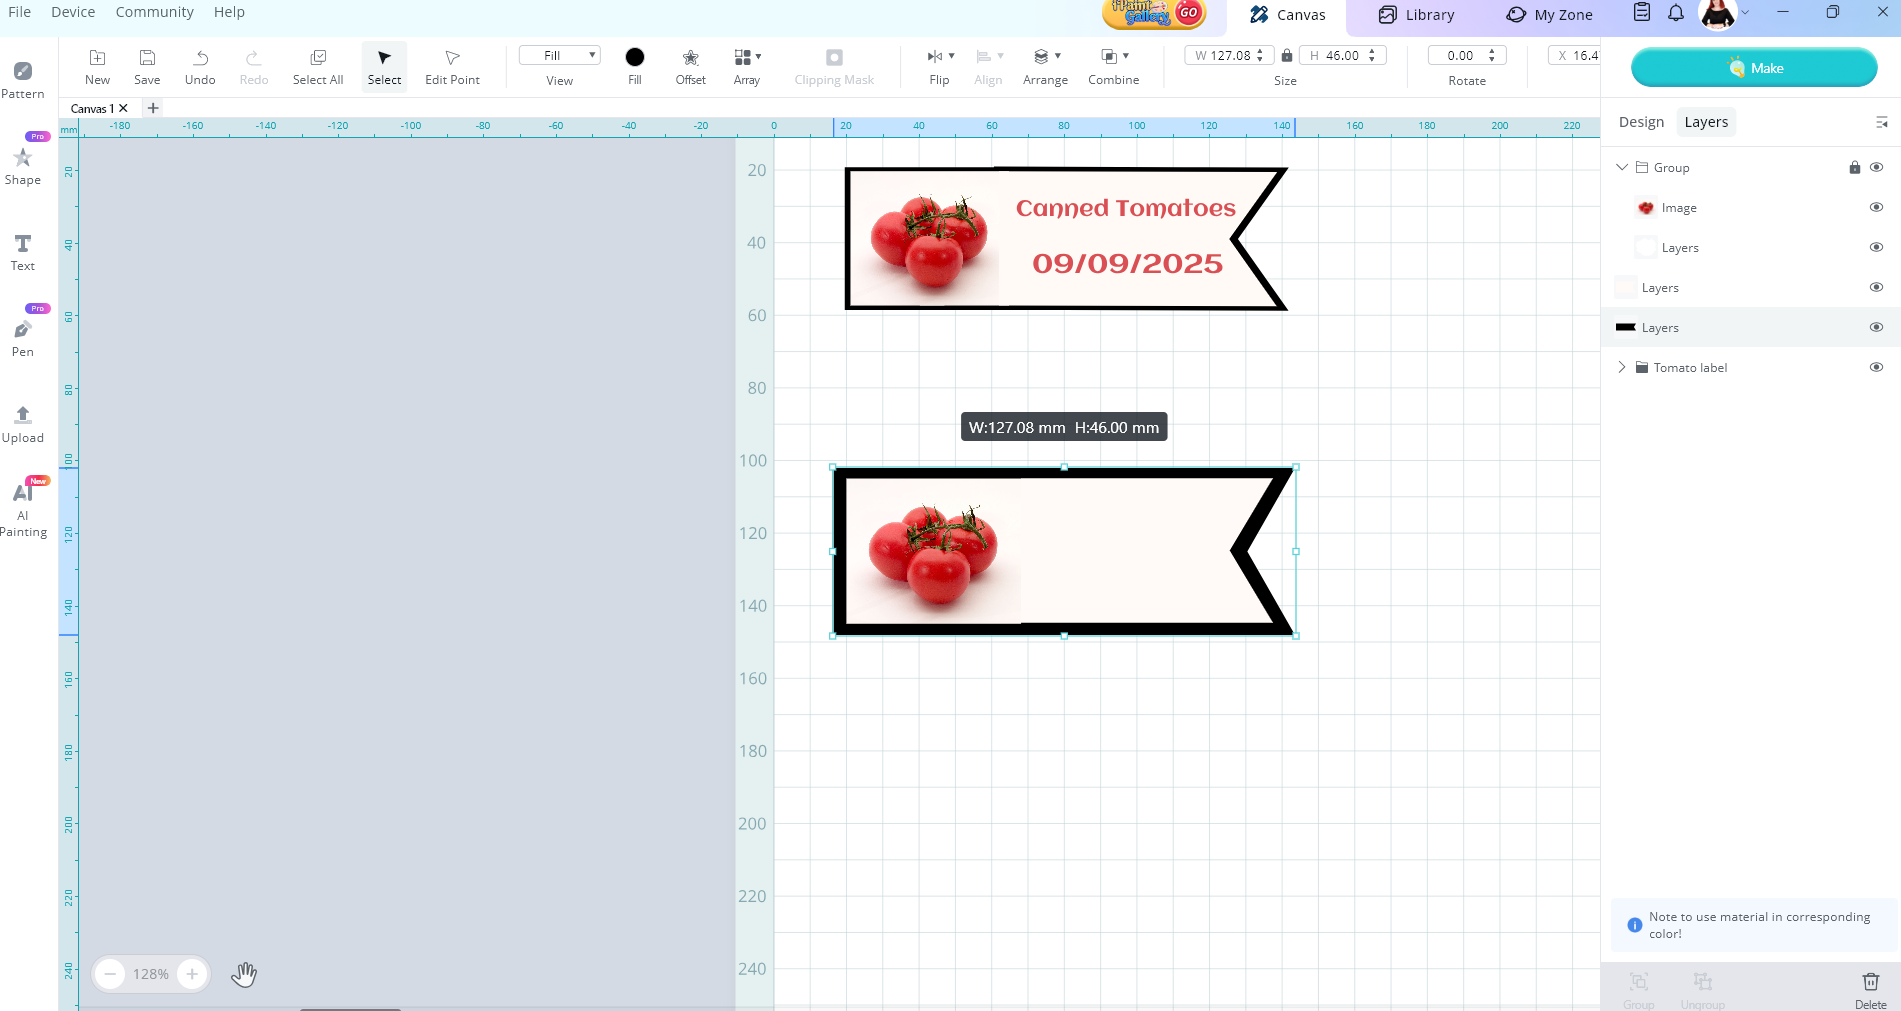
Now they are one piece, I’m going to change it to black and place it behind my other layers.

Add some words and I changed the colour to match the tomato.

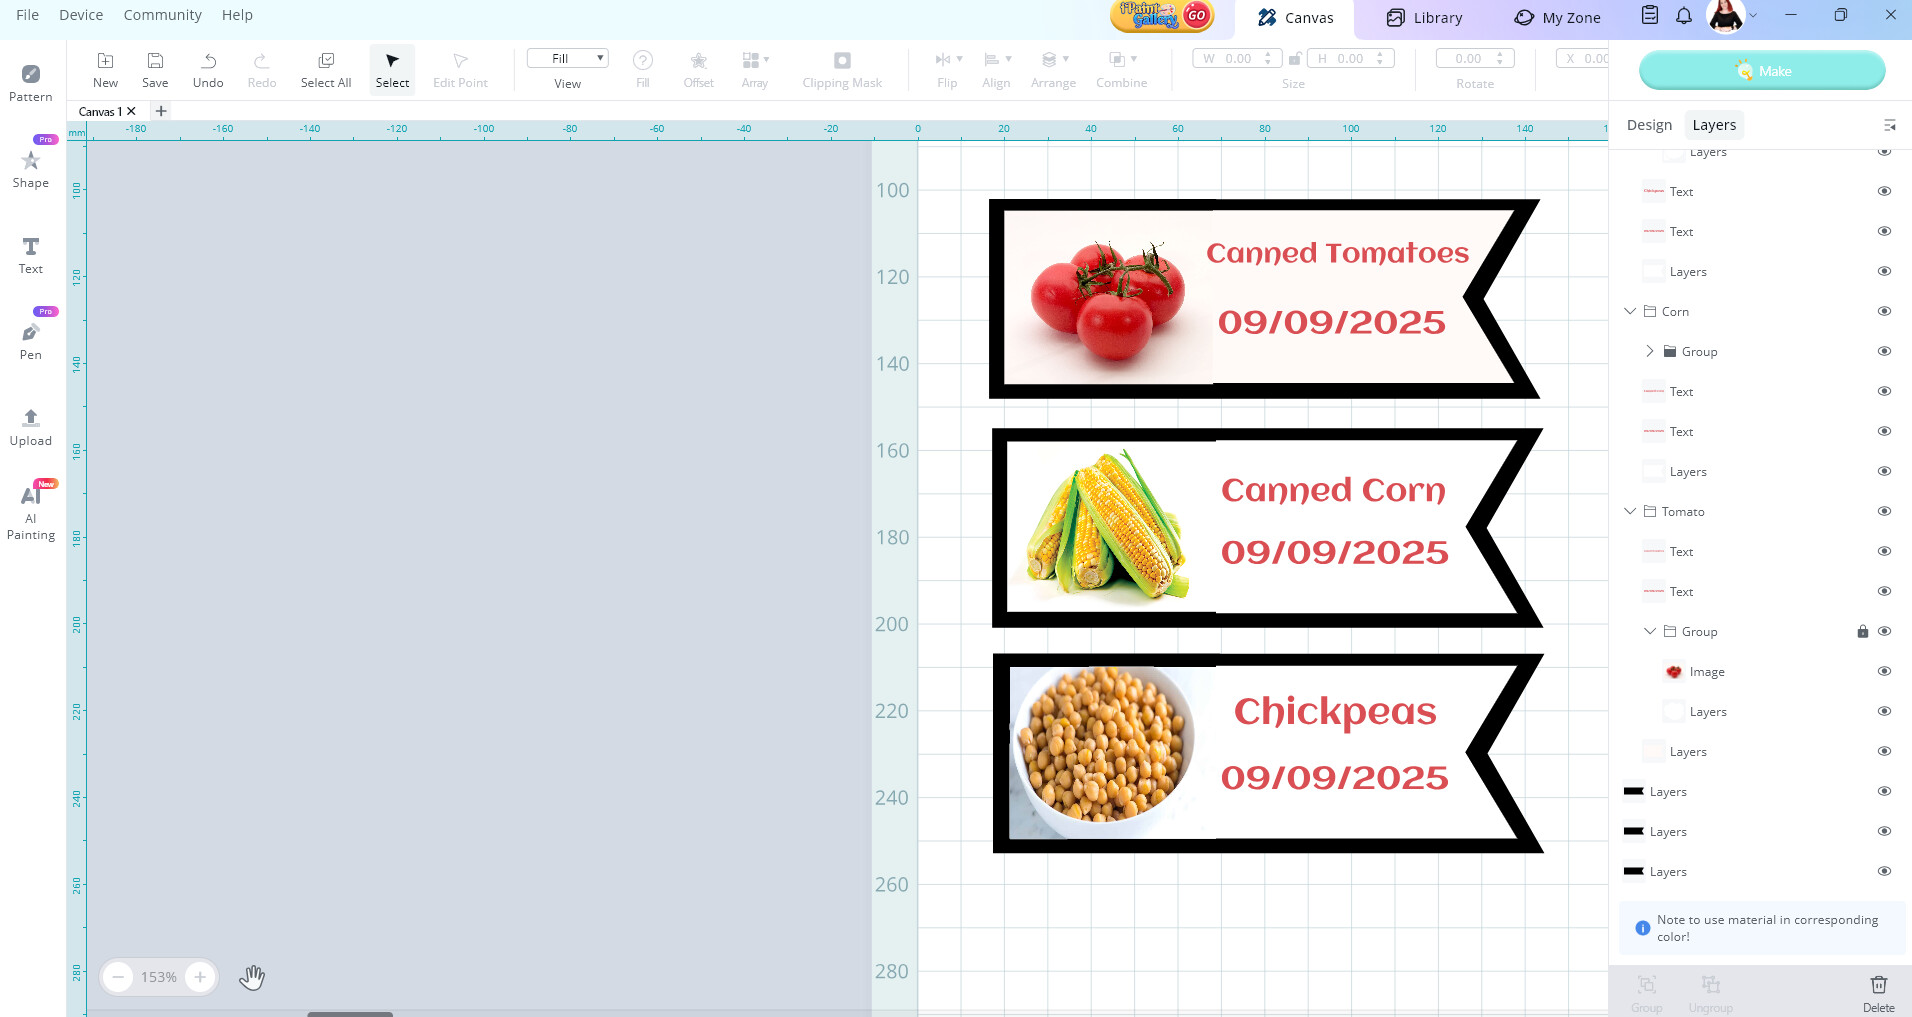
Then with this set you can group the layers you want together by holding down the ctrl key and selecting them in the layers panel. Name your groups. Then you can copy and paste more of the same label to create different ones, don’t forget to change the photo and words.

Make sure you keep all the black layers separate when you go to make this. Select print then cut option in the cut menu. Print out your sheet, then select the black layer to cut your stickers out. Please note, if you have anything else black on your design it may cut it out as well, so if you left the words black the machine will cut them out to. So your cut layer should be a colour that you are not using in your design.

I hoped this helped. Please let me know if you struggle with anything else.

2 Likes

I haven’t had a chance to look at the video yet. hopefully I will get a chance later today and I’ll post back.

thank you

4 Likes

hello @mary_sergeant I confirm the software is the same no matter your country, the app is adjusted for diferent machines e.g. ipad > iphone. PC @BellethehowtoGuru has given you great advise

3 Likes

thanks for the shout out @redhada appreciate it :smiling_face:

2 Likes

If you were to save a raster image to use in IS - what is the best way to save it? I seems that I get error messages that say - no vectors to cut? I’ll have to see if I can replicate that error (how and when it popped up). I did a little more research on raster images. In my business (screen-printing for manufacturing and industry) we always worked with SVG files since our images were drawings, blueprints etc. never photographs and rarely images.

1 Like

The best way is a png, as jpg has compression and destroys the image data. png has better quality, so it is going to print better and work better if you want to use the Idea Studio vector tracer.

But the problem you describe, seems to fit well with the error message that pops up when you go to “Make” without selecting shape to cut (either you’re going to perform standard cut or P&C you need a shape for the cutting).

You have the image and Edit it in de “Design” panel, applying whatever method you want.

If you just, lets say, performed an “Image Matting”) and click Make, that message pops up, because you still created no shape to cut.


There you see the pop up error

But if you apply Print then Cut, which gererates an outline offset:

Or a Standard Cut, which converts the raster pic into vector:

Then you can go Make and decide what kind of task you’re making without problem.

You can also create an offset or chosen shape under a traced image, a png without background or a rectangular jpg with the pen tool or your favourite vector editing pogram, as well as vectorize it outside IS, and then import it as svg. Or inside IS following similar steps that Belle followed in her detailed post.

The main thing to understand is that raster are only going to print. To cut, you need one way or another, creating a vector shape that the plotter can follow cutting.

1 Like

not exactly sure how to send a screenshot. I brought in the tomato and wanted to ‘slice’ the name and date out of the tomato but was unable to do it. I could do it in silhouette studio and then save and then bring into IS - but can’t figure out how to do it in IS. plus my tomato image had a shadow that I was unable to remove with the tools that changed the background to transparent.

I’m learning… thanks for being patient. I don’t get a lot of time to play with this so I don’t always respond right away

1 Like

Have you tried to get rid of the shadow adjusting color tolerance in the advanced settings of the Background remover?

To send a screenshot just use this icon you’ll find in the text editing menu here when writing the reply .
imagen

Don´t worry if you have to ask as many questions as you want xddd

1 Like

So, I’m not sure if you are using a mac or windows computer.

If its windows you can take a screen shot by pressing windows button + shift + s and then it allows you to draw a square about the whole screen or just part of the screen whatever you want to screen shot. This will save it to your clipboard. Then you can open the community and press reply and then in the message box you can press ctrl + v and your screen shot will be placed as a picture in the message box. You can repeat the previous steps to take another screen shot and paste it in the message box. Note - it only saves the last screen shot you took and pastes it.

For Mac OS you can

  • Capture the entire screen: Press Shift + Command + 3. The screenshot will be saved to your desktop.

  • Capture a selected portion: Press Shift + Command + 4, then drag to select the area you want to capture.

So in LOKLiK idea studio you cannot use the slice tool with an uploaded image yet. You can slice using the shapes and words but uploaded image slice is not available yet. The feature is coming.

Removing the background of an uploaded image
When you first upload your picture, you can select the design tab. Then select Image Matting. This will let you delete the background. Note - You need to do this before you select an operation like print then cut for your image.

You can use the AI Smart Remover and select remove or you can use the magic wand and click on the colour areas you wish to remove.

I used the AI smart remover and it removed the background colour for me

Then I selected print then cut image and it did a blue cut outline on the image that was perfect. Now I have My image in its group. The top layer is the image and then the bottom layer is the cut layer.

I hope this helps. Yes, learning a new skill requires patience. I am a retired Teacher and love teaching so don’t worry I’m very patient. Don’t worry about responding straight away. Just whenever you can, always happy to help. Let me know how you go :grin:

2 Likes

In windows, you can:

  • Press Windows Tab + Shift + S (this goes only to the clipboard for copy + paste here)
  • Or use the Cutting Tool you can find in this icon
    imagen

1 Like