Project Overview:
Valentine’s Day means sweet treats for your loved one. Join me as we create a paper box that can be filled with your loved one favorite treat. The best part is that all of the designs used are FREE in the LOKLiK IdeaStudio library.

Materials:
- Cutting machine: LOKLiK iCraft
- Sticky mat: LOKLiK standard grip
- Cardstock: 65 lb or equivalent for the box and heart tag
- Vellum: a semi-translucent paper available at craft stores
- Templates: from LOKLiK Library
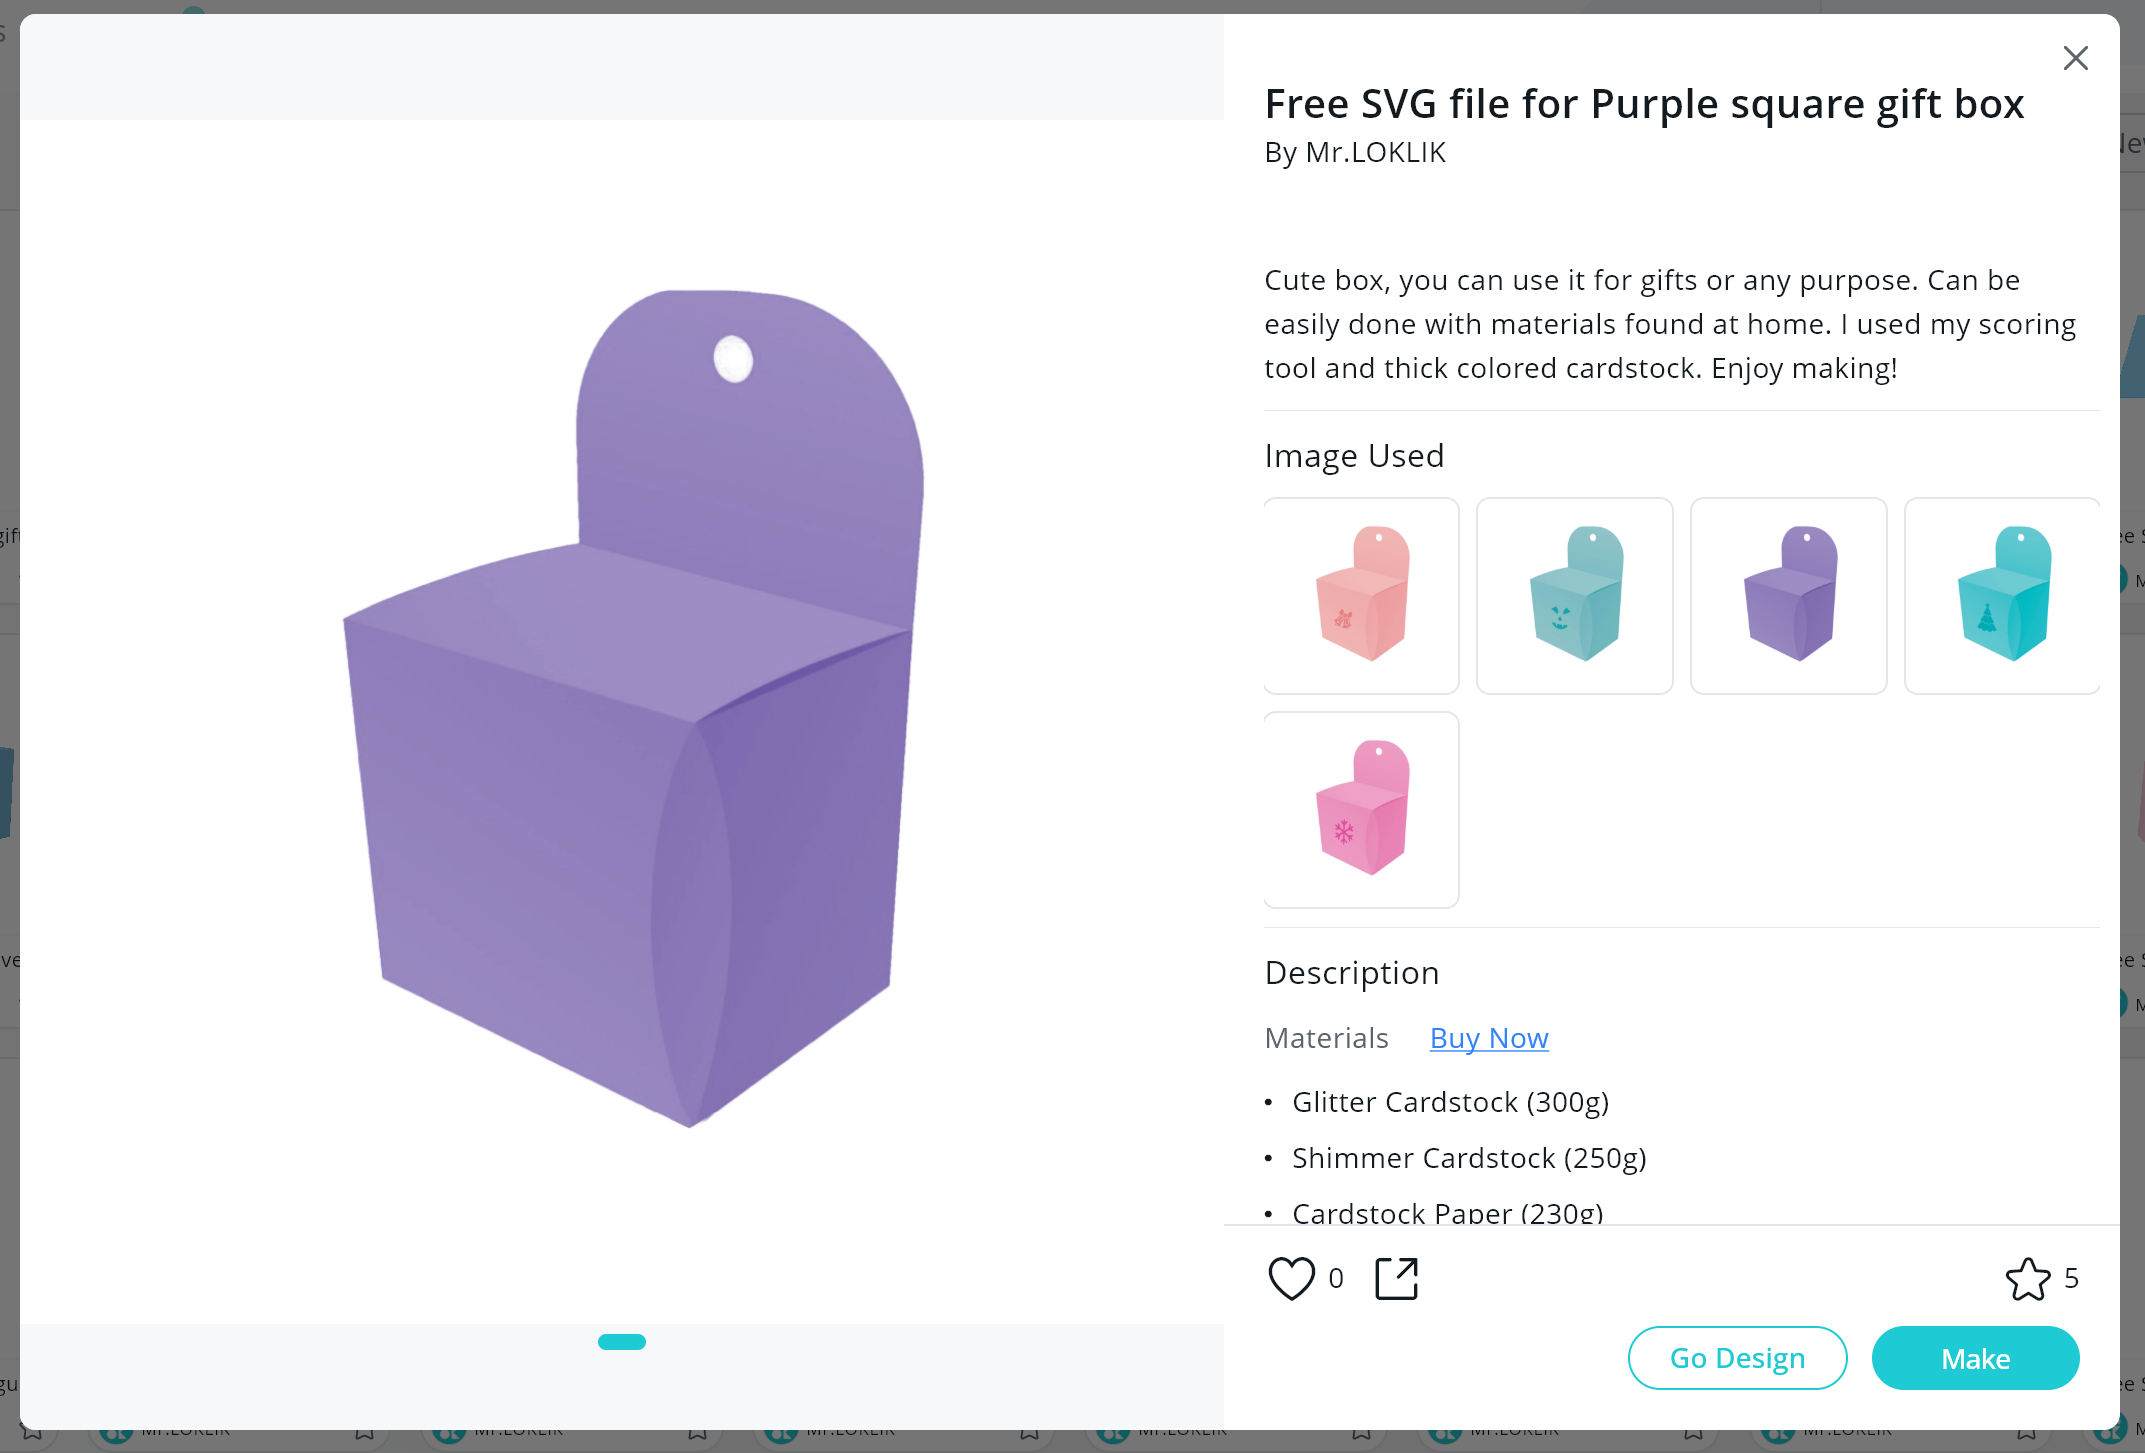
** Free SVG file for Purple square gift box*
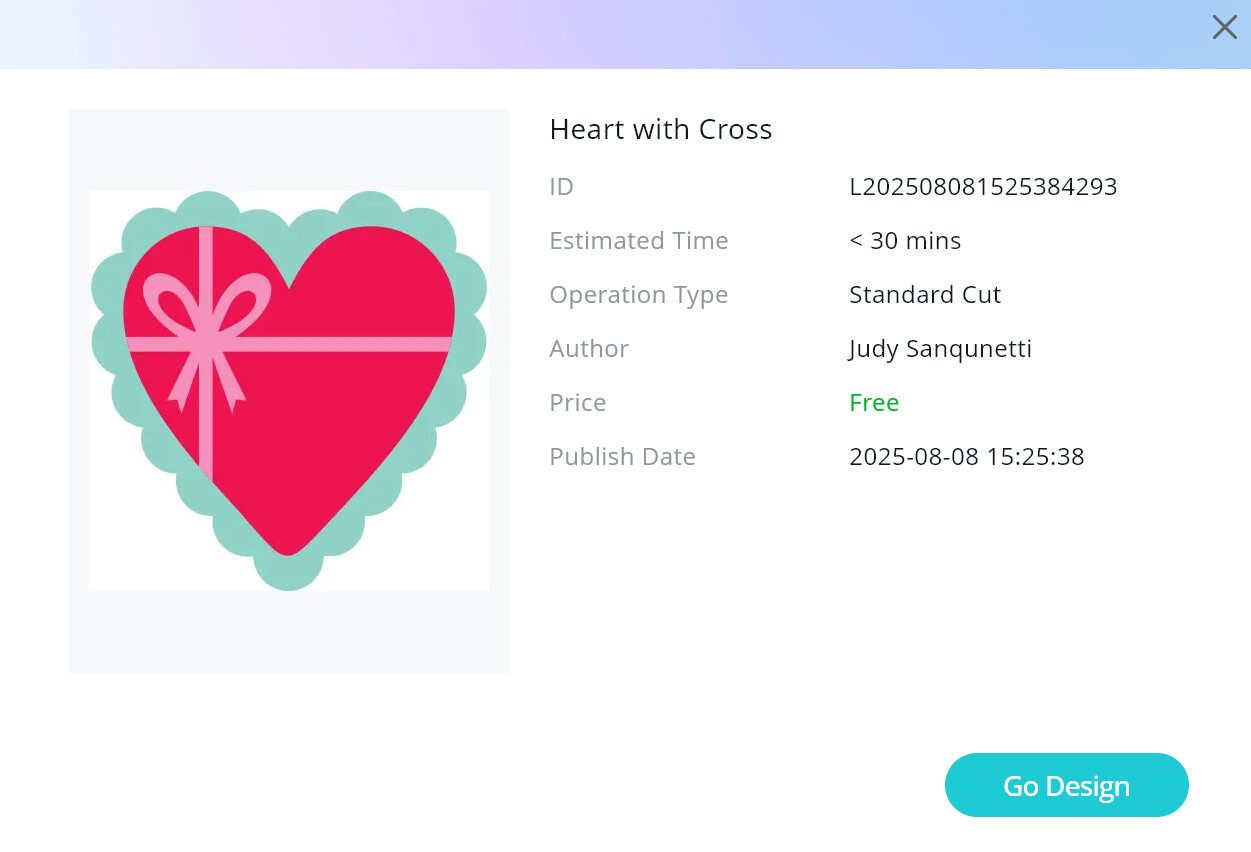
** Heart with Cross* - Craft glue and hot glue
- Coordinating ribbon to close the candy box
Design and Cutting Process:
- Using the LOKLik IdeaStudio Library, search for the templates and select the + to add the template to the canvas.
Now it is time to take these designs and adjust them to meet our needs for this project.
Designing
- I begin by resizing the box template to fit the paper being used. I primarily use 8.5in by 11in cardstock so I made the template smaller to fit inside the cut area.
IMPORTANT NOTE: Ensure that you keep the sizing “locked” and only resize the template from the corners to ensure the dimensions for the box remain proportional.

- I then resize the heart template to fit on the tab area of the paper box.
- We will be adding a hole to the heart template which will allow us to add a ribbon bow.
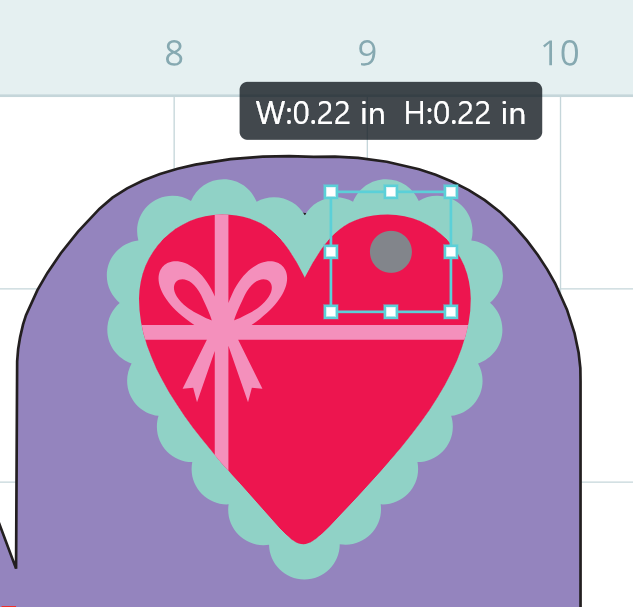
- Using the Shape feature, click on the circle under the basic shapes.
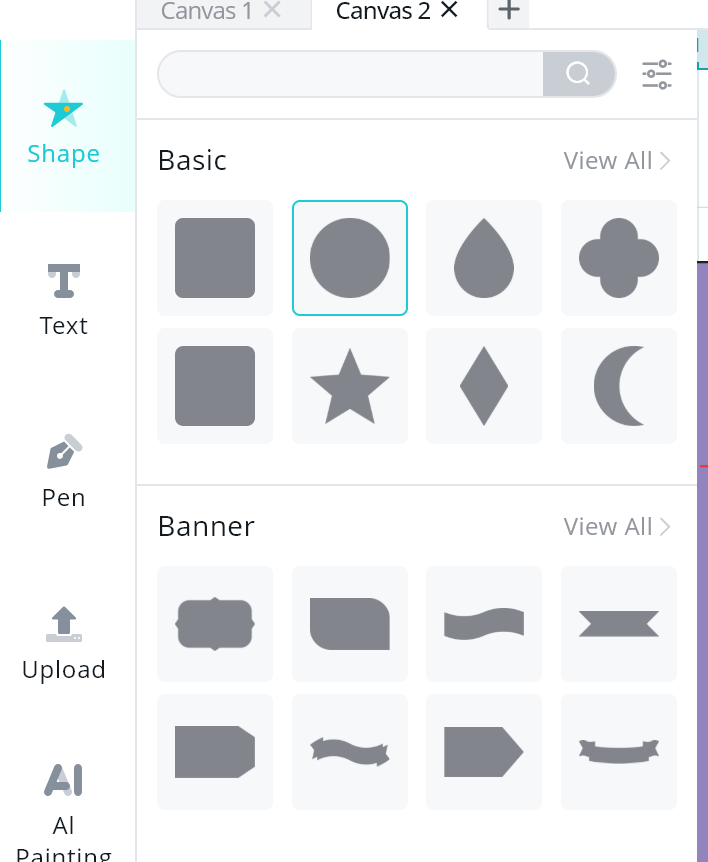
- Resize the circle and place it on the side area (make sure it is not too close to the edge to avoid it tearing).
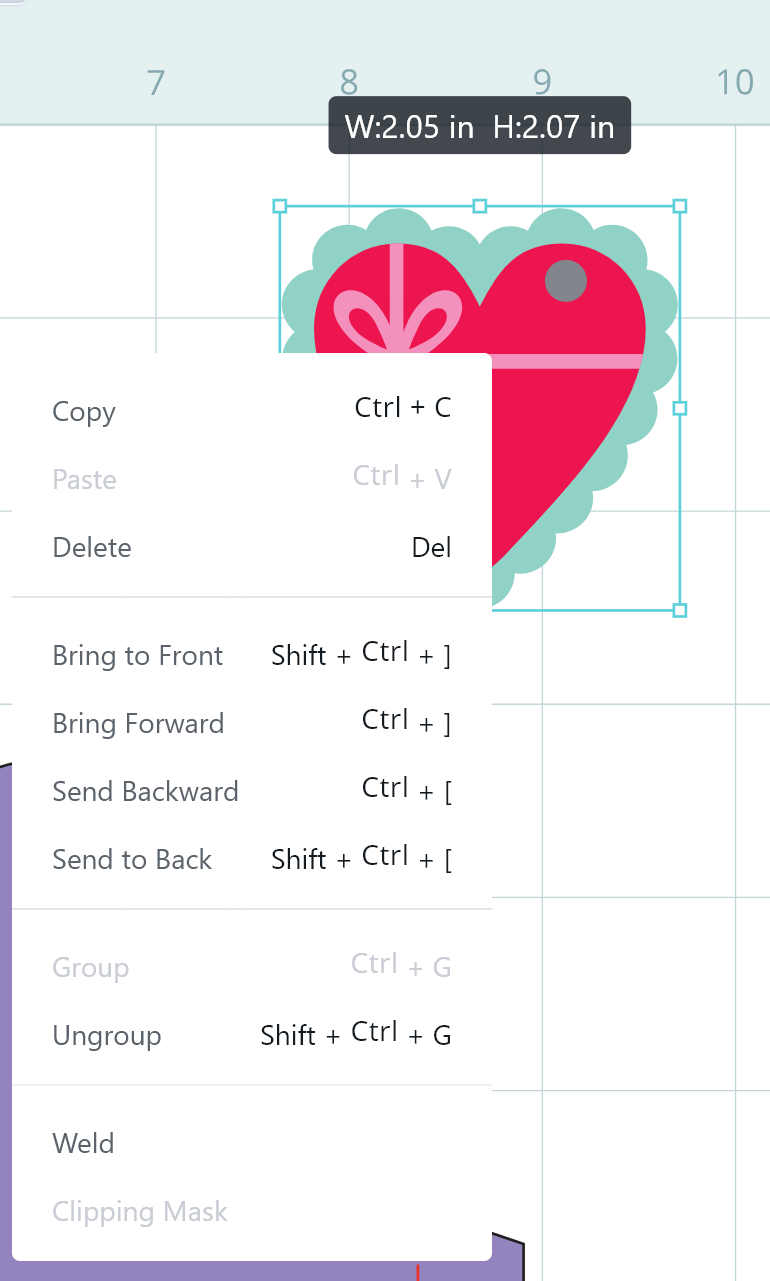
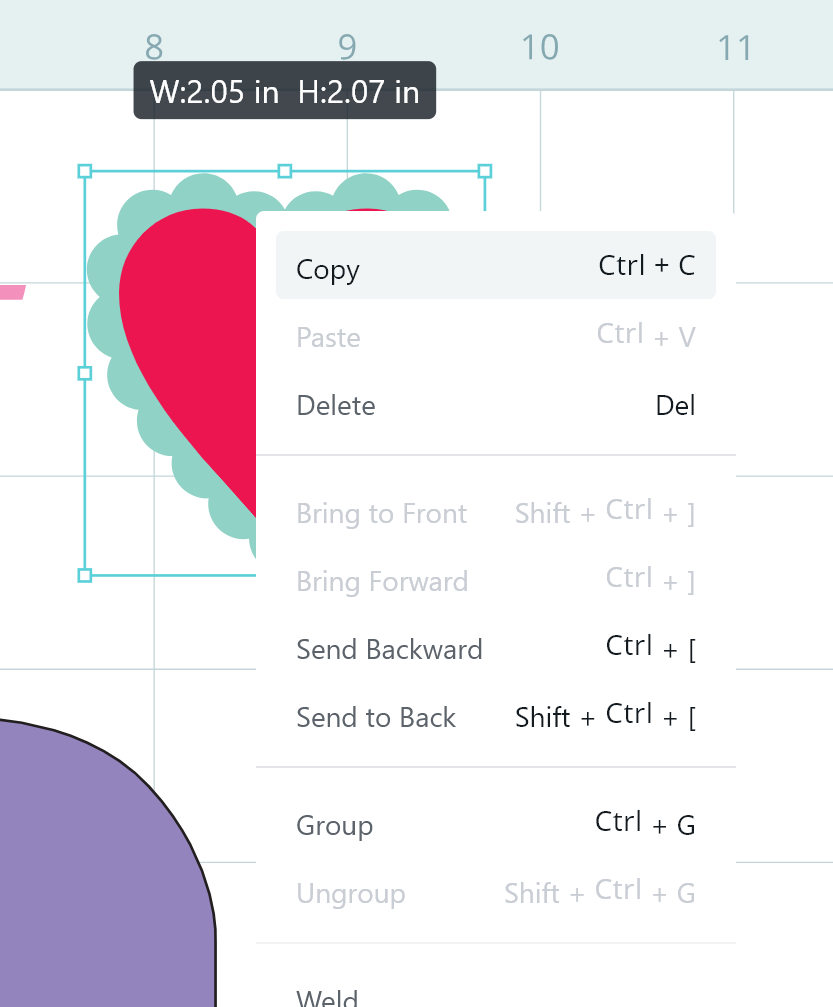
- Ungroup the heart tag and copy/paste the pink heart to be used as an additional layer with the vellum paper.
- We will then “subtract” the little circle from the heart tag.
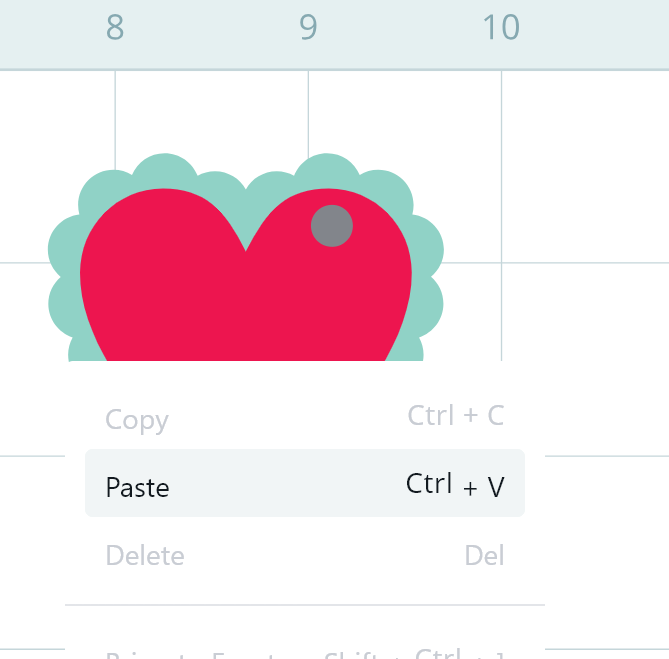
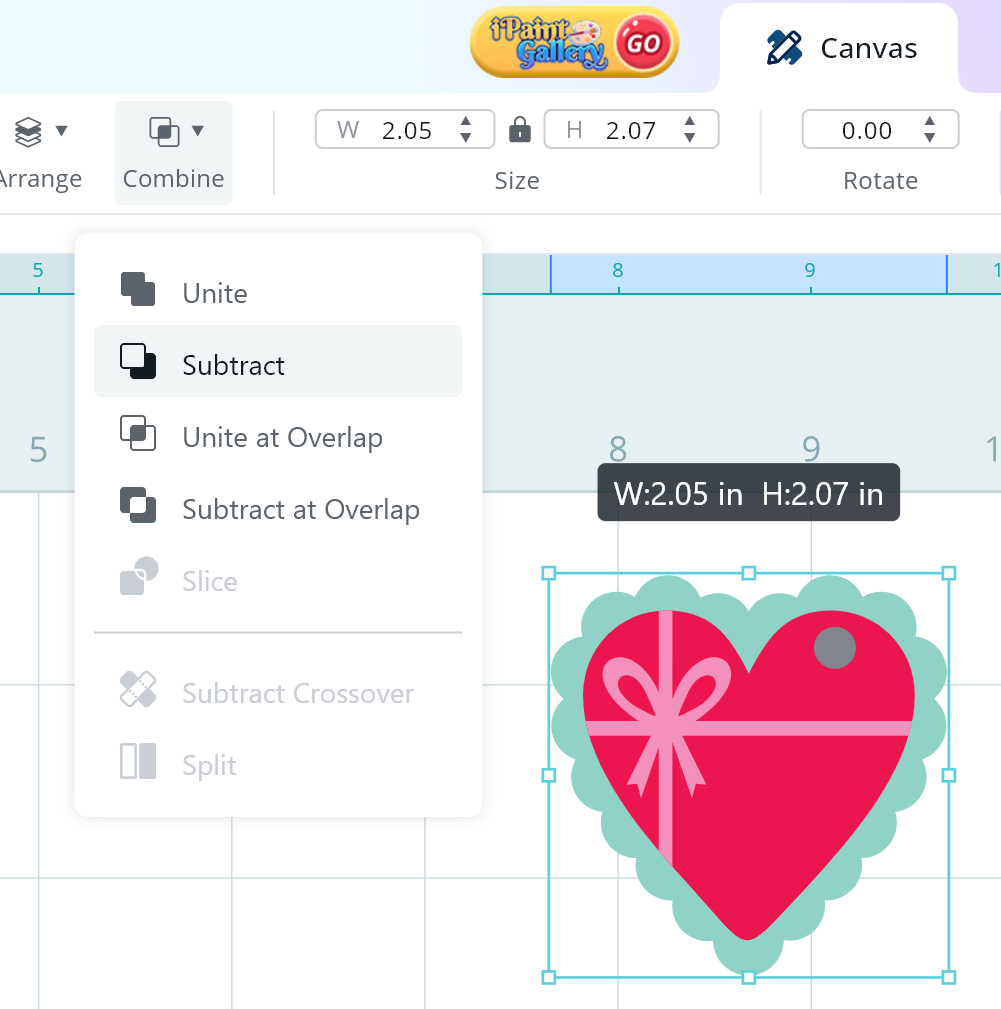
- This is what you will want to have; plus 1 more heart for the vellum cover.

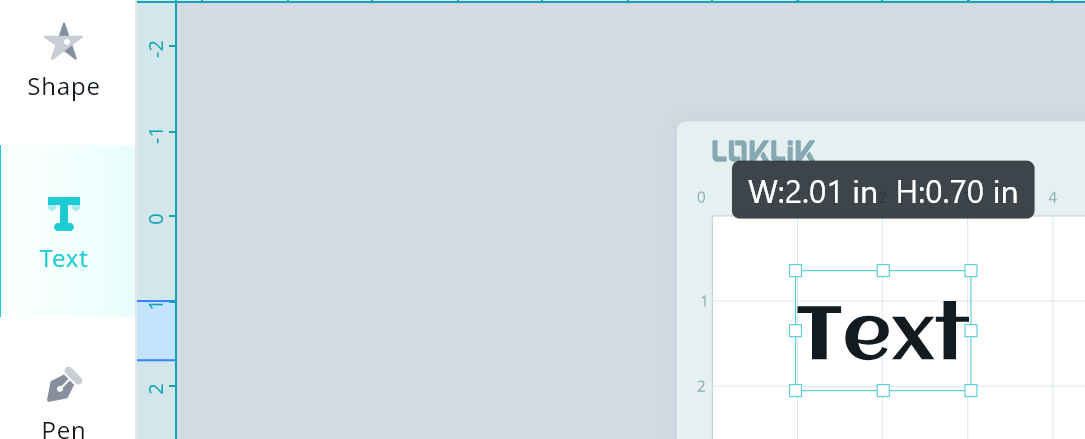
- Now we will use the Drawing feature to add a custom saying to the heart tag.
- Using the Text feature, add the desired text and select your preferred font. There are several fonts available on the LOKLiK IdeaStudio that can be used.
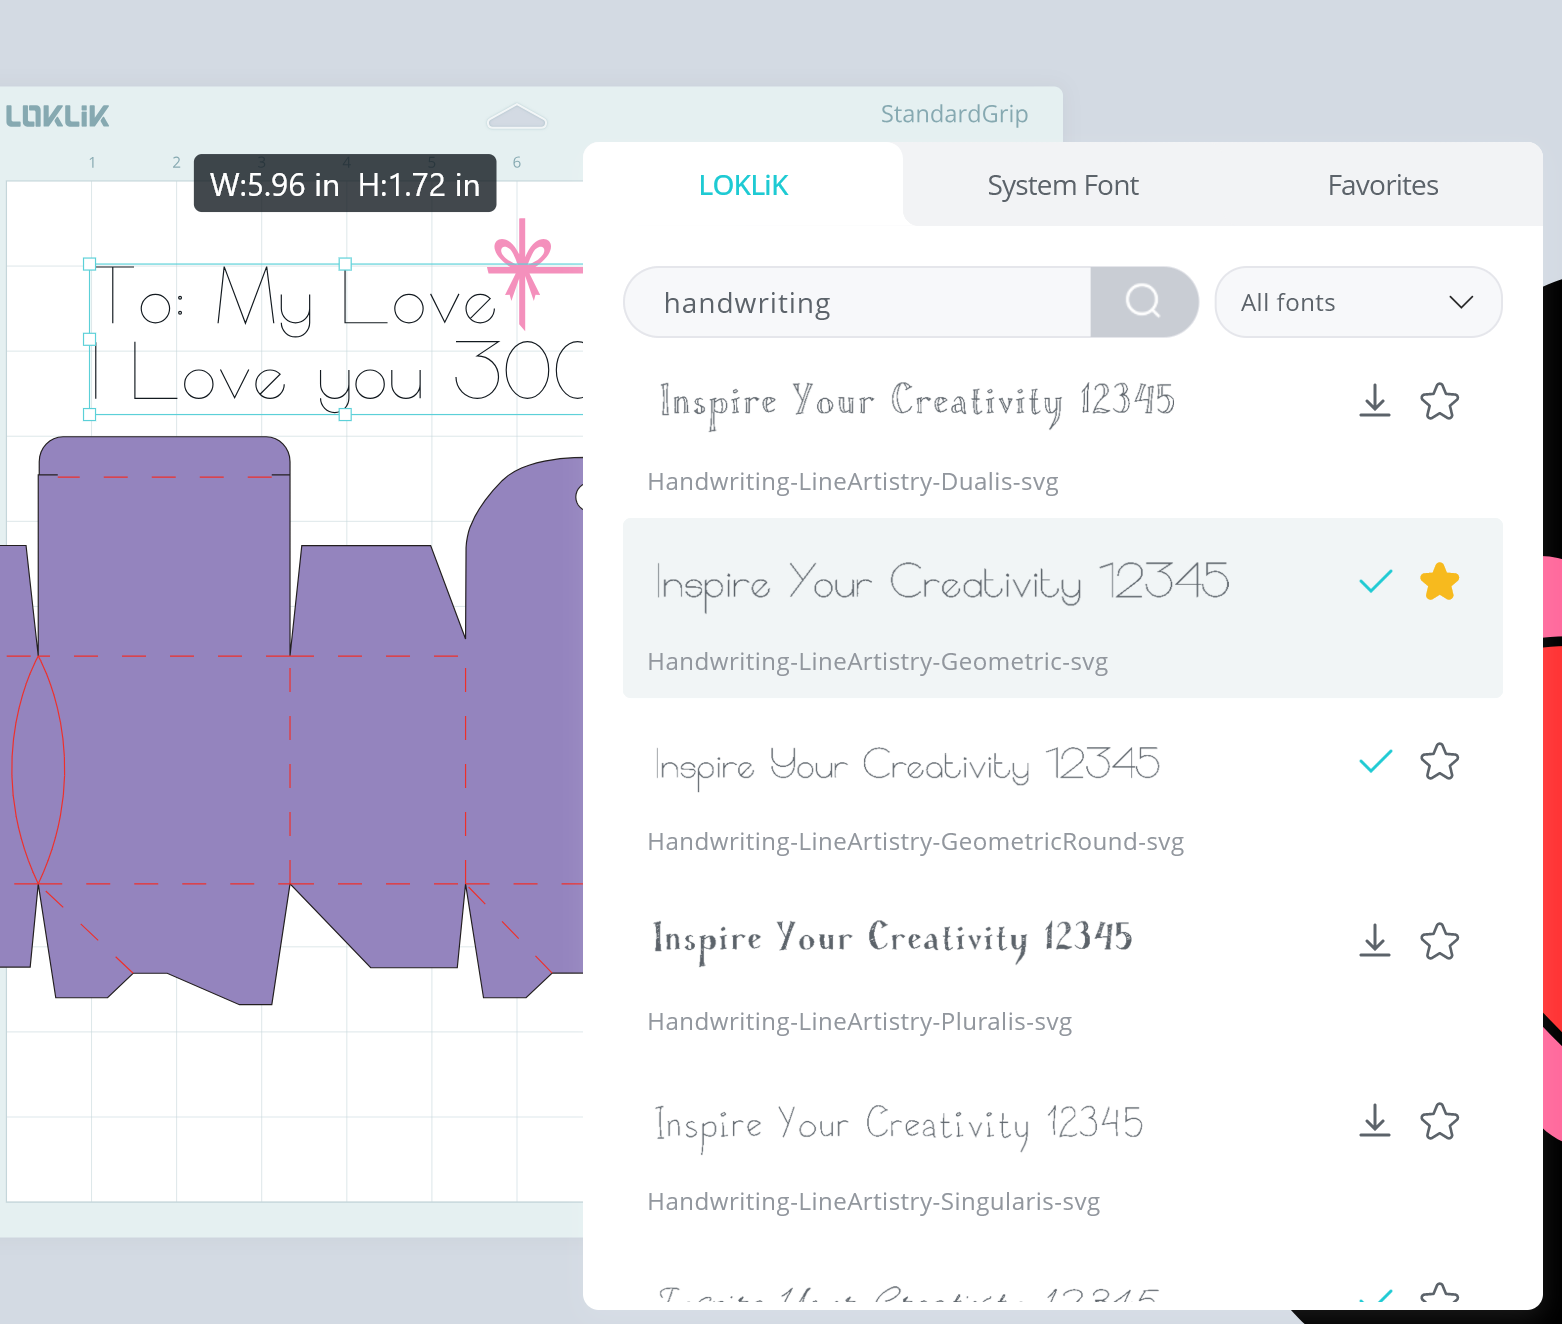
CRAFTING TIP: As you will be using a thin marker pen, the hand-written fonts work best.
- For this project, I used the “Handwriting-LineArtistry-GeometricRound-svg” font.
You must click on the underlined downward arrow in order for it to be used
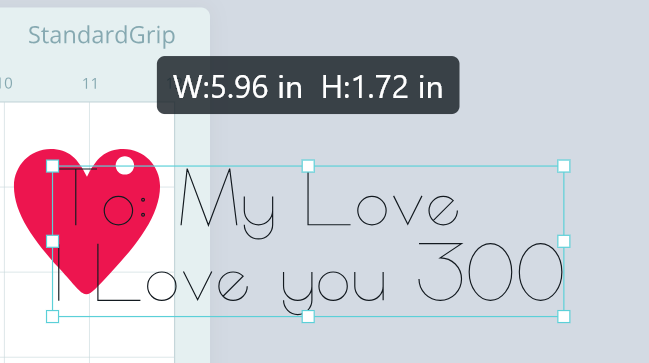
-
Resize the text to fit inside the red heart.
-
Replace the blade in the iCraft with the LOKLiK marker pen using the adapter provided.
-
Select the red heart and text and send the task to draw as seen below.


- Without moving the items on the canvas, send the red heart to cut.
- Send the remainder of the project components to cut. Below are the settings that I used for the project.
65lb Cardstock Paper Cut Settings
** Material Type: Cardstock Paper (180g/97lb)
**Force: 7.5
**Speed: 5
**Passes: 2
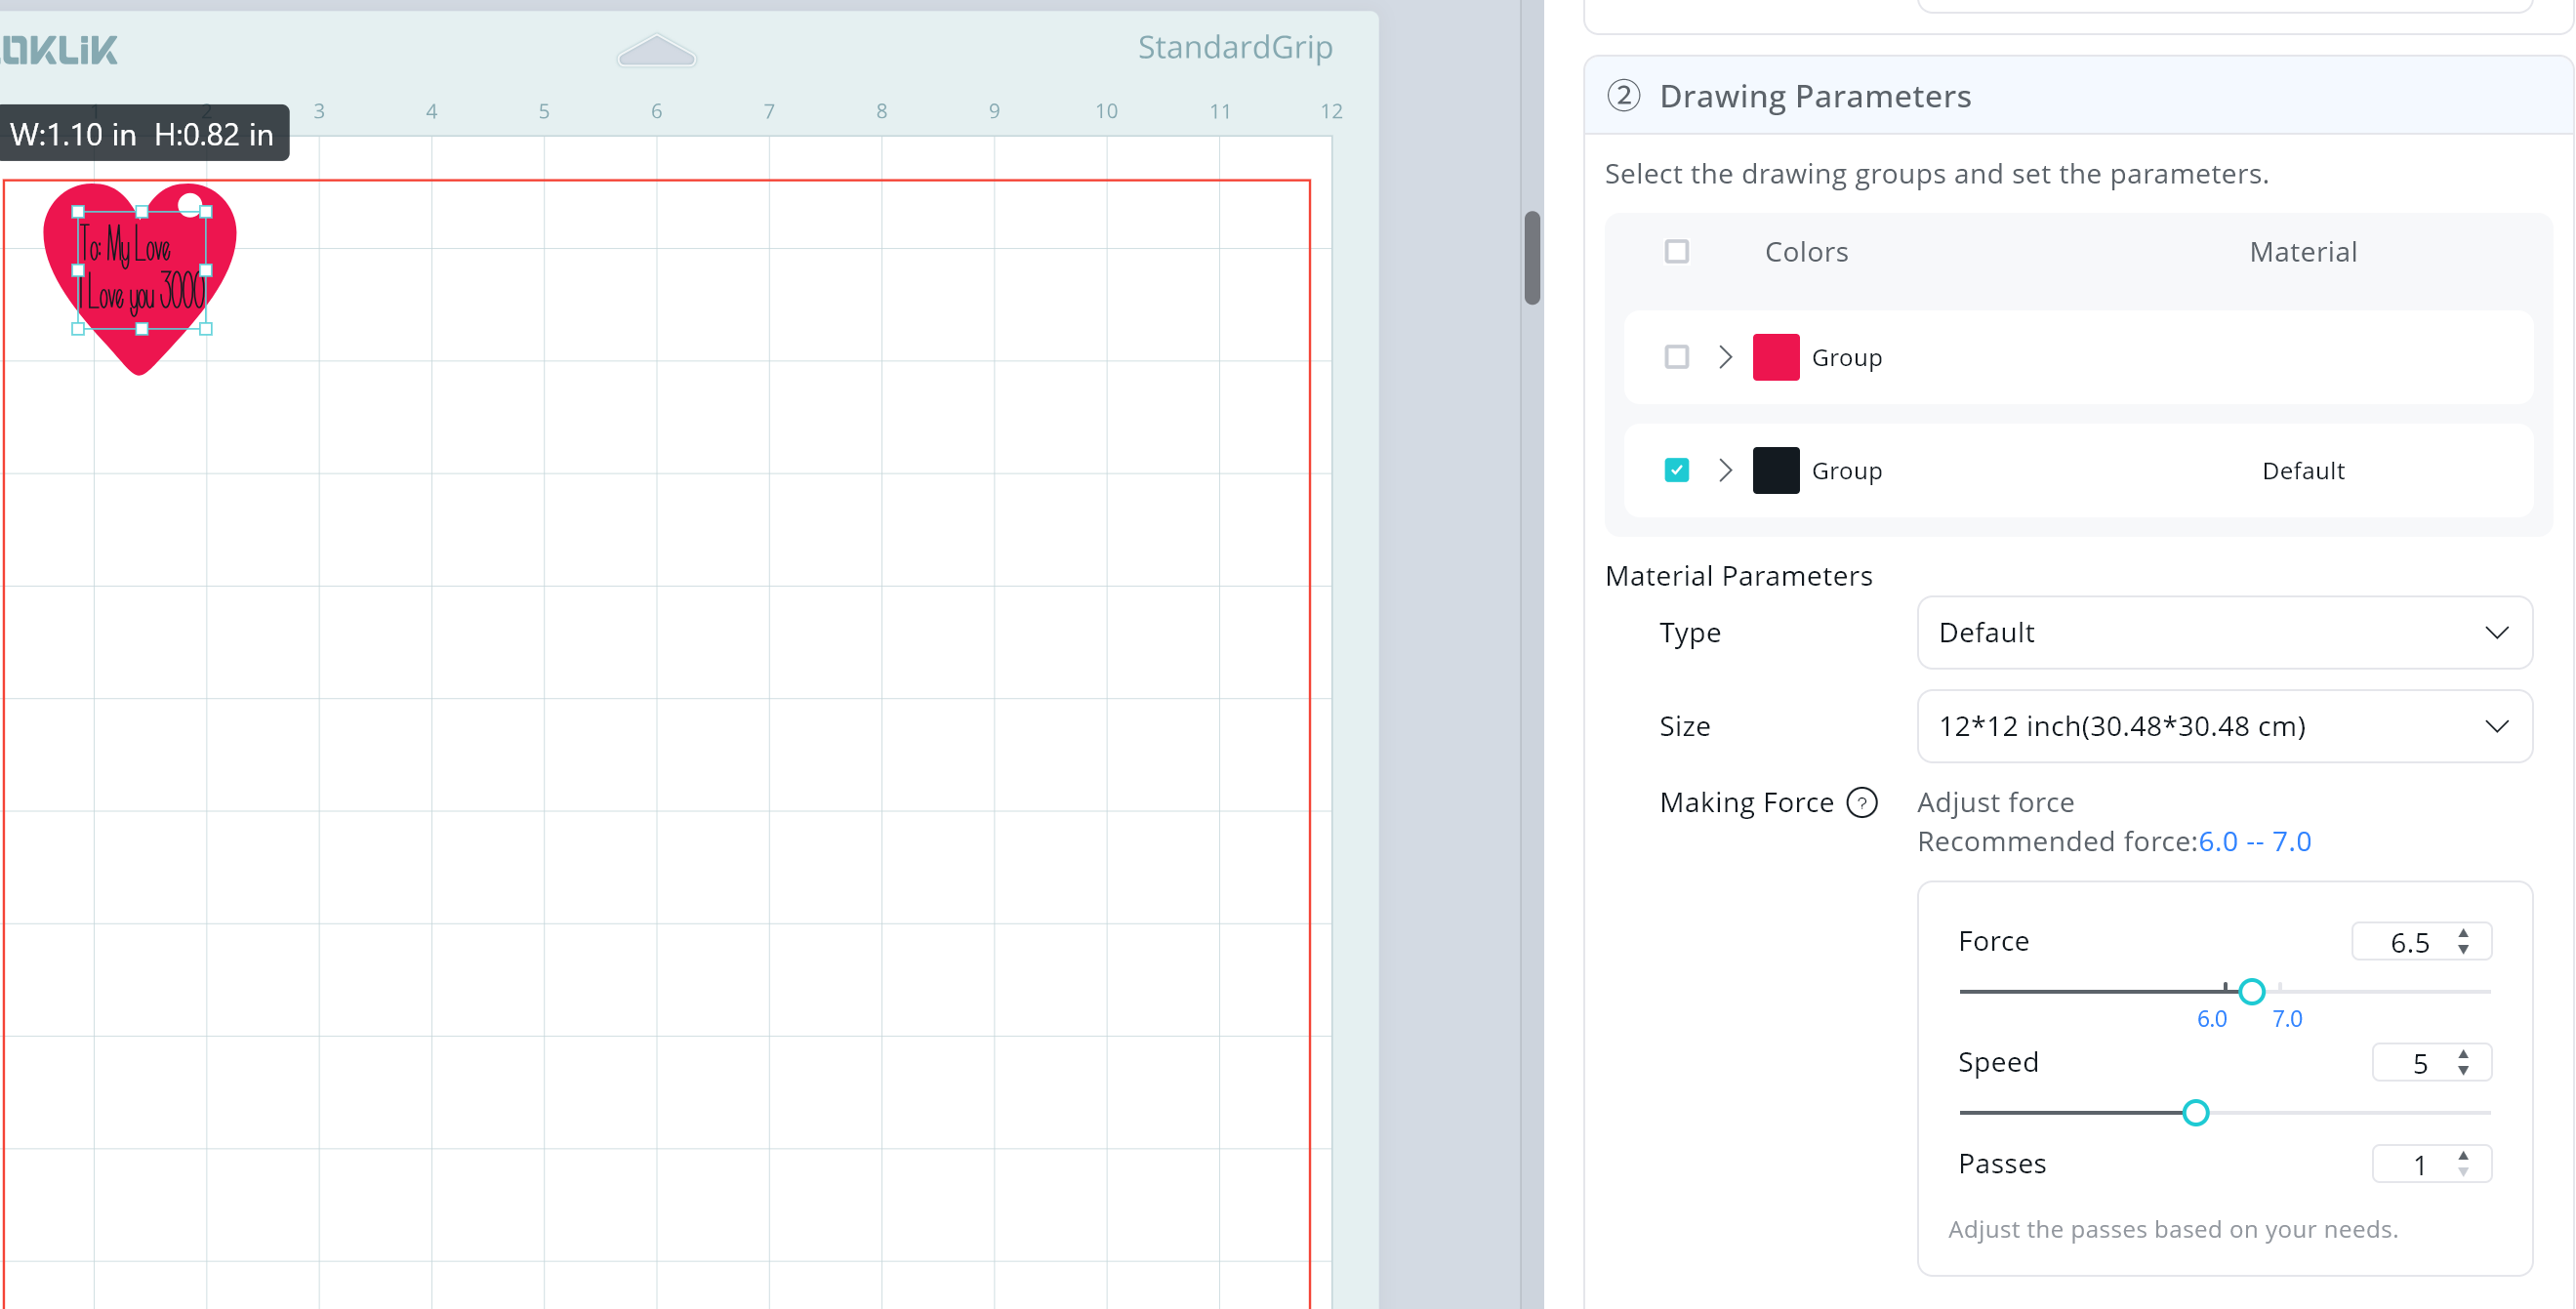
Draw Settings
** Type: Default
**Force: 6.5
**Speed: 5
**Passes: 1
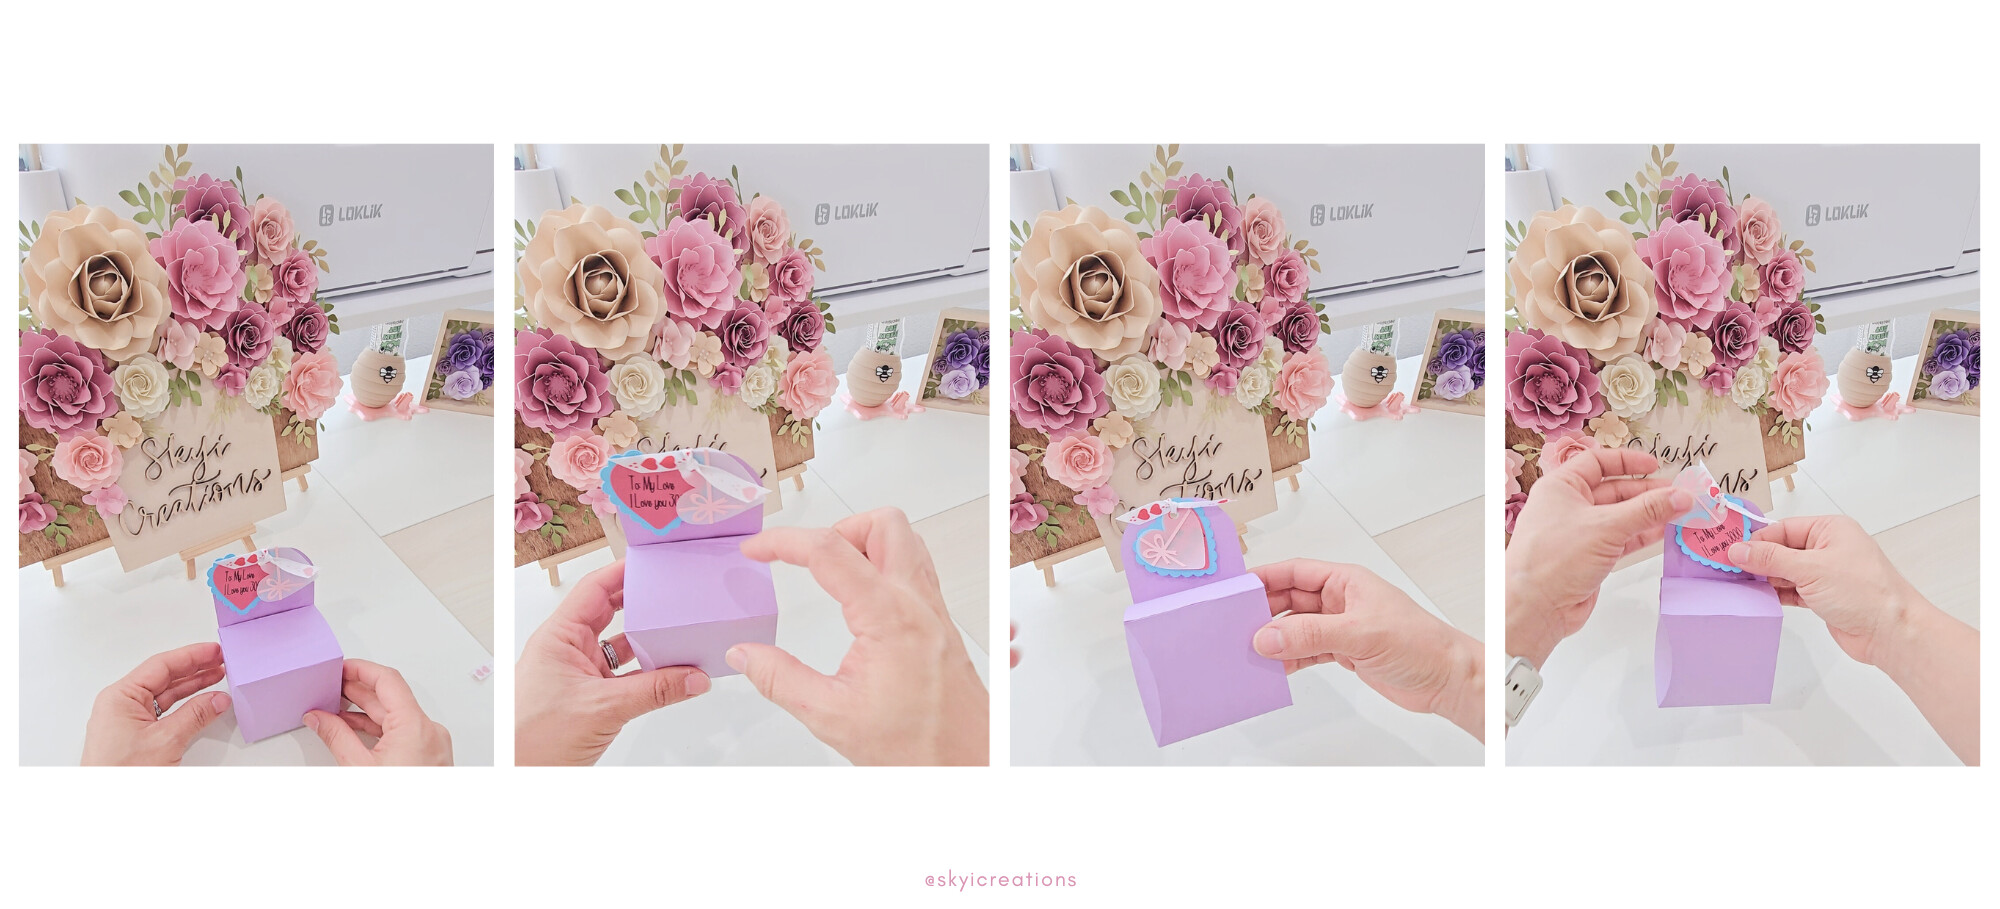
Assembling the Treat Box
- Begin by assembling the heart tag.
- Using craft glue, glue the red heart to the blue backing. You will want to make sure to glue the hearts so the hole remains available for the ribbon.
- Glue the mini pink bow to the velum heart and set aside for the end.

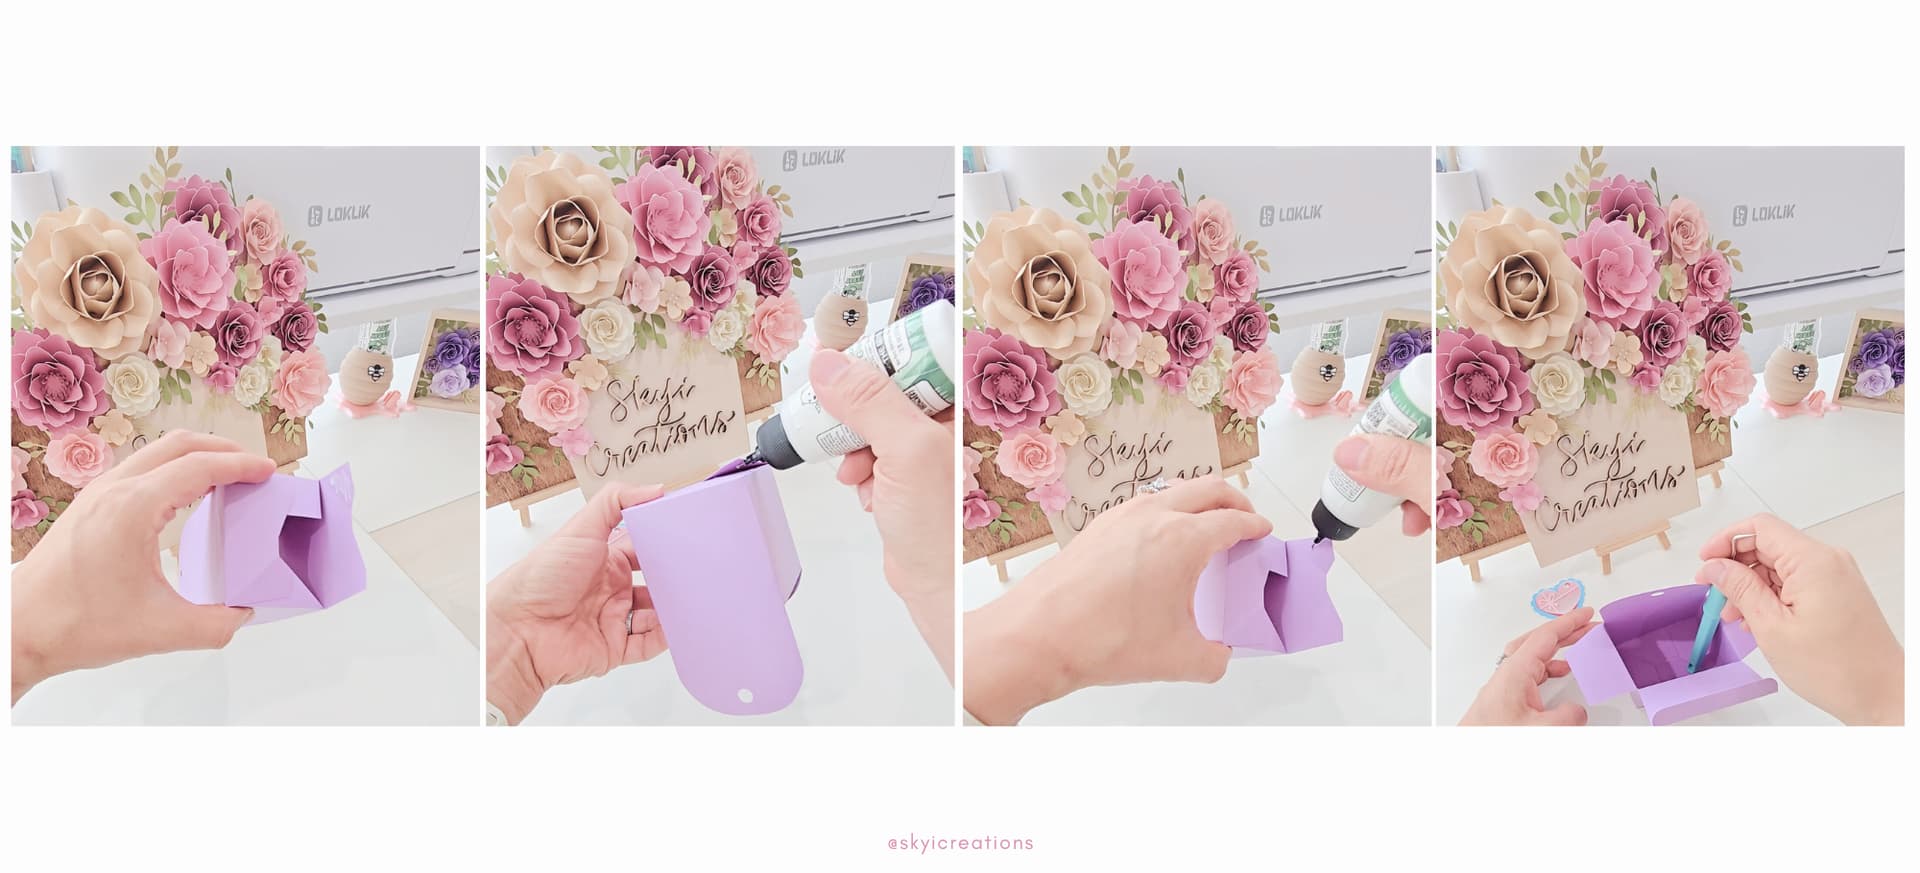
- Now begin to assemble the treat box. Use the scoring marks as a guide.
- Glue along the side flap to close the sides of the treat box.

- Fold in the 2 rectangular bases and glue the corners to the rectangular pieces. As seen in the photos below.
- Place glue on any piece of the base that may be lifting on the treat box.
- Using a pen or crafting tool, push down on the base from the inside to ensure the glue secured properly.
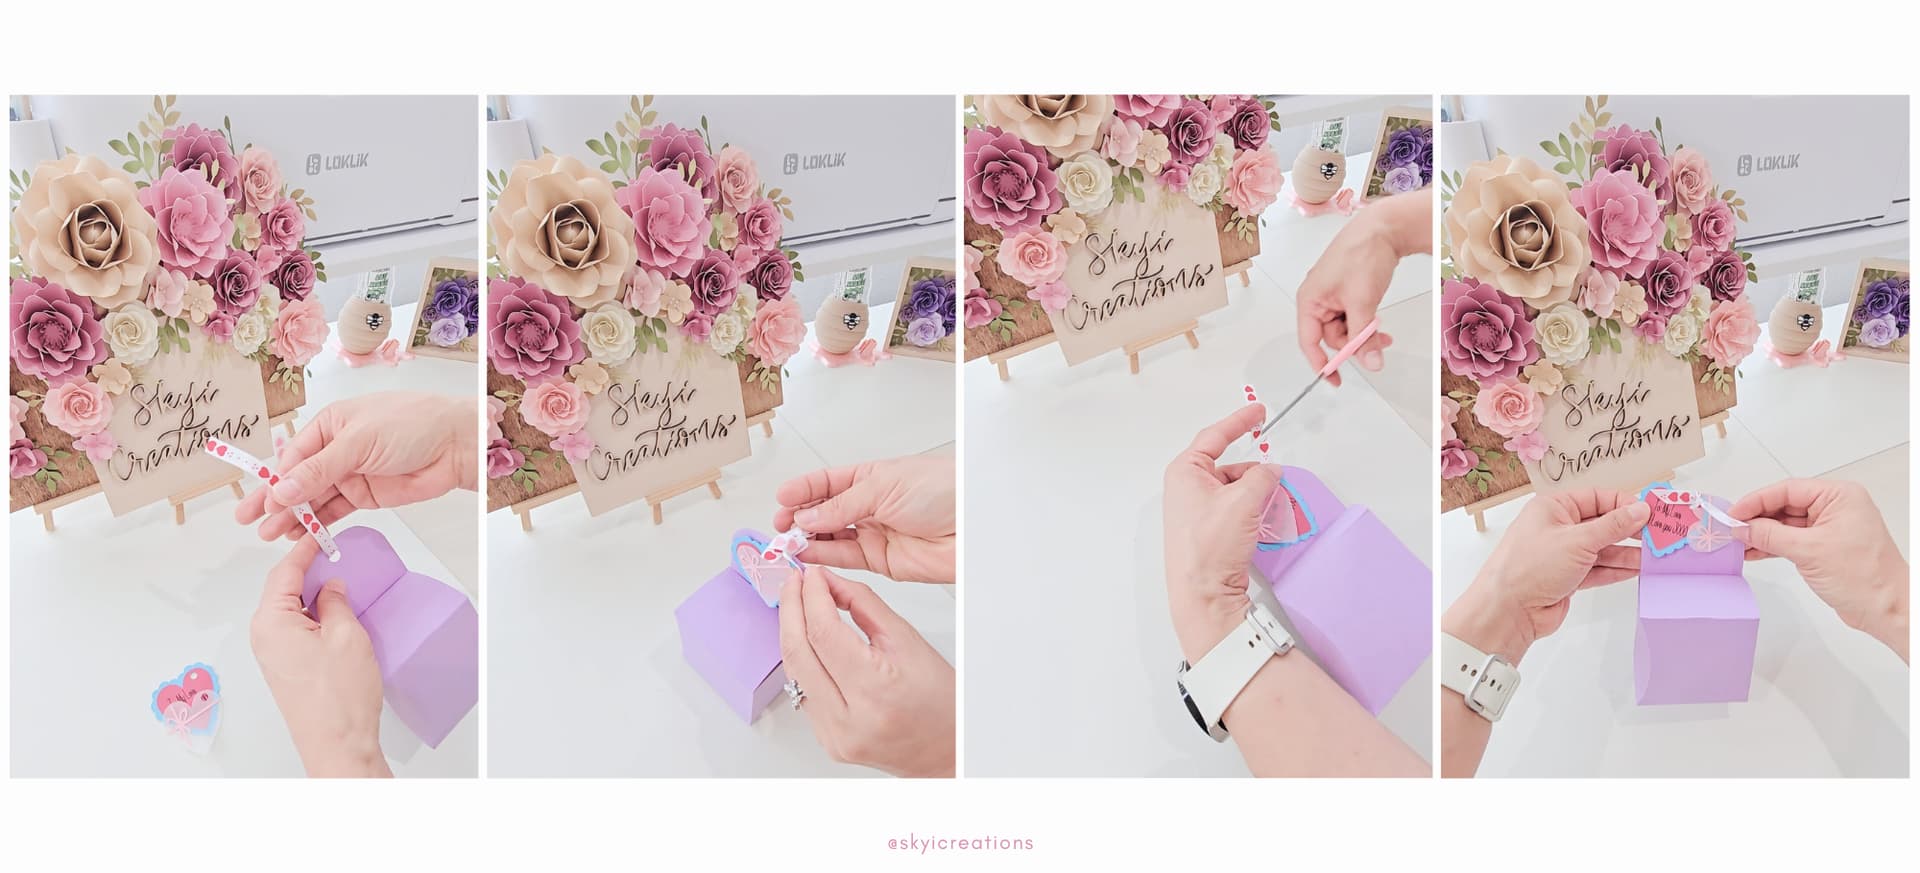
- Using a ribbon, “close” the treat box by placing the ribbon thru the hole on the top of the box and thru the heart tag.
- Tie a bow to secure the box and cut off any excess ribbon.
WONDERFUL!!! You have a paper treat box. Now to decide what treats to place inside. Let your creativity continue and add embellishments or layers to the side of the treat box.
