I finally had the chance to test out the engrave and cut features in the IS Desktop version. Previously, I had to run the engrave layer separately from the cut layers, which meant creating two different tasks. Now—two months later—the IS Desktop version has been updated so we can send all commands in a single task. That’s a big improvement, but there are a few things to keep in mind for best results:
- Layer order matters: When combining engrave and cut, place the cut layer above and the engrave layer below. Don’t worry about how the layers look on your canvas—iEngrave interprets them differently than LightBurn. In LightBurn, you engrave first and then cut, but here you’ll need to swap the order.
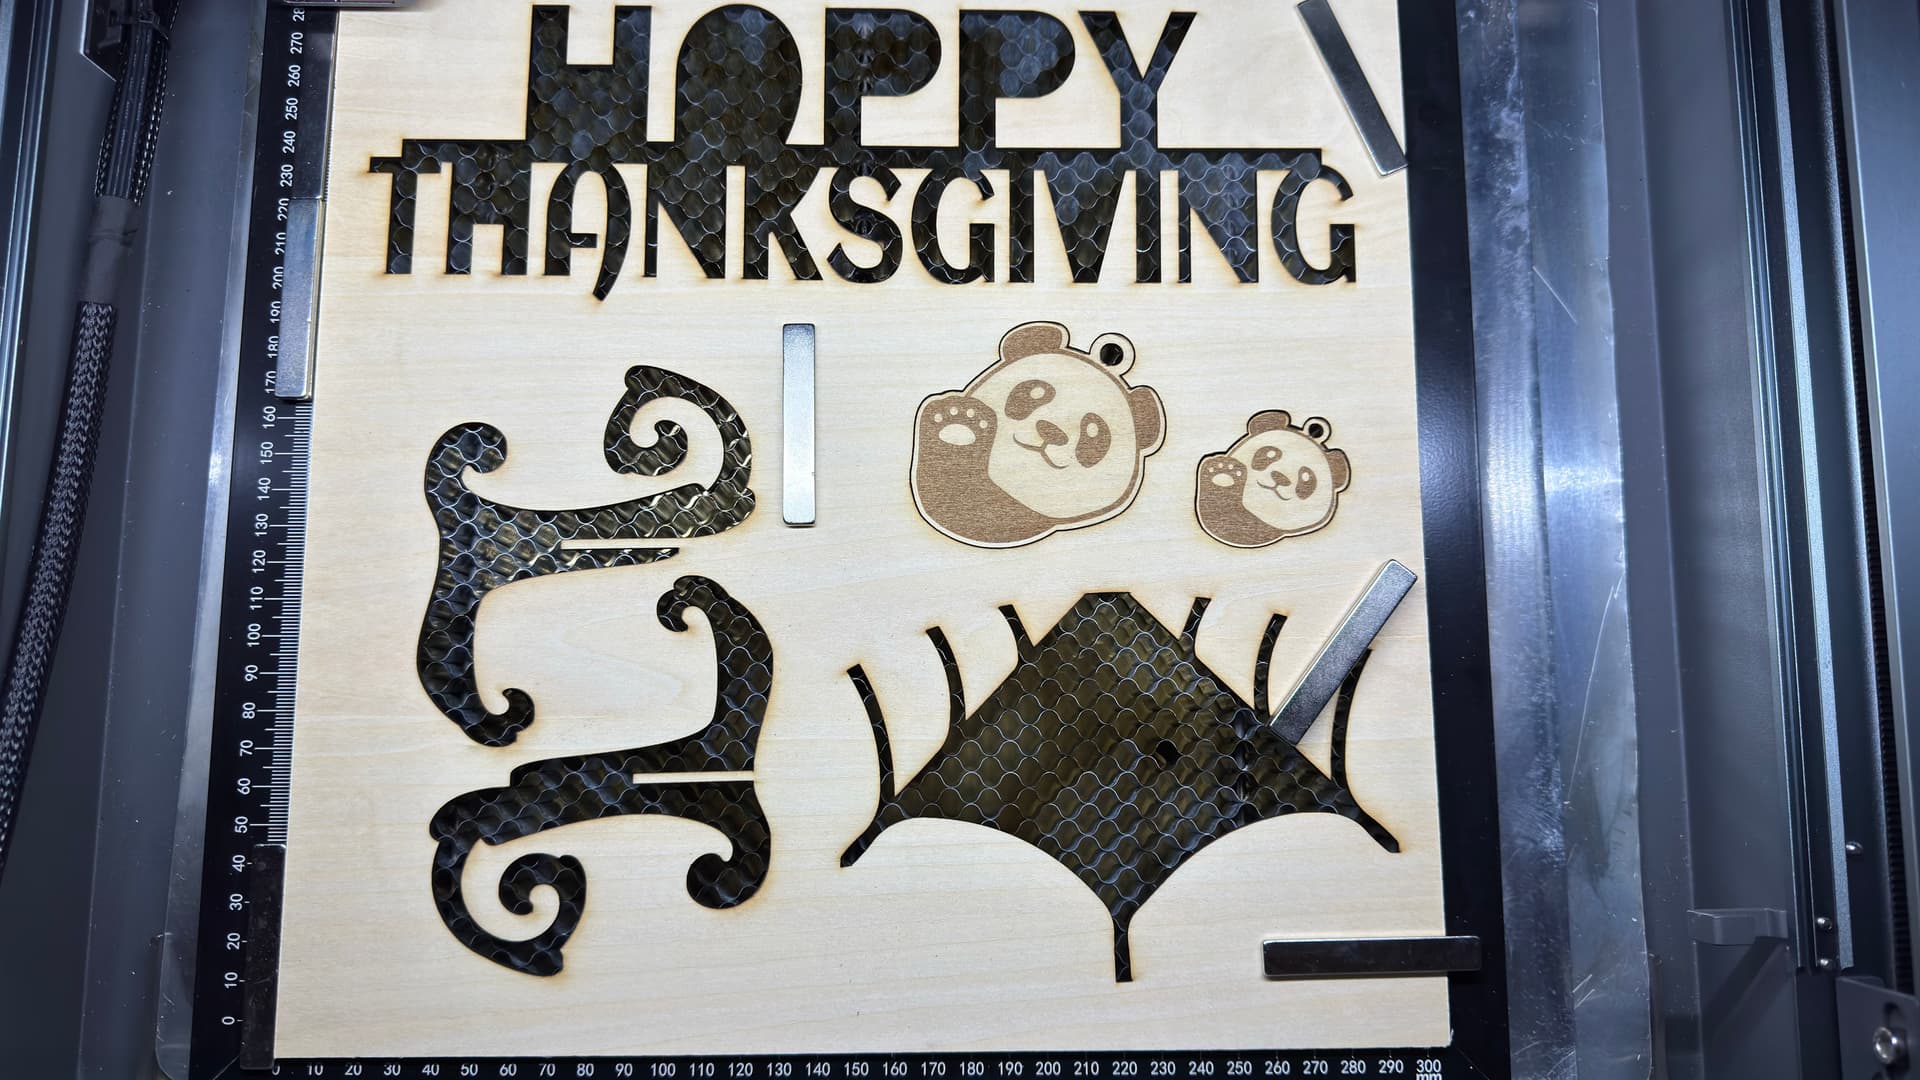
- Secure your material: Use a full sheet of wood with strong magnets at each corner to prevent shifting. This works for smaller sheets too—just make sure they’re firmly held in place.
@Nancy_Lumpkin, looking at your screenshot, your layers need to be rearranged. If you send them to iEngrave as they are now, the wood may shift slightly if the cut runs before the engrave. I’m not sure how your honeycomb is set up, but I highly recommend using strong magnets to keep the wood stable during the job.
Here is my Canvas looks like:
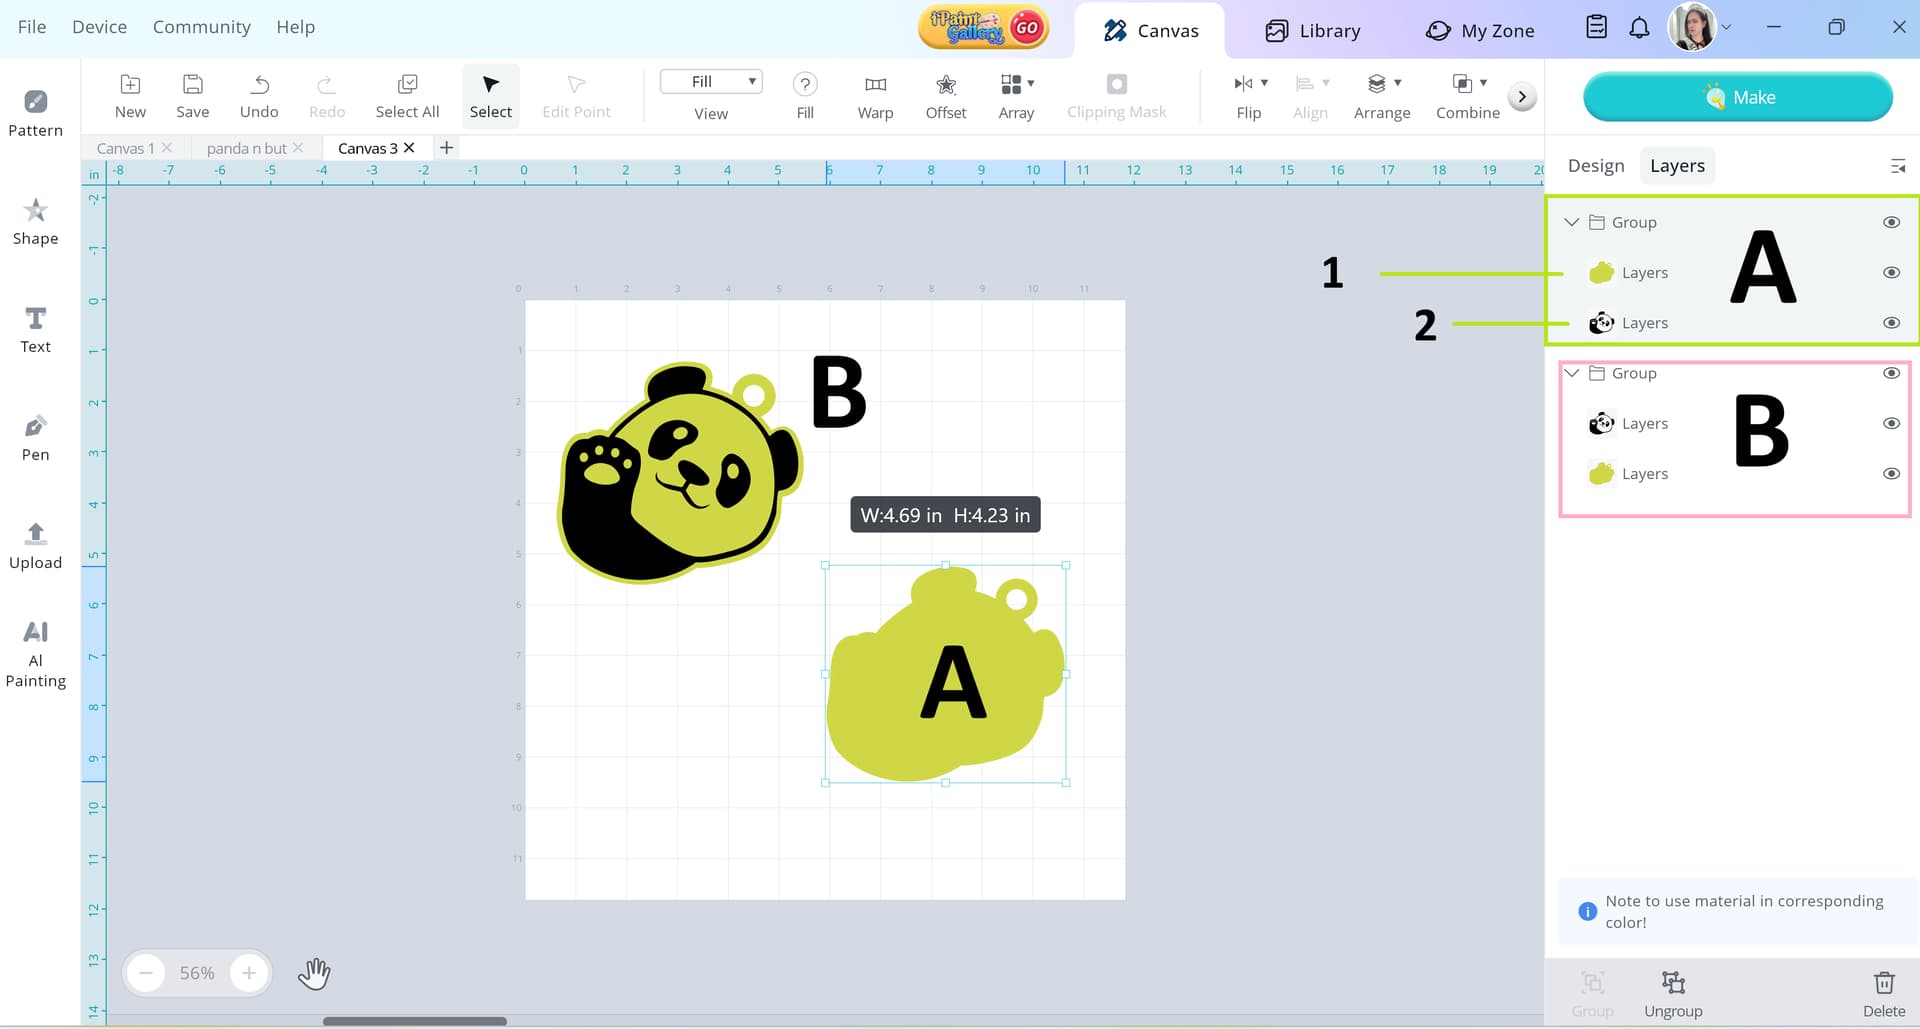
I tested both designs (A & B) and achieved excellent results—see below for details. For B (Big Panda), I ran the cut first and then the engrave. For A (Small Panda), I reversed the order, engraving first and then cutting. NOTE: To achieve the right way, the layers on A is way to go.