Whether you’re brand‑new to laser crafting or upgrading from another machine, the LOKLiK iEngrave has a lot to offer — but there are 10 things worth knowing ahead of time. Here’s a clear, honest breakdown to help you decide if it’s the right fit for your space, workflow, and crafting style.
1. Connect the Machine in the Correct Order.
The iEngrave is a little particular about how it likes to be recognized by your computer or mobile phone.
For desktop/laptop users, follow this order every time:
Turn on your computer → open IdeaStudio → plug in the USB cable → then power ON the iEngrave (ensure the SD card is inserted, the safety keys and emergency stop button are engaged all the time). This prevents the most common “Why isn’t my machine showing up?” issue.
Many beginners run into the same connectivity issues between their phone or computer and the iEngrave. When I first got my machine, the LOKLiK desktop version wasn’t available yet, so I controlled everything from my phone. In the beginning, I also experienced a few minor connection problems. One important thing to know is that the iEngrave can only connect wirelessly to a 2.4 GHz Wi‑Fi network — it won’t connect to 5 GHz. Understanding that early on saves a lot of frustration.
For mobile users, follow this order every time:
Turn on your Bluetooth and wi-fi from your phone → power ON the iEngrave (ensure the SD card is inserted, the safety keys and emergency stop button are engaged all the time) → open IdeaStudio → Go to my device and select iEngrave → then follow the on-screen prompt for connectivity.
To help our community I made a video tutorial on Easiest Way to connect your mobile to your iEngrave.
In my experience, I’ve found that using a USB cable is more reliable than connecting my laptop to the iEngrave over Wi‑Fi. The USB connection has been much more stable and consistent during my hands‑on use. Just keep in mind that if you haven’t used your laser for a while, you may need to reconnect it or select “Add Device” again and follow the on‑screen prompts to re‑establish the connection (NOTE: This applies to both computer and mobile users).
2. Always Use the Honeycomb Tray.
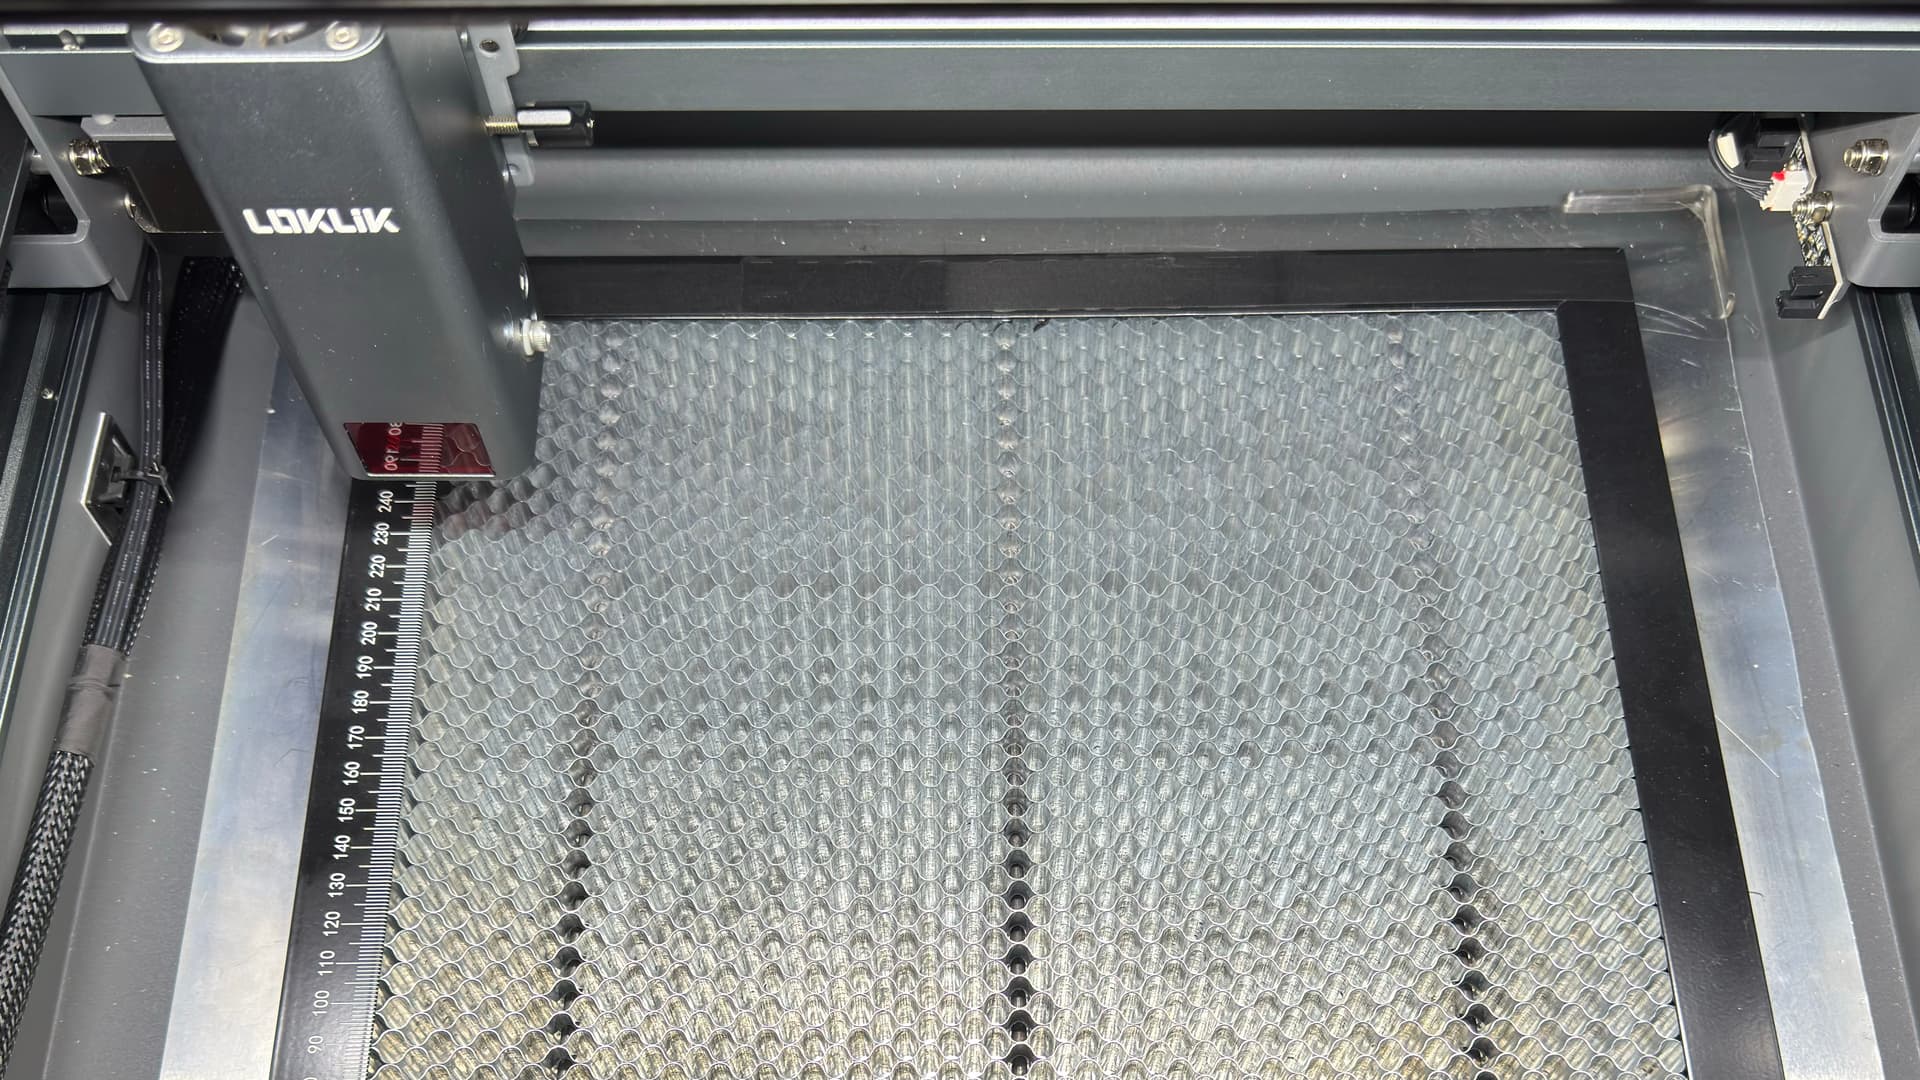
Even if you’re only engraving, the honeycomb tray improves airflow and reduces scorching. It also helps smoke escape underneath your material, which keeps your engravings cleaner and your cuts more consistent. That’s why it’s so important to have your honeycomb set up before you start working with your iEngrave. It really is your first layer of protection. Avoid cutting wood without it—doing so can damage the bottom tray on the covered version, and on the regular iEngrave it can leave permanent marks on your work surface. A simple step like this makes a huge difference in keeping your machine (and your projects) safe and looking great.
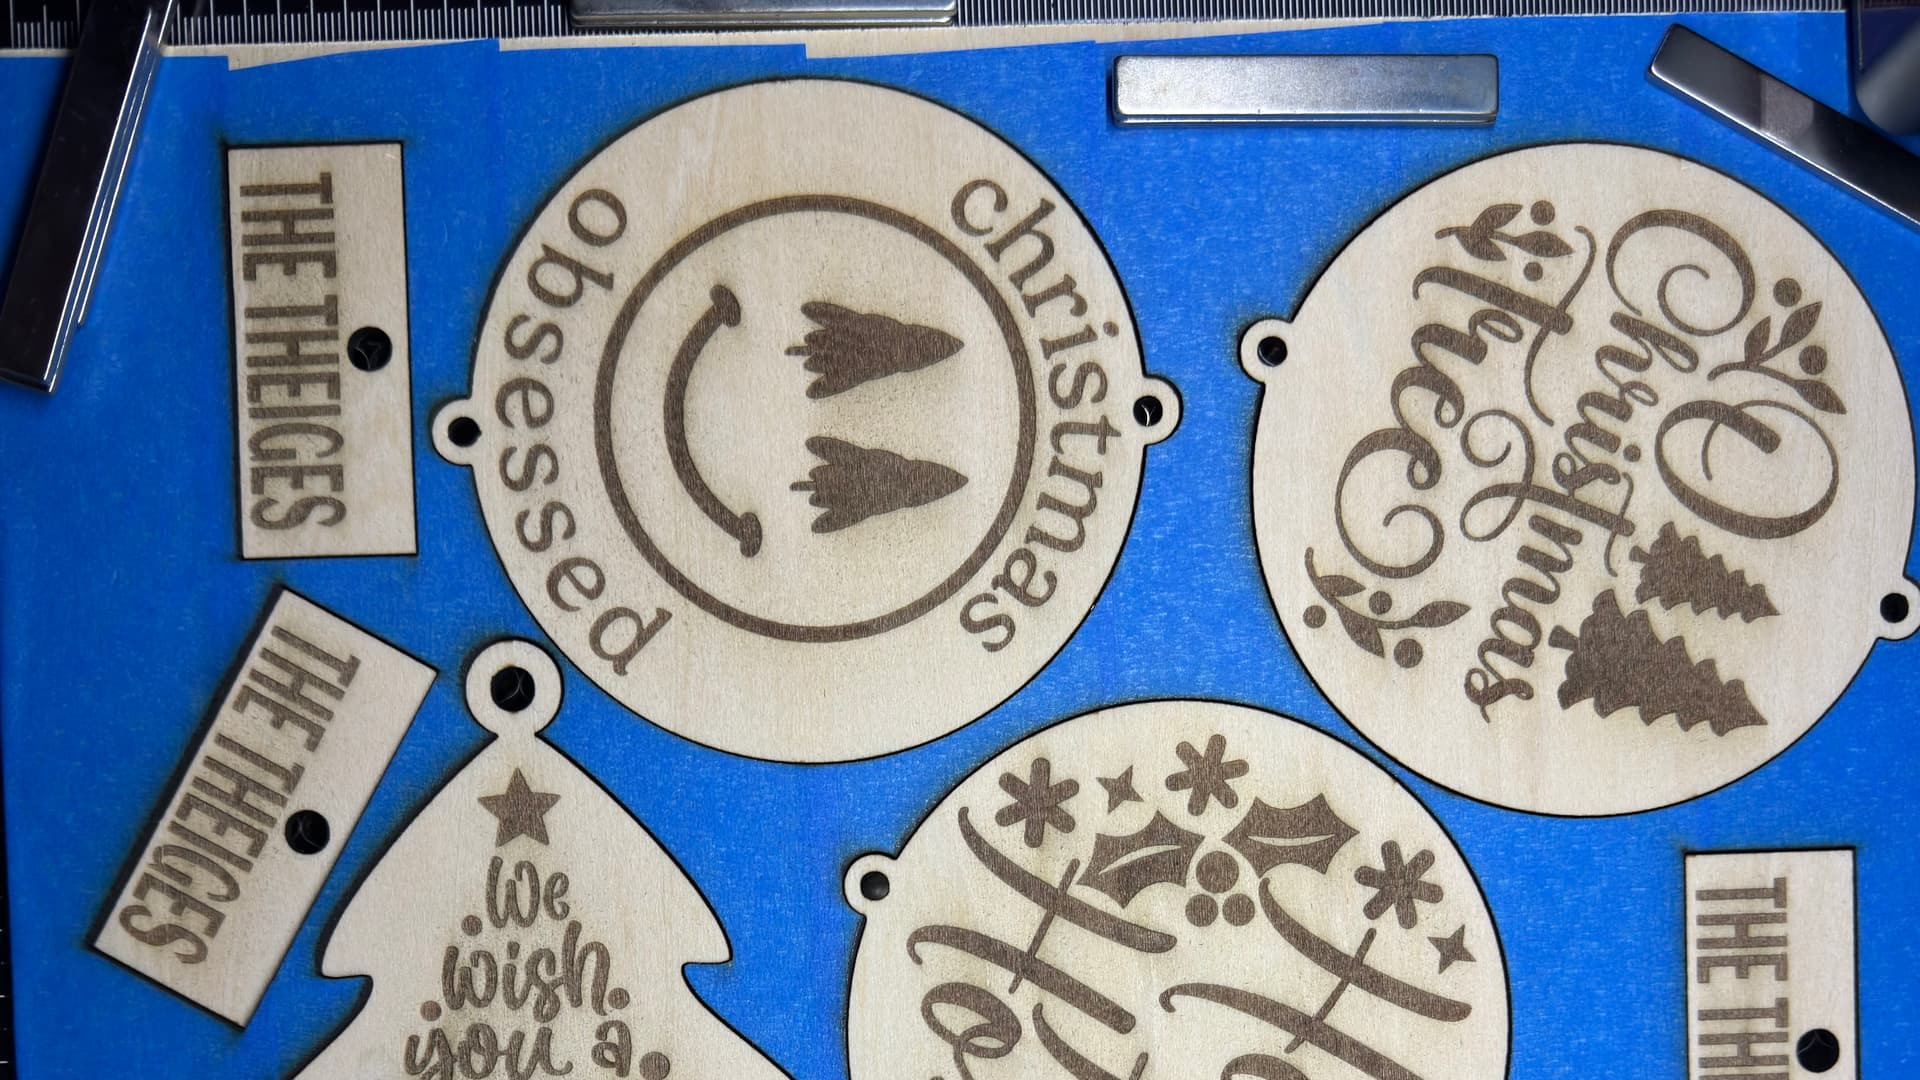
3. Masking Tape Makes Wood Engravings & Cuttings Cleaner.
A simple layer of painter’s tape on wood or acrylic:
• Reduces soot
• Prevents burn marks
• Helps produce crisp edges
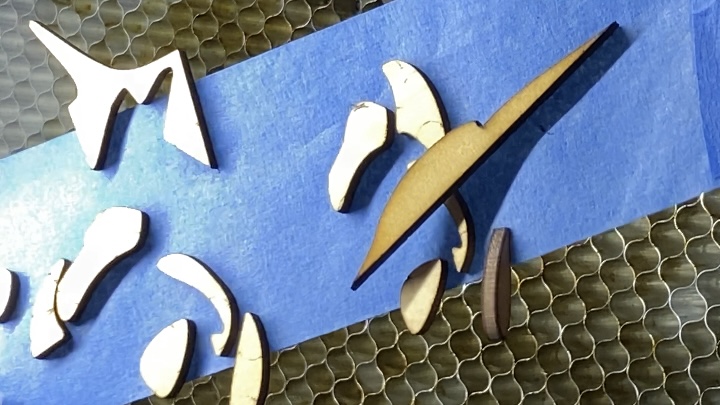
Engrave through the tape, then peel it off for a clean, professional finish. Not only does this help you get cleaner engravings and cuts, but using masking tape to lift the tiny wood pieces (as shown below) off the top of your honeycomb also makes a big difference. Removing those little bits prevents them from getting stuck underneath the honeycomb, where the laser can hit them again and create extra char or smoke. Keeping the surface clear helps your machine work cleaner and your projects come out looking their best.
4. Run a Small Test Square Before Every New Material.
Every sheet of wood, acrylic, or leather behaves differently — even from the same pack
Running test cards for:
• Speed
• Power
• Line interval
• Passes
A 1 cm or 10 mm test square lets you dial in your settings without wasting a full project. There are plenty of test grids available online to help you get started, but creating your own is essential. Every material behaves differently, and only you know exactly where yours came from and how it reacts.
5. Getting accurate framing with manual setup.
The framing preview in the app is a great starting point, but small manual adjustments can make your placement much more precise.
• Make sure to adjust the laser module height and set the focal pin based on your material. This ensures your design engraves exactly where you expect on your blank.
• Reframing is sometimes necessary. When you need to reframe, reposition your blank rather than moving the laser module. This helps maintain accuracy and also extends the life of your iEngrave.
This approach not only improves placement accuracy but also helps keep your machine in good condition over time.
ADDITIONAL TIPS:
Grab a blank either a whole sheet of 12” x 12” basswood or a sheet of cardstock, lightly score or cut to make your own jig. I shared my hands-on experienced to this link and on skyicreations’ Keychain Jig Tutorial to follow along.
6. Turn On Air Assist for Cleaner Results.
Air Assist is one of the biggest quality boosters for beginners. It:
• Reduces charring
• Helps cuts go through more reliably
• Improves engraving detail
NOTE: Just make sure it’s toggled ON in IdeaStudio before you start.
Many makers—myself included—find that most iEngrave wood projects don’t require air assist. I love the engraving and cutting results I get without it. Some projects need painting anyway, so I skip the air assist because the light char marks can easily be painted over, wiped off with alcohol, or lightly sanded from the edges. Here are some of my projects with and without painting.
Ultimately, it comes down to what works best for you. The good news is that you now have options.
7. IdeaStudio Engraves First, Then Cuts.
This is true as long as your layers are set correctly. Cutting first can cause your material to shift, so the software prioritizes engraving before cutting to protect your design. This applies to both LightBurn and the LOKLiK IdeaStudio app.
With the recent updates to the LOKLiK IdeaStudio app and the iEngrave, users can now engrave and cut in a single operation. I covered this in more detail here.
NOTE: If you’re coming from LightBurn, this workflow is the opposite of what you’re used to. The iEngrave reads your design from the first (top) layer, then moves on to the second, third, and so on.
TIP: Always check for firmware updates on your iEngrave so it can perform at its best.
8. Know Which Materials Are Safe (and Which Aren’t).
Avoid anything containing chlorine — especially PVC and vinyl — because they release toxic fumes and can damage your machine.
Safe beginner materials include:
• Wood
• Acrylic
• Leather
• Paper
• Coated metals
NOTE: When in doubt, look up the material before you engrave. Google is your best friend! ![]()
9. Maintenance Is Part of the Routine.
To keep your engravings crisp, you’ll need to:
• Clean the lens regularly
• Check the air assist nozzle
• Wipe down rails
• Tighten screws occasionally
• Wash and clean honeycomb set
A dusty lens weakens the laser. A quick wipe makes a big difference. If you don’t know how to disassemble your own laser module here is an iEngrave Air-Assist Tutorial from Cory who covered part of it. He also recently created a topic of Mastering the Machine: The Ultimate Maintenance Guide for Your Crafting Arsenal for everyone.
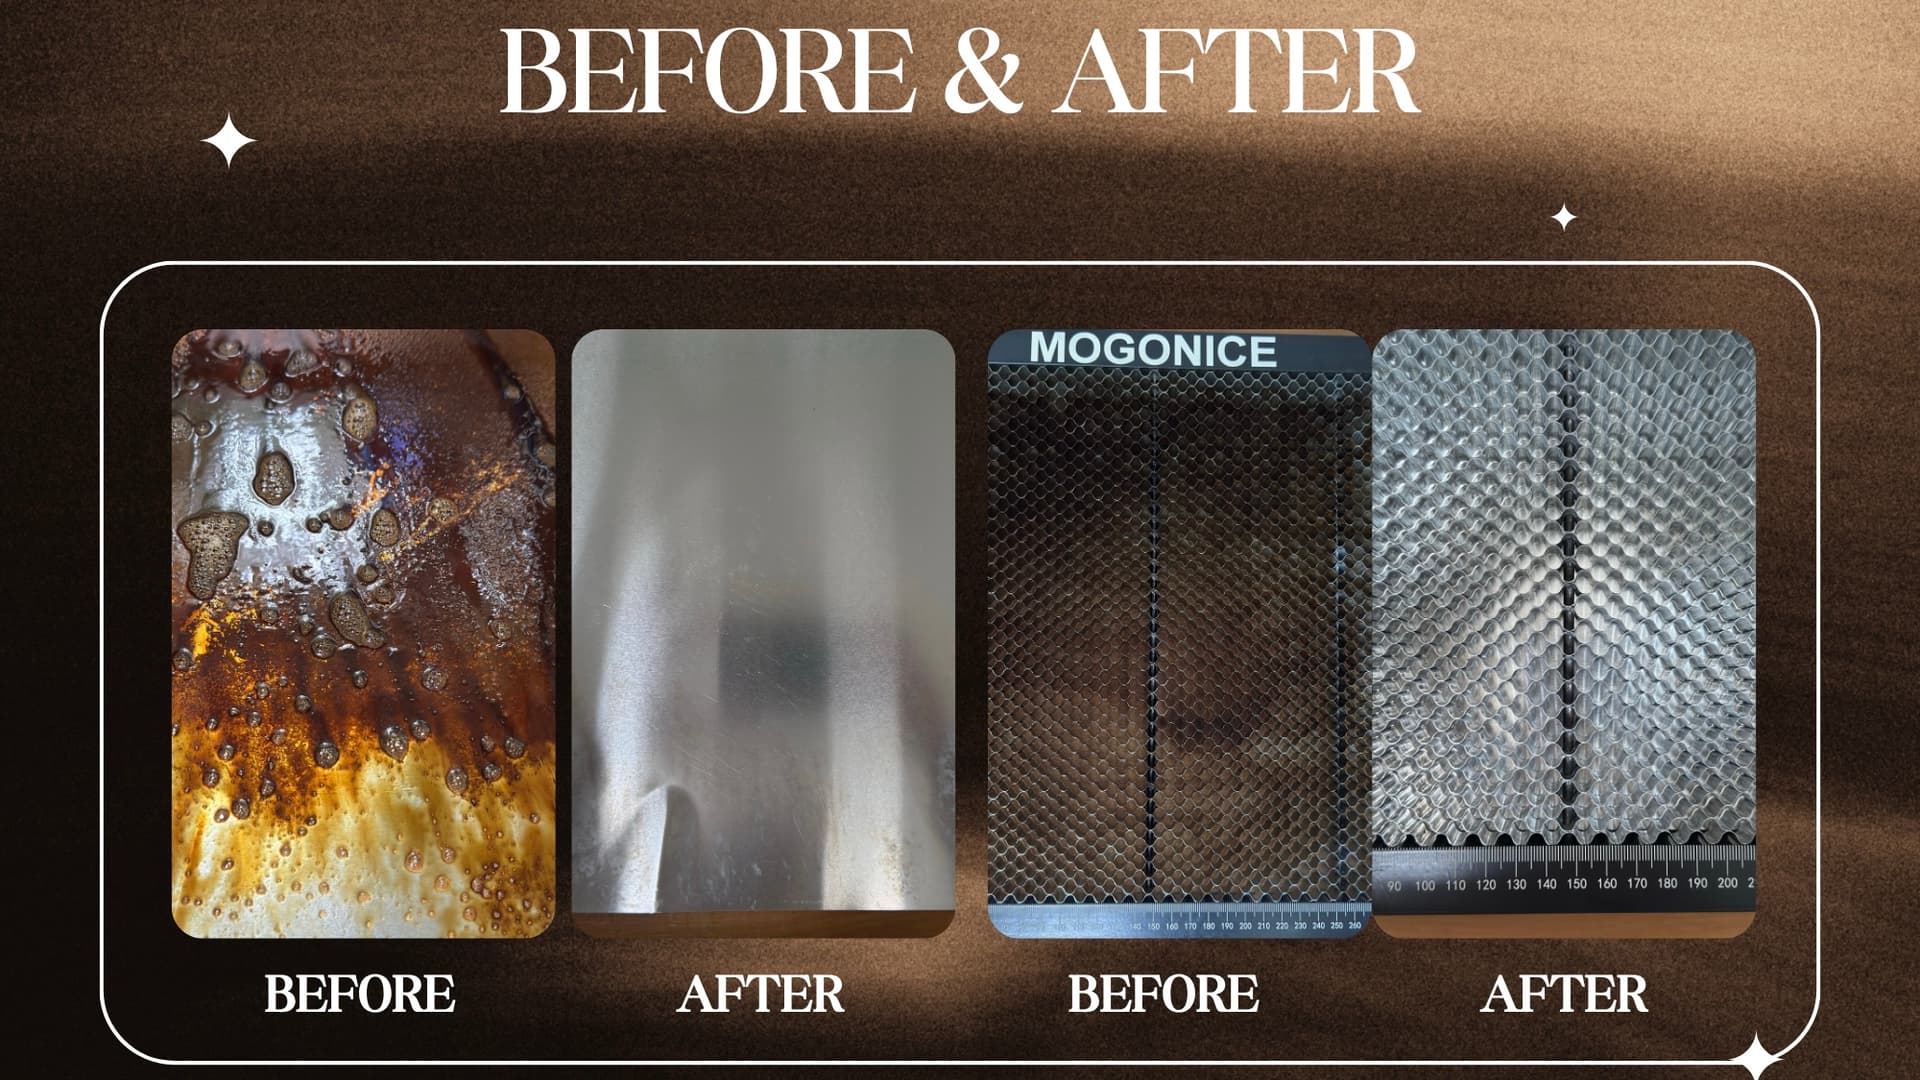
Keeping your honeycomb and the metal plate clean is really important—not just to save money on replacements, but also to keep your engravings and cuts looking crisp. When I first saw mine covered in gunk, I thought I had to buy a brand‑new honeycomb. A lot of people don’t realize you can actually clean it by spraying it with Super Clean. I’m so glad I tried it because it saved me about $50. Sharing this here in case it helps someone else too.

Here are my before‑and‑after photos using Super Clean! It looks brand new every time I wash, clean, and dry the honeycomb and plate.
SAFETY REMINDERS: Always ensure the vent hose is fully extended and straight. Any bends or kinks can restrict airflow and create a hazard. Also, keep a fire extinguisher within easy reach of your workspace. You’ll be glad it’s there if you ever need it!
10. Keep a Simple Settings Log.
Write down:
• Material type
• Thickness
• Power
• Speed
• Passes
• Air assist on/off
Over time, this becomes your personal cheat sheet — more accurate than any generic settings chart. Your future self will thank you.
NOTE: You can download the preset settings here to start building your own personal cheat sheet.
If you’re new to the iEngrave, I hope this topic helps you feel more confident as you start exploring and experimenting. I’ve also put together a LOKLiK iEngrave Help Hub for quick reference — it’s a great place to find answers fast.
And for those of you who’ve been using the machine for a while, feel free to jump in and share your own hands‑on experience, tips, and tricks below. We grow this space together, and your insights make a huge difference for everyone.