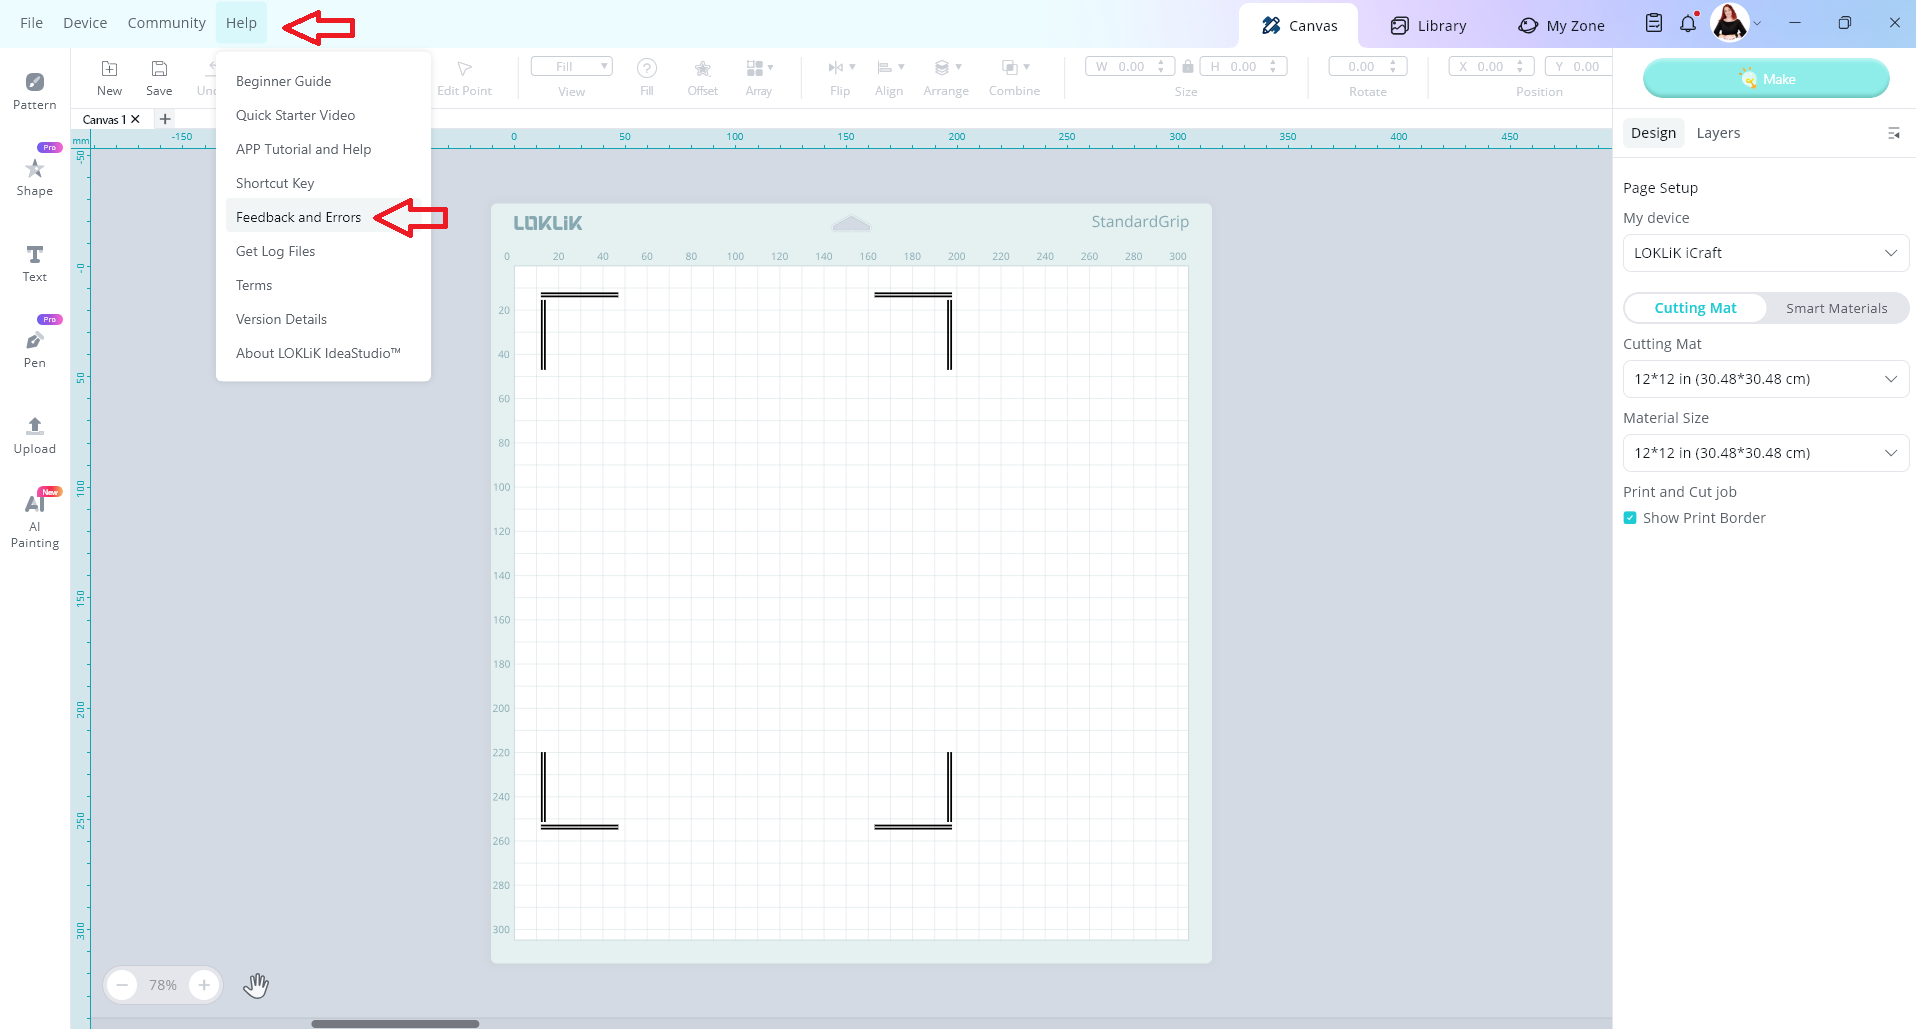
Hey LOKLiK Fans!
Want your Print-then-Cut projects to land just right on the first try?
Getting the calibration done properly can really help things go smoothly.
Here’s the official guide to walk you through the full steps:
![]() Print-then-Cut Calibration Guide
Print-then-Cut Calibration Guide
And if you want to breeze through it with fewer hiccups, here are some extra pointers that can really help:
![]() Use the Same Paper Type for Calibration and Cutting
Use the Same Paper Type for Calibration and Cutting
If you calibrate using glossy paper but later cut on matte, your alignment might be off.
Tip: For best results, use the same type of printable material for calibration as the one you’ll actually use for cutting.

![]() Double Check Paper Placement in Your Printer
Double Check Paper Placement in Your Printer
Misaligned sheets can cause the printed registration marks to come out crooked.
Tip: Make sure your paper sits straight and flat in the printer tray before printing.
![]() Stick to A4 or Letter Paper, and Print at 100% Scale
Stick to A4 or Letter Paper, and Print at 100% Scale
Using the wrong size or scaled content might throw off the whole cut.
Tip: Set your printer to A4/Letter size, 100% scale, no margins, and turn off “fit to page” or similar settings (names may vary by printer brand).
![]() Make Sure Registration Marks Are Clear and Dark
Make Sure Registration Marks Are Clear and Dark
The machine won’t be able to detect marks that are too light or faded.
Tip: Ensure your printer has enough black ink. If needed, darken the marks manually with a black pen.

![]() Stick Your Material Properly and Watch for Mat Lifting
Stick Your Material Properly and Watch for Mat Lifting
Poor placement or lifted edges can affect calibration accuracy.
Tip: Align your material to the top-left of the mat and press it down firmly—especially around the edges.
![]() Check the Silicone Rings on the Rollers
Check the Silicone Rings on the Rollers
Their position affects how well the mat feeds through.
Tip: Place the first ring on the first grid line, and the third ring on the seventh grid line of the mat.

![]() Don’t Move the Design After Printing
Don’t Move the Design After Printing
Adjusting the design in the software after printing can mess up the cut.
Tip: If you’ve moved the image, reprint it and create a new cutting job to avoid mismatch.
Got your own calibration tip? Share it in the comments below—we’d love to hear what works for you ![]()
You know those little “ah-ha” moments while crafting—small things that make everything work better or feel easier? Crafter Notes is where we keep those. Just a handful of things we’ve learned, tried, and found helpful along the way.
Got a tip to share, or something you’re curious about? DM me anytime—we’d love to include more of your ideas here.
More from Crafter Notes:
Crafter Notes | Not Sure How to Press Your HTV? Start Here
Crafter Notes | The Little Things We Do for Better Mug Pressing